Presto Pressure Cooker Rubber Gasket: How To Fix Leaks Fast
Presto pressure cookers rely on a rubber gasket to seal the lid to the pot, and a failing gasket is one of the fastest ways to ruin a meal. If your lid won’t seat, steam leaks around the rim, or the cooker won’t build pressure, the gasket is usually the culprit. This guide walks you through Presto pressure cooker rubber gasket basics, how to choose the right one, and how to keep it sealing season after season.
Presto pressure cooker rubber gaskets must match your exact model and lid style, because the seal depends on gasket shape and gasket size. Steam leaking around the lid usually means the gasket is cracked, stretched, stiff, or seated incorrectly. Replace the gasket, seat it evenly, and test it with water before cooking food.
Key Takeaways
- Match the model. Use the gasket meant for your Presto pressure cooker model, because size and groove patterns differ.
- Inspect often. Replace when the gasket is cracked, sticky, hardened, or permanently flattened.
- Seat evenly. Press the gasket into its channel without twists so the rim seals uniformly.
- Clean gently. Wash with warm water and mild soap, and avoid sharp tools that nick rubber.
- Do a water test. After replacement, run water to confirm pressure without lid leakage.
- Store correctly. Keep it cool, dry, and uncompressed so rubber doesn’t take a set.
What to Know About Presto Pressure Cooker Rubber Gaskets

A Presto pressure cooker rubber gasket is the flexible ring that seals the lid to the pot so pressure can build safely. When it’s healthy, you should get a tight seal with minimal leakage at the rim. When it’s worn, you’ll typically see steam escaping where the lid meets the cooker body, longer heat-up times, or inconsistent pressure.
Most Presto manual pressure cookers use a removable gasket that sits in a channel on the underside of the lid. That design makes wear predictable, because the rubber is exposed to heat cycles, food acids, oils, and cleaning abrasion over years. Rubber also ages even if you cook infrequently, so “it still looks okay” is not a reliable test if the cooker behavior changed.
Gaskets are not universal. Even if two Presto lids look similar, the gasket shape, thickness, and groove fit can differ by model. That’s how people end up with chronic venting or a lid that won’t fully seat.
Presto pressure cooking also depends on gasket seating. If the gasket is twisted, partially out of its channel, or stretched while installing, it can seal in one spot and leak in another. Steam leaks around the rim are the clearest sign because the gasket is the seal boundary.
Things that matter most
Choosing the correct gasket is the biggest decision you’ll make. A correct match is about more than diameter – it’s about how the gasket sits in the lid’s groove and how it conforms to the sealing surface. A gasket that’s even slightly wrong can create “pressure problems” that are really seal problems.
Use these checks to avoid headaches:
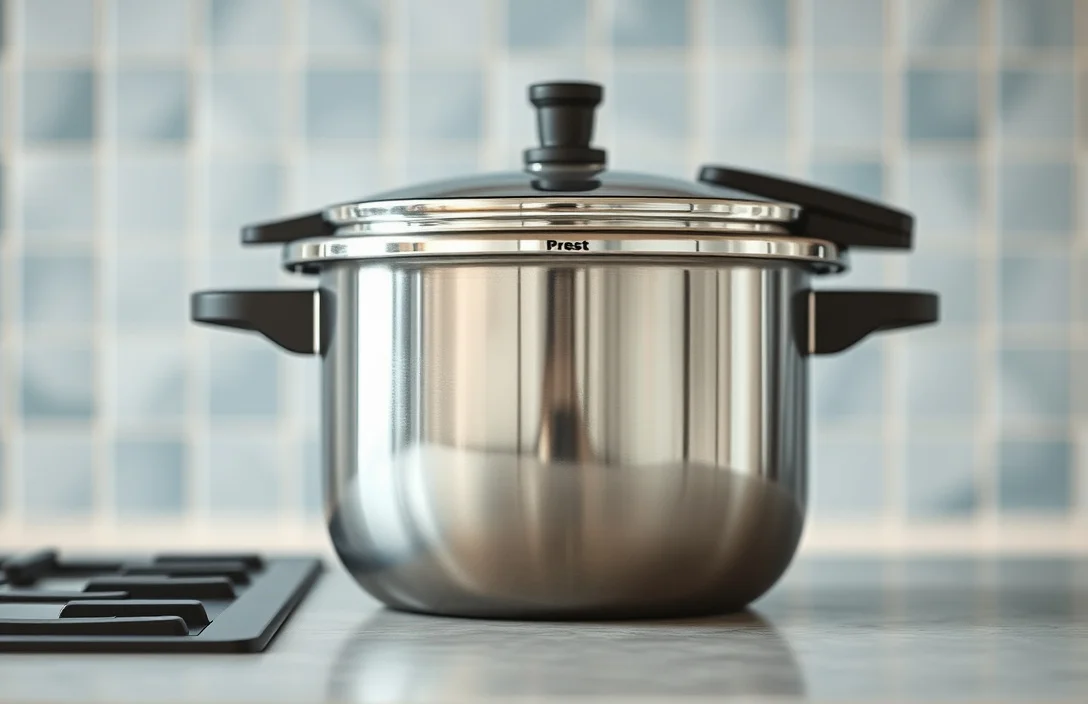
- Check physical wear first. Cracks, splits, tackiness, swelling, or a flattened shape mean replacement is overdue.
- Look for stiffness or loss of elasticity. Rubber that feels hard or won’t return to round often seals poorly.
- Inspect seating and alignment. Even a new gasket can leak if it’s not fully seated in the groove.
- Watch for chemical damage. Strong degreasers, bleach, and abrasive scrubbing shorten gasket life by degrading rubber.
- Don’t force the fit. If the gasket requires forcing, stretching, or aggressive tucking to fit, it’s probably the wrong part.
Gasket failure can also masquerade as food problems. Rice might overcook, beans might undercook, and cook times can seem “off,” but the root cause is often inconsistent pressure from a leaking seal. Fix the gasket issue before changing recipes.
“Good sealing” on a Presto cooker looks like this: pressure builds normally, the unit runs stably, and you see minimal to no steam escaping from the lid rim during the pressure phase. If steam is constantly blowing from the lid area, treat it as a gasket or seating problem until proven otherwise.
Tips for Presto Pressure Cooker Rubber Gaskets
Start with the simplest diagnostic: look for visible gasket damage and confirm it seats correctly. If you see steam leaks around the lid, remove the gasket and inspect it under bright light. Hairline cracks and thinning spots can be enough to fail a seal, especially after multiple years of heat cycling.
Replacement is mostly about installation technique. Roll the gasket into the groove evenly, press it down along the full circumference, and avoid twisting. A common mistake is installing one section first, then forcing the last segment. That can twist the rubber and create a leak path.
Cleaning can shorten gasket life if you get rough. Wash with warm water and mild dish soap, rinse thoroughly, and air-dry. Skip sharp brushes, metal scrapers, and abrasive pads, because nicked rubber can turn into a leak on the next heating cycle.
Storage affects how the gasket performs. Store it cool and dry, and avoid compressing it in a sealed container under heavy items. Heat and long compression can make rubber take a set, and a gasket that no longer rounds out evenly won’t seat as reliably.
Run a water test after replacement. Fill the cooker with water (enough to perform the normal operating cycle for your model), assemble it with the gasket seated properly, and run until it reaches pressure. If you see heavy steam leaking from the lid rim during the pressure phase, stop and re-seat the gasket or verify you ordered the correct model gasket.
If your cooker has a history of food foaming or splattering, clean the lid and sealing surface carefully. Sticky oils and residue on the sealing face can prevent the gasket from conforming. A clean sealing surface plus a well-seated gasket stops most “mystery leaks.”

Helpful pick
Presto 09936 Pressure Cooker Sealing Ring/Overpressure Plug Pack
Direct replacement gasket keeps lid seals reliable after diagnosing damage and preventing steam leaks.
Benefits of Presto Pressure Cooker Rubber Gaskets
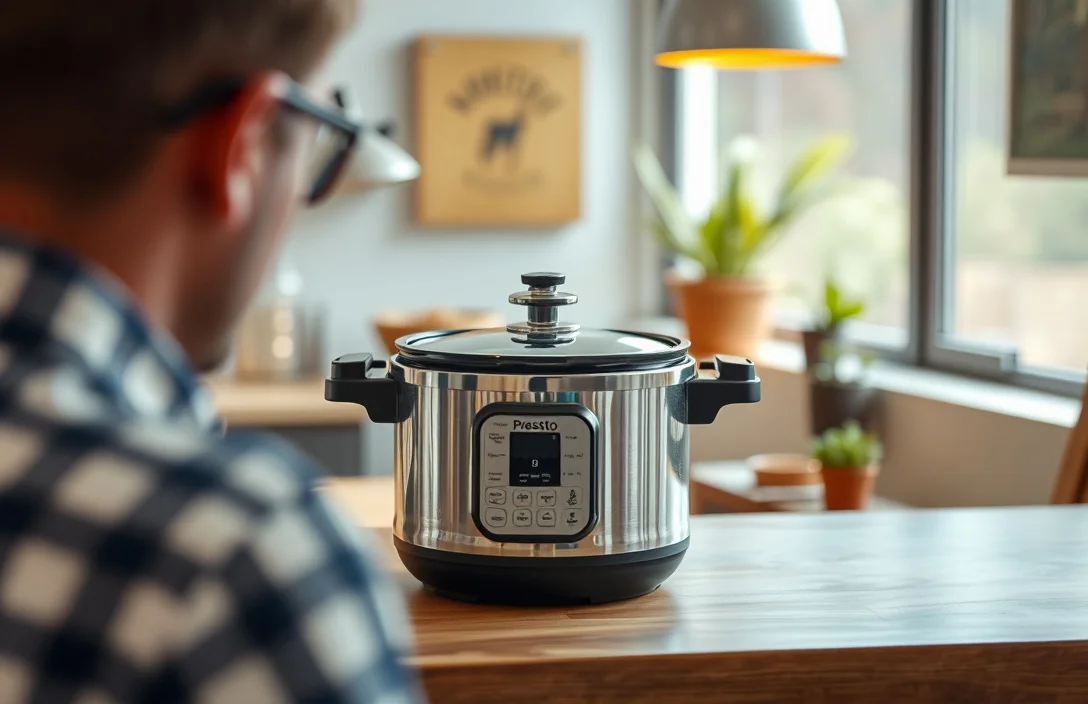
A properly working gasket is the difference between a pressure cooker that behaves predictably and one that runs hot, vents constantly, or never stabilizes. The gasket is what lets the cooker build internal pressure – the pressure that drives faster cooking and consistent results. When pressure is consistent, you can trust cook times.
A good gasket also supports safety. Pressure cookers are designed so that once pressure builds, the lid seal holds and safety systems manage venting and release. When the gasket leaks, pressure can rise unpredictably, and you may end up relying on venting behavior rather than stable pressure, which you don’t want.
Replacing a worn gasket is usually a high-value fix compared to replacing the whole cooker. Rubber gaskets are consumables, and once you match the correct part, performance often returns close to “like new.” That’s especially true when the failure is recent and the sealing surfaces haven’t become warped or contaminated.
There’s also a quality-of-life benefit: fewer cooking interruptions. Steam leaks around the lid mean more mess, more kitchen odors, and more babysitting while the cooker heats. A sealing gasket cuts countertop wetness and makes it easier to time meals without constant checking.
A good gasket also simplifies maintenance. Regular cleaning and inspection catch wear early, before the seal starts failing mid-recipe. That early catch saves time and reduces the odds of ruined batches.

Helpful pick
Presto Pressure Cooker Sealing Ring With Air Vent 4 Qt.
Keeps gasket intact and provides a reliable seal to sustain consistent pressure.
Options for Presto Pressure Cooker Rubber Gaskets
You generally have two real options: replace the gasket with the correct Presto part, or keep using the current gasket after re-seating it and cleaning it. If the gasket is cracked, stiff, sticky, or permanently deformed, “cleaning harder” won’t fix it. That gasket is already past its useful life.
Replacement options hinge on compatibility with your exact Presto pressure cooker model. Some gaskets are designed for specific lid styles and cooker generations, and groove fit can vary. If you’re buying online in the US, use your model number and lid type, not just the brand name.

Helpful pick
09985 Pressure Canner Sealing Ring Repalcement for Presto 01751 01781 01784 01745 01755 01782,Pressure Rubber Ring Fits for Presto 16 18 23 Qt Cooker,Pressure Cooker Parts & Accessories
Direct replacement gasket for multiple Presto models ensures a proper seal and safe operation.
Use this practical decision guide:
| Option | What you do | Best for | Risk level |
|---|---|---|---|
| Correct OEM-style gasket | Replace with the gasket specified for your model | Chronic lid leaks, cracked or stiff rubber | Low |
| Re-seated + cleaned gasket | Remove, inspect, clean, and reinstall evenly | Minor sealing issues that look like seating problems | Medium |
| Wrong-size gasket (avoid) | Substitute a similar gasket from another model | None – it’s a guess | High |
| Upgrade to a different gasket type | Only if Presto lists an approved equivalent | Models with known gasket revisions | Medium |
If you’re unsure, verify model compatibility before ordering. The gasket cost is usually small compared to wasted food and time. Also, don’t stretch a gasket to make it fit, because stretching can permanently change how it seals.
If your cooker uses a gasket that’s hard to remove or the groove looks clogged, clean the channel in the lid underside. The gasket seats in that channel, and debris can prevent full contact. In practice, a clean groove plus a new gasket is the most reliable fix for rim leaks.
Expert Advice on Presto Pressure Cooker Rubber Gaskets
Replace the gasket based on symptoms, not on a calendar. If steam leaks around the lid rim, the cooker struggles to build pressure, or the gasket looks cracked or hardened, it’s time to replace. A new gasket should seat easily and lay flat in the groove without aggressive stretching.
Use a “seat and verify” routine. After installing the gasket, run your fingers around the circumference to confirm it sits evenly, then do a water test before cooking. It prevents the frustrating loop of “I installed it, it still leaks” after you’ve already started your meal.
Avoid common gasket killers. Don’t use abrasive scrubbers that nick rubber. Don’t store the gasket compressed, and don’t leave it sitting in direct heat (like near a stove window) for long periods. Those habits shorten gasket life and increase the odds of failure at the worst possible time.
When you remove the gasket for inspection, check the sealing surface too. Food residue, grease, or mineral buildup can stop the gasket from conforming even if the rubber is new. Clean the sealing face with warm water and mild soap, then dry it so you’re sealing rubber to a clean surface.
If you replace the gasket but still get leaks, don’t assume the new part is defective. The gasket may be mis-seated, twisted, or partially out of its groove. Re-seat it carefully, check for obstructions in the channel, and repeat the water test.
Also check how you assemble the cooker. Lid alignment and locking matter because the gasket sealing line depends on lid position. If the lid doesn’t fully lock, it can pull the gasket out of place and create a leak route.
Examples: Presto Pressure Cooker Rubber Gaskets
Example: you notice steam escaping around the lid rim after the cooker reaches pressure. You remove the gasket, find a thin crack along one side, and the rubber feels less elastic than when new. You buy the gasket listed for your exact Presto model, reinstall it evenly in the groove, and do a water test. The steam leak stops, pressure builds normally, and your next batch of beans cooks with the expected timing.
Example: you replace a gasket and it still leaks, but only at one spot. You inspect the gasket and see it’s twisted slightly in the groove, likely from forcing the final segment into place. You remove it, reinstall starting at one point, press it down evenly all the way around, and run the water test again. The leak disappears because the gasket now contacts the sealing surface uniformly.
Example: your gasket looks fine, but the cooker takes longer than usual to reach pressure. You clean the gasket and the lid sealing surface carefully, then reinstall the gasket without stretching it and confirm it sits flat. During the water test, pressure builds normally. In this case, residue on the sealing surface and imperfect seating were the real issue, not visible rubber damage.
Example: you store your gasket in a drawer under a heavy lid and it comes out flattened. When you reinstall it, it doesn’t rebound to a perfect round and steam leaks increase. You replace the gasket and store the new one flat and uncompressed. That small storage change improves sealing immediately because the rubber returns to shape and seats properly.
Example: after a month of frequent use, you see the gasket becoming tacky on your fingertips. The cooker now vents more than before, especially during the pressure phase. You replace the gasket rather than trying to “condition” the rubber, and you keep cleaning to mild soap and water going forward. After replacement, the cooker stabilizes again and you get fewer interruptions during cooking.
FAQ
What gasket do I need for a Presto pressure cooker?
You need the gasket specified for your exact Presto pressure cooker model and lid style. Even small differences in groove shape and gasket thickness can cause rim leaks. Look up the model number on your cooker and match it to the gasket listing, then seat it evenly in the lid channel before cooking.
How long does a Presto pressure cooker rubber gasket last?
A gasket life depends on heat cycles, storage, and cleaning habits. If you use abrasive scrubbing tools, store the gasket compressed, or cook acidic foods frequently, it ages faster. Replace it as soon as you see cracking, stiffness, stickiness, swelling, or consistent steam leaks from the lid rim.
Can I reuse a Presto pressure cooker rubber gasket after cleaning?
You can reuse it if it looks intact and elastic, and if it seats properly in the lid groove. If the rubber has cracks, splits, a permanently flattened shape, or tacky spots, replacing is the safer choice. Re-seating and cleaning can fix leaks caused by residue or a twisted installation.
How do I install a Presto pressure cooker rubber gasket without leaks?
Seat the gasket evenly into the lid channel, avoiding twists as you press around the circumference. After installation, run your fingers around the full ring to confirm it lies flat. Then do a water test before cooking food, and if steam leaks from the lid rim, stop and re-seat the gasket.
What’s the most common mistake with Presto pressure cooker rubber gaskets?
The most common mistake is forcing or stretching the gasket to make it fit, or partially seating it and leaving a twist. That creates a leak path even if the gasket is the correct part number. Use even pressure all the way around during installation, then verify fit with a water test.
A gasket replacement is the fastest path back to reliable Presto pressure cooking if you’re dealing with rim steam leaks or inconsistent pressure. The next step is simple: identify your cooker model, buy the matching gasket, seat it evenly, then run a water test before cooking your real meal.

- 10 Best Slow Cooker For Quick Preparation 2026 (Tested And Reviewed) - October 18, 2026
- 10 Best Slow Cooker For Family Meal Preparation 2026 (Tested And Reviewed) - October 18, 2026
- 10 Best Slow Cooker For Freezer Meal Preparation 2026 (Tested And Reviewed) - October 18, 2026