Fagor Pressure Cooker Parts Diagram Explained Simply
A Fagor pressure cooker parts diagram helps you pinpoint the failing lid component fast, especially when you get leaks, weak pressure, or steam that won’t shut off. The catch is that Fagor changed internal layouts across models, so the “right diagram” depends on your exact unit. This guide maps the core lid-side parts (gasket, valve/regulator, safety lock) and the vent path so you can order replacements that fit and don’t create new problems.
Fagor pressure cooker parts diagrams vary by model, but most layouts include the lid gasket, a main pressure regulator/valve, a safety lock, and a vent route. Use your model number to confirm the layout, then verify part fit by shape and diameter, not just appearance. If the seal looks flattened or the valve won’t seat, replace the specific lid-side components first.
Key Takeaways
- Use your model number. Fagor layouts differ, so the labeled diagram must match your exact cooker model.
- Focus on lid-side parts. Most performance issues come from gasket wear, valve sticking, or a blocked vent path.
- Confirm by fit. Match diameter, stem length, and clip geometry before ordering replacements.
- Don’t guess valve function. The regulator controls pressure; the safety lock handles over-pressure.
- Replace one compatible kit. Bundled gasket and valve kits are usually safer than mixing single parts.
- Hand-tighten to stop. Over-tightening can deform seals or distort valve seating.
Fagor Pressure Cooker Parts Diagram With Labels
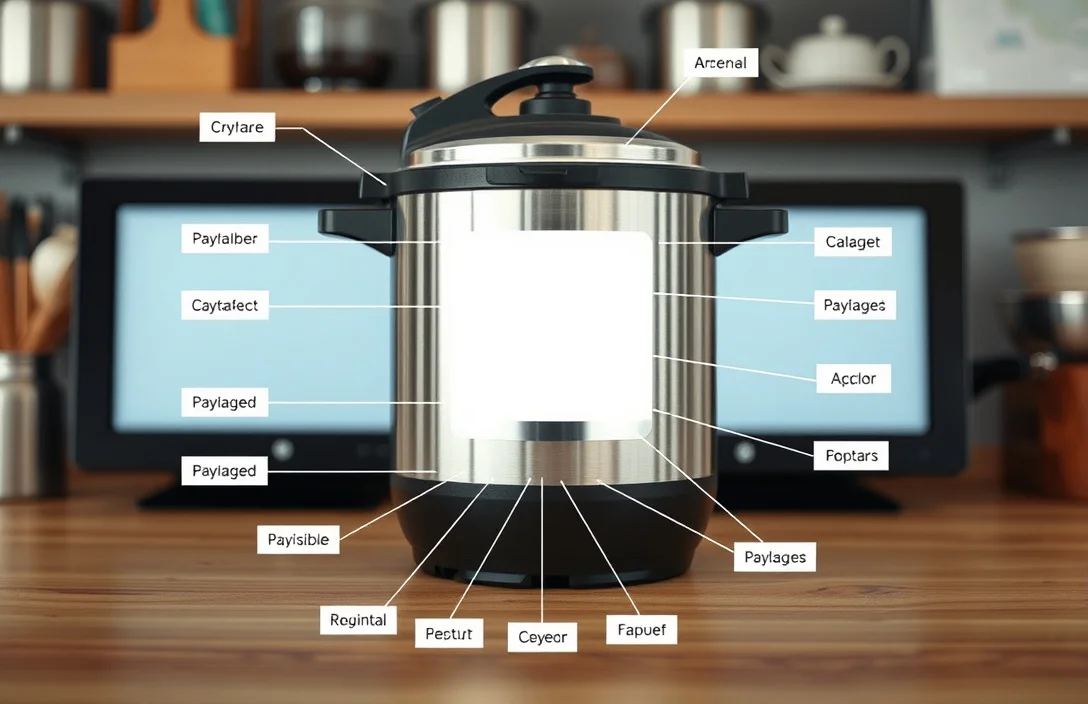
Label the cooker in two zones – the lid-side pressure control parts and the body-side sealing/anchoring surfaces. Even when fasteners differ, most Fagor units split into the same core jobs: seal safely, regulate pressure, and provide a fail-safe if pressure climbs too far.
On the lid, the gasket is the main seal that sits against the pot rim. In most designs, it’s held in a groove and centered by molded features. Above or near the gasket sits the valve/regulator area, which vents steam and controls internal pressure. A safety lock mechanism sits nearby but doesn’t “do the same job” as the regulator – don’t swap their positions or assume one part can replace the other.
Also trace the vent and release path components. Many pressure cookers route steam through a controlled vent channel connected to the regulator/valve. If that vent channel clogs with food residue or mineral buildup, the symptoms can look random – inconsistent venting, slow pressure rise, or intermittent steam leaks. Cleaning helps, but only after you confirm you’re targeting the right part, because a worn gasket won’t be solved by scrubbing.
Use this simple labeling workflow with the cooker unassembled (lid off the base) and good lighting:
- Identify the gasket ring and check that it sits evenly in its groove.
- Identify the regulator/valve assembly (often removable or serviceable).
- Identify the safety lock (moves differently from the regulator).
- Identify the vent tube/vent channel path (the steam flow route).
- Identify release plug, spring, or clips that retain these parts.
Which Fagor Models Use This Parts Layout

Fagor used more than one internal arrangement, so a generic “Fagor pressure cooker parts diagram” won’t reliably match your unit. The practical rule is straightforward: use the model number plate (usually on the base or underside of the lid) and match it to a parts layout for that model family.
Even when two cookers look similar, the differences show up in:
- how the gasket is retained (groove shape and thickness)
- whether the valve/regulator assembly is one piece or multiple parts
- how the safety lock mounts and clears the lid
- where the vent path runs and how it’s accessed for cleaning
In the United States, listings on US retailers and marketplaces often say “fits model X, Y, Z.” Treat those fit lists as requirements. Match your model number first, then verify the part’s geometry second.
If you can’t confirm your model family from the listing, don’t order yet. Remove the gasket and the valve/regulator assembly and compare details against the diagram you’re using. Match:
- gasket outer diameter (how far it spans across the lid rim)
- gasket thickness and lip shape (where it contacts the pot)
- valve stem shape and length (how it seats)
- clip points or retention lugs (how it locks in)
This avoids the most common mistake – buying a “close” gasket that looks right but doesn’t seal the same way.
Lid Components Diagram Including Seal and Valve
Treat the lid like a system. The gasket creates the seal, the valve regulates venting, and the safety lock prevents unsafe pressure build. One wrong part changes how steam behaves, which makes troubleshooting messy unless you keep the roles separate.
The gasket is easiest to identify because it’s the flexible ring that contacts the pot rim. A new gasket looks pliable and rebounds after pressing. A worn gasket looks flattened, has cracks, or seems “set” in one position.
The valve/regulator assembly controls the steam release pattern. Depending on the model, it might be cap-like, a removable insert, or a valve housing plus a moving element. The key point is the interface it seats into and the channel it vents through. If it’s warped, packed with residue, or missing a retention piece, pressure behavior becomes inconsistent.
Identify the seal and valve locations without a diagram like this:
- Set the lid face-up and find the continuous flexible ring that contacts the cooker body.
- Locate the area where steam would route, usually central or offset near the gasket groove.
- Look around that opening for a removable “service piece,” often held in by clips or a screw-like retainer.
- Confirm the valve/regulator can move through intended positions (some parts need gentle handling, not force).
If steam leaks, don’t jump to replacing the valve first. Perimeter leaks around the lid edge usually point to gasket problems, not a regulator failure – especially when steam escapes near the rim instead of through the regulator vent route.

Helpful pick
YiiSeeJo 2 Pack Universal Pressure Cooker Relief Valve Kit with Stainless Steel Anti‑Blocking Covers & Exhaust Rod 80 KPA Pressure Regulator Replacement
Provides a reliable venting valve replacement to maintain safe steam release and proper regulator function.
Pressure Regulator and Safety Lock Parts Diagram

The pressure regulator and safety lock do different jobs, and they’re close enough in appearance to cause accidental swaps. Don’t replace the regulator with a safety lock part (or vice versa) – you can end up with under-pressure cooking or vent behavior that doesn’t match the cooker’s design.
The pressure regulator manages pressure by controlling how steam vents. It typically sits in the lid opening feeding the vent channel. When it’s seated cleanly and properly, it allows controlled venting tied to the cooker’s pressure setting and regulation behavior (which varies by model).
The safety lock is the fail-safe. It engages based on pressure and lid conditions, and it shouldn’t act like the regulator during normal operation. If the safety lock is misaligned, stuck, or missing a related spring/retainer piece, you can see symptoms like delayed/failed pressure behavior or unusual steam patterns that don’t track the normal regulator cycle.

Helpful pick
50332 3-Piece Pressure Regulator 5-10-15lb Canning Weight for Presto Pressure Cooker Canner 0178107 0178410 0175107 0174510 0175510 0177001 0174001 6803571
Offers compatible 5–10–15 lb regulator weights to illustrate correct regulator components in a parts diagram.
When you’re using a labeled parts diagram, treat them as separate categories:
- Regulator bucket: vent path control, movable sealing/venting element, seats into the regulator opening.
- Safety lock bucket: over-pressure intervention mechanism, separate retention and movement behavior.
If you’re replacing parts, the safer approach is:
- replace the exact regulator/valve assembly (not a “similar” insert)
- replace the gasket at the same time if it’s older than a season or shows flattening/cracks
- replace the safety lock only if you have a clear malfunction tied to it (binding, incorrect engagement, missing piece)
Both parts must move freely without force. If a valve won’t move, don’t oil random components and keep going. Mineral deposits and food residue come off with proper cleaning, but forcing movement can damage sealing surfaces.

Helpful pick
Universal Pressure Cooker Jigger Valve Replacement with Exhaust Rod, Safe and Anti-blocking, Regulator Weight Pressure Control 80KPA
Replaces the regulator weight/valve to restore vent path control and proper seating in the regulator opening.
Gasket, Release Plug, and Vent Tube Locations
The gasket seals the pressure vessel against the lid rim. The release plug and vent tube are part of the vent path, which controls where steam goes when it needs to. That split matters because gasket issues usually show up as perimeter leaks, while vent path issues show up as weak pressure, poor regulation, or abnormal venting.
Gasket location is usually obvious: the flexible ring that contacts the pot rim. Replace it when it’s cracked, hardened, stretched, or permanently compressed. Even if the cooker “sort of works” with a tired gasket, you can get inconsistent results and end up forcing the regulator to compensate for a seal that never fully seats.
The release plug is usually a small component that closes or controls part of the vent/release route. Some models use a removable plug-like piece. It must go in the correct orientation and retention point so it sits in the proper channel path. A missing, loose, or incorrectly installed release plug changes steam routing and can make the problem look like a regulator failure.
The vent tube (or vent channel) is the steam’s outside pathway. You may not see it clearly until you remove lid-side service pieces. When venting is restricted by residue or buildup, you may hear different operation, vent intermittently, or take much longer to reach pressure.
To map these parts on your lid:
- Locate the gasket ring first, since it anchors your orientation.
- Locate the regulator opening next, since it points toward the vent channel.
- Check around the regulator area for small removable inserts where a release plug typically sits.
- Use a flashlight and trace the route the valve would vent through.
- Identify any service components you can clean without scratching sealing surfaces.
Clean the vent path thoroughly if you find residue, then recheck movement. If the gasket is damaged, cleaning won’t fix sealing.
How To Identify Parts by Shape and Size
Pressure cookers are tight-tolerance machines. A “close enough” gasket may seal for a few minutes and then leak under heat and expansion. A “similar” valve insert may fit the hole but fail to seat on the correct interface.
Use these identification checks instead of trying to match a photo:
- Diameter and thickness (gasket). Compare outer diameter and molded lip geometry. Press lightly and see if it springs back.
- Stem and seating geometry (valve/regulator). Match stem length and cap profile. The valve should seat without rocking.
- Retention method (clips or screws). Lugs, clips, or a threaded interface must match the lid exactly. Different retention means the part won’t sit correctly.
Practical tip: take photos before disassembly, then mark orientation with tape. Many valve/regulator assemblies look rotationally symmetric but function differently. One orientation slip can block venting or change how the regulator moves.
For release plugs and vent-related inserts, check:
- whether the plug has a sealing surface (smooth, molded, or gasket-like)
- whether it has a notch or orientation feature
- whether it sits flush at the vent channel opening
When you order parts, don’t rely only on “looks like it.” Use listing details that include model fit, or choose a diagram with named components. Since pricing and exact specs aren’t provided here, model number match comes first, geometry match comes next.
Replacing Parts Safely Without Over-Tightening
Correct placement matters more than force. Over-tightening is how people deform gaskets, distort valve seats, or crack plastic housings. Aim for secure seating, not mechanical crushing.
Use a reset rule: clean the lid-side contact surfaces before installing anything. Residue changes how parts sit, and it can make the right part feel “wrong,” which tempts you to tighten harder.
For gasket replacement:
- Remove the old gasket gently.
- Inspect the gasket groove for debris or residue.
- Install the new gasket evenly so it sits flat in the groove.
- Press lightly around the ring to confirm it isn’t twisted.
For valve/regulator and vent-related parts:
- Confirm orientation based on how the part seats.
- Place it into the opening and ensure it sits flush.
- If threaded, tighten until snug and stop when resistance increases.
- If clipped, make sure clips fully engage without bending the housing.
For screws or threaded retainers, use a “snug and stop” mindset (no torque wrench needed). If the part doesn’t seat flush with reasonable hand pressure, stop and re-check alignment instead of forcing it. A forced fit often creates leaks that weren’t there before.
After replacement, verify:
- the lid is assembled correctly and the regulator area and vent pathway are unobstructed
- the valve/regulator moves freely in its intended way (without force)
- a water test cycle (no food) using your model’s normal manufacturer procedure, then check for abnormal perimeter leaks or stuck vent behavior
If anything feels jammed, don’t “fix it with tightening.” Remove the part, re-seat it, and replace it if it turns out not to be the correct match.
FAQ
What parts usually fail first on a Fagor pressure cooker?
Gasket wear usually shows up first, especially when steam leaks around the lid perimeter. Next up are valve/regulator sticking from residue and vent path blockages that prevent controlled venting. For poor pressure or inconsistent venting, inspect the lid gasket first, then clean and verify regulator/vent component movement.
Where can I find a labeled Fagor pressure cooker parts diagram for my model?
Use your cooker model number to find a labeled layout that matches your exact unit family, then verify fit by geometry. Gasket shapes, valve/regulator assemblies, and safety lock retention can differ. If a listing doesn’t clearly match your model, remove the gasket and valve/regulator and compare shape and seating features instead of relying on generic photos.
How much time does it take to replace the gasket and valve parts?
A typical gasket replacement takes about 10 to 20 minutes the first time, assuming the lid is clean and accessible. Valve/regulator and vent-related inserts take about 20 to 45 minutes depending on how many retaining clips or screws your model uses. The real time cost is inspection and cleaning, because vent path residue can keep causing symptoms even after parts are replaced.
Is it safe to over-tighten the lid or valve to stop leaks?
No. Over-tightening can deform the gasket and distort valve seating, which creates leaks or abnormal vent behavior. Snug hand-tight contact is usually enough for threaded retainers, and clip engagement should be firm without bending. If tightening doesn’t stop leaks, reseat the gasket and verify the regulator and vent path are aligned and unobstructed.
What’s the most common mistake people make when replacing parts?
Buying incompatible parts because they “look right.” The gasket might match in size but not in thickness or lip geometry, or the regulator insert might seat differently than your lid design. Another common mistake is forcing a stuck valve instead of cleaning it and checking orientation and retention. Always match by model first, then verify fit and seating, then run a water test.
Bottom line
Fagor pressure cooker layouts differ by model, so the correct parts diagram is the one that matches your specific unit family. Most issues start at lid-side sealing and vent control, so gasket wear and clogged vent paths come up often.
Use the diagram to separate the lid gasket (seals the rim) from the pressure regulator (controls controlled venting) and the safety lock (fail-safe behavior). Then verify release plug and vent tube/vent channel location so you troubleshoot the right steam path.
When replacing parts, clean first, seat everything flush, and hand-tighten threaded retainers to snug, not forced. If leaks or abnormal venting continue, stop and re-seat the gasket and valve assembly rather than tightening harder.

- 10 Best Slow Cooker For Quick Preparation 2026 (Tested And Reviewed) - October 18, 2026
- 10 Best Slow Cooker For Family Meal Preparation 2026 (Tested And Reviewed) - October 18, 2026
- 10 Best Slow Cooker For Freezer Meal Preparation 2026 (Tested And Reviewed) - October 18, 2026