For Pressure Cooker Seal Ring Vs Oem: Which To Choose
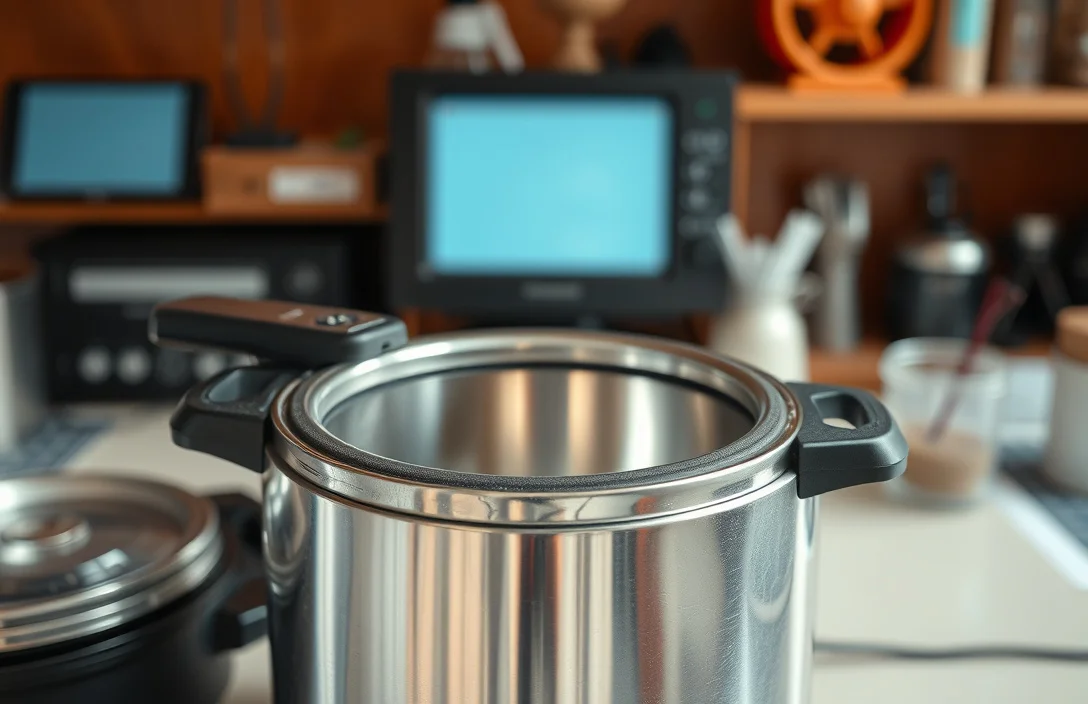
A pressure cooker seal ring keeps the lid sealed so the cooker can build pressure safely. If the ring is the wrong size, worn, cracked, or seated crooked, you get steam leaks, weak pressure, or stubborn fails to reach pressure. The right ring also seals consistently across oily foods and starchy residue.
Pressure cooker seal rings must match your specific model and gasket groove, not just “fit over the rim.” A ring that is stretched, cracked, or hardened will leak even if it looks okay. Seat the ring fully and evenly in the gasket track before cooking, and confirm the lid locks without wobble.
Key Takeaways
- Match your model. Seal rings are sized for the lid gasket groove, so you must match the exact pressure cooker brand and model.
- Measure once. If you cannot find an OEM part, measure outer diameter and groove shape, then confirm against a compatible listing.
- Pick heat-safe material. Silicone and PTFE-backed options handle heat well; aged or cheap rubber gets stiff and leaks sooner.
- Inspect every time. Look for cracks, pinholes, flattening, and stretching, especially along the sealing surface.
- Seat evenly. The gasket must sit centered in the track, with no twists or “pinched” spots that create leak paths.
- Replace at symptoms. If you see steam leaks at the lid or the cooker won’t reach pressure, don’t keep cooking – replace the ring.
What Size Fit
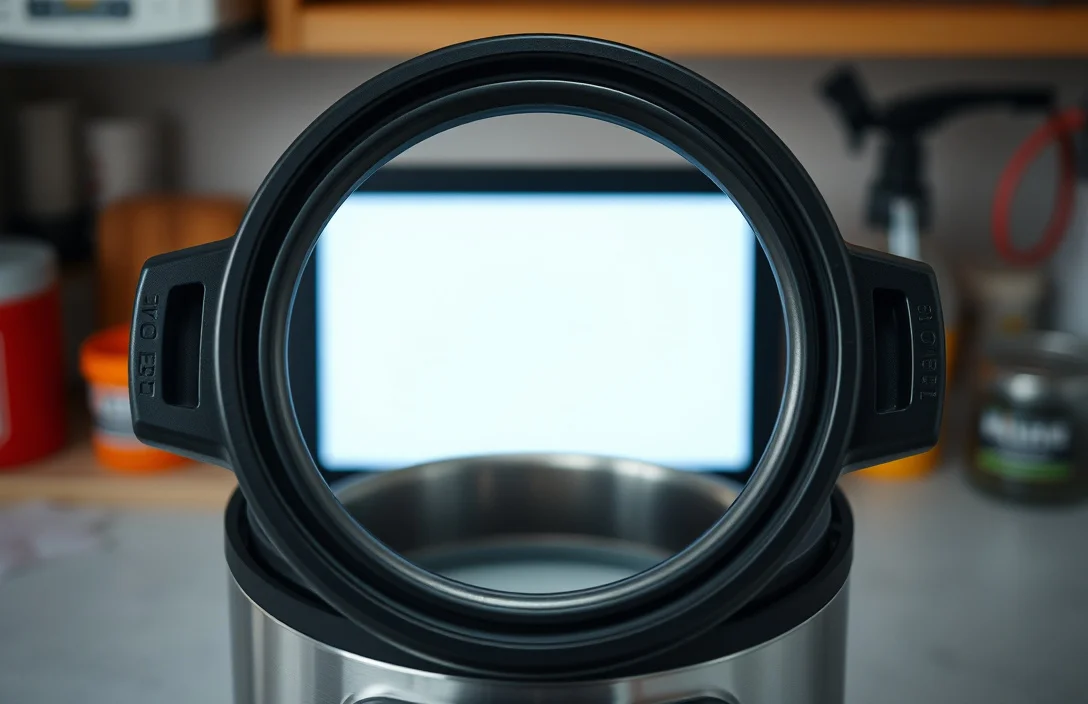
The right pressure cooker seal ring matches your lid’s gasket track geometry, not just the pot diameter. Most pressure cookers use a dedicated groove around the underside of the lid, and the ring’s cross-section is shaped to compress evenly when you lock the lid. A ring that is slightly too large can bulge, twist, or fail to compress uniformly, creating tiny leak channels.
Start by identifying your cooker model (brand + model number). Then use that to find the exact seal ring part number, because “same size” is hard to guarantee across manufacturers. If you do not have the part number, you can still measure, but you need two measurements that matter: the ring’s outer diameter and its profile (how thick it is and how it sits in the groove). Many generic rings are “close enough” at first glance and leak after a few cycles because they do not compress the way your original ring does.
A ring can also “look right” and still be wrong. Visual contact all the way around doesn’t prove correct sealing if the cross-section is flatter or thicker than the original. That changes how the ring behaves under clamp force. Another mismatch is ring diameter that is correct, but the track shape differs (especially on older lids), letting the ring rotate or creep during heating.
Before you buy, use this checklist:
- Compare your current ring to the replacement listing picture (same outer diameter and same cross-section shape).
- Confirm the replacement explicitly states it is compatible with your exact pressure cooker model.
- If the listing only says “fits 6-quart” or “fits electric,” skip it and find one that states your lid model.
Here is the “fit sanity” table I use before ordering a non-OEM replacement.
| Replacement option | Key spec to verify | Best for | Common failure mode |
|---|---|---|---|
| OEM seal ring | Exact brand and model part number | Guaranteed sealing | None if original groove matches |
| Verified-compatible ring | Listed for your exact lid model | Cost savings | Slight geometry mismatch causes slow leaks |
| Generic ring | Outer diameter only | Emergency backup | Cross-section wrong, ring twists in track |
| Ring from a different cooker type | Track shape compatibility | Rare cases | Lid won’t lock cleanly, steam vents |
The verdict: get the correct model-specific ring when you can, and treat generic “looks the same” rings as a gamble, because gasket performance depends on compression shape.
Seal Ring Materials That Resist Heat and Oil
Seal ring material matters because pressure cooker lids cycle through high heat, steam, and repeated exposure to cooking residue. Silicone is the most common real-world choice because it stays flexible over many heating cycles and tolerates typical cooking temperatures. PTFE-style coatings exist on some products, but daily performance comes down to whether the ring resists hardening and maintains a good seal after it gets oily or starchy.
Oils and food films can reduce sealing performance by interfering with clean contact. A ring can feel like it seals at first and then slowly lose contact after residue builds. If your ring has a slippery coating from cooking fat, it may swell slightly, and cheap rubber can trap residue in tiny pores, making the sealing surface less uniform. That’s why wiping isn’t enough – wash the ring periodically, not just the lid.
A practical way to choose:
- Look for a replacement that states it is for pressure cookers (not a random “gasket” listing).
- Prefer materials described as silicone or clearly food-grade and heat-rated for pressure cooking.
- Avoid rings that feel tacky, brittle, or unusually soft compared to your original. Those sensations usually mean the compound won’t behave consistently when compressed.
If you cook mostly bean dishes, stews, or fatty meats, you’re more likely to notice slow leaks over time because residue changes the ring’s surface contact. In that situation, the upgrade isn’t “a thicker ring.” The upgrade is a ring that seals cleanly and stays flexible. A fresh silicone ring usually gives more predictable sealing than an older ring that still looks intact but is aging.
My rule of thumb for maintenance with any material:
- Wash the ring with warm water and mild dish soap after greasy meals.
- Avoid harsh scrubbing that creates tiny surface nicks.
- Dry the ring fully before reinstalling to prevent trapped moisture from weakening the seal over time.
How To Inspect Your Seal Ring for Cracks
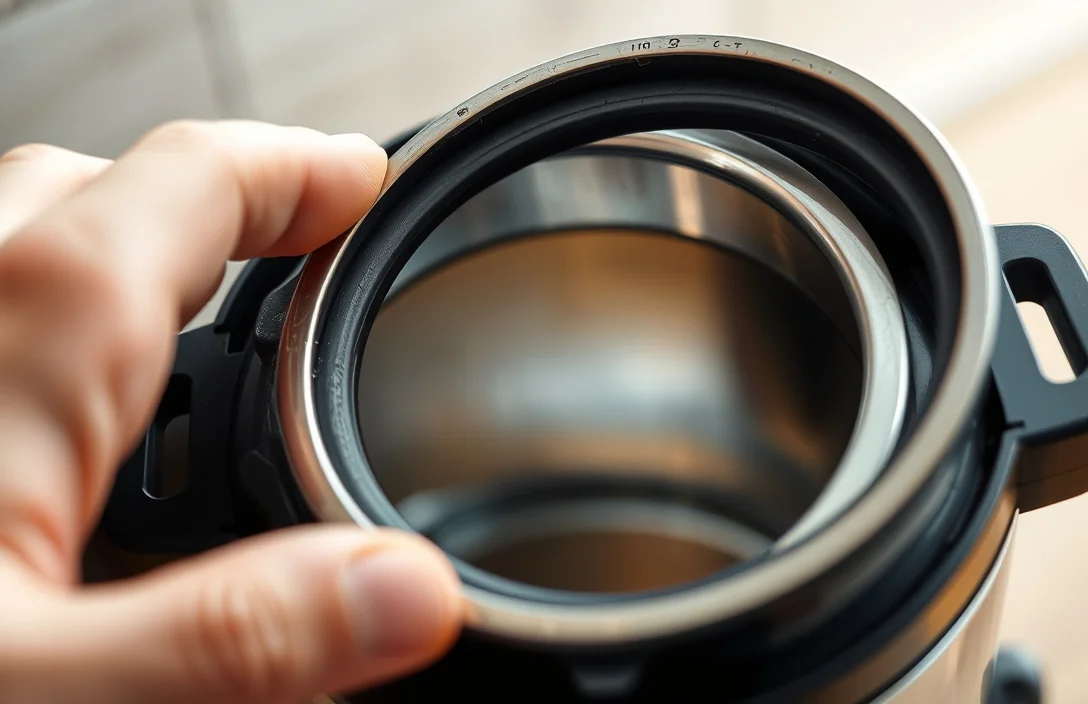
Inspecting your seal ring is the fastest way to prevent the most common failure: a ring that looks usable until it heats up and opens micro-cracks. Remove the ring (or inspect it while still in the lid if your model requires it) and check the entire sealing surface. Pay extra attention to the section that matches where steam pressure concentrates, usually the front half and the sides that get the most lid contact.
Use a bright light and flex the ring gently. Check for cracks (especially thin hairline splits), pinholes, flattening where the ring should have a rounded profile, and signs it has stretched out of shape. Also look for hard spots. Some rings don’t crack right away – they harden and lose elasticity, and that causes leaks even when the ring still looks whole.
Then check for mechanical damage patterns. A repeating scuff line or a flat spot along a certain arc can mean the ring got pinched during closure or twisted in the track. A twisted ring creates a gap. The cooker may build some pressure at first, but it will keep venting, which turns pressure cooking into a frustrating cycle.
Here’s a quick inspection workflow that takes under two minutes:
- Remove the ring and wipe it dry.
- Shine a flashlight across the surface at an angle and scan for thin splits.
- Flex gently, then feel for rough or hardened sections.
- Compare the ring’s thickness and profile to where it seals in your lid.
- Look for deformation, like uneven widening or a “wavy” ring shape.
Replace the ring if you find any crack you can catch with a fingernail, any pinhole, or any flattened section where the ring no longer compresses smoothly. “It still works sometimes” is not a safe plan with pressure cooking because leaks can worsen as the ring heats and relaxes.
Pressure Cooker Gasket Placement and Seating
Seat the seal ring fully and evenly in the gasket track. When placement is right, steam stays where it belongs and pressure builds more consistently. Placement isn’t just about putting the ring on the lid – it’s about making sure it sits in the correct groove without twists or bulges.
Clean the gasket track first. Food residue or old grease can hold the ring slightly off the groove and create a leak line. Wipe the track, then reinstall the ring so it sits centered. Most rings should go in with the smooth sealing surface facing the correct direction if the ring is directional. If your ring is symmetric, lay it flat without kinks.
Do a lock test. Close the lid without cooking and confirm it locks smoothly and evenly. If the lid locks with resistance or doesn’t sit flat, the ring may be mispositioned or the wrong size. After you lock the lid, inspect the edges for a visible twist. Some twists only show after the ring heats, so don’t assume “no problem” from a quick glance.
In practice, the best seating method is this:
- Put the ring into the track all the way around.
- Press it into place gently, especially near the ends where it meets.
- Make sure the ring is not hanging out of the track in any spot.
- Confirm there are no “pinched” sections that look squeezed or folded.
One practical warning: don’t stretch the ring to “make it fit.” That’s a tempting quick fix for an old ring, but stretching puts the material under stress and increases the odds of early failure. If the ring needs force to seat, it’s likely the wrong size or not compatible with your lid track.

Helpful pick
2Pack 09985 for presto Pressure Canner Sealing Ring Gasket 01745 01751 01755 01781 01782 01784 presto Pressure Cooker 16 18 23 Quart Including 2 Overpressure Plug 23 quart Pressure Canner Parts
This gasket replacement ensures proper seating in the gasket track, helping steam stay inside and build steady pressure.
How to Choose the Right Replacement Seal Ring
Choose a replacement seal ring by matching your pressure cooker’s lid model first, then selecting material that matches your cooking habits. If you cook with a lot of oil, pick a ring that stays flexible and resists hardening because residue and repeated heat cycles degrade seals. If you rarely cook oily foods, material still matters, but wear from age and repeated compression usually causes the bigger problems.
Helpful pick
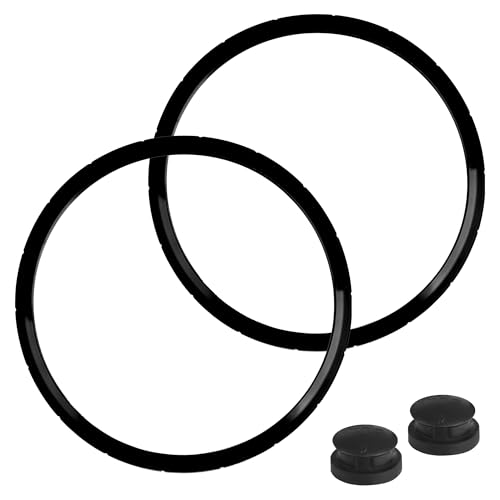
09936 Pressure Cooker Sealing Ring, Overpressure Plugs Fit for Presto Pressure Cooker, (2 Packs) Model 4 Quart 6 Quart, Replace 0126002 0136102 0136403 0136304 0136001 0216001
Fits multiple Presto lids, helping you replace the ring to match your cooker model.
What to look for when buying:
- Exact compatibility with your brand and model number.
- A seal ring that matches the ring profile (thickness and shape), not just diameter.
- Food-grade material intended for pressure cooker lids.
- Clear instructions for replacement and cleaning.
If you’re stuck between “looks similar” options, choose the ring that matches the original cross-section. That’s the part that compresses to form the seal. Outer diameter alone often leads to leaks even when the ring touches all the way around.
Decision checklist:
- If you can find OEM: buy OEM.
- If OEM is unavailable: buy a replacement that explicitly lists your model number or lid type, not a generic size.
- If you can only find a generic ring: treat it as temporary. Test carefully and replace at the first sign of a leak.
For most households, the best value is a correct-fit ring you replace on time. Worn rings create wasted cooking time, messy venting, and repeat troubleshooting that costs more than the seal itself.
Helpful pick
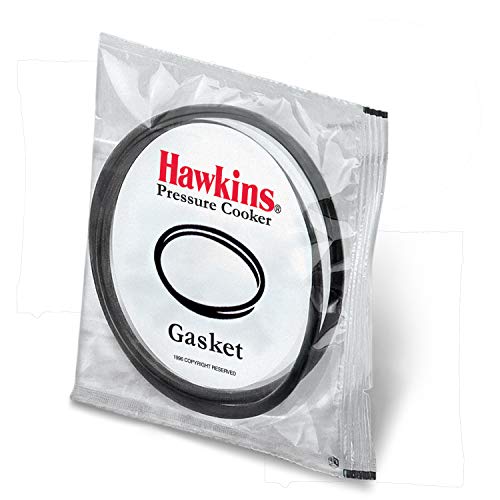
Hawkins Gasket For 3.5 Liter To 8 Litre Except Wide Hawkins Pressure Cookers | 3 Liter To 7 Litre Hawkins Stainless Steel Pressure Cookers |Contura Pressure Cookers (Std Gasket SG)
Offers exact compatibility with your brand and model, ensuring proper fit and reliable pressure sealing.
What Happens If the Seal Ring Fails
A failed seal ring is a clear problem. When the ring cracks, flattens, or hardens, steam finds a path to escape from the lid area. The pressure cooker may struggle to build pressure, cycle with frequent venting, or hiss around the lid during pressurization.
You’ll typically notice:
- Steam leaking at the lid instead of staying contained.
- Longer time to reach pressure or never reaching pressure at all.
- Food overcooking or undercooking because the cooker can’t hold stable conditions.
- Residue buildup that gets worse over time, since escaping steam carries moisture and food particles.
There’s also a practical safety concern. Pressure cookers include safety mechanisms, but those systems control pressure – they don’t correct a constant seal leak. If you see steam actively venting at the lid edge, stop and replace the seal ring before trying again. Cooking through a leak turns a gasket issue into a bigger one.
If the ring fails mid-cook, the lid can also feel different. Some people notice it feels looser after failure, or the cooker “works” for a few minutes and then vents harder as the ring heats and relaxes. That pattern fits with a loss of elasticity, where the ring can’t maintain compression.
Bottom line: when the seal ring fails, the cooker can’t hold pressure reliably. Replace the ring rather than trying to make it last.
Troubleshooting Leaks and Pressure Build Issues
Leaks and weak pressure usually come down to four causes: wrong ring size, damaged ring, incorrect placement, or a dirty gasket track. Before you replace anything, confirm the ring is seated correctly and the lid track is clean. People often clean the food, then forget to clean the actual groove where the ring must sit evenly.
If steam leaks from the lid area, start with placement:
- Remove the ring.
- Clean the gasket track and the underside of the lid.
- Reinstall the ring without stretching, ensuring it lies flat.
- Check for twists and bulges.
If steam leaks continue after correct seating, inspect the ring closely. Cracks, flattening, and hard spots are the most likely culprits. Even a ring that looks “mostly okay” can leak once it heats and compresses repeatedly.
If the cooker will not build pressure, check obstructed venting components and proper closure. A seal ring problem is common, but a stuck valve or wrong lid lock can also stop pressure build. If the cooker sounds normal but never reaches stable pressure, treat it as a system check – not only a gasket replacement issue.
Use this troubleshooting list:
- Steam at lid seam – reseat ring, then inspect for cracks and hard spots.
- Never reaches pressure – confirm ring compatibility, check that lid locks fully, inspect vent/valves.
- Pressure comes up, then vents – ring likely has a leak path, replace it.
- Inconsistent results – ring may be twisting in the track, confirm correct cross-section and seating.
One common mistake: replacing the ring but reusing an old, stretched ring seating pattern, like leaving residue in the track. Even the best ring won’t seal in a dirty groove or if it sits slightly out of alignment.
Don’t ignore ring age, either. Rubber and silicone compounds wear down with time, even if you don’t use the cooker daily. If the cooker is years old and the ring has never been replaced, the ring is often the root cause.
FAQ
What size pressure cooker seal ring do I need?
You need the ring size that matches your pressure cooker’s lid gasket track, which usually means your exact brand and model number. Outer diameter alone isn’t enough because the ring’s cross-section and groove shape determine compression. If you have the old ring, compare its profile and shape to the replacement listing, or use your cooker model for compatibility.
How often should I replace a pressure cooker seal ring?
Replace it when you see cracks, pinholes, flattening, hard spots, or persistent lid steam leaks. If your ring looks fine but the cooker takes much longer to reach pressure or vents during cooking, treat that as a wear sign. For frequent use, inspect regularly and replace before full failure.
Are silicone seal rings safe for oily foods?
Silicone seal rings are commonly used for pressure cookers and handle heat well, but oily residue can still interfere with sealing contact. Wash the ring and gasket track with mild dish soap after greasy meals, then dry fully before reinstalling. If your ring is old and hardened, oily residue makes leaks more likely – replace it.
Why does my pressure cooker leak from the lid even with a new seal?
A new ring can still leak if it isn’t seated perfectly in the gasket track or if the track is dirty. Check for twists, bulges, or pinched sections after installing. Also confirm the replacement is truly compatible with your exact lid model, since a slightly wrong cross-section or shape can vent under compression.
What is a cheaper alternative to replacing the seal ring?
The main alternative is cleaning and reseating the existing ring only if it’s still intact (no cracks, pinholes, or hard spots). Cleaning won’t restore the sealing profile if the ring is damaged or permanently flattened, so performance stays unreliable. For safety and consistent results, replacement is the real fix when leaks persist.

- 10 Best Slow Cooker For Slow Cooking Oxtail 2026 (Tested And Reviewed) - October 16, 2026
- 10 Best Slow Cooker For Slow Cooking Venison 2026 (Tested And Reviewed) - October 16, 2026
- 10 Best Slow Cooker For Slow Cooking Turkey 2026 (Tested And Reviewed) - October 16, 2026