How To Plant In Ceramic Pots Without Drainage Holes?
Ceramic pots without drainage holes can look gorgeous, but they also create an easy route to root rot if you water like you would in a normal pot. The real solution is simple: control where water goes at the bottom and water so the root zone never stays soggy. This guide walks through how to plant in ceramic pots without drainage holes, including prerequisites, steps, examples, troubleshooting, and what to do next.
Planting in ceramic pots without drainage holes works when you add a drainage reservoir system, use a fast-draining potting mix, and water with restraint. With no holes, excess water has nowhere to go, so you need an internal “dry zone” plus a way to empty any collected water. A reliable setup uses a plastic nursery pot or liner (with holes) inside the ceramic, plus a bottom reservoir you keep mostly empty.
Key Takeaways
- Use a liner system. Plant in a plastic nursery pot (with drainage holes) set inside the ceramic to keep roots separate from standing water.
- Choose the right mix. Use a potting mix that drains fast; skip garden soil that stays wet.
- Limit watering volume. Water until you see drainage from the inner pot, then remove and discard any runoff within minutes.
- Create a dry root zone. Keep roots above the reservoir using spacers or a raised inner pot.
- Watch moisture, not vibes. Check the mix 1-2 inches down before watering again.
- Plan for repotting. Ceramic-without-drainage setups need more frequent monitoring and, eventually, a move to a properly drained pot.
How to begin
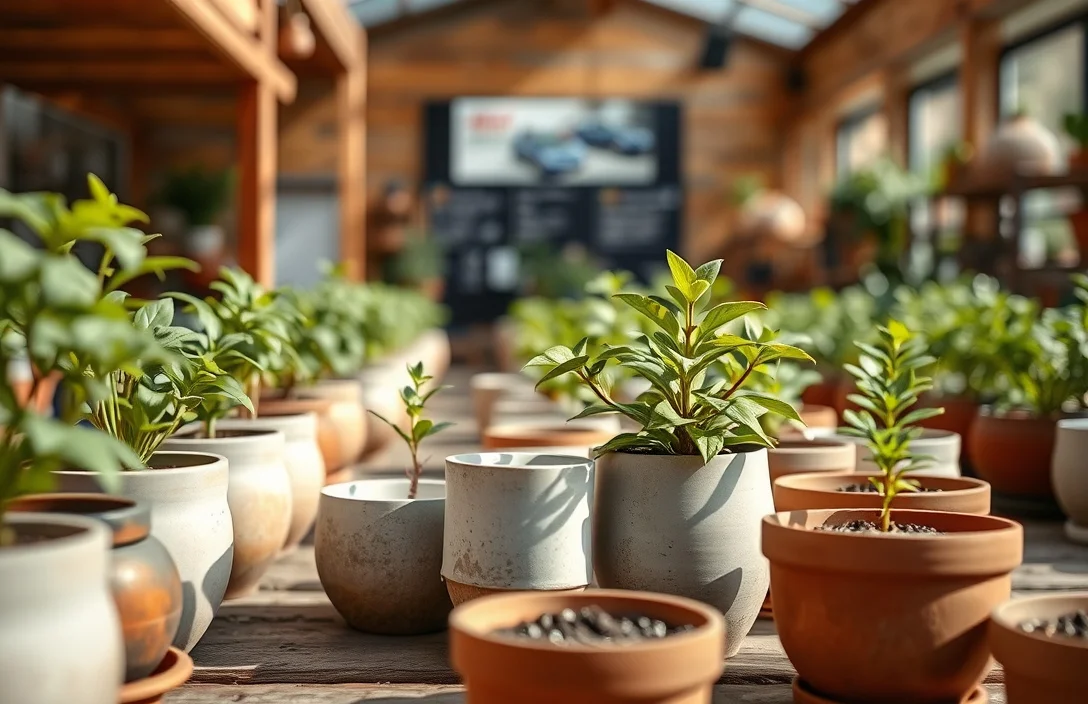
Pick your plant based on how you water. If the setup has no drainage holes, “even moisture” is difficult to pull off, because water lingers in the pot or liner until it evaporates.
Gather the parts that make the system behave: a plastic nursery pot (with drainage holes) that fits, a saucer or tray, a well-draining potting mix, and a way to keep the inner pot raised (small ceramic tile pieces, pot spacers, or folded mesh). If you already have a ceramic pot and no liner, don’t force it. Without a real escape route for water, you’re choosing stress for your plant every watering.
For example, if you’re moving a pothos, philodendron, or spider plant into a decorative ceramic cachepot (no holes), keep the plant in its current nursery pot and treat the ceramic as the outer shell. That change alone removes most of the risk.
Basics of how to plant in ceramic pots
In a pot with no drainage holes, water either (1) stays where you poured it, (2) soaks into the mix and holds too long, or (3) collects in an internal reservoir you can empty. When roots sit in consistently wet mix, they lose oxygen, and rot starts quietly and then accelerates.
Layering matters, but only if the layers control water movement. A ceramic pot without holes is just a container. To protect roots, the container needs an internal structure that gives excess water somewhere to go. The most dependable approach is an inner pot that drains plus an outer pot that catches runoff.
Skip the common illusion: rocks, gravel, or “false bottoms” don’t reliably prevent waterlogging in a no-drain ceramic pot. Heavy layering still traps water in the lower zone, leaving roots too wet. A liner system with an inner pot is the practical fix because it manages where the water actually ends up.
how to plant in ceramic pots
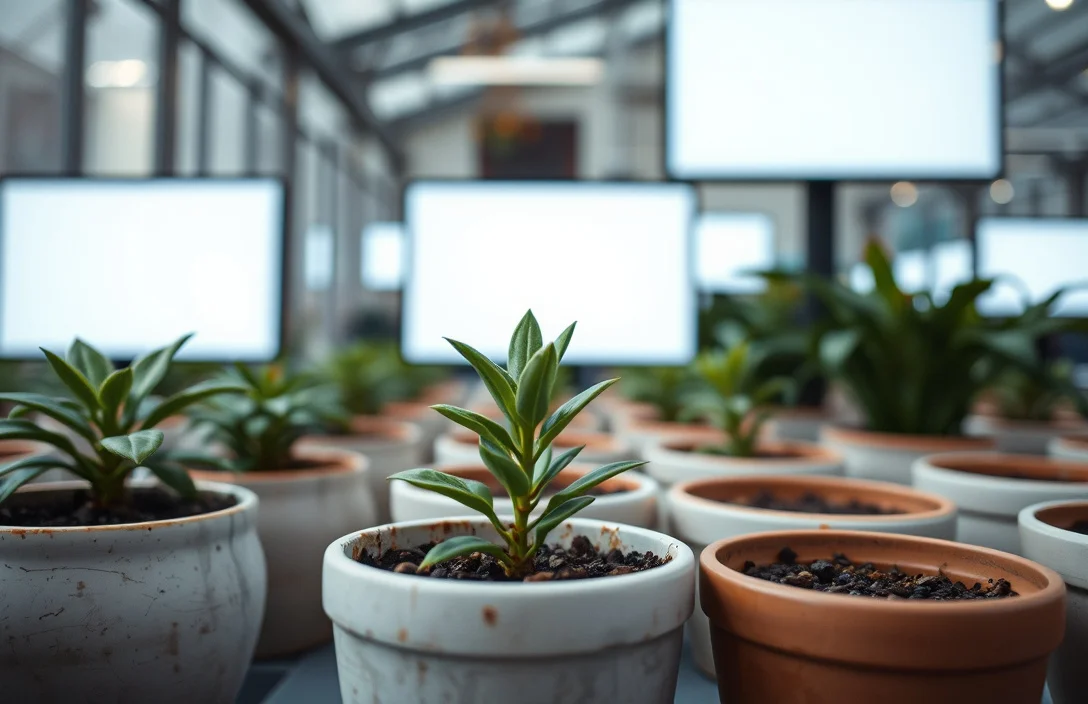
Use this method when you want the decorative look of ceramic without-drainage and the safety of drainage at the roots.
- Pick an inner pot that fits. Use a plastic nursery pot with drainage holes that sits inside the ceramic pot with a small air gap around it.
- Raise the inner pot. Set the nursery pot on spacers or a few tile pieces so the bottom never sits directly in pooled water.
- Fill the inner pot with mix. Add fresh, well-draining potting mix to the inner pot. Avoid garden soil.
- Plant at the right depth. Place the plant in the inner pot at the same depth it was growing. Keep the root ball steady, then firm the mix gently.
- Water thoroughly once. Water until you see water drain out of the inner pot’s bottom. Let it drain for a few minutes.
- Empty the ceramic runoff. Remove any collected water from the ceramic pot’s base. If the inner pot drained fully, there’s no reason to leave standing water in the ceramic.
If you’re working with a plant you already own, reuse the existing nursery pot where possible. For example, if your monstera is already in a plastic pot with holes, slide that pot into the ceramic cachepot and follow the empty-runoff rule after every watering.
Quick scenario: herbs on a patio
Herbs like basil, thyme, and oregano dry faster than many indoor plants, but they still hate soggy soil. Use the same inner-pot method and water more often, not heavier. Small, frequent watering that still lets the inner pot drain beats big soaks that keep the root zone wet.
Things that matter most
The best technique keeps roots out of standing water, even when your schedule slips. That means building around three practical ideas: drainage at the root level, airflow around the root zone, and controlled irrigation.
Technique 1: Cachepot method (best default). Use a plastic pot with holes as the root container, then place it inside the ceramic. The ceramic catches runoff. This keeps drainage real and visible instead of relying on guesswork.
Technique 2: Self-watering reservoirs (only if you can control it). Some planters can be paired with a wicking system, but only if you understand exactly how the reservoir feeds the mix and you can prevent an always-wet environment. If you can’t confirm control or you can’t empty excess water, skip this approach in no-drain ceramic.
Technique 3: Partial “wick up, then dry down.” A thin surface-wetting idea can help with looks and top growth, but it still needs a protected, non-saturated root zone. The safer version remains the inner pot with holes because you can observe drainage and correct quickly.
Match the setup to your plant. Succulents and cacti want dryness and airflow, so they need less frequent watering and a mix that drains extremely fast. Tropical foliage plants want more consistent moisture, so you must water more carefully since you lose the “extra safety” of direct ceramic drainage.
What works in practice
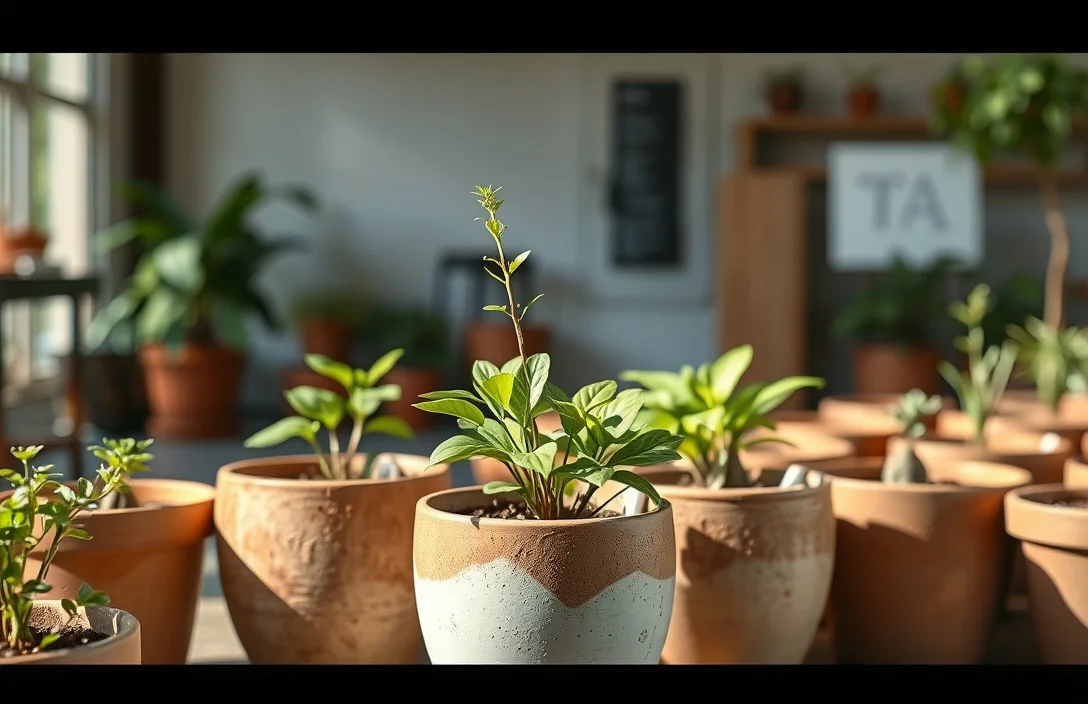
Most best practices come down to watering rhythm and routine checks. The biggest mistake is assuming “no holes means it holds water longer, so I’ll water less.” That logic ignores how quickly soggy mix can damage roots.
Follow these practices to keep the setup healthier:
- Test moisture before watering. Check the mix in the inner pot 1-2 inches down. Use a moisture meter if you have one.
- Water thoroughly, then drain completely. A splash can leave uneven wet pockets. Water until it drains from the inner pot, then empty.
- Use the right mix every time. Choose a potting mix that drains fast (often labeled for indoor plants, aroids, or “general potting” with aeration). Skip heavy mixes that stay wet.
- Give it airflow. Put the plant somewhere air can move around the foliage, and keep it from sitting against cold, wet surfaces.
- Watch for early warning signs. Yellowing leaves plus soft stems often mean the root zone stays wet too long.
Use this comparison when deciding how to set up the ceramic:
| Approach | Where water goes | Best for | Main risk |
|---|---|---|---|
| Plastic inner pot + ceramic cachepot | Drains from inner pot, runoff stays in ceramic shell | Most houseplants and patio plants | Forgetting to empty runoff |
| Direct planting into ceramic (no holes) | Water stays in ceramic and only leaves via evaporation/soak-up | Very rare cases with strict watering | High root rot risk |
| Rocks/gravel at bottom only | Water still gets trapped in the lower mix zone | None (avoid) | False sense of safety |
My pick: use the plastic inner pot method unless you already know exactly how your plants dry and you check frequently. Direct planting into decorative ceramic without drainage is where most problems start.
Mistakes to Avoid with how to plant in ceramic pots
Trapped water is the failure mode, and it usually traces back to predictable choices.
Mistake 1: Planting directly into the ceramic pot. With no drainage holes and no liner, water can stay in the lower mix for days even when the top feels dry.
Mistake 2: Assuming gravel fixes everything. Gravel layers reduce soil volume but don’t create true drainage. The root zone can still stay oxygen-poor.
Mistake 3: Watering on a strict schedule. Light and temperature change how fast mix dries. Check the mix before you water, especially indoors where winter slows drying.
Mistake 4: Leaving runoff in the ceramic. Pooled water in the ceramic shell can re-wet the mix and keep humidity around the roots too high.
Mistake 5: Delaying root checks during repot cycles. If growth slows, wilting happens, or leaves drop, inspect roots sooner. In a no-drain setup, waiting can turn a manageable issue into irreparable rot.
If a plant looks fine for 1-2 weeks after moving into a decorative pot, that timing can fool you. The root zone often takes time to settle into a consistently-wet habit as the ceramic dries slowly.
Pro Tips for how to plant in ceramic pots
A few habits make no-drain ceramic setups far more forgiving.
Use a spacer and “drain window.” After watering, let the inner pot sit for 3-5 minutes so drainage can finish. Then empty the ceramic runoff. That pause reduces the chance you trap water at the bottom.
Increase mix aeration. If the mix dries too slowly, it may be too dense. Switch to an airy indoor mix. Add aeration like perlite when appropriate for the plant. Roots need oxygen, not just “less water.”
Consider surface help, not full saturation. If you want the surface to hold a steadier look, keep only the top layer from drying out too fast. A thin top layer of fine bark can help with surface drying, but thick layers that choke airflow increase risk.
Label your routine. Track how often you water for 2-3 weeks, then adjust based on how fast the inner pot dries. In the US, heating seasons can change drying speed quickly, so your “usual” schedule can become wrong overnight.
Finally, keep a correction plan. If you see mushy stems, persistent yellowing, or a sour smell, act fast: remove the plant, check roots, trim rot, repot into a properly draining setup, then return it to the ceramic as a cachepot.
FAQ
Can I plant directly into a ceramic pot with no drainage holes?
You can, but it’s high-risk. Without holes, excess water can stay in the lower mix for days and deprive roots of oxygen. The safer approach is planting in a plastic nursery pot with drainage holes and placing that pot inside the ceramic, then emptying runoff promptly.
What soil or potting mix works best for ceramic pots without drainage?
Use a potting mix that drains quickly and stays airy. Avoid heavy garden soil because it holds water and compacts fast in containers with no holes. If the mix stays wet too long, increase aeration (like perlite) when appropriate for the plant type.
How often should I water a plant in a no-drain ceramic pot?
Water based on mix moisture, not the calendar. Check 1-2 inches down in the inner pot. Water only when it’s partly dry, then water until the inner pot drains and empty the ceramic shell after a few minutes.
Is it safe to add rocks or gravel at the bottom of the ceramic pot?
Rocks or gravel at the bottom usually don’t prevent waterlogging. In a pot with no drainage, water can still saturate the root zone. If you want a bottom layer, pair it with a drainage strategy like an inner nursery pot that actually drains, then empty runoff.
What’s the most common mistake when using ceramic pots without drainage holes?
Leaving water pooled in the bottom of the ceramic after watering. Even with a drained inner pot, pooled runoff can re-wet the mix and keep roots too wet. The fix is to wait a few minutes after watering and then dump any collected water.

- 10 Best Slow Cooker For Hearty Stews 2026 (Tested And Reviewed) - October 20, 2026
- 10 Best Slow Cooker For Hearty Soups 2026 (Tested And Reviewed) - October 20, 2026
- 10 Best Slow Cooker For Comfort Food 2026 (Tested And Reviewed) - October 20, 2026