How To Plant In Pots Without Drainage Holes?
Potted plants normally need a drainage hole to let excess water escape. Without one, water can pool at the bottom, roots lose oxygen, and the mix stays soggy long enough for disease to take hold. If you want a decorative pot with no holes, you can use it, but you need a water-management system – and you have to water differently.
Pots without drainage holes can work if you use a nursery pot or removable inner liner, keep the potting mix from sitting in standing water, and water only after the mix dries 1-2 inches down. For most home setups, the inner pot method is the lowest-risk option.
Key Takeaways
- Use an inner liner. Put the plant in a nursery pot inside the decorative pot so pooled water never touches the roots.
- Add a water gap. Keep at least 1-2 inches between the mix and any water that collects at the bottom.
- Choose lighter mix. Use a high-drain potting mix since the mix can’t “self-flush” without holes.
- Water by the soil. Check 1-2 inches down, and water only when that depth feels dry.
- Watch leaves closely. Yellowing plus droop usually means the mix is staying too wet, not that the plant needs more water.
- Prevent root rot. If the inner pot drains slowly, switch liners or refresh the mix before problems spread.
how to plant in pots without drainage holes
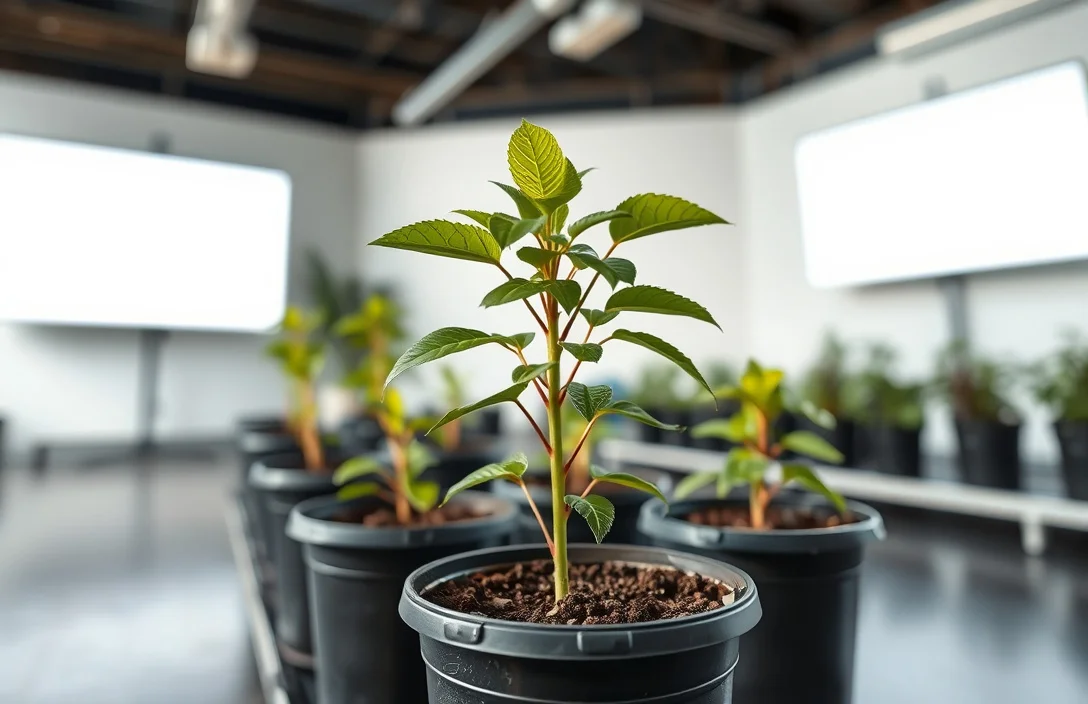
You can plant in pots without drainage holes, but you must plan for water removal because gravity has nowhere to take excess water. The most common failure is root rot from constant wetness, usually caused by watering too soon or leaving runoff behind.
Start with a style decision: if the pot needs to look good with no holes, use a two-container setup. The decorative outer pot stays “pretty,” while the plant sits in an inner container that can drain.
Before you start, gather the basics. Use potting mix (not garden soil), a way to separate the inner and outer containers, and a simple moisture check (your finger). If your plants are sensitive – like ferns, many orchids, or seedlings – be stricter about drying cycles.
what changes when there are no holes
Without a drainage hole, watering turns from “simple” into “measured.” With a hole, excess water flushes out and the root zone gets oxygen again. Without one, excess water lingers and the mix stays oxygen-poor until it dries out.
That’s why “rocks in the bottom” doesn’t fix the problem. Gravel doesn’t remove water from the soil above it. After watering, the water level rises into the potting mix and keeps the root zone saturated.
To make a no-drainage pot workable, use one of these approaches:
- Inner draining pot (best for most people)
- Self-watering design with a controlled reservoir (more involved)
- Strict watering schedule with monitoring (higher risk)
If you do just one thing right, keep the potting mix out of standing water. That rule prevents most root problems.
how to plant in pots without drainage holes
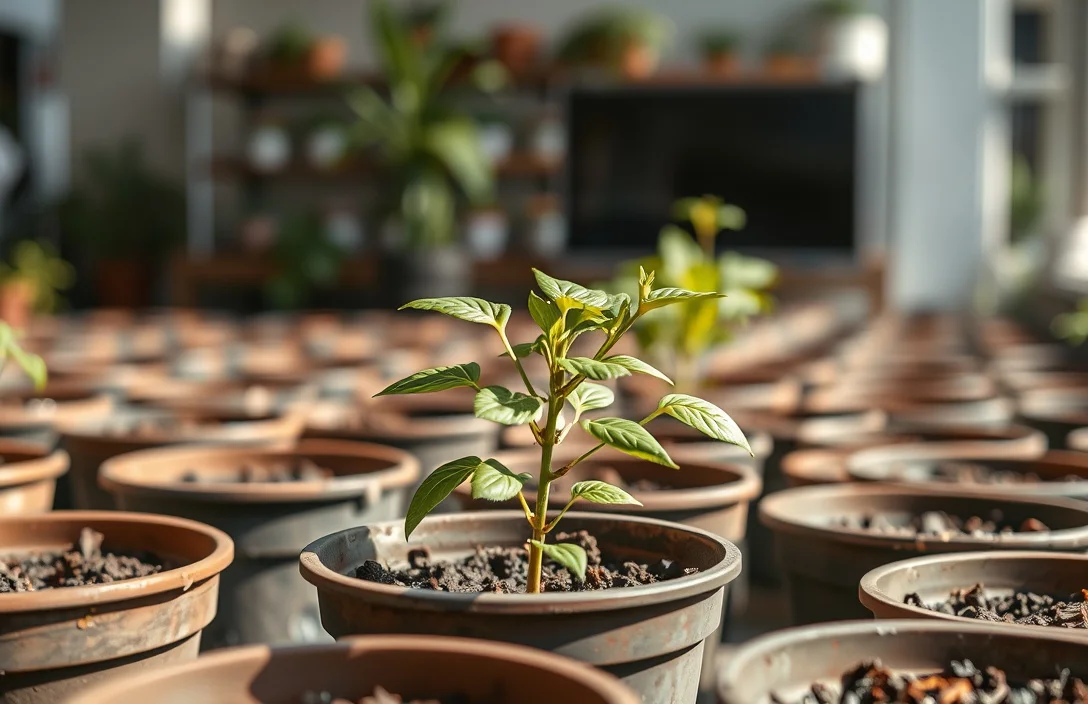
Use these steps for the safest setup, especially if this is your first time using a no-drainage planter.
- Choose a plant that matches the light. A sun-loving plant in low light drinks slower, which reduces the chance of staying too wet.
- Buy or reuse a nursery pot that drains. Use plastic or breathable material as long as it has drainage holes.
- Pick a decorative outer pot that’s larger. Leave room so the inner pot isn’t pressed against the bottom of the outer pot.
- Use the right mix. Fill the nursery pot with potting mix that drains – avoid native dirt.
- Test fit and clearance. Place the nursery pot inside the outer pot before planting and confirm there’s space at the bottom for water to collect away from the mix.
- Create a water gap. Keep at least 1-2 inches between the mix and the bottom water-collection area in the outer pot so the mix can’t sit in pooled water.
- Plant at the correct height. Set the root ball so the top sits at the plant’s proper level, not lower just to “fill space.”
- Water with a controlled first soak. Water thoroughly in the nursery pot until excess drains into the inner space of the outer pot.
- Empty the outer pot after draining. Wait a few minutes for the inner pot to finish draining, then pour out any water collected in the decorative outer pot.
- Water on dryness, not a calendar. Check 1-2 inches down in the nursery pot. Water only when that depth feels dry.
Example: Using a no-drainage ceramic planter
A ceramic planter looks great on a porch, but it has no holes. Place a small plastic nursery pot inside it, fill the nursery pot with potting mix, and follow the “thorough soak, then empty the outer pot” routine. After the first week, use the finger test instead of a fixed schedule.
Example: Hanging planter with no holes
Hanging baskets without drainage can be even trickier because they dry inconsistently. Use an inner draining pot or a removable liner, and make sure you can reach it to drain and empty runoff. If you can’t empty the runoff easily, switch to an inner-pot setup or choose a different container.
how to keep roots healthy without drainage holes
Separation is the main technique. Roots go in a container that can drain, while the decorative pot only holds that inner container. In practice, that can mean a nursery pot, a fabric grow bag with a liner, or a removable plastic sleeve.
Moisture-checking is the second non-negotiable. Without checking, it’s easy to overwater because the top layer of soil can dry faster or slower than the root zone.
Airflow and evaporation around the inner container also matter. Clay pots and breathable liners help, but since the outer pot has no holes, you still improve drying by using a lighter potting mix and avoiding permanently cool, dark corners.
Four techniques that consistently work:
- Inner pot + outer shell. Plant in a draining nursery pot, then set it inside the no-drainage outer pot.
- Moisture depth check. Stick a finger 1-2 inches down before watering, especially during the first month.
- Watering in two passes. Pour, wait 1-2 minutes, pour again, then drain and empty the outer pot.
- Bottom contact prevention. Use spacers so the inner pot’s drainage area can’t sit directly in pooled water.
how to plant in pots without drainage holes
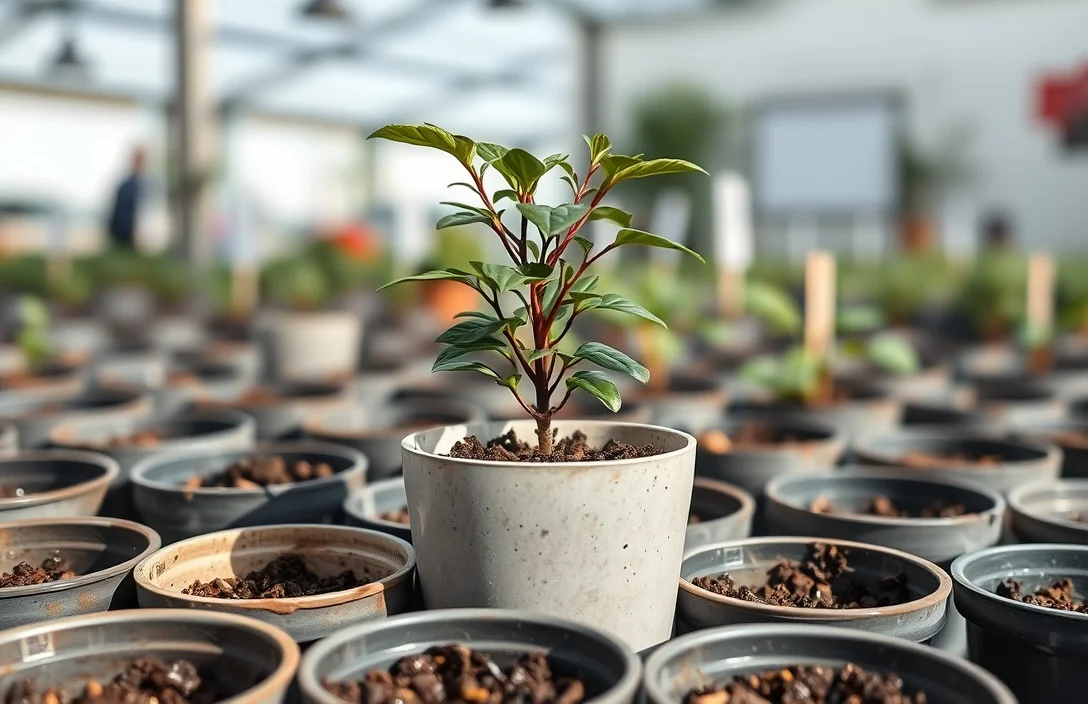
Treat the no-drainage pot as a styling container, not a root container. That mindset keeps the root zone aerated while you prevent runoff from building up underneath.
Choose a potting mix with structure. If the mix is dense, it holds water longer even if you empty the outer pot. A quality potting mix gives you air pockets and better drainage behavior.
Match watering to conditions. Heat, sun, and wind dry faster. Cloudy weather slows everything down. In the United States, seasons swing hard, so watering needs to adjust – not follow the same weekly routine all year.
A practical best-practice checklist:
- Use inner drainage for nearly all non-hole planters.
- Empty runoff every time you water.
- Avoid deep, infrequent waterings that overwhelm the mix and take days to recover.
- Reduce plant size pressure. Roots crowded into a small volume dry inconsistently.
- Repot if you see chronic sogginess. If the mix stays wet too long, refresh it or move up to a system with a draining liner.
Comparison: container strategies (quick decision table)
| Setup in a no-drainage pot | What it solves | Best for | Main trade-off |
|---|---|---|---|
| Nursery pot inside outer pot (with drainage holes) | Prevents roots sitting in pooled water | Most houseplants and patios | You must empty runoff |
| Self-watering pot insert (reservoir + wicking) | Controls water level more predictably | People who forget watering | Needs correct setup and monitoring |
| No inner pot, soil in the outer pot only | Simplifies look | Only for very forgiving plants | Highest root-rot risk, strict watering required |
| Fabric liner + inner drainage container | Improves aeration | Some herbs and small plants | Can dry faster, may need more frequent checks |
My verdict: the inner nursery pot approach is the safest “do this today” option for most people.
how to plant in pots without drainage holes
The biggest mistake is assuming water will stop at the rocks. It won’t, at least not reliably. If the potting mix wicks up or stays saturated, roots still suffocate.
Another common error is adding more water when a plant droops. Droop usually points to roots missing oxygen, not a simple lack of water. If droop happens soon after watering or the soil never dries, stop and reassess your setup.
People also underestimate pot size. A tiny inner pot in a large outer shell can trick you because the surface feels dry while the root zone stays wet. Use a finger check at 1-2 inches so you’re not guessing.
Finally, don’t skip the “empty after draining” step. Even with an inner nursery pot, runoff collects in the outer pot. Leaving it there keeps the bottom too wet and slows drying.
The big offenders:
- Rocks/gravel bottom only. It usually does not protect roots from saturated mix.
- Calendar watering. It causes overwatering when conditions change.
- Ignoring smell and texture. Sour smell or consistently wet feel means the system is failing.
- Not using potting mix. Dense soil holds water longer and accelerates rot.
how to plant in pots without drainage holes
If you want this to feel low-stress, treat the first 2-4 weeks as a learning period. No-drainage setups often need a longer drying time, but it varies with climate and pot materials. Once you track it once, it becomes easier to predict.
Lighten the mix. If you’re using a heavy blend, add perlite or switch to a lighter potting mix so water moves through faster and drains into the inner pot. The goal is a breathable root zone and less time spent saturated.
Standardize how you water. Use the same method each time – a thorough soak in the inner pot – then empty the outer pot. Consistency helps you interpret what the plant does next.
Build a quick inspection habit. After watering, lift the inner pot and compare its weight to later days. You don’t need numbers; you just need a feel for when the mix dries.
Troubleshooting fast
If you see these, don’t just water more:
- Yellow leaves with limp stems: likely too wet. Pause watering, increase light, and let the mix dry deeper before trying again.
- Moldy soil surface: usually constant moisture. Improve airflow, remove the top layer if it stays wet, and shorten watering duration – while still soaking thoroughly when you do.
- Plant looks fine but smells musty: stop watering and check drainage. Musty smell can mean the mix is staying anaerobic.
FAQ
Can I plant in a decorative pot with no drainage holes at all?
Yes, but you must prevent the soil from sitting in standing water. The lowest-risk setup is a draining nursery pot inside the decorative outer pot, with runoff emptied after watering. Planting directly into the no-hole pot forces stricter watering and raises root rot risk.
How often should I water plants in pots without drainage holes?
Water on dryness, not on a schedule. Check 1-2 inches down in the soil and water only when that depth feels dry. In warm, sunny U.S. conditions you may water more often, while cool indoor or shaded locations often need less frequent watering.
Are pots without drainage holes safe for houseplants?
They can be safe when you control moisture and prevent pooled water from contacting roots. The inner draining-pot method is usually the safest choice because it keeps the root zone breathable while you still use your decorative no-hole container. Without that control, root rot risk increases significantly.
What’s the easiest way to do it without holes?
Use an inner container that drains. Put your plant in a nursery pot with drainage holes inside the outer no-drainage pot, water until the inner pot drains, then empty the outer pot. This keeps the decorative pot out of the “root zone” and lets you manage watering correctly.
What’s the most common mistake people make with no-drainage pots?
Leaving the outer pot filled with runoff. Even if the inner pot drains, water can collect in the outer shell and keep the bottom too wet. Empty the outer pot after draining every time, and use a finger check at 1-2 inches before watering again.

- 10 Best Slow Cooker For Hearty Stews 2026 (Tested And Reviewed) - October 20, 2026
- 10 Best Slow Cooker For Hearty Soups 2026 (Tested And Reviewed) - October 20, 2026
- 10 Best Slow Cooker For Comfort Food 2026 (Tested And Reviewed) - October 20, 2026