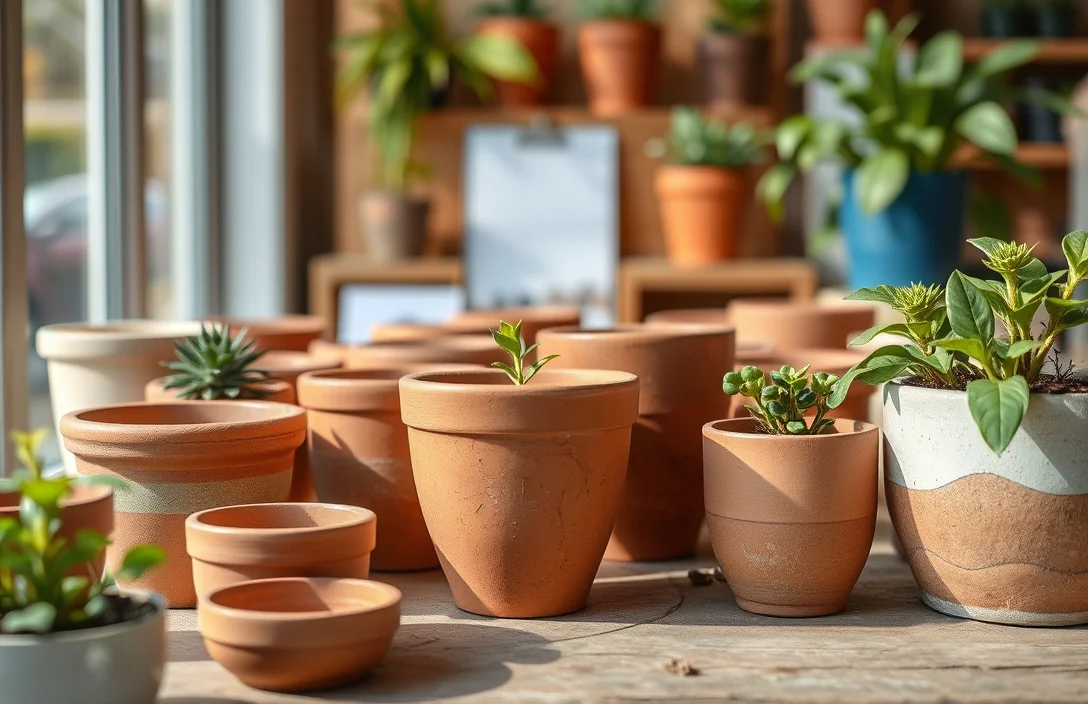
Ceramic Plant Pots To Paint: Prep, Paint, Seal
Ceramic plant pots look great painted, but the difference between “cute DIY” and “chips in a week” is prep. If you prep right, paint grips and holds up through watering, sunlight, and daily handling. This guide covers ceramic plant pots to paint, from choosing the right pot to sealing the finished look for indoor or outdoor use.
Ceramic plant pots to paint require cleaning plus surface prep, then a paint system that matches the pot’s glaze. Use a primer made for slick or glazed surfaces, then acrylic or enamel paint, and seal with a clear outdoor sealer if the pot will face weather or moisture. Let each layer cure fully before you add the next.
Key Takeaways
- Pick the right pot. Matte, unglazed ceramic takes paint more evenly than glossy glaze.
- Clean like you mean it. Wash with dish soap, rinse, and dry completely before sanding.
- Prime for glaze. Use a primer labeled for ceramic, glossy surfaces, or adhesion to non-porous material.
- Thin coats win. Apply 2 to 3 light coats instead of one thick coat to reduce drips and peeling.
- Seal the finish. Use a clear sealer, especially for outdoor pots or pots that get handled a lot.
- Treat ceramic as brittle. Ceramic can chip if you drop or bump a painted pot after finishing.
What to Know About ceramic plant pots to paint
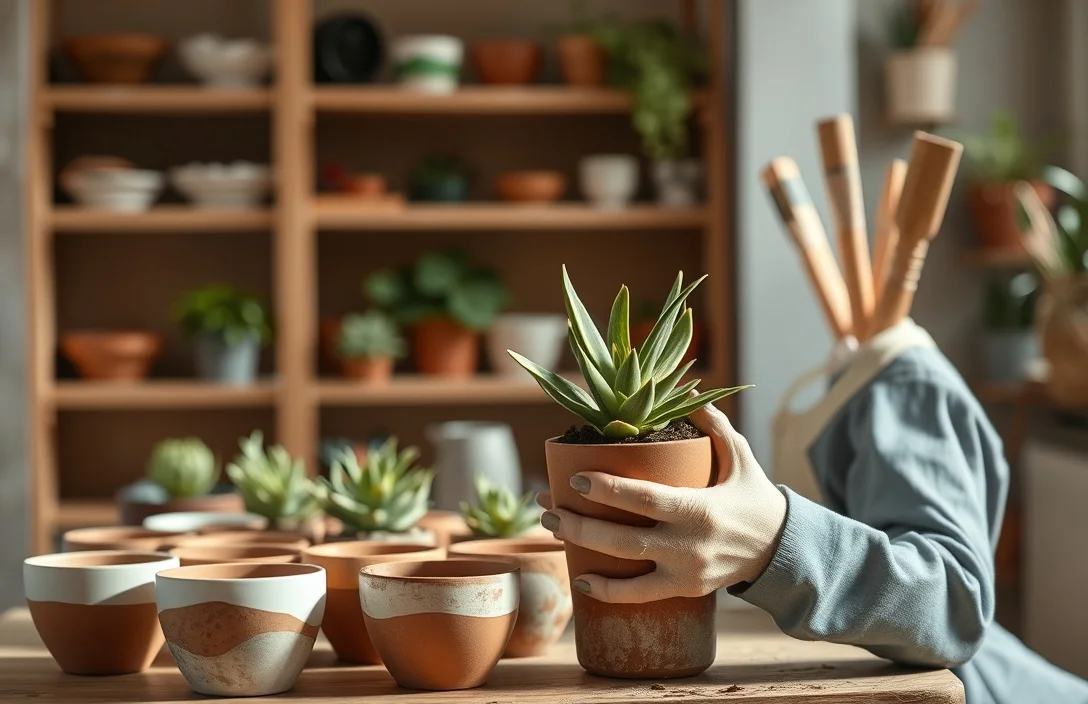
Ceramic plant pots to paint work best when you treat them like a slick, hard substrate, not like bare wood. Many pots are glazed, and glaze is less porous. Paint bonds better when you start with solid cleaning, scuffing (when needed), and a compatible primer.
Curing time is where most “it looked fine at first” failures start. Paint can feel dry on top while staying soft underneath, and that’s when fingerprints, smudges, and early chipping happen. Give each coat the time it needs, then handle gently until the full cure window passes.
Ceramic also chips more easily than metal. If you paint, set, and move the pot frequently, a bumped edge can chip the paint and expose unprotected ceramic. Plan for where the pot will live – a porch with temperature swings, a window, or indoors where it’s bumped less.
Things that matter most
Ceramic plant pots to paint need three connected steps: prep, an adhesion primer, and a compatible topcoat. When one step doesn’t match the surface or conditions, flaking shows up fastest where the pot gets most contact.
Start by looking at the surface. Unpainted, unglazed ceramic usually accepts paint more readily. Many “ceramic” plant pots are actually glazed, and glazed surfaces act more like non-porous tile. Glossy pots generally need light sanding (just scuffing for texture) and a bonding primer.
Choose the paint and seal plan based on use. Indoor-only pots can use simpler acrylic and an indoor-friendly clear coat. Outdoor pots need a sealer that can handle moisture and sun – skip sealer and colors dull faster and wear shows up sooner where water lands.
Apply paint in light coats. Thick layers trap solvent, cure unevenly, and chip more easily when the pot edge flexes slightly or when you knock it.
Tips for ceramic plant pots to paint
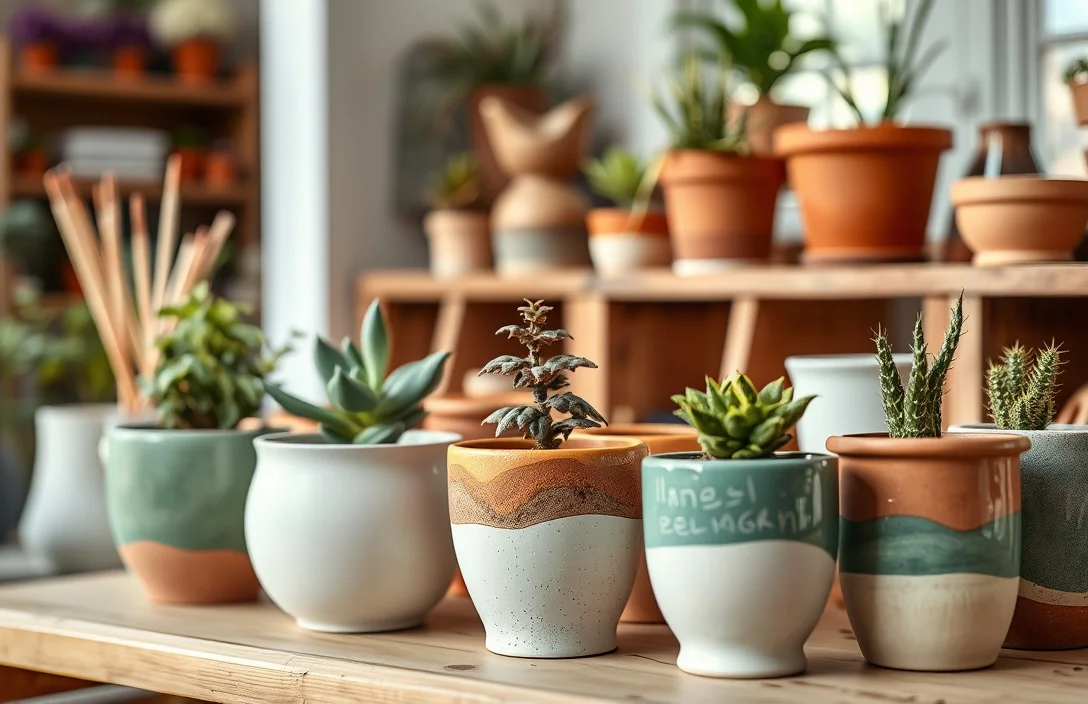
Ceramic plant pots to paint go smoother when the surface is “clean and rough” before paint ever touches it. If the pot is glossy, scuffing matters even if you don’t remove the glaze. Focus on the rim and areas that get touched most.
Use fine sandpaper or a sanding sponge to dull the shine, then wipe off dust with a damp cloth and let the pot dry fully. If dust remains, primer can fish-eye or create weak spots that peel later.
Work in thin layers and keep your brushwork controlled around the rim. A common mistake is loading paint at the top edge. That creates drips and a bumpy lip, and those rough areas chip first. Thin coats let you build color without creating stress points.
For patterns, tape works best only after primer cures. Remove tape at a slight angle while the topcoat is in its recommended workable window. If your paint brand says to wait longer, wait and remove tape with gentle pressure to avoid tearing.
Seal and cure before planting. Wet soil can damage fresh coatings, and moving the pot with soil too soon can scratch the finish.
A practical paint workflow
- Wash first. Use dish soap and warm water, then rinse and fully dry.
- Scuff the glaze. Lightly sand shiny areas, then wipe off dust.
- Prime for adhesion. Use primer made for ceramic or glossy/non-porous surfaces.
- Paint in light coats. Add 2 to 3 thin coats, letting each layer dry per instructions.
- Seal the finish. Use a clear sealer if the pot is outdoors or frequently handled.
- Cure before use. Wait for full cure before adding soil and watering.
Benefits of ceramic plant pots to paint
Ceramic plant pots to paint let you customize color, match your decor, and refresh bland or mismatched pots without replacing them. A painted pot also adds visual variety in a group, which helps when you’re building a consistent shelf or patio display.
Ceramic works well for decorative finishes because it holds shape and resists warping. When primer and topcoat bond properly, the painted surface stays attractive through normal indoor handling and routine watering.
There’s also a beginner-friendly payoff: paint hides small manufacturing imperfections. Tiny specks, slight glaze variation, and uneven color can disappear once you use primer and a smooth topcoat.
The trade-off is durability. Skipping cleaning, rushing cure times, or using the wrong primer for glazed surfaces often turns “pretty” into “peeling,” especially around rims and edges.

Helpful pick
Bright Creations Paintable Ceramic Garden Gnome Planters – 3 x 3 x 4 in, White, Pack of 4, Unfinished – Succulent Pots to Paint with Drainage Holes & Plugs – DIY Pottery Kit
Ideal for painting to customize color and match decor, giving you a DIY pottery kit experience.
Options for ceramic plant pots to paint
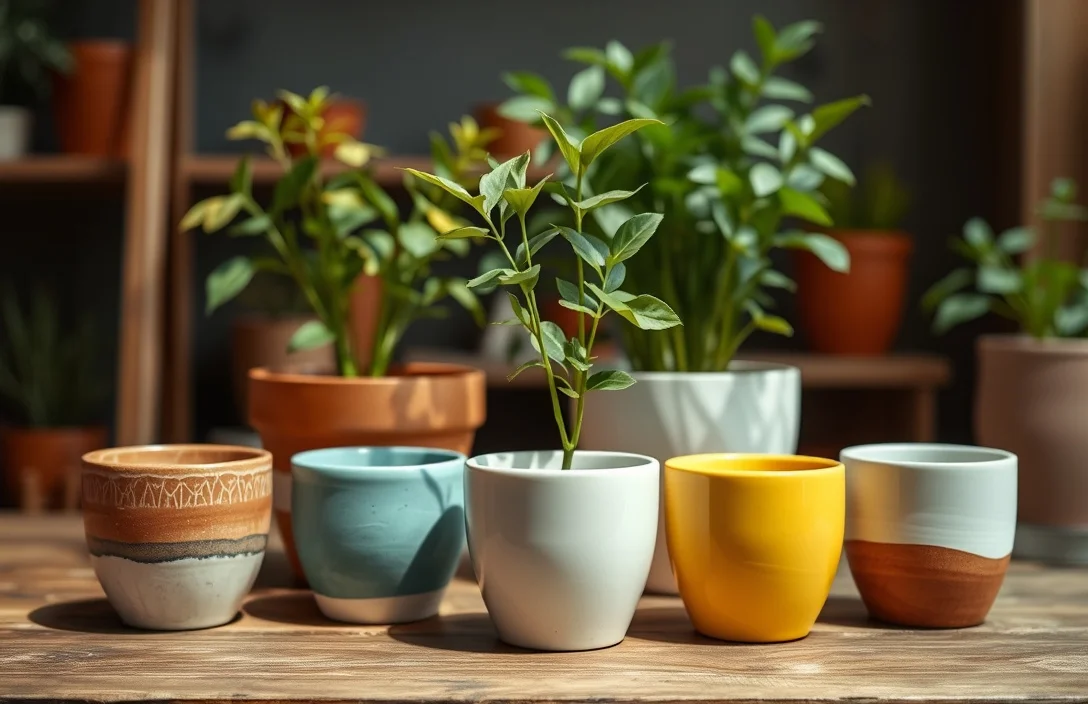
Ceramic plant pots to paint can be done with brushes for full coverage and texture. Spray systems often look cleaner on rounded, glossy shapes. Your choice affects how smooth the finish ends up and how easily you avoid drips in crevices.
Common craft options include acrylic craft paint, enamel-style paints, and specialty ceramic paints. Each works when you keep the system consistent: primer that bonds to ceramic or glaze, paint that’s designed to adhere and dry hard, and a clear sealer when the pot gets wet or exposed outdoors.
Sealer choices matter as much as the paint. Matte sealers hide brush lines better but can scuff more easily than gloss. Gloss sealers show surface texture more clearly. For outdoor pots, use an exterior sealer intended for moisture and UV so the finish doesn’t break down quickly.
A practical starting point is a paintable ceramic pot kit or ready-to-paint mini pots. Those products are built for craft painting, so they’re easier when you’re trying techniques like stencils or hand lettering.
| Option | Key Spec/Price Cue | Best For |
|---|---|---|
| Brush + acrylic craft paint | Easy to find at craft stores | Indoors, small projects, simple solid colors |
| Spray primer + spray topcoat | Covers rounded glaze evenly | Larger pots, smooth finishes, faster coverage |
| Primer + enamel-style paint | Harder feel when cured | Pots that get frequent handling |
| Paintable ceramic kit | Pre-selected pot sizes and paints | First-time projects, low decision fatigue |
| Acrylic + clear outdoor sealer | Sealer handles moisture/sun | Outdoor planters and balcony pots |

Helpful pick
Remerry 12 Pcs 2.5 Inch Mini Succulent Pots with Bamboo Tray White Ceramic Pots Color Your Own DIY Small Planters Containers for Flower Cactus with Drainage Hole for Plant Lover
Unpainted ceramic pots ready for brush or spray finishing, enabling full coverage and textures.
Expert Advice on ceramic plant pots to paint
Ceramic plant pots to paint start with adhesion, not color. If the primer and paint don’t bond to the pot’s surface finish, the look will fail no matter how nice the color choice is.
Your biggest control lever is surface prep. Clean thoroughly, scuff glazed surfaces lightly, and remove dust before priming. If you skip scuffing and rely on “it’ll stick,” you often get weak adhesion that doesn’t survive watering.
Match the whole system. Use a primer made for ceramic or glossy/non-porous surfaces, then pick a topcoat that’s listed as compatible. When you can, use primer and paint from the same brand line and follow the “primer for ceramic” guidance first. That reduces the chance of chemical incompatibility.
Don’t rush cure time. If you’re tempted to water the next day, wait. A fully cured clear coat resists soil contact and scrubbing far better than paint that only feels dry.
Helpful pick
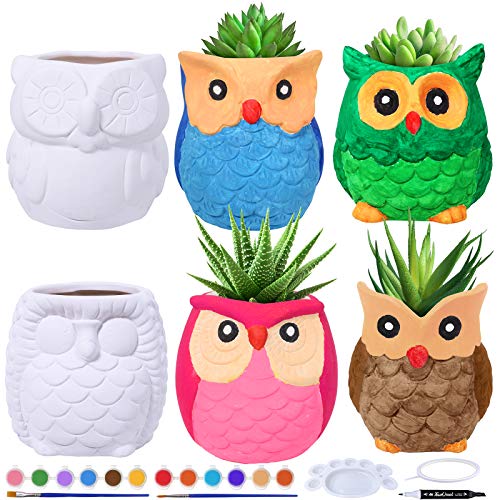
Winlyn 6 Sets DIY Ceramic Owl Succulent Pots Paint Craft Kit, Unpainted Ceramic Bisque Owl Flowerpots with Drainage Hole, Ready to Paint for Kids Classroom Craft Project Activity
These unpainted ceramic bisque pots provide an ideal surface for primer bonding, supporting strong adhesion.
Examples: ceramic plant pots to paint
Ceramic plant pots to paint can go from clean modern stripes to detailed botanical art. The technique choice depends on how durable you need the finish to be.
A single-color solid coat is the fastest and most durable look because it minimizes sharp edges and transitions. Use primer plus 2 to 3 thin topcoats, seal, and stop. This also reduces how noticeable minor sanding unevenness becomes.
Stencil designs work well when you seal the stencil area carefully. Apply the stencil after primer cures, paint in light passes, and avoid overloading so paint doesn’t seep under the edges. Once the paint dries, seal the entire pot so raised stencil edges don’t become the first wear points.
For a hand-painted look, keep the palette limited and build slowly. Multiple thin layers reduce drips and make fixes easier before sealing.
For beginners, a ready-to-paint kit is a strong example because it removes most supply decisions. You get smaller pots, clearer expectations, and enough repetition to learn how paint behaves on ceramic without risking a prized planter.
FAQ
What kind of paint works on ceramic plant pots?
Acrylic craft paint works on ceramic if you prime correctly first. Use primer labeled for ceramic, tile, or glossy/non-porous adhesion, then apply thin coats of your paint. If the pot will be outside or watered often, finish with a clear sealer labeled for exterior use or moisture resistance.
Do I need to sand a glazed ceramic pot before painting?
Yes, most glossy glazed pots need light scuffing. Sanding isn’t about removing the glaze – it’s about creating micro-texture so primer can grab. After scuffing, wipe off dust and let the pot dry before priming, or primer adhesion can fail.
How long should I wait before sealing and using the pot?
Dry according to the product instructions, then allow time for curing before adding soil. Drying time is usually shorter than cure time, and handling too early can leave fingerprints or cause early chipping. When instructions provide both dry and cure windows, use the cure window for best durability.
What’s the safest way to paint a pot without peeling?
Clean the pot thoroughly, scuff glazed surfaces lightly, apply a bonding primer for non-porous ceramic, then use thin coats of compatible paint. Seal the finished surface if the pot gets moisture. If you’ve seen peeling before, the cause is usually primer mismatch or rushed curing, not “bad luck.”
Can I paint ceramic plant pots without a primer?
You can try, but it’s a common reason painted pots peel on glazed ceramic. Glaze is slick and less porous, so primer improves adhesion and reduces flaking around the rim and high-contact areas. For the best odds, use primer made for ceramic or glossy surfaces, then paint and seal.
A painted ceramic plant pot looks best when you slow down on prep and curing. If you want the finish to last, use ceramic-glaze primer, apply two to three thin topcoats, then seal and cure before planting.

- 10 Best Slow Cooker With Accurate Temperature 2026 (Tested And Reviewed) - October 10, 2026
- 10 Best Slow Cooker For Consistent Cooking 2026 (Tested And Reviewed) - October 10, 2026
- 10 Best Slow Cooker With Consistent Temperature 2026 (Tested And Reviewed) - October 10, 2026