How To Grow Aquarium Plants In Pots?
Growing aquarium plants in pots gives you a simple way to keep roots organized, speed up establishment, and avoid uprooting every time you prune. For most people, the win is getting plants to root fast, then letting them thrive under aquarium light and nutrients. This tutorial walks you through pot-based planting and why it works, so you can set up a small, stable patch instead of restarting every week.
Aquarium plants in pots grow best with an aquarium-safe pot, a sealed substrate mix that does not cloud water, and consistent light plus nutrients. Expect strong rooting in about 1-3 weeks for many easy plants if you keep water parameters stable and use fertilizer in the water or at the roots (when the species needs it).
Key Takeaways
- Use aquarium-safe pots. Choose plastic or ceramic without paint, glaze cracks, or metal parts that can leach.
- Start with a root-ready mix. Use root tabs plus a fine, water-stable substrate so the tank stays clear.
- Match light to plant type. Low-light plants need less intensity, while demanding plants need brighter light and nutrients.
- Control water flow. Gentle circulation helps roots settle without blasting fresh planting holes.
- Dose nutrients intentionally. Add fertilizer that fits the species, especially potassium and iron for leaf growth.
- Replant only when needed. Early pot placement reduces root damage and prevents repeated algae cycles.
How to begin
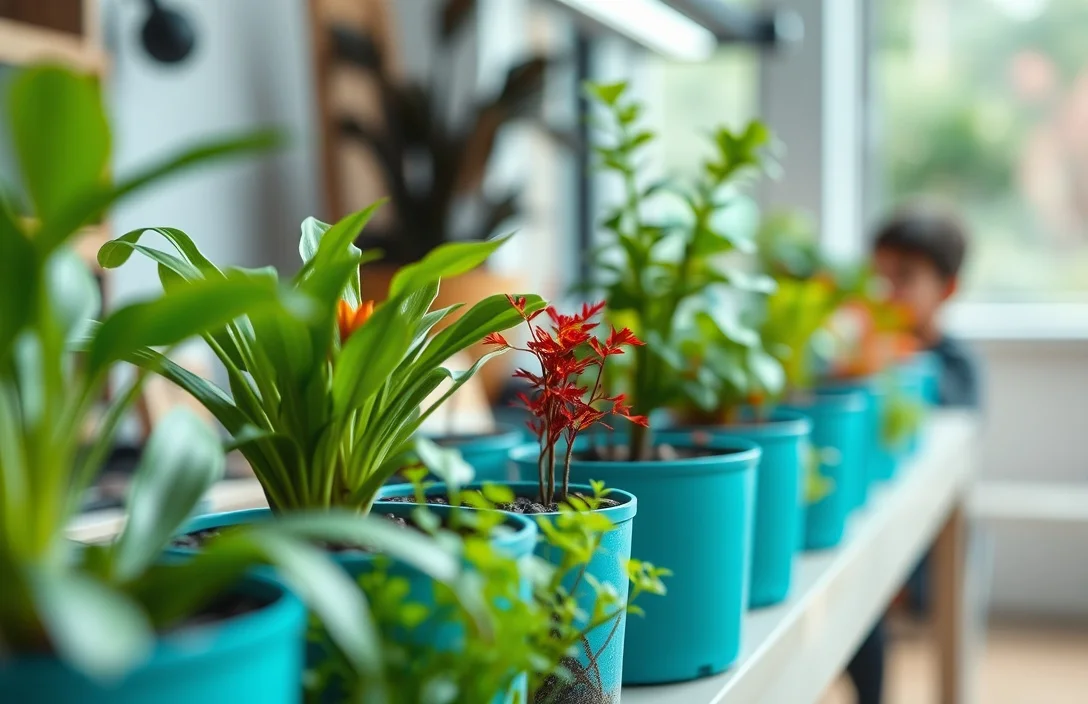
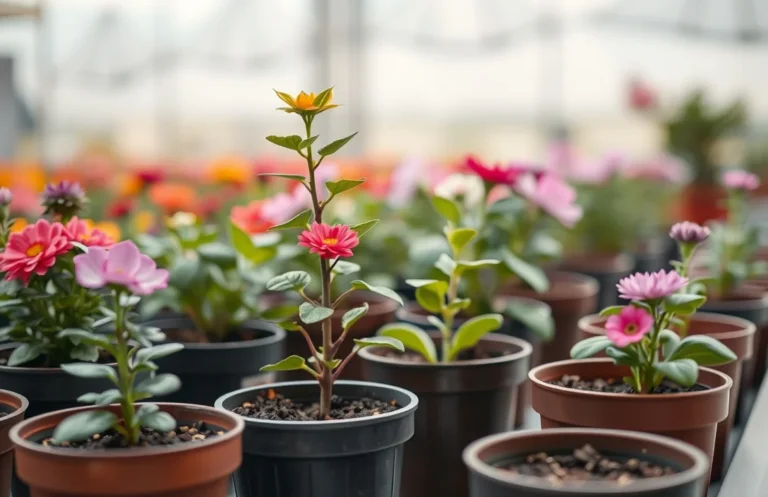
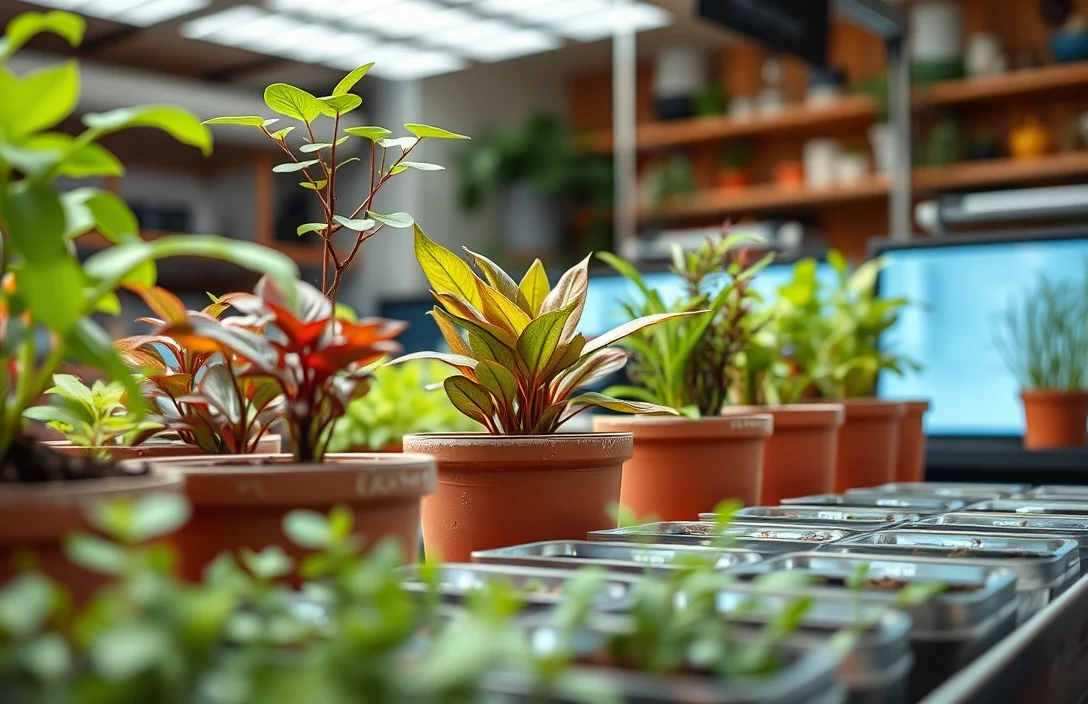
Potted aquarium plants are living aquarium plants grown with their roots contained in a small pot (or mesh insert), then placed in your aquarium so the plant can keep growing without constantly digging through loose substrate.
Pots make maintenance easier, especially in bare-bottom areas, around deep gravel you do not want to disturb, or when you are experimenting with multiple plant types. You also get tighter control over root-zone feeding because fertilizer placed near the roots stays where it matters.
Start with two basics: correct plant selection and a safe container. Most “pot problems” come from using the wrong material (things that leach) or using a substrate that turns to mush and clouds the water.
Choose your timeline based on your tank conditions. Many aquarium plants shift from “stuck in place” to “visibly established” within a couple of weeks, but lush growth depends on light strength, nutrients, and stable water chemistry.
Basics of planting aquarium plants in pots
Pot-based aquarium planting works like a two-stage process. First is rooting and adjustment, where the plant focuses on stable roots and transitions to your tank’s light. Second is sustained growth, where you manage light duration, nutrients, and algae risk.
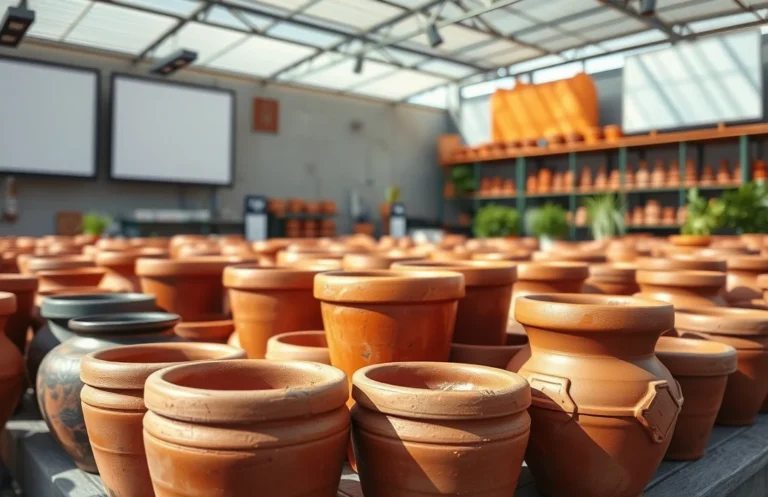
The pot itself matters because it needs to let water move through while keeping the root ball intact. Perforated plastic pots, ceramic pots (without cracks), and mesh baskets with a root media insert all work, as long as nothing paint-like or metal contacts tank water.
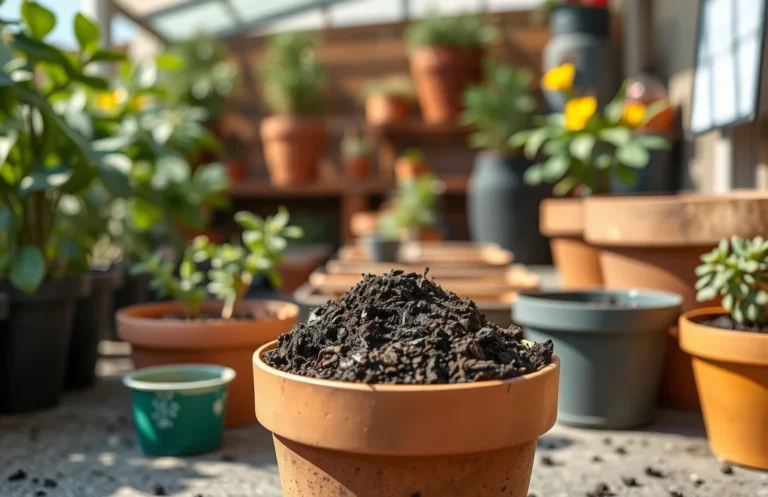
Substrate comes next. For potted plants, use a mix that stays intact underwater and does not float. Many beginners cloud the tank by using non-aquarium soil, potting compost, or fine dust that disperses into the water column.
Plants also need the right inputs. Light powers photosynthesis, and nutrients build new leaves and stems. Some species are heavy root feeders and benefit from root tabs; others mainly take nutrients from the water column.
Use a beginner-friendly approach to reduce variables. Match the plant to the lighting you already have and make changes slowly so you can learn how your aquarium responds.
how to grow aquarium plants in pots
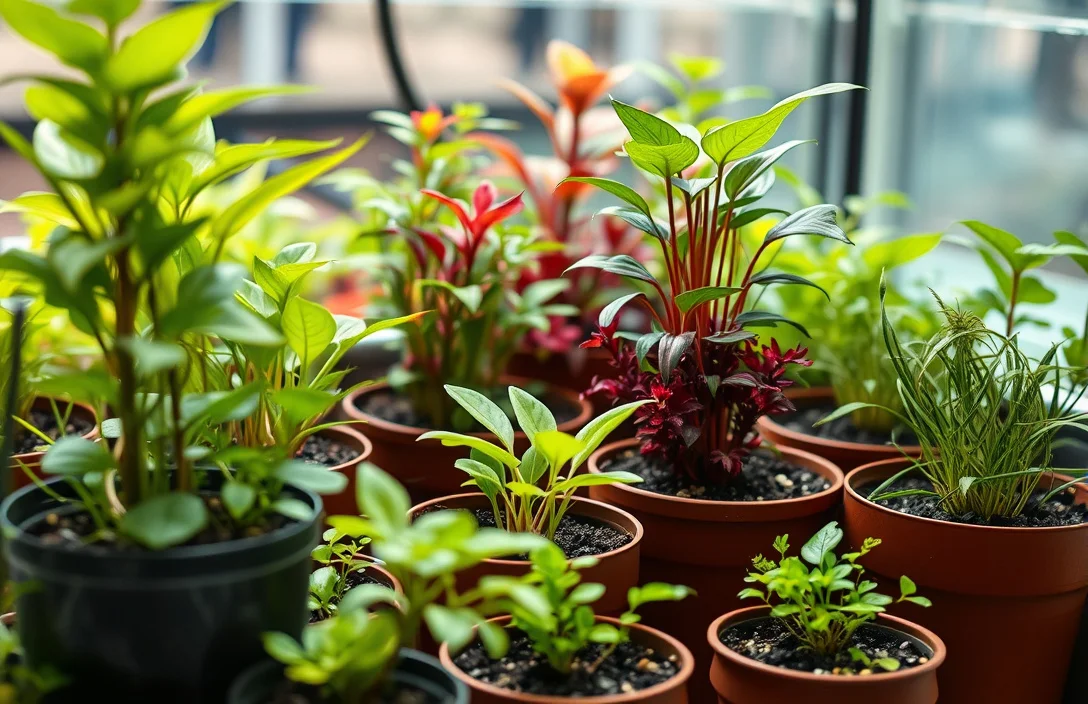
- Pick aquarium-safe pots. Use unpainted plastic or ceramic containers, or mesh plant baskets, sized so roots are supported but not cramped.
- Choose an easy starter plant. Pick plants that commonly grow well submerged, such as many anubias species, java fern types, and easy carpeting or rosette plants that match your lighting.
- Prepare a water-stable root zone. Fill the pot with substrate that stays intact underwater, and plan to use root fertilizer (root tabs) where the roots sit.
- Plant and anchor the roots. Put the plant roots into the pot, then lightly cover only what needs covering so rhizomes and crowns (for species that have them) are not buried.
- Set the pot in the aquarium gently. Lower it slowly to avoid surging water, then place it securely in a location that matches the plant’s light needs.
- Run light and nutrients on a schedule. Start with a moderate photoperiod, then add fertilizer in a way that matches how the species feeds.
- Stabilize water conditions. Keep temperature, pH, and hardness steady, and avoid big swings while the plant roots and begins new growth.
In most real setups, this simple rhythm holds: pot the plant, place it in a known light spot, add root tabs under the root zone, then keep the rest of the tank stable.
If the plant prefers root feeding, add root tabs at planting time so it has immediate access. If it prefers nutrient uptake from the water column, focus on consistent water-column fertilizer instead of burying everything in the pot.
Watch the first signs of success closely. Rooting often shows up as the plant holding position firmly, new leaf growth starting, and less melting or stress than in the first days.
If leaf melting repeats, do not tear everything out right away. Check whether the plant crown or rhizome is buried (for species that hate that) and whether light and water parameters are staying stable.
Things that matter most
The biggest technique is root-zone precision. Instead of spreading fertilizer across the tank or digging up substrate every week, place nutrients near the roots and keep them from dispersing too quickly.
Another technique is species-correct planting depth. Many plants handle potting fine, but some hate rhizomes buried, and some rosette plants hate being smothered at the crown. Incorrect depth often looks like “dying” even when lighting is correct.
Use light discipline to avoid algae and stall-outs. Jumping from low light to high light (or from short to long photoperiods) triggers problems before plants recover from transplanting. Start moderate, then adjust based on what you see after 1-2 weeks.
Pots also support maintenance without disturbance. You can prune top growth and remove dead leaves without constantly breaking the root zone. Fewer stress cycles means fewer algae opportunities during establishment.
A practical workflow:
- Plant for the anatomy. Do not bury rhizomes or crowns that need airflow and exposure.
- Feed where the plant can use it. Root tabs for root feeders, water-column fertilizer for others.
- Adjust lighting gradually. Increase intensity or photoperiod slowly, then hold steady.
- Keep water clean and stable. Stable parameters beat frequent changes during rooting.
With low light, you can still succeed. Choose species that do well under your lighting, then use modest nutrient dosing while the plants establish.
What works in practice
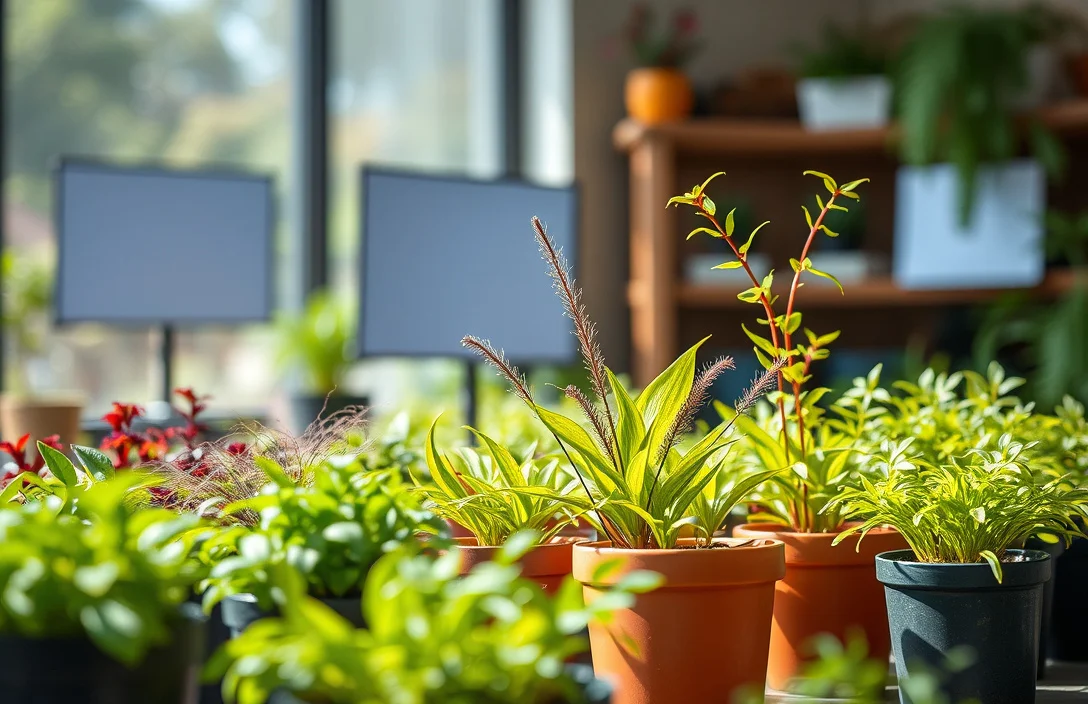
Best practice #1 is choosing the right plant for your lighting and tank stability. If your aquarium is not very bright, forcing high-demand plants into a pot usually leads to stalling, algae, or melt. Match plant needs first, then fine-tune the pot setup.
Best practice #2 is using fertilizer with control, not guessing. Root tabs help at the root zone, but overdoing nutrients can feed algae before plants catch up. Start conservatively and scale only after you see healthy new growth.
Best practice #3 is keeping the pot secure but not airtight. Roots need water movement around them. Sealed containers trap waste and create dead zones. Perforations or mesh designs prevent stagnant pockets, especially in taller pots.
Best practice #4 is managing water flow around the pot. Too much current can loosen a fresh planting; too little can make the root zone feel stagnant. Use gentle circulation so debris does not get trapped.
Run this checklist every time:
- Pot material is safe. No paint, no questionable glazes, no rusting metal.
- Root zone is stable. Substrate stays in place underwater, not floating dust.
- Plant crown is protected. Keep crowns and rhizomes unburied when the species requires it.
- Root tabs go under the roots. Place them where roots contact, not randomly across the pot.
- Location matches light. Put the pot where it gets the right light each day.
Comparison table: pot options (what to choose)
| Pot option | Key spec/trait | Best for | Common trade-off |
|---|---|---|---|
| Unpainted plastic pot with holes | Lightweight, easy to rinse | Beginner potted setups | Needs stable substrate to prevent washout |
| Ceramic pot | Heavy, generally stable | Plants that need firm anchoring | Cracks are a risk if dropped |
| Mesh plant basket | Water exchange is strong | Ferns and some rhizome plants | Can require extra anchoring so it does not drift |
| Netted pot insert | Custom fit, good drainage | Mixing multiple plants in one area | Roots can creep out if mesh is too open |
Because you are in the United States, a good rule is to buy containers intended for aquarium use when possible, or verify the material is unpainted and unlikely to leach. If you are unsure, skip it. Your tank is an open system, so anything that can dissolve eventually ends up in the water.
Mistakes to avoid with aquarium plants in pots
The first mistake is using the wrong material for the pot or root mix. Non-aquarium soil, compost, and dusty fine media collapse underwater and cloud the tank. Painted or glazed containers can leach compounds that plants and fish do not tolerate well.
The second mistake is burying the wrong plant parts. Cover a rhizome or crown that needs access to oxygen and stable exposure, and the plant often melts even when water parameters look fine. For rhizome plants, keep rhizomes above the media and attach them correctly.
The third mistake is blasting light and fertilizer immediately. Ramping intensity or dosing heavily before the plant roots gives algae the advantage. Potted plants still need time to establish, and algae takes advantage quickly.
The fourth mistake is stirring the pot repeatedly during the first days. Constant repositioning breaks new root growth and turns establishment into a stress loop. Once planted, commit to the location for at least 1-2 weeks.
The fifth mistake is ignoring plant type and how feeding differs. Root-feeding plants and water-feeding plants are managed differently. If you treat every plant as if it only needs root tabs, you will underfeed some and overfeed others.
Pro Tips for growing aquarium plants in pots
Pro tip #1 is to label your pots and track growth. Write the plant name and planting date on a small waterproof tag. When something goes wrong, you know which variable changed and when.
Pro tip #2 is to use a slow-start photoperiod. Begin with a moderate daily light schedule, then adjust only after plants show stable new growth. This prevents the algae jump that often happens while plants are still rooting.
Pro tip #3 is to plan where each potted plant goes in your aquascape. Place them where you can reach for pruning without crushing other plants or disturbing the substrate.
Pro tip #4 is to anchor plants to prevent root disturbance. If your potting setup is loose or the substrate rinses out, the plant can drift. A little extra anchoring at planting time prevents the “it melted because it kept moving” problem.
Pro tip #5 is to prune surgically. Remove dead leaves and trim top growth so the plant focuses on new shoots. Keep pruning gentle, and do not tear the pot apart unless the roots truly outgrow it.
If your pot-grown plant sends runners, prune at the right time to encourage branching within your intended area. You get a fuller look sooner without waiting for it to spread naturally across open space.
FAQ
1) What’s the cheapest way to grow aquarium plants in pots?
Use simple unpainted plastic or ceramic containers plus a stable aquarium-appropriate substrate and root tabs. If you already have a planted tank, reuse safe tools and skip buying specialized equipment first. The biggest cost you avoid is replacing plants due to wrong potting depth or unsafe materials.
2) How long does it take for potted aquarium plants to root?
Most potted aquarium plants show visible adjustment within 1-3 weeks if lighting fits and water conditions stay stable. Early signs include holding position firmly and starting new leaf growth instead of melting. Slow rooting usually points to the plant crown or rhizome being buried incorrectly, or the pot substrate breaking down.
3) Is it safe to use regular plant pots or garden containers in an aquarium?
Regular garden containers are not automatically safe. You need pots made from aquarium-safe materials with no paint, no unknown coatings, and no metal that can rust. Regular potting soil often clouds water and traps waste underwater, so use an aquarium-stable root mix.
4) How do I stop algae when I’m growing plants in pots?
Control the biggest drivers first: start with moderate light and do not overdose nutrients while plants are still rooting. Remove algae manually early and keep the tank clean with normal maintenance. If algae gets heavy, reduce photoperiod for a week and focus on plant growth stability instead of changing multiple variables at once.
5) What’s the most common mistake when growing aquarium plants in pots?
Burying the wrong parts of the plant (crowns or rhizomes) blocks water flow and oxygen access. Using unstable substrate that disintegrates and clouds the tank is right behind that. Correct planting depth and stable root media fix most early “melt” issues.
A practical next step is simple: choose one beginner-friendly plant, pot it in an aquarium-safe perforated container with stable root media and root tabs, then place it in the right light spot. Give it 10-14 days with minimal disturbance, and adjust light and nutrients only after you see new growth and stable leaves.

- 10 Best Slow Cooker For Home Chefs 2026 (Tested And Reviewed) - October 19, 2026
- 10 Best Slow Cooker For Large Kitchens 2026 (Tested And Reviewed) - October 19, 2026
- 10 Best Slow Cooker For Small Kitchens 2026 (Tested And Reviewed) - October 18, 2026