How To Paint Cement Flower Pots?
Cement flower pots look rough and chalky, and paint peels fast when you skip prep that helps coatings grip. The good news is you can get a clean, durable finish with the right primer and thin coats that dry fully between passes. This guide walks you through prerequisites, materials, steps, examples, troubleshooting, and what to do next.
Painted cement flower pots hold up best when you clean thoroughly, let the pot fully dry, seal the porous surface with primer, and then apply thin topcoats in multiple passes. Use an exterior-grade primer made for masonry or concrete, and choose exterior paint rated for masonry. Expect 24 to 72 hours of total cure time depending on humidity and paint type.
- Use masonry primer. Cement is porous, so primer is what helps paint actually grip instead of peeling.
- Let it dry completely. Painting over damp cement leads to bubbles and patchy adhesion.
- Clean chalky dust off. Wash and scrub until runoff is clear, then dry fully before priming.
- Coat in thin layers. Two to three light coats usually look better than one heavy coat.
- Seal if it’ll get rain. Exterior clear sealer improves water resistance for outdoor pots.
- Fix drips fast. Catch runs early, then sand lightly and recoat the spot.
how to paint cement flower pots
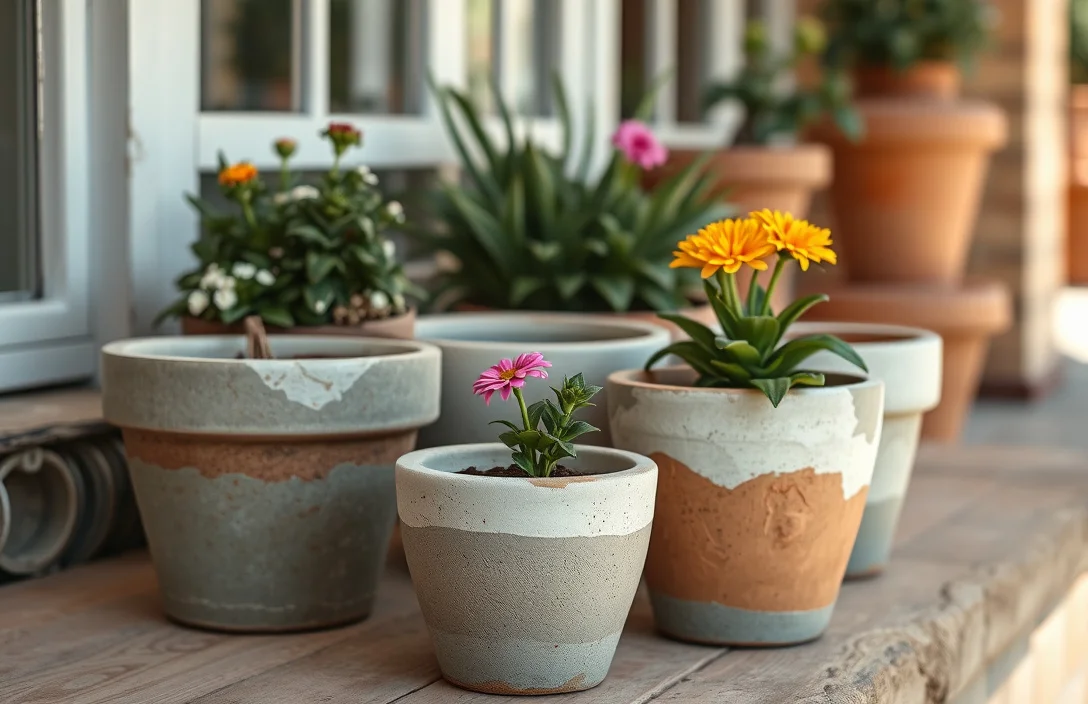
You can paint cement flower pots successfully, but you get a “factory finish” only when you treat the pot like porous masonry, not like ceramic. Cement’s pores pull in moisture and make paint dry unevenly. The wrong primer or thick layers are what trigger peeling, bubbling, and a rough, tired-looking surface.
Start by matching the products to where the pot will live. Outdoor pots need an exterior-rated primer and paint, plus (ideally) a clear topcoat sealer. Indoor pots can use more standard craft paint, but you still need proper cleaning and priming for adhesion.
how to paint cement flower pots
Cement and paint don’t behave like they do on glazed surfaces. If moisture or dust remains in the pores, paint can’t bond well – and that’s when flaking and peeling show up weeks later.
Use this baseline system: clean, dry, prime for masonry, paint with an exterior-rated coating (for outdoor pots), then seal when weather exposure is more than mild. Rain and freeze-thaw cycles punish unsealed porous materials.
Pick your paint based on exposure. For outdoor pots, use exterior masonry paint or exterior latex/acrylic made for concrete or masonry, and keep coats thin. For indoor display pots, acrylic paint works if you prime properly and handle the pot gently while it cures.
how to paint cement flower pots
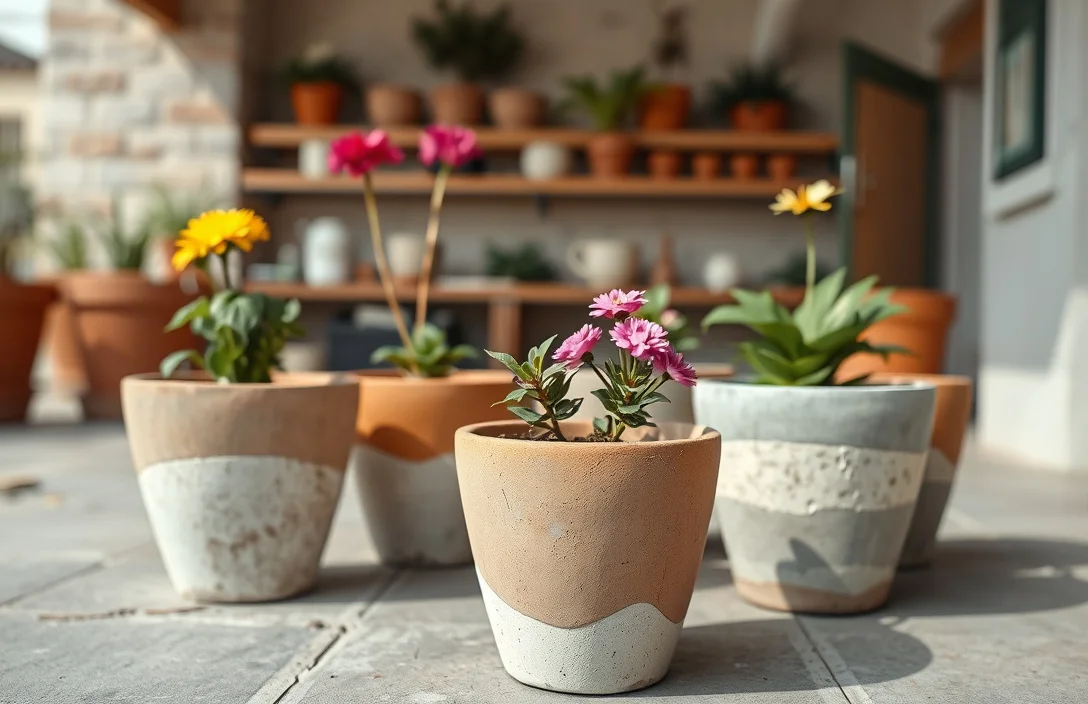
- Pick weather-appropriate products. Choose an exterior-grade masonry primer and exterior paint if the pot will be outside.
- Remove dust and loose grit. Scrub with a stiff brush and a cleaner (dish soap and water for general dirt), then rinse until water runs clear.
- Dry until the pot is fully dry. Dry 24 to 48 hours indoors, longer if your climate is humid.
- De-gunk any mineral residue. White chalking or scaly deposits need extra scrubbing and rinsing. Dry fully before priming.
- Prime the entire surface. Apply masonry primer evenly without flooding. Let it dry per the label instructions.
- Paint in thin coats. Apply 2 to 3 thin topcoats, letting each coat dry fully before the next.
- Seal for outdoor protection. After the paint cures, apply a clear exterior sealer if the pot gets rain or regular moisture.
If the pot has been outdoors for years, start with a deeper scrub. Concrete holds onto fine dust and salts, and you need clean runoff before primer – otherwise you’re priming over the stuff that will keep breaking the bond.
Thick paint is the most common reason home-painted pots look worse over time. Heavy coats trap moisture and form a textured skin that cracks or lifts later, especially on curved, porous surfaces.
how to paint cement flower pots
Prime like you’re filling pores, not just covering color. Use masonry primer and apply it in smooth passes, with enough product for an even surface without turning the pot into a drippy mess.
Use the right tool for consistent coverage. A foam roller works well on larger flat areas and keeps texture even. A nylon brush helps you work primer into pits, seams, and spiderweb cracks. For small pots, a dense foam brush is often cleaner than fluffy bristles.
Mix “design” with “durability,” not “design” with “surprise.” If you want stenciled flowers, geometric patterns, or faux marbling, paint the base coat first, then stencil after it’s dry to the touch. Plan one light pass over stencil areas – cement texture can bleed paint under edges if you overload.
If you want a quick pairing guide:
| Pot Use Case | Primer Choice | Topcoat Choice | Best For |
|---|---|---|---|
| Outdoor flowers, rain exposure | Exterior masonry/concrete primer | Exterior masonry or exterior acrylic/latex paint | Water resistance and adhesion |
| Covered patio, light moisture | Exterior masonry primer | Exterior acrylic paint (rated for masonry) | Color hold with less stress |
| Indoor plant display | Masonry primer (still recommended) | Acrylic or latex craft paint | Better adhesion than unprimed |
| Pots near sprinklers | Exterior masonry primer + sealer plan | Exterior paint + clear exterior sealer | Frequent wetting control |
how to paint cement flower pots
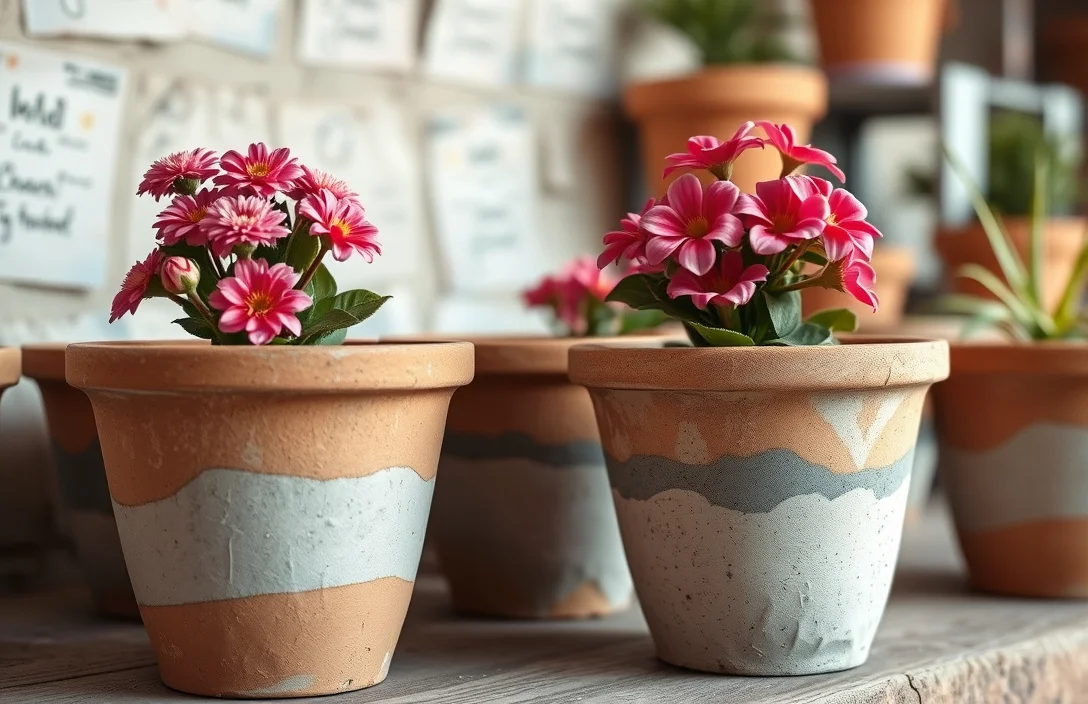
Work on a calm, dry day. High humidity slows drying, increases tackiness, and makes dust stick to wet paint, which can leave a rough finish.
Test a small area first when the pot is very smooth or already has any coating. Some cement surfaces have an existing sealer or paint layer, and fresh primer may not grip. Let the test spot dry fully. If it stays dull and firmly stuck, you’re good. If it beads or scrapes off easily, you need more prep before priming.
Respect cure time, not just dry time. “Dry to the touch” means you can handle it carefully. Cure is when the coating fully hardens. Rushing – or putting the pot back outdoors too soon – can weaken the bond you’re building.
A workflow that rarely fails is: clean and dry (24-48 hours), prime (dry fully), paint (2-3 thin coats), then seal for outdoor use. After sealing, wait several more days before heavy exposure when you can. The finish looks better and lasts longer.
how to paint cement flower pots
Skipping primer is the biggest mistake. Cement’s pores and chalky surface are exactly why unprimed paint peels or wears off quickly.
Overloading coats causes problems too. Thick layers can crack as they dry and can trap moisture under the surface, especially on damp days.
Painting on “almost dry” cement leads to bubbles and patchiness. If the pot was recently washed or sat in humidity, give it more time to dry rather than forcing your schedule.
Avoid indoor-only paint for outdoor pots. It may look fine at first, but outdoor exposure breaks down coatings faster when they’re not rated for masonry and weather.
If you see flaking after the first coat, stop and fix it properly. Sand loose paint back to solid material, clean dust, dry fully, re-prime, and then repaint.
how to paint cement flower pots
For a smoother finish, lightly sand between coats. Use fine-grit sandpaper (like 220-grit) after primer dries fully, then again after the first topcoat. Knock down texture without over-sanding, and clean sanding dust thoroughly before moving on.
If the pot has hairline cracks or chips, patch with a cement-compatible product so you don’t create “ghost lines” through the topcoat. Prime the repaired area before painting.
For crisp patterns, use low-tack painter’s tape after the base coat is dry. Press edges gently and evenly, then remove tape when the paint is dry enough not to smear but still flexible enough not to tear cured edges.
If you’re painting multiple pots, batch your prep. Scrub, rinse, and dry them on the same schedule, then prime and paint in batches. Less sitting time means less chance that one pot gets dusty while another is ready.
FAQ
What kind of paint works best on cement flower pots?
Use exterior-rated masonry paint or exterior acrylic/latex paint rated for concrete or masonry for outdoor pots. Always pair it with a masonry/concrete primer, because cement is porous and unprimed paint often peels or chalks. For indoor-only pots, acrylic paint can work if you still prime first for adhesion.
Do cement flower pots need primer before painting?
Yes. Cement’s porous surface and chalky dust make primer the difference between “looks good” and “lasts.” Apply a masonry or concrete primer to the whole surface, then let it dry fully before any topcoat. Skipping primer is the fastest path to peeling after a few weeks.
How long should I wait between coats?
Let each coat dry fully according to the label, but with cement texture you usually need at least a few hours for dry-to-touch and longer for recoat. For best results, plan on 24 to 72 hours total cure time before heavy handling or outdoor exposure, depending on humidity and paint type.
How do I prevent bubbles or peeling?
Start with fully dry cement. If the pot is damp, paint can bubble as moisture escapes. Clean off chalky residue, prime evenly, and apply thin layers instead of thick coats. If peeling appears, sand back loose paint, clean, dry, re-prime, then repaint.
Can I paint cement flower pots without sealing them?
You can, but sealing is strongly worth it for outdoor pots that get rain or regular moisture. A clear exterior sealer after the paint cures helps limit water penetration and slows wear. Indoors, sealing is optional because the pot is less exposed to soaking and freeze-thaw cycles.
A good-looking painted cement pot comes down to prep and patience: clean, fully dry, prime with masonry primer, then use thin topcoats and seal if it goes outdoors. Wash your pot today, let it dry completely, then pick primer and exterior paint suited to masonry before you start painting.

- 10 Best Slow Cooker For One Pot Cooking 2026 (Tested And Reviewed) - October 21, 2026
- 10 Best Slow Cooker For Hearty Stews 2026 (Tested And Reviewed) - October 20, 2026
- 10 Best Slow Cooker For Hearty Soups 2026 (Tested And Reviewed) - October 20, 2026