How To Glaze Terracotta Pots?
Terracotta pots look better glazed because the glaze makes the surface less porous and easier to clean, but you can also ruin them with the wrong temperature or timing. The process is straightforward if you have the right prerequisites, kiln access, and materials. This guide walks through how to glaze terracotta pots from raw clay to a finished, fired piece, with practical troubleshooting along the way.
Glazed terracotta works because the pot must be fired (then often re-fired) so the glaze can mature at a specific temperature. Most successful results use a terracotta bisque (already fired) as the glaze base, then apply glaze and fire to the glaze’s recommended cone temperature. If you try to glaze raw (greenware), the glaze can craze, blister, or fall off.
Key Takeaways
- Use fired clay first. Glaze bonds best to bisque-fired terracotta, not raw greenware.
- Match glaze to clay. Use a glaze labeled for terracotta or earthenware and confirm the firing range.
- Clean before glazing. Remove dust and oils, or you increase pinholes and weak adhesion.
- Know the firing schedule. Fire glaze to its stated cone/temperature so it matures fully.
- Test on scraps. Glaze thickness and firing vary, so test small pieces before committing.
- Mind safety and ventilation. Wear a respirator when sanding or handling dry glaze materials.
How to begin
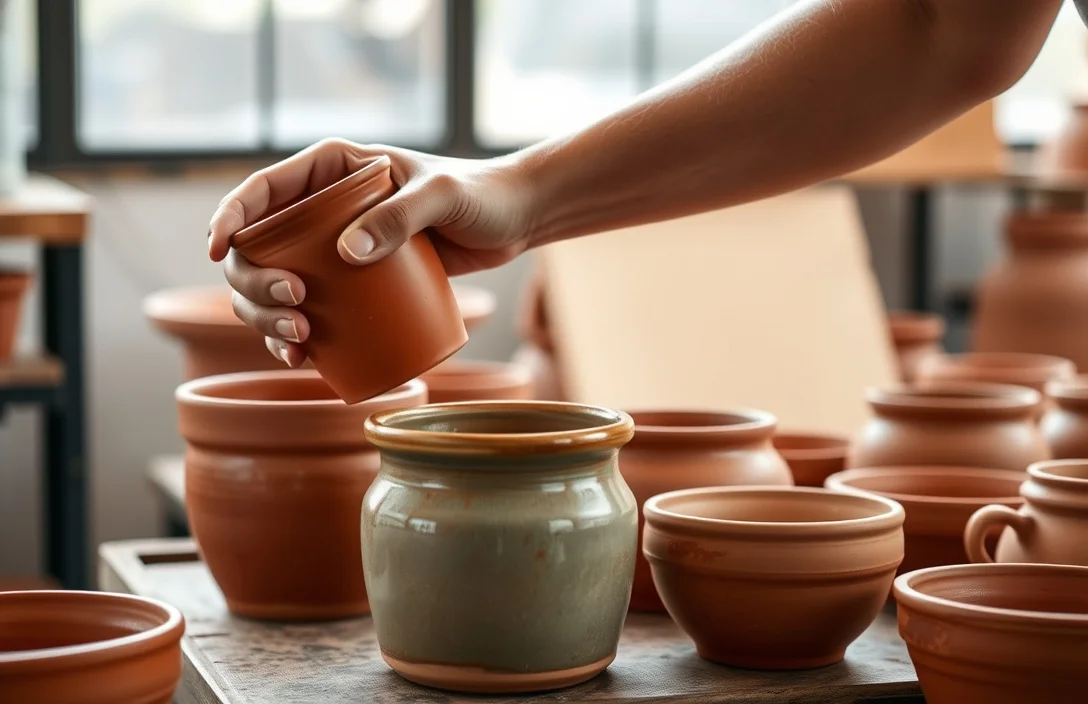
If you want glazed terracotta that actually lasts outdoors, the biggest early win is planning around firing. Glaze is not a paint you can “set” with air drying, it is a glass-like surface that forms only when you fire it to the glaze’s specified temperature.
Start by deciding what kind of terracotta you’re using. “Terracotta” can mean porous earthenware that is meant for low-fire glazing, and it can also mean craft pots that were already bisque-fired. If your pot has never been fired, glazing it is a bad idea, because it will go through shrinkage and release moisture in ways glaze cannot tolerate.
Before you buy supplies, confirm your kiln situation. You can do this with a kiln, or with a local pottery studio service that will fire your pot to the right cone temperature. Either way, you need the ability to fire twice if your pot is not already bisque-fired: once to bisque, then again to glaze.
Here’s what to gather to avoid mid-project frustration:
- Terracotta pot that is bisque-fired (or plan to bisque it first)
- Glaze compatible with earthenware/terracotta, including its firing temperature range
- Glaze brush or dipping bucket (depending on the glaze instructions)
- Sponge, soft cloth, and a bucket of clean water
- Nitrile gloves (optional but helpful when you’re working with glaze powders)
- Kiln access (yours or a community studio)
- Test tiles or scrap pieces (seriously, use them)
Basics of how to glaze terracotta pots
Glazing terracotta is mostly about fit and firing. Fit means the glaze’s thermal expansion and melting behavior are compatible with the clay body; firing means the glaze has enough heat work to mature without defects.
Most terracotta pots sold as “planter pots” are not guaranteed to be ready for glazing. Many are glazed in production for specific uses, but if yours is plain terracotta, you should assume it is porous and intended for firing at earthenware temperatures. That’s good news, because earthenware glazes are designed for exactly this kind of surface, but only if you choose the right glaze.
You also need to handle dust and residue like it matters, because it does. Even a light dust layer can create pinholes or weak spots where the glaze doesn’t wet properly. A quick rinse and gentle wipe before glazing helps, but let the piece dry enough that glaze applies evenly rather than sliding and collecting in drips.
Two terms you’ll see in glaze instructions are cone and maturity. Cone (like cone 06 or cone 04 for typical earthenware ranges, depending on glaze) is how potters target temperature by heat work, not just a number on a dial. Maturity is when the glaze turns from matte to glassy and reaches its intended surface, color, and durability.
Finally, glaze thickness is a real variable. Thin coats can look dull or show patchy coverage, and thick coats can run, crack, or blister if the glaze is too heavy for your firing. If you want reliable results, you treat glazing like a controlled coating, not an “as much as possible” process.
how to glaze terracotta pots
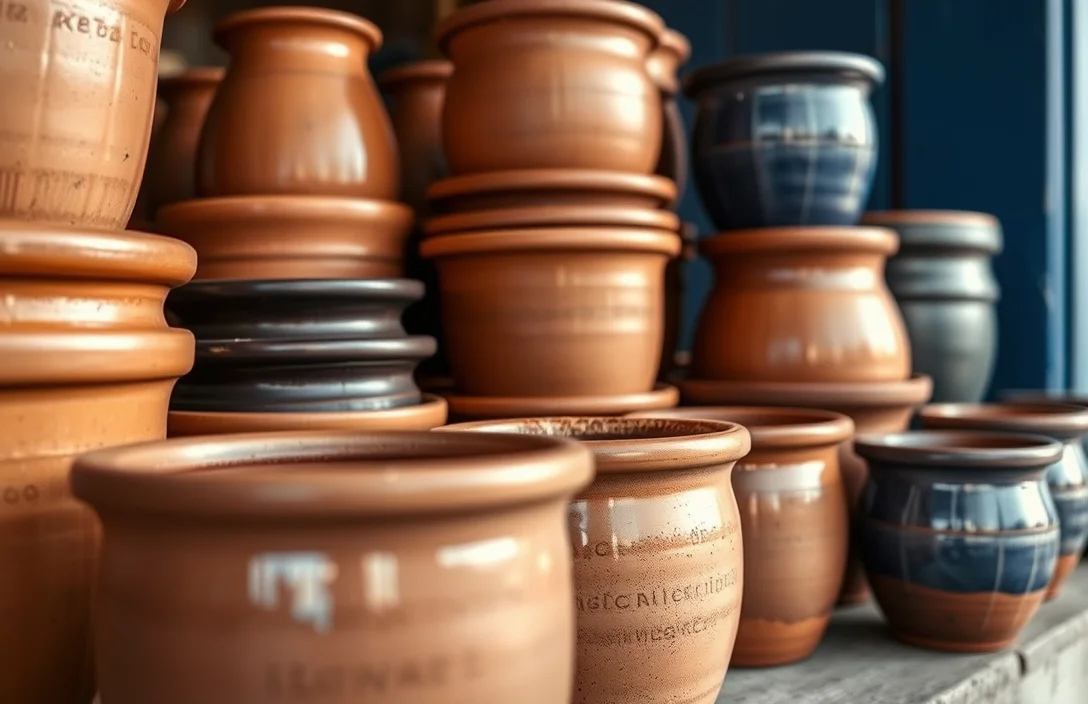
Step 1 – Confirm the pot’s firing state. Use a bisque-fired pot if possible, because bisque has already completed most shrinkage and can handle glaze firing reliably.
Step 2 – Clean the pot thoroughly. Rinse off dust, then wipe with a damp sponge and let it dry. Avoid touching the areas you’ll glaze with bare hands so you don’t add skin oils.
Step 3 – Check your glaze instructions and firing target. Locate the glaze label or product sheet that states the recommended firing cone range or temperature. If the glaze says it fires to a specific cone and you ignore it, you are basically gambling.
Step 4 – Apply glaze evenly. Brush on thin, even layers (especially for texture-free areas), or dip if your glaze is suited for dipping. Rotate the pot so the glaze coats the rim and vertical sides without pooling.
Step 5 – Remove drips and control thickness. After glazing, look for glaze runs near the base and rim. Use a sponge or damp cloth to clean the bottom ring if you need the pot to not fuse to the kiln shelf.
Step 6 – Dry completely before firing. Let the glazed pot dry so the glaze surface is not wet to the touch. Firing wet glaze can cause crawling, pinholes, or uneven melting.
Step 7 – Fire to the glaze’s recommended cone temperature. Load carefully, ensure air can circulate, and follow your kiln’s firing schedule. If you’re using a studio, they will likely expect the pot to be bisque first and then glaze-fired separately.
Step 8 – Cool gradually and handle after inspection. Remove carefully once the kiln reaches safe handling temperature. If the surface looks under-melted, you may need to adjust firing or glaze thickness next time.
In practice, most beginners get their first “real win” by doing a test. For example, glaze three small test tiles from the same clay (or similar terracotta body) at slightly different thicknesses, then compare coverage, runs, and surface defects under the same firing schedule.
If you don’t have your own kiln, you can still do this with a studio service. For instance, you can bring a bisque-fired pot and the specific glaze, and ask them to glaze-fire it to the glaze’s cone. That reduces variability, because studio firings are dialed in for their kiln.
Things that matter most
The first technique is surface prep, because glaze adhesion is won before you ever pick up a brush. If the pot is dusty, porous dust can prevent the glaze from wetting evenly, which creates pinholes or crawling spots. Clean, dry, and handle with care so the coating can form a smooth film.
The second technique is controlling glaze thickness and the flow zone. The easiest way to get professional-looking results on pots is to apply thinner coats to the rim and base area, then build coverage on the mid-body. Too much glaze near edges increases the chance of drips that dry into ridges and then run in the kiln.
The third technique is choosing a glaze type that matches your goals. Some glazes are designed for bright gloss, others for satin or matte surfaces, and some have higher fluidity (meaning they can move more in the kiln). If you’re glazing a pot for outdoor use, you generally want a glaze that is durable and rated for the intended environment, and you want a smooth surface that’s easy to hose off.
A fourth technique is doing a rim plan before glazing. Many planters and pots have a lip where you want a clean, crisp edge. That means you may need to tape off or carefully clean glaze off the kiln-contact foot ring so the pot doesn’t fuse to the shelf, then re-check the rim after application.
Here’s a practical checklist for application:
- Brush in one direction, then lightly smooth crosswise to avoid streaks.
- Keep a consistent layer, measure it by look, not by “more is better.”
- Clean the base ring, so it won’t fuse during firing.
- Use test pieces, because the same glaze can behave differently on different clay porosity.
If you’re glazing a pot with raised texture, adapt your technique. For example, sponge application can sometimes fill micro-texture better than brush alone, but it can also trap air and create bubble spots if you don’t handle it gently.
What works in practice
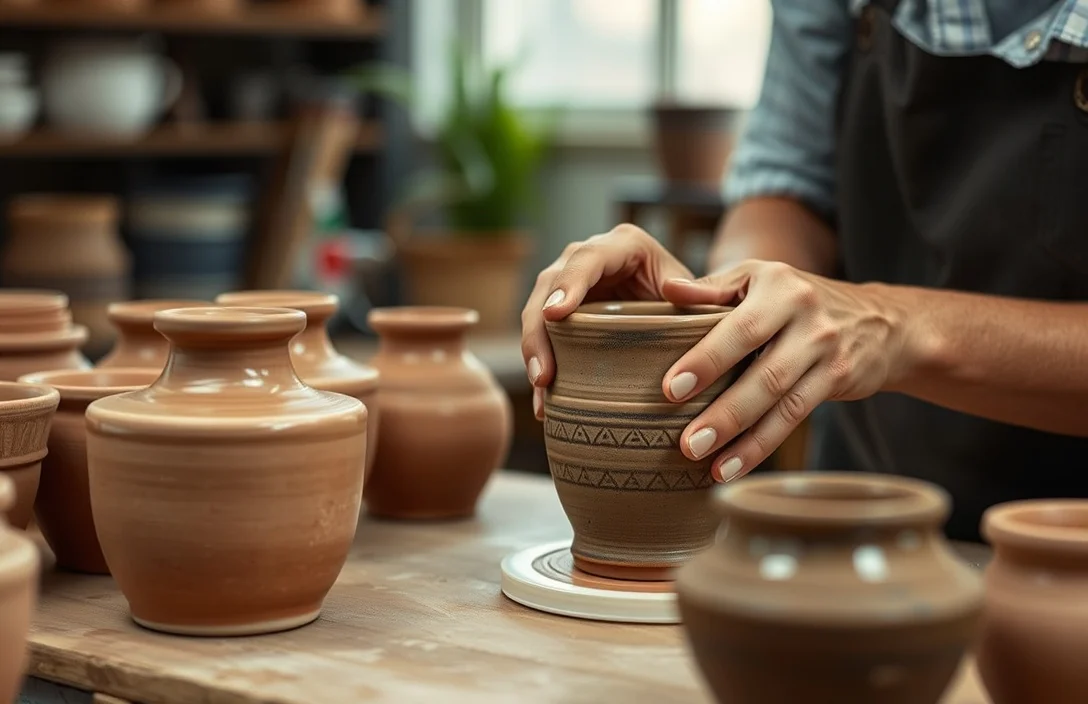
Best practice #1 is using a glaze made for the firing range you can actually achieve. If your kiln can only reliably reach one cone (or your studio has a set schedule), pick glazes that target that same cone. Trying to force compatibility later by changing firing temperature is where beginners end up with crawling or under-mature glaze.
Best practice #2 is to glaze at the right point in your workflow. Glaze goes on bisque, then you glaze-fire. If your pot is already glazed from the factory, you may not want to re-glaze it unless you understand surface prep and compatibility, because over-glazing unknown surfaces is another way to get peeling.
Best practice #3 is to keep kiln loading consistent. Uneven airflow and contact points can cause glaze variations and localized runs. Place the pot so gravity and glaze flow behavior are the same across your batch.
Best practice #4 is to dry thoroughly between glazing and firing. Dry time affects how glaze melts and releases moisture. If your pot still feels cool or damp in the thickest areas, wait longer.
Best practice #5 is to use scrap tests that match your pot’s thickness. A thin cup and a chunky planter will behave differently because glaze mass and clay porosity change melting and flow. Do three tests, note which one “looks right,” then replicate the same layer approach.
To make this concrete, here is a simple decision table to help you choose a glaze strategy:
| Pot situation | What to do first | Glaze strategy | Best for |
|---|---|---|---|
| Pot is raw greenware | Bisque-fire to your clay’s bisque range | Brush thin layers, don’t rush | Beginners wanting a durable surface (with kiln help) |
| Pot is bisque-fired, bare terracotta | Clean, dry, then glaze | Dip or brush, control thickness at rim and base | Most home projects with kiln access |
| Pot already has an unknown factory glaze | Identify glaze and compatibility, or strip | Use compatible glaze only if you have proof | Riskier projects, better left to experts |
| Pot is very porous or chalky | Extra cleaning and slower drying | Slightly thinner coats | Prevents pinholes from dust release |
Mistakes to Avoid with how to glaze terracotta pots
Mistake #1 is glazing raw greenware. Greenware still shrinks and releases moisture during heating, and glaze can’t safely accommodate that without defects. The typical results are crazing, blistering, or glaze loss.
Mistake #2 is ignoring the glaze’s firing cone instructions. Terracotta bodies and glazes have compatible heat behavior only within certain ranges. If you under-fire, you get a dull, soft surface that can scrape or absorb moisture more than you expect.
Mistake #3 is applying glaze too thickly on edges. Beginners often load up the rim to “make it prettier,” then watch it run in the kiln. Thick glaze can also crack as it shrinks during cooling, especially on areas with sharp transitions.
Mistake #4 is skipping cleaning. Dust and oils are not cosmetic problems, they are wetting problems. If the glaze can’t wet the clay evenly, you get pinholes, crawls, or patchy coverage.
Mistake #5 is rushing drying time. Wet glaze may trap gases that later expand and create bubbles or fisheyes. If you glaze in the evening and fire the next morning, you may still be too early if your piece has thick glaze or humid conditions.
Mistake #6 is not planning for what touches the kiln shelf. If the bottom of your pot is glazed and you fire directly on a shelf, you can glue your pot to the shelf. A simple clean base ring strategy prevents a lot of ruined pieces.
In practice, troubleshooting is easier when you keep notes. For example, if a batch has runs, note which pots had thicker application and where the runs started, then adjust technique or glaze amount next time.
Pro Tips for how to glaze terracotta pots
Pro tip #1 is to do a “small thickness ladder.” Test the same glaze on three sacrificial pieces at different thicknesses, then pick the one with the cleanest rim and least crawling. This is faster than changing multiple variables at once, and it helps you dial in your brush habits.
Pro tip #2 is to aim for consistent drying conditions. Drying too fast can increase surface imperfections if the glaze partially sets before it equalizes. A calm, dry room at moderate airflow usually behaves more predictably than a fan blasting directly on fresh glaze.
Pro tip #3 is to use the right application tool for your surface. For smoother pots, a quality glaze brush can give you even control. For textured pots, a sponge or careful brush technique can get into details, but you must keep pressure gentle to avoid trapping air.
Pro tip #4 is to control the rim. If you want a sharp lip, apply less glaze there and rely on smoother flow during firing rather than brute thickness. That reduces the chance of blobbed rims and messy drips.
Pro tip #5 is to consider protective intent early. If your pot is going to see outdoor moisture and cycles, choose glazes intended to be durable for that use. Durability is mostly about proper maturation at the right cone and getting a continuous glassy surface.
Pro tip #6 is to keep glaze mixing consistent. If you are using a glaze you mix from a powder, follow the instructions for water ratio and mix thoroughly so the glaze has uniform thickness and suspension. Uneven glaze means uneven melting and surface defects.
Next time you glaze, measure success by specific checks: rim cleanliness, no pinholes, no crawling, and a fully matured glassy sheen (unless you intentionally chose matte). Once you hit those, repeat your process on the actual pot.
FAQ
What materials do I need to glaze terracotta pots?
You need a bisque-fired terracotta pot, a compatible glaze (with a listed cone or firing temperature range), and an application method such as a glaze brush or a dipping setup. You also need access to a kiln to fire the glaze to the glaze’s recommended target temperature. Include basic cleaning supplies like sponges and a soft cloth.
How long does it take to glaze a terracotta pot?
The timeline depends on drying and firing schedules. You can apply glaze in under an hour, but you should plan for complete drying before firing, which can take overnight or longer depending on humidity and glaze thickness. Kiln firings also take additional time, including ramp-up, soak, and cooling.
Is glazing terracotta pots safe for outdoor plants?
Glazing is commonly used on plant containers because a mature glaze surface reduces water absorption and makes cleaning easier. The safety part is mainly about using a glaze intended for food or plant-safe use (if you care about edible herbs) and firing the glaze correctly to maturity. Avoid random glazes with unknown firing targets.
Do I need to glaze terracotta twice, or just once?
You typically glaze once on top of a bisque-fired pot, then fire once to mature the glaze. If your terracotta pot is raw and never bisque-fired, you will need an initial bisque firing first, then glazing plus a second firing. Factory-finished pots might already be glazed and are a special case.
What’s the most common mistake beginners make when glazing terracotta?
The most common mistake is glazing greenware (unfired clay). Raw terracotta still shrinks and releases moisture during heating, so glaze can blister, craze, or pop off. A second frequent mistake is using the wrong firing cone for the glaze, which leaves the surface under-mature and prone to defects.
If you want your first glazed terracotta pot to come out clean, your next step is simple: use a bisque-fired pot, choose a glaze with a clearly stated firing cone, and do test tiles for thickness control before glazing the real piece.

- 10 Best Slow Cooker For Large Kitchens 2026 (Tested And Reviewed) - October 19, 2026
- 10 Best Slow Cooker For Small Kitchens 2026 (Tested And Reviewed) - October 18, 2026
- 10 Best Slow Cooker For Kitchen Countertop 2026 (Tested And Reviewed) - October 18, 2026