How To Glaze Clay Pots?
Glazing clay pots turns porous greenware into a wipe-clean, water-resistant piece, but it only works if the firing schedule and glaze application match your clay body. If you’ve ever pulled a pot from the kiln and found pinholes, shivering, or a dull, uneven surface, this guide is for you. You’ll learn how to glaze clay pots from prep through the second firing, plus practical troubleshooting for the most common failures.
Glaze is a glassy coating you apply to bisque-fired clay, then fire again so it melts and bonds. For most beginner setups, glaze goes on bisque after it is fully dry, usually followed by a firing to your glaze’s cone range. Plan for a two-step kiln workflow: bisque first, glaze second.
Key Takeaways
- Choose the right glaze – Match your glaze to your clay type and firing temperature range.
- Prep matters most – Clean bisque thoroughly and glaze only when fully dry to reduce pinholes.
- Apply thin, even layers – Thick glaze can run, craze, or blister during firing.
- Dry time is real – Let glazed pots rest until water is gone, usually at least 30 minutes.
- Test with scraps – Fire a small sample first so you can dial in thickness and coverage.
- Troubleshoot by symptom – Pinholes often come from dirty bisque or trapped moisture, not “bad glaze.”
How to begin
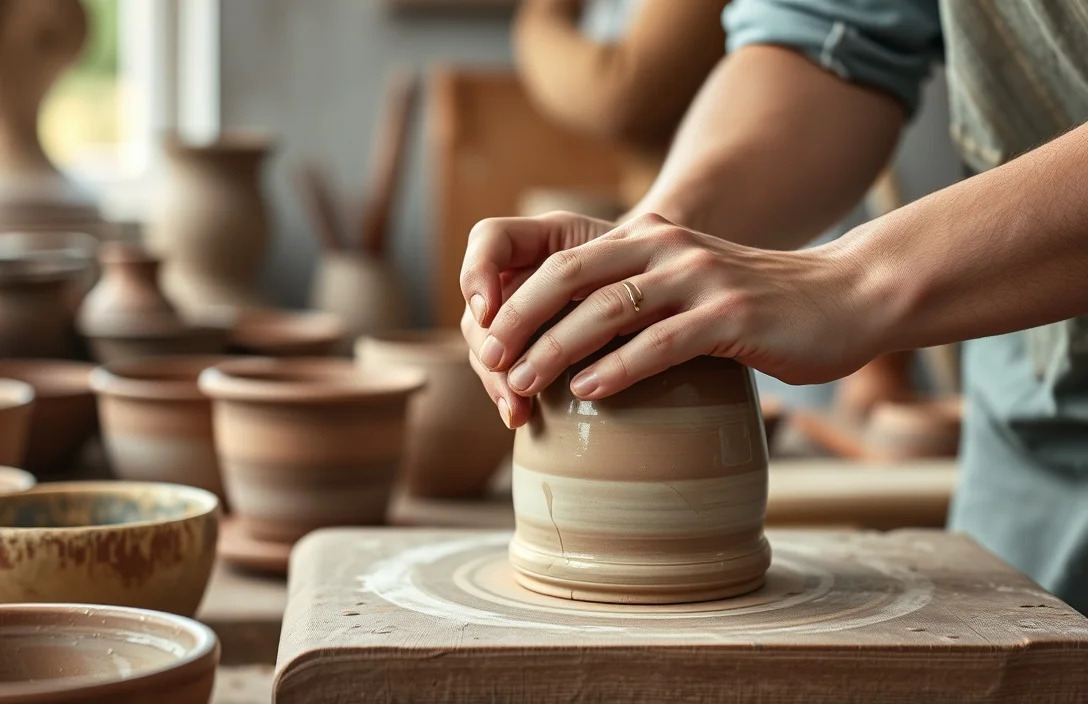
Glazing clay pots is a simple two-fire process: you bisque first, then you apply glaze and fire again to melt it into a glassy surface. The biggest beginner mistake is skipping “bisque is dry and clean,” then wondering why the finish comes out pinholed or patchy.
Start by checking what you already have. Your clay body (for example, earthenware vs stoneware) and your kiln temperature (cone range) determine which glaze will fuse correctly and how it will look after firing. If you don’t know the clay type or cone range, don’t guess. A wrong glaze range can melt too much, stay underfired, or fail to mature.
Aim for a bonded, even surface that won’t absorb water. You’ll need a few basics from any U.S. ceramics supplier, plus a kiln that can reach your glaze’s target temperature.
Basics of how to glaze clay pots?
Glaze is made from materials that melt and flow in the kiln, then cool into a thin glass layer. As that layer cools, it shrinks, so it has to “fit” your clay body. That’s why glaze chemistry and firing temperature matter.
Before you glaze, your pot must be bisque-fired and fully dry. Bisque is porous, and if you trap moisture under glaze, that moisture turns to steam in the kiln. Steam pushes glaze out of place and creates pinholes. Clean surfaces help too, because dust, sanding residue, fingerprints, or slip can create weak spots and crawling.
Application comes down to even coverage, thinness, and consistency. Dip, brush, or pour so the glaze coats without turning into puddles. Thickness affects color, gloss, and how much glaze will run down walls.
how to glaze clay pots?
- Pick a glaze that matches your clay and kiln – Confirm the glaze’s cone/temperature range and whether it is meant for your clay body.
- Bisque fire to the required maturity – Use the same bisque cone the glaze schedule expects (or your clay manufacturer recommends).
- Dry the bisque completely – Let the pot air-dry until it feels bone-dry, then wait longer if the air is humid.
- Clean and handle carefully – Wipe off dust and avoid touching the area you plan to glaze with bare hands.
- Apply glaze evenly (thin coat first) – Dip, brush, or pour in consistent passes so you don’t end up with thick drips.
- Remove drips and control the foot – Keep glaze off the bottom unless your technique calls for it, then mark where it should stay bare.
- Let glaze dry before firing – Rest the pot so surface water evaporates and the glaze is set to the touch.
- Fire to the glaze cone – Load the kiln so pots don’t touch, and follow your glaze’s firing instructions.
For small pots, dipping is usually the easiest starting method. Dip the pot, let excess drain, then rotate it slowly so the glaze leaves an even coat instead of pooling on one side.
For larger pieces or forms with handles and details, brushing gives you more control. Brush a thin coat on vertical surfaces, then blend transitions with a softer brush to avoid streaks.
A simple workflow that avoids most failures
- Bisque – Fire greenware to bisque maturity.
- Clean – Wipe and handle minimally.
- Glaze – Apply one even coat, control the foot.
- Dry – Wait until the glaze stops looking glossy-wet.
- Glaze fire – Fire to the glaze’s target cone.
Things that matter most
Your technique determines whether the pot looks “handmade” or whether it survives the firing without defects. Dipping, brushing, pouring, and spraying each have trade-offs, and the best choice depends on shape and how uniform you need the finish to be.
Dipping works when you control drain time and thickness. Dip quickly, lift steadily, and don’t pause mid-drain. If the glaze is too thick, it often runs during firing. The fix is usually a thinner coat or fewer seconds in the dip.
Brushing works when you keep coats thin and consistent. Thick brush applications build up texture that can crawl or fire unevenly. If you see streaking after firing, the cause is usually uneven wet thickness before firing, not the glaze “changing its mind.”
Pouring works when you coat the inside/foot evenly and prevent unwanted runs. Pour into the cavity, rotate to distribute, then pour out the excess so the inside thickness matches the outside.
| Technique | Key Spec/Price (practical) | Best For | Main Risk |
|---|---|---|---|
| Dip glazing | Requires glaze bucket + strainer (low cost) | Small pots, bowls, consistent coverage | Runs if glaze is too thick |
| Brush glazing | Requires soft brush + extra time | Handles, rims, detailed shapes | Streaks from uneven coat |
| Pour glazing | Requires container + rotation | Lids and interiors | Uneven thickness if rotation is inconsistent |
| Spray glazing | Requires spray setup (higher cost) | Even coats on larger surfaces | Dry spray spots, overspray mess |
If you’re building skill, start with dipping or brushing on test tiles. Glaze a few plain tiles the same way you plan to glaze the pot, then compare gloss and thickness after firing.
What works in practice
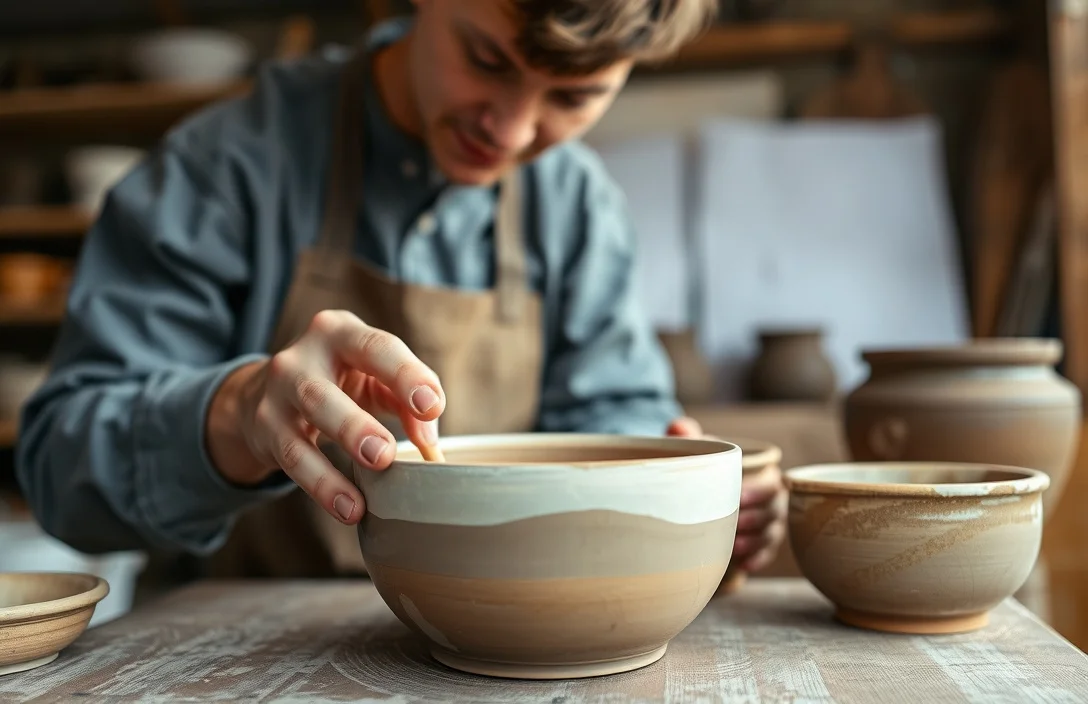
Match glaze and firing schedule to your clay body and kiln range. If the clay doesn’t mature correctly at the glaze firing, the glaze can look fine through the kiln peephole and still fail after cooling due to poor bonding or stress.
Keep bisque clean and grease-free. A fingerprint can start crawling. Sanding dust can contribute to pinholes or weak surfaces. Wipe bisque with a dry cloth before glazing, and avoid handling it by the area you plan to glaze.
Control thickness. Thin, even glaze usually produces fewer defects than one heavy coat. If you want deeper color, use multiple thin coats instead of one thick layer that can run.
Test pieces help when you change only one variable at a time. If you switch from brush to dip or adjust thickness, fire a small scrap first. That saves kiln loads and guesswork.
Plan supports and kiln loading. Pots must not touch during firing, and glaze must not glue ware together. Use appropriate kiln furniture, and treat the foot based on your technique: glaze it where you intend, and leave it bare where your setup requires.
A practical “good default” schedule
- Apply – One thin even coat.
- Dry – Until the glaze no longer looks wet.
- Fire – To the glaze’s specified temperature/cone range.
- Inspect – Check for pinholes, crawling, runs, and sharp color changes.
Mistakes to Avoid with how to glaze clay pots?
Pinholes are the most common glaze failure from first-time attempts, and the causes are usually avoidable. Dirty bisque, trapped moisture, and glaze applied over surface water that hasn’t evaporated all lead to pinholes.
Crawling is another frequent problem, and it usually comes from contamination or a chemical mismatch. Greasy hands, sanding residue, or using a glaze not suited to your clay can cause glaze to pull back and leave bare spots.
Over-thick glaze creates runs, drips, and pooling on corners. Dip too long or brush too heavily and glaze can flow during firing, shifting your intended look. Thin it first, then apply another light coat after you test.
Beginners also glaze the bottom incorrectly. If glaze contacts kiln shelves without the right separator or technique, it can fuse the pot to the furniture. Even without full fusion, glazed feet can stick, chip, or show uneven firing marks.
High-impact mistakes checklist:
- Glazing greenware – Bisque first for most standard workflows.
- Not drying glazed pieces – Steam creates pinholes and weak surfaces.
- Thick “one-coat” glaze – Runs and pooling become more likely.
- Finger oils and dust – Trigger crawling, fisheyes, and bare spots.
- Wrong fit or cone – Causes results ranging from underfired to glassy but poorly bonded.
For faster improvement, reduce variables. Keep the same glaze and application method, then change only one thing like coat thickness.
Pro Tips for how to glaze clay pots?
Use test tiles like training wheels. Glaze a small set on the same clay body, fired with the same schedule, using the same technique and approximate thickness. The test tells you whether you need faster drain time when dipping, lighter brush pressure, or more drying time before firing.
Sieve glaze that’s been sitting or that has visible clumps. Clumps create bumps or pinholes, especially on smooth surfaces. If small defects show up consistently, check glaze consistency early.
Control edges. Most pieces look better when rims and shoulders stay even, without heavy blobs. Wipe the rim lightly with a damp sponge after dipping, then let it dry again before the glaze fire.
Use “dry-to-the-touch” as your visual rule. If the glaze looks wet-slick, it’s too damp for many workflows. Rest until the surface dulls slightly and feels dry so kiln steam generation drops.
Tune color and finish by changing thickness gradually. Glossy glazes can look dull if the coat is too thin, and saturated colors can intensify with thicker coats (within reason). Adjust incrementally, not drastically.
Respect kiln loading. Keep pieces separated and avoid glaze contact with furniture. Plan foot treatment and supports before glazing, not during cleanup.
FAQ
What supplies do I need to glaze clay pots?
You need bisque-fired clay, glaze that matches your clay body and firing temperature, and a way to apply it (dipping bucket, brushes, or pouring setup). Clean-up tools like a dry cloth help, and a sieve is useful if glaze has lumps. If you’re firing, kiln furniture and separators matter to prevent sticking.
How long does it take to glaze a clay pot?
Waiting takes most of the time. After bisque firing, glazing application can be under an hour for a small piece, but drying time is what prevents steam defects. Plan for at least 30 minutes of rest after glazing, plus the kiln firing time and cooling time, which can be several hours depending on your kiln.
Is glazing clay pots safe, especially regarding glaze chemicals?
Glaze work needs ventilation. Avoid making glaze dust clouds when mixing or pouring. Wear gloves if your glaze vendor recommends them, and don’t eat or drink where you handle glaze. Follow the safety information for any powdered materials, and clean up thoroughly.
How do I stop pinholes in my glazed clay?
Pinholes usually come from dirty bisque, surface moisture, or glaze consistency issues. Clean the bisque before glazing, let glazed pots dry until the surface is no longer slick, and avoid glazing right after handling with bare hands. If your glaze has clumps, sieve it before applying so you don’t trap air pockets.
What’s a common beginner mistake when glazing clay pots?
The most common mistake is glazing too thick or glazing before the bisque is fully dry and clean. Thick glaze runs, and trapped moisture creates steam defects like pinholes. Another frequent slip is glazing the bottom in a way that fuses the pot to the shelf, so plan foot coverage based on your setup.
Your next step: pick one glaze that matches your clay and cone range, glaze a test tile using the same method you’ll use on your pot, then fire it and adjust thickness or drying time based on what you see.

- 10 Best Slow Cooker With Cool Touch Handles 2026 (Tested And Reviewed) - October 22, 2026
- 10 Best Slow Cooker With Quality Construction 2026 (Tested And Reviewed) - October 22, 2026
- 10 Best Slow Cooker With Premium Construction 2026 (Tested And Reviewed) - October 22, 2026