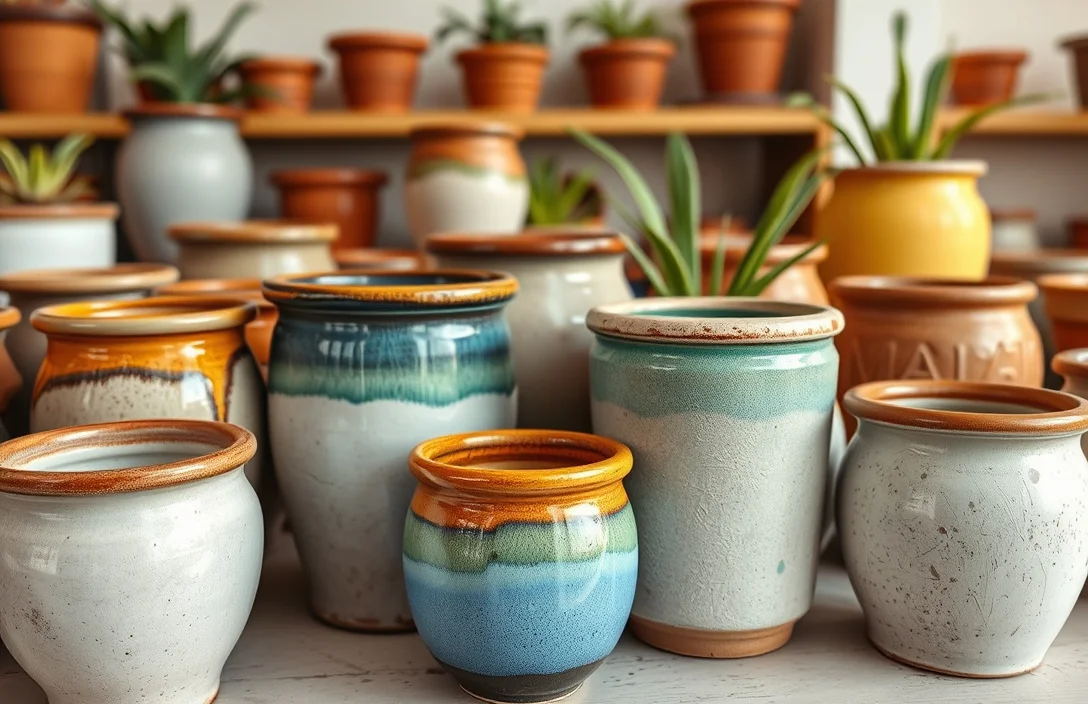
How To Paint Glazed Ceramic Pots?
Glazed ceramic pots look great right up until paint won’t stick. The fix is simple: you prep the glaze so the paint can grip, then you use paint made for nonporous surfaces. This guide walks you through how to paint glazed ceramic pots from start to finish, including what to buy, how to rough up the surface without sanding through it, and how to avoid the most common failure modes like peeling and fisheyes.
Glazed ceramic pots can be painted if you clean well and roughen the surface, then apply a bonding primer made for slick surfaces. Use 2-3 light coats of the right paint, then cure fully before outdoor exposure. For most coatings, “fully cured” means about 7 days at room temperature, not just “dry to the touch.”
Key Takeaways
- Prep the glaze first. Sand to a matte finish and wipe dust-free so paint can grip.
- Use the right primer. Choose bonding primer labeled for glossy/nonporous surfaces.
- Thin coats beat thick coats. Apply 2-3 light layers to reduce runs and bubbles.
- Seal correctly. Indoor decor may need only paint, but outdoor use needs a clear sealer.
- Let it cure. Handle gently after 24 hours, but keep fully cured for about 7 days.
- Plan for water exposure. If the pot holds soil, avoid coating seams where water can get underneath.
How to begin
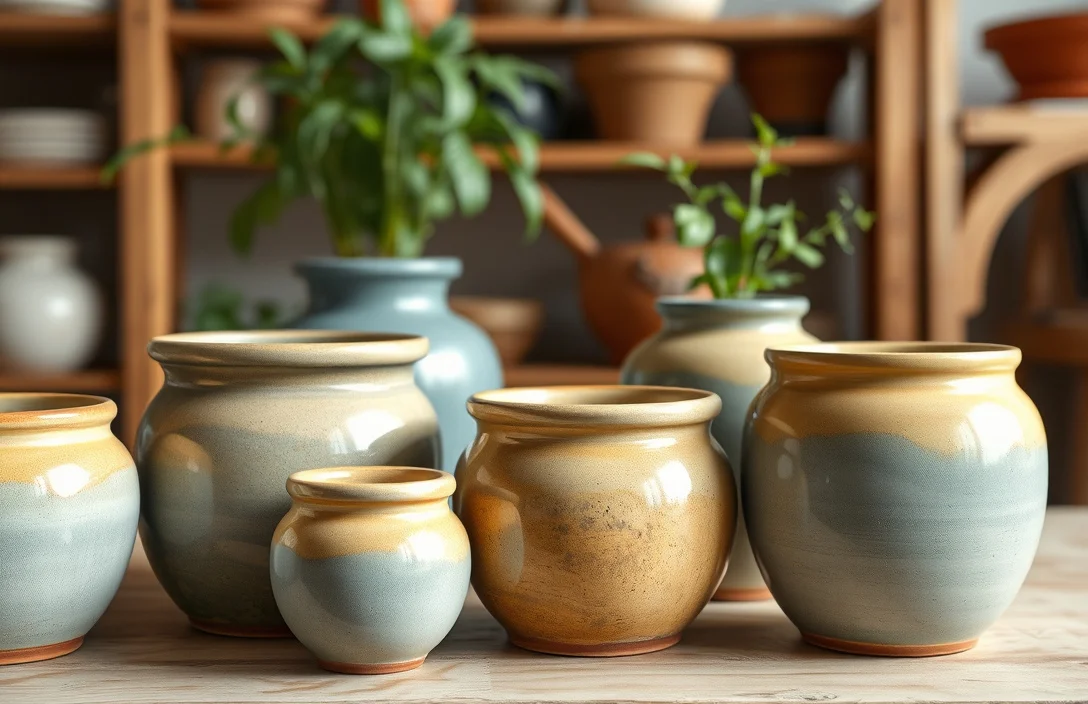
Decide where the pot will live first. Decorative, indoor-only planters can get away with a lighter system. Pots that handle rain, watering, and soil need a finish built to resist moisture, not just one that looks good on day one.
Gather supplies that match that exposure level. You need cleaner, sandpaper (or a sanding sponge), a bonding primer for glossy surfaces, paint made for ceramic or nonporous materials, and a clear topcoat if the pot will see water or sun.
Starter shopping list for most DIY ceramic-pot projects:
- Degreaser or strong dish soap (you can use both, but you need the degreasing step)
- 220 and 400 grit sandpaper (or sanding sponges)
- Lint-free cloths and a tack cloth (optional but helpful)
- Bonding primer for glossy/nonporous surfaces
- Paint (acrylic craft paint, ceramic paint, or spray paint labeled for nonporous)
- Clear sealer (optional for indoor, recommended for outdoor)
- Painter’s tape, plastic drop cloth, gloves, and a face mask for sanding
Quick sanity check: chips, cracks, or flaking glaze means prep comes first. Loose glaze won’t hold paint, and any weak spot will telegraph through as the coating fails.
Basics of how to paint glazed ceramic
Glazed ceramic is smooth and nonporous, so paint fails when adhesion is weak. The matte-sanding step creates a uniform “tooth” for primer and paint to bite into, and bonding primer improves the chemical bond on slick surfaces.
Paint choice affects durability too. Many craft paints dry beautifully but cure softer than you want for outdoor conditions. Use a coating labeled for ceramic or nonporous surfaces, and avoid relying on one thick coat.
Work in layers:
- Primer creates grip
- Paint provides color and coverage
- Sealer improves scuff resistance and water protection (when exposure is expected)
Skipping a layer can look fine briefly, then peel after real exposure.
Run two quick tests before you commit:
- After sanding, press a fingertip to the surface. It should feel less slick than before.
- After priming, look for fisheyes – tiny craters. Fisheyes usually mean contamination or too much remaining gloss. Fix the surface before painting color.
how to paint glazed ceramic
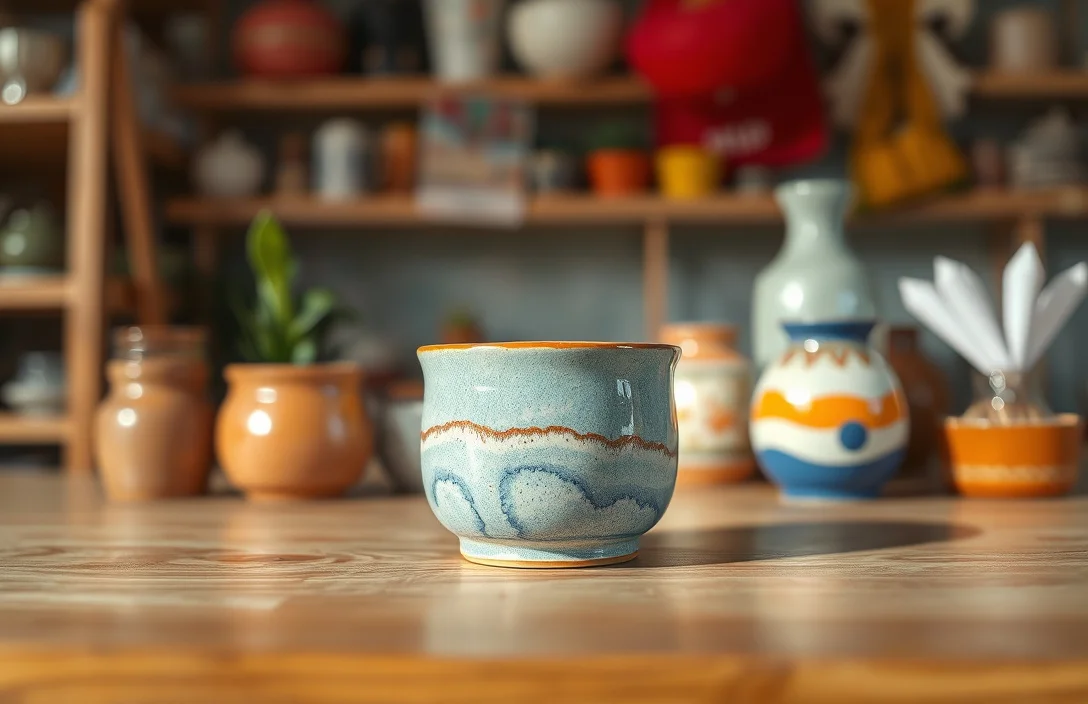
Do these in order. Each step prevents a specific failure.
- Degrease the pot thoroughly. Wash with hot water and dish soap, then use a stronger degreaser if you have one. Rinse well and let it dry completely. Moisture under paint often shows up later as peeling.
- Remove gloss with sanding. Sand the glazed area until it looks uniformly dull. Focus on the areas you’re painting and avoid sanding through edges. Start with 220 grit, then refine with 400 grit.
- Clean off all sanding dust. Wipe with a damp lint-free cloth, then dry it. If you have a tack cloth, use it right before priming.
- Prime with a bonding primer. Apply a thin, even coat. Let it dry per the label. If primer raises texture or looks too rough, lightly re-sand with 400 grit.
- Paint in light coats. Apply 2-3 thin coats, letting each coat dry before the next. If you spray, keep the can at the recommended distance and use slow passes to avoid drips.
- Dry, then cure. Let the pot dry where it won’t get bumped. After about 24 hours you can handle carefully, but plan about 7 days for full cure before outdoor watering and heavy handling.
- Seal if exposure is expected. Indoor decor often can skip sealer. Outdoor or water-contact use needs a clear topcoat compatible with your paint, then cured fully too.
If you’re painting a smooth white ceramic planter, sanding is what keeps the primer from sitting on top of the glaze. If primer beads or slides, gloss or contamination is still present. Address that before applying color.
Rotate the pot while you coat it. Rotation helps keep coverage even and reduces texture ridges around the base, where drips love to collect.
Things that matter most
Adhesion drives everything here, and the techniques are about controlling the surface you leave behind.
Use controlled abrasion – not aggressive grinding. You want a uniform matte finish, not deep scratches that can show through once the topcoat cures. If the surface looks uneven, sand a little longer and move from 220 grit to 400 grit.
Don’t over-wet the surface. Heavy primer and paint coats can trap solvents and create soft spots that chip after watering or handling. Light coats dry and cure more predictably, especially on curved surfaces.
For spray paint, use guide passes. Spray a quick mist pass first, then come back for full coats. That reduces sagging on shoulders and keeps the finish even.
Technique options based on your tools:
- Brush painting: use a foam brush or a good-quality synthetic brush. Keep coverage smooth and feather edges while paint is still wet.
- Spray painting: use multiple light coats and keep a consistent distance to prevent orange peel.
- Patterns: tape edges after the primer cures, then remove tape while the last paint coat is slightly tacky for cleaner lines.
Paint the background first, let it cure enough to handle lightly, then mask. Masking too early increases the chance of peeling at tape lines.
What works in practice
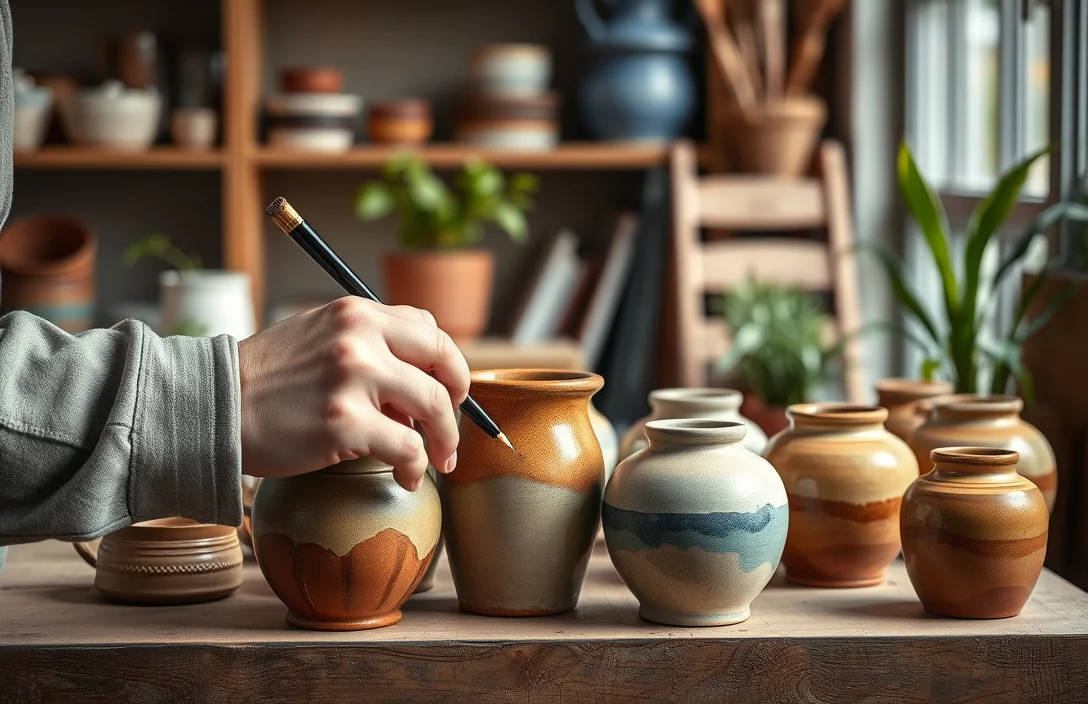
Best results come from scheduling cure time and matching the finish to how the pot will actually be used.
Work in stable conditions. Temperature and humidity change drying and curing behavior. In humid or cold weather, drying can drag out. Rushing that step leads to tacky paint that never fully hardens.
Treat high-wear zones like a priority: handles, rim edges, and the underside of the lip get touched and scuffed. If you seal, focus extra attention on the rim – that’s where scuffs and water contact start.
Use compatible products. Bonding primer is not the same as a random undercoat, and not every clear will bond smoothly over every paint type. Aim for a “system” approach: primer, paint, and sealer all intended for nonporous surfaces and compatible materials.
If the pot holds soil, respect the stresses at the bottom and inside rim. Even a great finish faces repeated soaking and drying. For the most reliable results, paint mostly the exterior or use a liner inside and keep the painted exterior as the main aesthetic surface.
Here’s a quick comparison to pick a system without guessing:
| Paint system type | Key spec/price behavior | Best for |
|---|---|---|
| Bonding primer + acrylic craft paint (brush) | Lower cost, more steps | Small indoor pots, painted accents |
| Bonding primer + ceramic-formulated paint (brush) | Middle cost, durable cure | Indoors or occasional outdoor exposure |
| Bonding primer + spray paint labeled nonporous (spray) | Often faster, easy coverage | Large pots, consistent finish |
| Paint + clear exterior sealer (any paint above) | Adds cost, improves water resistance | Outdoor use and watering-heavy planters |
My practical verdict: for glazed pots that you actually water, don’t skip primer and don’t skip sealer. That combination prevents the two biggest causes of failure – peeling and water tracking under the paint.
Mistakes to Avoid with how to paint glazed ceramic
Painted glazed ceramic fails most often because people paint over slick glaze. Without sanding to a matte finish, primer can’t grab, and paint lifts in sheets.
Skipping degreasing is the next big culprit. Glazed pots often carry residue from manufacturing, handling, or store shelves. Even when the surface looks clean, oils and dust reduce adhesion and can cause fisheyes or crawling.
Over-applying paint also backfires. Thick coats can look faster, but they dry slower, trap solvents, and end up fragile. On curves, heavy coats run and create ridges that show after curing.
Avoid these specific pitfalls:
- Don’t paint on glossy spots. If any areas are still shiny, sand them again.
- Don’t skip curing time. Handling too soon can smear or chip the finish.
- Don’t use incompatible sealer. Some clears won’t bond well to certain paint types.
- Don’t seal before paint dries fully. Sealing uncured solvents under clear leads to haze and soft spots.
- Don’t paint over flaking glaze. Remove or fix loose sections first.
If the paint looks “okay” right after it dries but peels when you wash the pot, the prep step failed – usually sanding or degreasing. Fix that before changing brands.
Use a real test after curing: once fully cured, a lightly pressed fingernail shouldn’t lift edges. If it does, stop and rework – the issue is adhesion, not your topcoat.
Pro Tips for how to paint glazed ceramic
Use a two-pass sanding approach for better adhesion. Sand once with 220 grit to dull the glaze, then sand again with 400 grit to smooth the tooth. You reduce visible sanding marks while still improving grip.
After your final damp wipe, do a “dry wipe.” Dust you can’t see in normal light becomes obvious under primer. A tack cloth is optional, but it’s a low-cost upgrade that prevents hours of rework.
For a more professional finish, spray the base coat and brush details after. Spray gives smooth coverage on curves, and brushing handles accents without fighting overspray.
For durability, seal in thin coats too. One thick clear coat can crack as it cures. Two or three thinner coats stay more flexible and are less prone to peeling.
Workflow habits that pay off:
- Label your parts. If you’re doing multiple pots or colors, keep them separated so curing surfaces don’t get mixed up.
- Use a rotating stand. Rotation keeps coat thickness even and reduces drips.
- Plan for rework. Touch-ups on rims and edges are normal; keep extra primer and paint for those spots.
Next action: choose your coating system based on exposure – indoor-only versus watered/outdoor. Then buy the matching primer + paint + compatible sealer (if needed) and do a small test patch on a hidden area before you paint the whole pot.
FAQ
Can I paint a glazed ceramic pot without sanding?
You can try, but sanding is what makes the biggest difference. Glaze is smooth and nonporous, so paint and primer can’t grip well when the surface stays glossy. Skipping sanding is a gamble on adhesion, and peeling is common after watering or scuffing.
What paint works best on glazed ceramic pots?
Use a primer labeled for glossy or nonporous surfaces, then use paint labeled for ceramic or nonporous materials. Acrylic craft paint can work indoors, but for real durability on glazed pots, choose a system intended to bond to slick surfaces and cure hard. For outdoor exposure, add a compatible clear sealer.
How long does it take for painted ceramic to be durable?
Dry-to-touch can happen quickly, but durability comes from curing. Handle gently after about 24 hours, then wait about 7 days for full cure at room temperature. If the pot will get watered or placed outside, curing time matters more than drying time.
How do I stop paint from peeling or chipping?
Fix adhesion with degreasing, sanding to a uniform matte finish, bonding primer, and thin coats. Peeling usually comes from gloss left behind, contamination, or thick applications that don’t cure well. If peeling starts, stop and redo the prep because removing paint later is much harder.
What’s a common mistake beginners make when painting glazed ceramic pots?
Painting over a slick, shiny glaze. Beginners often assume “paint will stick because it covered,” but coverage is not adhesion. If the primer doesn’t bite (or you see fisheyes), clean and sand again before applying color.

- 10 Best Slow Cooker For Hearty Stews 2026 (Tested And Reviewed) - October 20, 2026
- 10 Best Slow Cooker For Hearty Soups 2026 (Tested And Reviewed) - October 20, 2026
- 10 Best Slow Cooker For Comfort Food 2026 (Tested And Reviewed) - October 20, 2026