Can You Spray Paint Ceramic Pots?
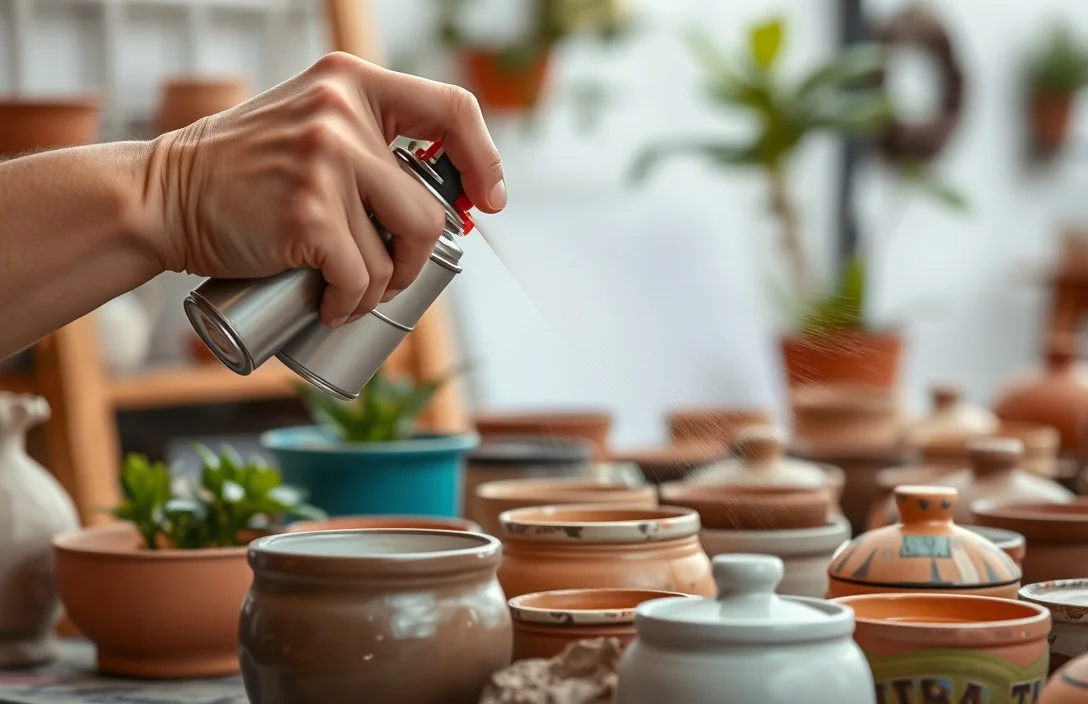
Ceramic pots look great with a fresh coat – and yes, you can spray paint ceramic pots. The catch is that most ceramics are glossy or glazed, so paint can bead up and peel unless you prep correctly. This guide covers what works on glazed and unglazed clay, which spray types to buy, and how to finish so the coating does not rub off once you water plants.
Spray paint for ceramic pots works when you treat it like a bonding job: clean thoroughly, scuff-sand glossy glaze, prime with an adhesion primer, then spray paint made to bond to ceramics. For outdoor pots, use an exterior-rated clear coat and let everything cure fully before you handle the planter.
Key Takeaways
- Yes, with prep. Scuff the glaze and use an adhesion primer – otherwise paint chips quickly.
- Choose the right paint. Use ceramic-safe spray paint or exterior-rated spray paint for outdoor pots.
- Prime is usually required. Glossy ceramics need a primer designed for slick surfaces.
- Dry time varies. Follow the can’s recoat and cure windows before watering or stacking.
- Seal the finish. A clear coat helps resist moisture, scuffs, and fading for outdoor use.
- Avoid high-heat pottery glaze. Painted food-contact or heat-facing surfaces can be unsafe if the finish is not specifically rated.
What to Know About Spray Painting Ceramic Pots
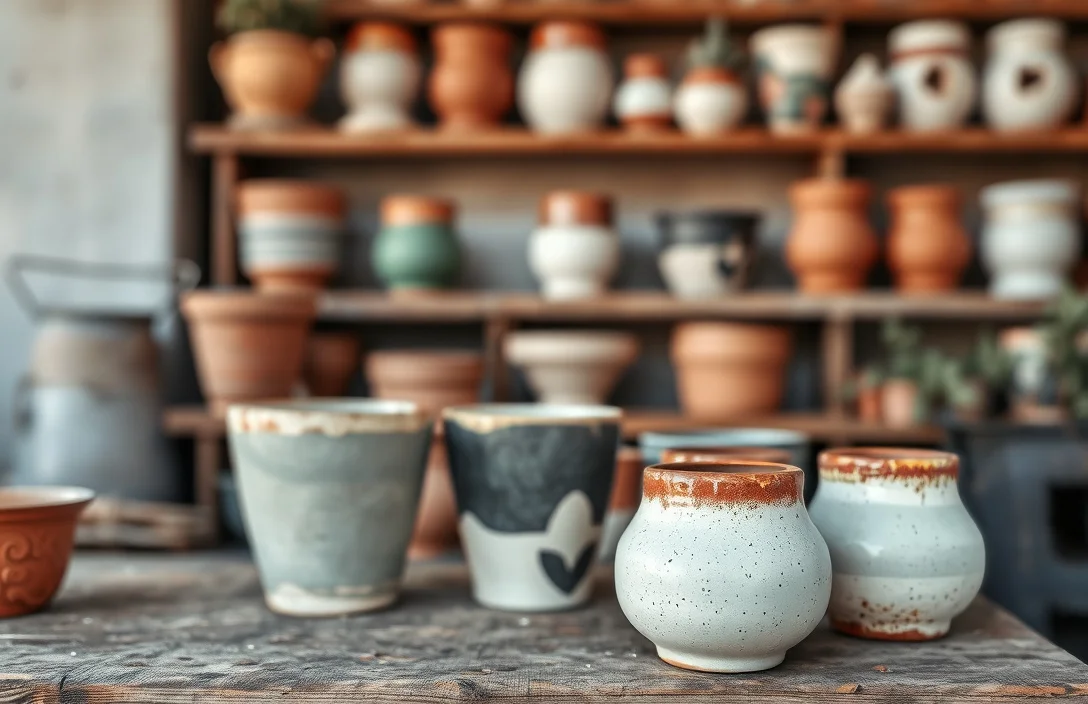
Spraying ceramic pots is doable, but results depend on whether the surface is glazed (smooth and shiny) or porous (matte and absorbent). Glazed ceramic is the most common reason DIY paint fails because paint has trouble sticking to non-porous surfaces.
Create a “grip” layer by cleaning, lightly sanding, and using an adhesion primer that matches the surface – especially for slick glaze. Once the primer bonds, spray paint usually goes on evenly and holds up much longer.
If the pot will hold a live plant, plan around contact and moisture. Any painted finish can scuff from handling, and watered soil can splash the outside – so curing time and sealing matter as much as the color.
Things that matter most
Match your materials to the pot’s surface. If the pot is glossy, treat it like a slick plastic surface, not raw clay. If it is unglazed terracotta-like, prep still matters, but adhesion usually starts out easier.
Technique controls coverage and runs. Use light, even coats and keep a consistent distance from the pot so you do not build thick layers that crack as they cure. When in doubt, spray more thin coats instead of one heavy coat.
Sealing determines how well the finish resists daily wear. Indoors, a clear coat still makes cleaning easier and reduces minor scuffs. Outdoors, use an exterior-rated clear coat so rain, UV, and temperature swings do not dull or peel the paint early.
Use these checkpoints to predict whether a ceramic repaint will hold:
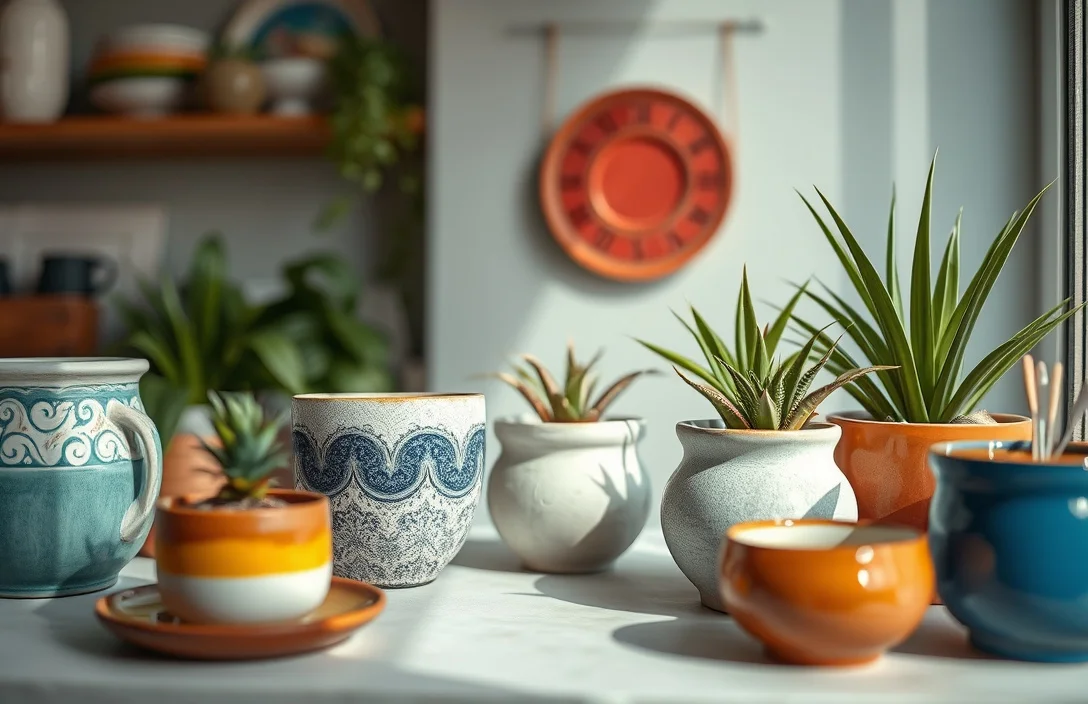
- Surface type check. Glazed = prime for adhesion; unglazed = scuff and prime when needed.
- Primer first. Do not skip primer on glossy ceramics.
- Thin coats only. Two to three light passes beat one thick coat.
- Cure before use. “Dry to touch” is not the same as ready for water and handling.
- Seal for moisture. Clear coat helps resist splash and everyday handling wear.
Tips for Spray Painting Ceramic Pots
Use the right prep materials, not just better paint. Start with degreasing, because fingerprints, potting residue, and hard water spots block adhesion even after sanding. Then scuff-sand glossy glaze until it looks dull, not shiny.
You do not need to strip down to bare ceramic. Scuff the surface enough to create micro-scratches that give primer something to grab. After sanding, wipe again with a clean rag so you do not trap dust under the primer.
Spray in controlled conditions. Humidity and cold air can cause speckling, poor leveling, or rough “orange peel” texture. Wind also matters – overspray particles can land on wet coats and leave tiny bumps.
Respect the can’s recoat window. Wait too long between coats and layers can weaken; coat too soon and you can trap solvents, leading to tackiness or uneven curing. If you get a run, let it fully dry, sand smooth, re-prime the spot, and repaint.
Follow one handling rule: do not rush. Let the paint system cure, then apply a clear coat if you want durability. For live plants, wait until the paint is fully cured before watering heavily, and avoid soaking the painted exterior.
Benefits of Spray Painting Ceramic Pots
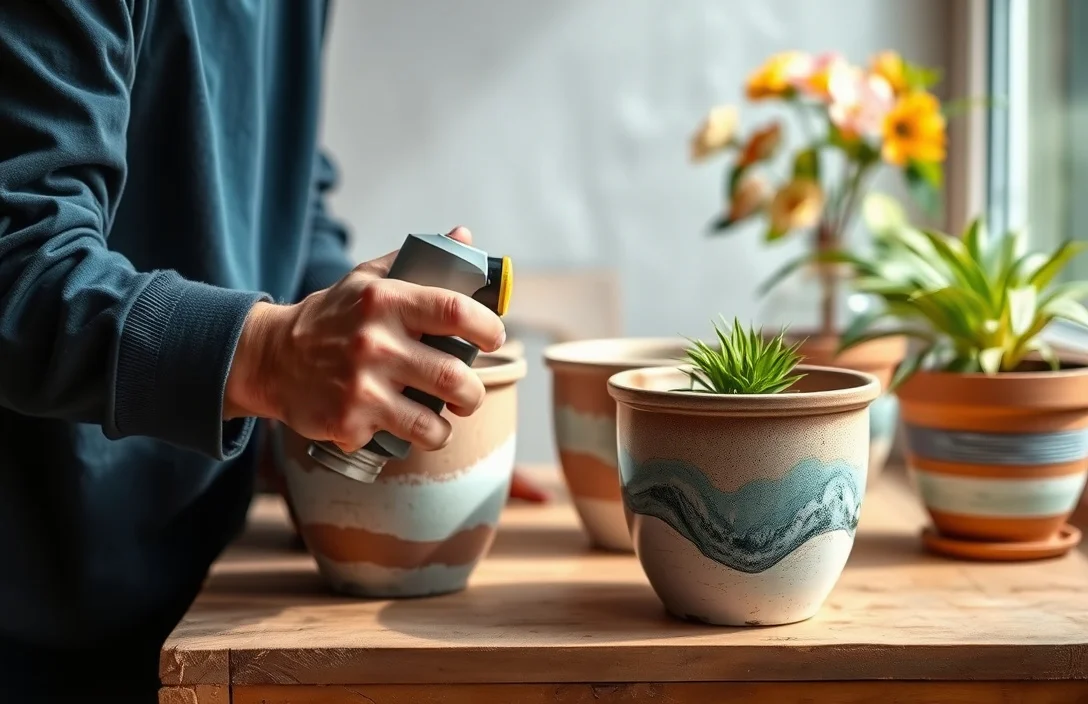
Spray painting lets you customize at a low cost with a high-impact result. A $10-20 pot can look like a $60 decorative piece after proper prep, primer, and sealing, especially when you refresh faded neutrals.
It also makes repair and upcycling easy. Instead of tossing chipped, stained, or outdated planters, you can repaint them to match your room or the season in the garden. You can also choose matte, satin, or glossy looks depending on the paint and clear coat you use.
Painted finishes are easier to clean than bare porous ceramic, especially for indoor pots where soil spills happen. With a clear coat, you also reduce scuffing from moving the pot around.
Done right, you improve weather resistance. Outdoor ceramic pot repainting mostly depends on sealing and curing. A properly sealed paint system resists water splash and UV fading better than paint alone.
Options for Spray Painting Ceramic Pots
Pick the path based on the pot surface and whether it’s for indoor or outdoor use. Skipping primer or using a paint that cannot bond to slick surfaces is where most failures start.
For most ceramic pots, use an adhesion primer first, then choose your spray paint. For outdoor durability, use an exterior-rated spray paint and add an exterior clear coat. For indoor pots, decorative craft-style sprays can work if you prime and cure properly, and seal when you want easy wiping.
Here’s a practical comparison to help you choose:
| Option | Key Spec / What to Buy | Best For | Trade-off |
|---|---|---|---|
| Adhesion primer + enamel spray | Spray paint labeled for ceramic / multi-surface, plus adhesion primer | Most glazed and unglazed pots | Takes time due to priming and multi-coat curing |
| Adhesion primer + acrylic craft spray | Acrylic-based spray with a clear coat | Indoor decorative planters | May scuff faster outdoors unless sealed well |
| Paint + clear coat only (no primer) | Skip primer | Unlikely to hold on glaze | High risk of peeling on glossy ceramics |
| Specialty ceramic spray | Spray labeled for ceramics | Small accent pots, quick projects | Still needs correct prep; availability varies |
| Two-stage finish (paint + topcoat) | Exterior clear coat over paint | Outdoor pots that get handled | Extra step, but better resistance to water and UV |
If your pot has a drainage hole and you use it with a saucer, most splash stays outside the rim – but splashing still happens. Seal the paint layers, especially near where soil sits.
Also confirm what the pot actually is. Some “ceramic-looking” planters are coated plastic or resin. You can paint those, but you need to verify the material and use a bonding primer intended for that surface.
Expert Advice on Spray Painting Ceramic Pots
Treat glazed ceramic like it is harder to paint than raw clay. Scuff-sand to dull, prime with an adhesion primer, then build color in light coats. This simple change prevents the most common failure mode – peeling and chipping on slick surfaces.
Do a test patch first. Choose a hidden spot near the bottom or back. Scuff, prime, spray a small section, then let it cure. If it chips when you gently scrape with a fingernail after curing, switch primer or paint before you commit.
Curing time is where people cut corners. “Dry to touch” usually means the solvent flashed off, not that the coating fully hardened. Use the full cure window on the label before heavy handling or before real water exposure.
Clear coat choice affects how the finish ages. Matte finishes show scuffs more than satin or gloss because matte highlights texture. Satin is a strong middle ground when you want a modern look and decent cleanability.
Do not paint surfaces that will face high heat or direct food contact unless the finish is specifically rated for that use. Most painted pot exteriors are fine for plant use, but keep the pot as intended – decorative exterior, not a heat/food surface.
Examples: Spray Painting Ceramic Pots
For a glazed ceramic planter, wash with dish soap and warm water, then dry completely. Scuff-sand the shiny glaze until it looks dull, wipe away dust, prime with adhesion primer, and apply 2-3 light color coats. After the paint cures, add a clear coat if it’s outdoors or frequently handled.
Unglazed terracotta can be painted too, but you still want the surface to stay stable so the finish looks even. Clean the pot, lightly sand rough spots, and prime if the surface is very porous or dusty. Skip primer on porous pots and you often get patchy coverage because paint soaks in and dries too fast.
To get a modern matte look, use matte or satin spray paint and seal with a compatible clear coat. Matte alone is beautiful at first, but it scuffs more when you carry the pot or wipe off dust. Matte plus a clear topcoat gives better everyday durability while keeping the color true.
For an old ceramic pot with stains or mineral deposits, address the stains during cleaning. Some mineral buildup does not sand away easily and can bleed through thin paint layers, so cleaning and primer choice matter as much as color.
For a small craft pot meant only for indoor display, you can move faster, but prime glossy decorative ceramics anyway. Glossy surfaces can still peel when color goes directly onto a slick glaze. Primer creates a consistent base, making every topcoat go on cleaner.
FAQ
Can you spray paint ceramic pots without sanding?
You can, but glazed ceramics fail more often. Sanding or at least scuffing dulls the surface so primer can bond. If the pot is unglazed and very matte, light prep and cleaning may be enough, but glossy glaze still needs abrasion.
What kind of spray paint works best on ceramic?
Use spray paint labeled for ceramic or multi-surface bonding, ideally with an adhesion primer. For outdoor pots, choose exterior-rated spray paint so UV and rain do not break down the finish. After the paint cures, add a clear coat for better moisture and scuff resistance.
How long should I wait before using the pot again?
Use the can’s guidance for full cure time, not just “dry to touch.” Recoat times are usually shorter, but cure time is what makes the coating hard and less likely to smear. If the pot will be watered regularly, wait through the full cure window before heavy exposure.
Is spray painting ceramic pots safe for plants?
Painted pot exteriors are generally fine for plants when you’re not using the painted surface for food or high heat. The safer approach is to keep soil splash and prolonged soaking off the painted layers by sealing well and using the pot as intended. If the pot holds water, test the finish and let it cure completely.
What’s the most common mistake when painting ceramic pots?
Skipping primer on glossy, glazed surfaces. Paint may look smooth at first, but it chips or peels after watering or handling. Fix it with clean prep, scuff-sanding to dull, adhesion primer, thin coats, and sealing for moisture.
Once you prep correctly, spray painting ceramic pots is a straightforward weekend project. Next step: confirm whether your pot is glazed (shiny) or unglazed (matte), then buy adhesion primer plus the matching spray paint, and plan on full cure time before you water it.

- 10 Best Slow Cooker For Slow Cooking Legumes 2026 (Tested And Reviewed) - October 17, 2026
- 10 Best Slow Cooker For Slow Cooking Oxtail 2026 (Tested And Reviewed) - October 16, 2026
- 10 Best Slow Cooker For Slow Cooking Venison 2026 (Tested And Reviewed) - October 16, 2026