Can You Spray Paint Ceramic Flower Pots?
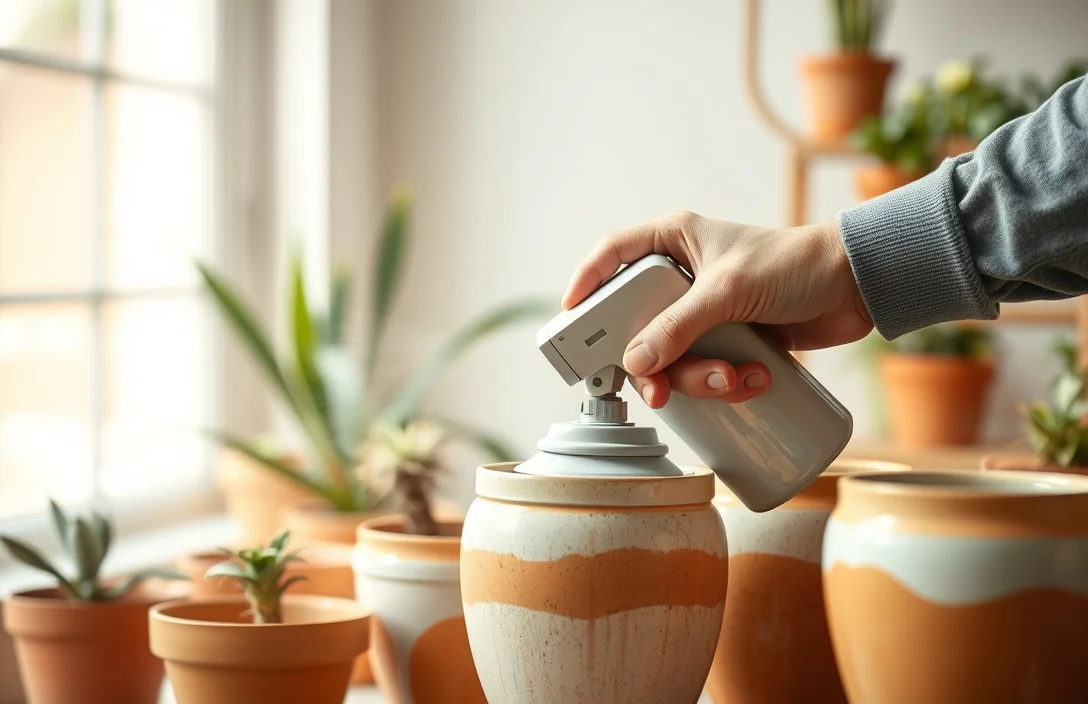
Spray painting ceramic flower pots is absolutely doable, but the part that matters is getting paint to bond to a glazed surface that normally resists adhesion. If your pot is smooth or shiny, use the right prep and primer – otherwise the finish will chip after the first weather cycle. This guide walks you through spray painting ceramic flower pots so the color actually sticks and stays looking clean.
Spray paint ceramic flower pots after you clean thoroughly, scuff the glaze, and prime with an adhesion primer made for slick surfaces. Skip the prep and peeling shows up fast. Use thin, even coats, let everything cure fully, and keep the pot dry for at least 24 hours before moving it.
Key Takeaways
- Yes, with prep. Ceramic pots take spray paint best after cleaning and sanding/scuffing the glaze.
- Primer is required. Use a bonding or adhesion primer for tile, glass, or slick surfaces.
- Choose weather-safe paint. Outdoor pots need an exterior-rated spray paint and clear coat if you want extra durability.
- Use light coats. Multiple thin coats grip better than one heavy coat that can run.
- Cure time matters. Let paint cure 24-48 hours before heavy handling, and longer for full outdoor durability.
- Avoid high-heat products. Don’t use paint meant for appliances or grills unless the label clearly fits ceramic exteriors.
What to Know About Spray Painting Ceramic Flower Pots
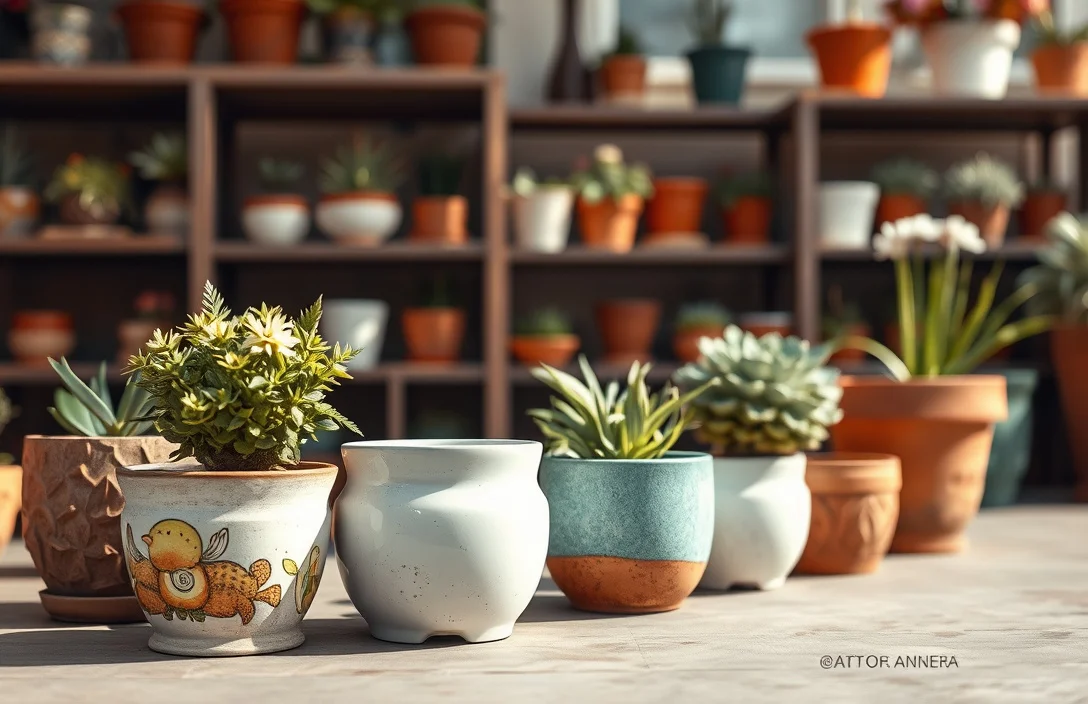
Yes, you can spray paint ceramic flower pots, but most failures come from glaze and contamination – not from the spray paint itself. Many ceramic pots are glazed (smooth and non-porous), so paint sits on top instead of gripping. If the pot has dirt, mineral deposits, or plant residue, even good primer won’t bite well.
Ceramic pots also live through watering cycles – wet, then drying – and they sit in sun and temperature swings. That means the coating needs to handle moisture, UV exposure, and abrasion from soil and tools. Treat ceramic like a slick-surface job (similar to painting glass or tiles), not like painting unfinished clay.
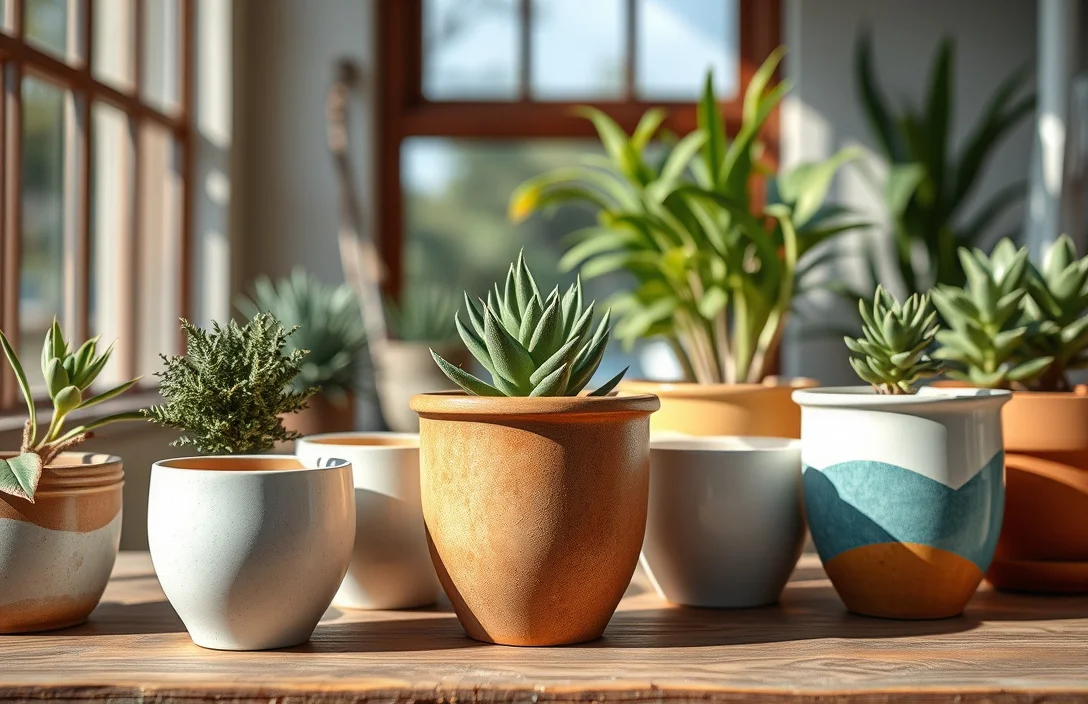
A matte terracotta-style pot usually needs less aggressive prep than a glossy ceramic planter, but the rule stays the same: scuff every glazed pot lightly, then prime before color.
Key Steps for Spray Painting Ceramic Flower Pots
Start by identifying the pot’s finish. If it’s shiny or smooth, you’re painting slick ceramic, and you need adhesion primer designed for glossy or non-porous surfaces. If it’s rougher or unglazed, cleaning and light sanding still help, but the primer requirement is less strict.
Next, pick coatings that are built for outdoors if the pot will live outside. Standard indoor spray paint often looks fine at first, then peels or fades when it hits rain and sun. Choose spray paint labeled exterior or outdoor use, and consider a clear coat for extra scuff resistance.
Then nail the application method. Thin coats reduce drips and help the primer and paint form a durable film instead of pooling. Overloading one spot creates texture issues and weak points where chipping starts.
The order is what saves you time: prep correctly, prime for adhesion, spray light coats, let it cure, then handle. Brand matters less than using compatible primer and paint.
Tips That Actually Improve Results
Clean first, not “just enough.” Wash the pot with warm water and dish soap, then rinse well. If you suspect mineral buildup (common with hard water), wipe with a degreasing cleaner and let the pot dry completely before you sand.
Scuff the glaze lightly. Use fine sandpaper or a sanding sponge (220 grit or similar) until the shine dulls and the surface feels slightly rough. You’re not trying to remove the glaze – you’re creating microscopic texture so primer can grab.
Use adhesion primer, then let it set. Spray primer in light, even passes and don’t try to cover everything in one thick coat. If the primer label says to wait before painting, follow that window.
Spray technique is where most beginners lose durability. Keep the can at a consistent distance, move smoothly, overlap each pass slightly, and stop spraying if you pause. Apply 2-3 light color coats instead of one heavy coat, and check for thin spots after each coat.
When painting around the rim, apply color to the inside edge with the same light passes rather than trying to fill it quickly. Rims chip first when the layers get thick or when drips build up.
Let paint cure before you put plants back in. Even if the surface feels dry, the coating can still be vulnerable underneath. Wait at least 24-48 hours before heavy handling, and longer for outdoor use in hot sun or frequent rain.
Benefits of Spray Painting Ceramic Flower Pots
The biggest benefit is flexibility. Spray paint lets you match pot colors to your garden, refresh old planters you already own, and create a cohesive look without replacing everything. You can also turn thrift-store mismatches into a consistent, intentional finish.
You get surface control too. With the right primer and an optional clear coat, you can reduce staining from soil moisture and make the pot easier to wipe down. That helps when you’re growing herbs or plants that leave mineral marks or leak water.
There’s also a creative benefit that stays practical. You can do solid color, ombré gradients, or stenciled patterns on flat ceramic without needing brush skill. Spray paint’s even atomization makes ceramic rims and curved shapes look cleaner than hand-painting.
With the right steps, the finish can handle regular outdoor conditions for a meaningful amount of time. Durability depends on primer quality, paint rating, and cure time – it’s process-driven, not luck.
Your Best Options (Based on Pot Finish and Location)
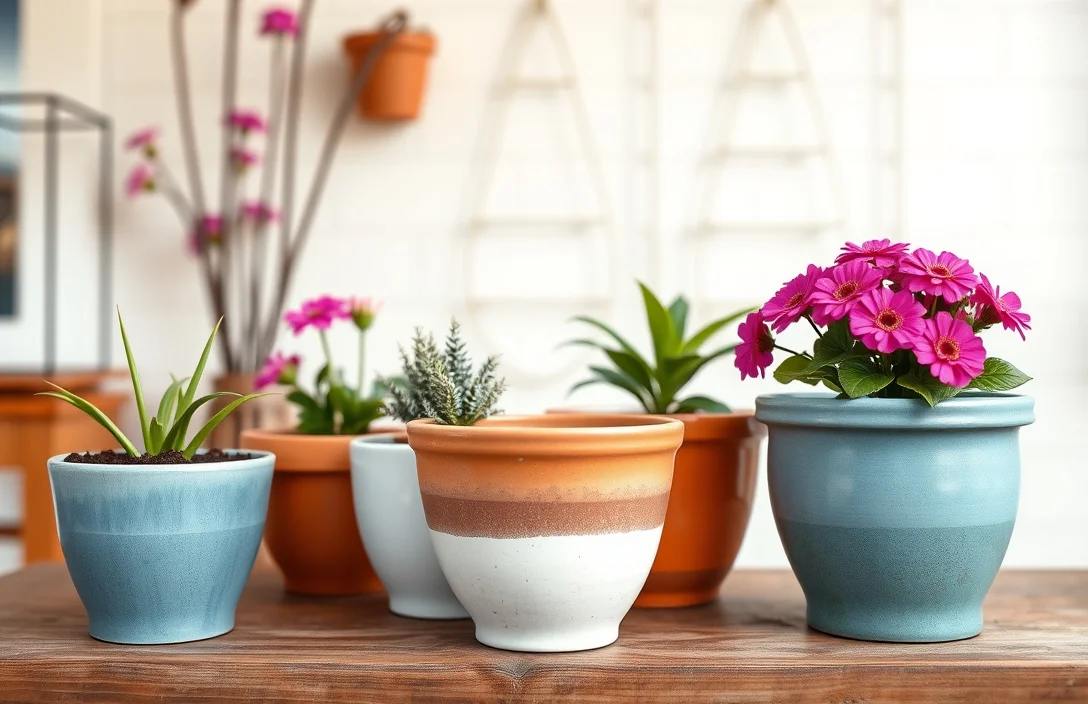
Your options depend on two things: whether the pot is glossy and whether it will be outdoors. If the pot is glossy, your best path is adhesion primer plus a compatible spray paint. If it’s outdoors, add a clear protective topcoat when you want extra protection.
| Option | Key Spec / What to buy | Best For | Main Trade-off |
|---|---|---|---|
| Adhesion primer + exterior spray paint | Adhesion primer for slick/glossy surfaces, exterior-rated color | Outdoor glazed pots | Requires more steps but reduces peeling |
| Adhesion primer + interior spray paint + clear coat | Non-exterior color plus protective clear | Indoor pots or covered patios | Less UV resistance than true exterior paint |
| Paint + clear coat only (skip primer) | Usually not recommended | Rough/unsealed ceramic only | Can fail on glazed surfaces due to poor bond |
| Acrylic craft paint + primer | Acrylic paint made for hard surfaces | Detailed work or touch-ups | Slower coverage, less uniform than spray |
| Epoxy-based coating (specialty) | Specialty coating system | Maximum durability jobs | More prep work and stricter curing needs |
When choosing a color, keep dark tones in mind. Dark paint absorbs more heat in direct sun, which can stress coatings over time, especially on surfaces prone to micro-cracking. It’s not a deal-breaker – it just makes primer and cure time even more important.
In practice, most people get the best results with: adhesion primer first, then 2-3 thin coats of exterior spray color, then a clear coat if they want better scuff resistance.
Expert Advice That Prevents Peeling and Chipping
Treat ceramic like glass, not like wood. Glazed ceramic is non-porous, so primer is the mechanical lock that keeps paint from lifting at the edges. Skip primer and you can still get a nice first coat, but chipping and peeling usually show up later where the paint flexes and contracts.
Spray with a dust-controlled environment. Spray paint needs clean air and time to dry without grit landing on tacky surfaces. If you work in a garage, keep doors mostly closed, avoid heavy airflow pushing dust across the surface, and wear a mask for inhalation safety.
Respect compatibility. Primer and paint should be compatible chemically, which is why using a matching system (or products designed to work together) is the safer approach. Mixing specialty coatings and primers can trigger adhesion problems or wrinkling.
Don’t confuse dry to the touch with cured. Dry to the touch can happen quickly, but the coating may still be vulnerable to fingerprints, soil contact, or moisture intrusion. If your planter gets water frequently, prioritize full cure before you resume normal use.
Humidity can change the schedule. If you painted on a humid day, extend drying time before applying the next coat or before outdoor exposure. Humidity doesn’t just slow drying – it can weaken film formation when you rush.
Test a small area first. If you’re unsure how your pot’s glaze behaves, spray a small hidden spot or the bottom. If the finish stays smooth after cure and doesn’t rub off, you’re set. If it chips or feels powdery, you need more scuffing or a different primer.
Examples You Can Copy
Example 1 – A glossy white ceramic planter with peeling old paint. Scrub with dish soap, rinse, and fully dry. Scuff until the shine dulls, apply adhesion primer in light passes, then spray color in 2-3 thin coats. Let it cure before taking it outdoors. This works well because you re-establish adhesion on a slick surface.
Example 2 – An older pot with mineral crust near the drain holes. Clean thoroughly and remove deposits around the areas that trap water. If you don’t, coating can lift where minerals remain under the primer. Scuff, prime, then spray thin coats – especially around the hole areas where wear starts first.
Example 3 – A patterned pot you want to repaint solid. You can spray over printed ceramic if you prep and prime correctly. Scuff, prime well, then apply color in multiple light coats so the old pattern doesn’t show through. If the design is deep, plan on additional coats, but avoid heavy layers that create texture.
For a higher-end look, paint the pot first, let the color cure, then add a clear coat. The clear coat improves scuff resistance and helps create a more uniform finish across edges and curved areas.
FAQ
Can you spray paint glazed ceramic flower pots?
Yes, but glazed ceramic needs adhesion primer. Clean the pot, scuff the glaze so it dulls, apply adhesion primer for slick surfaces, then use exterior-rated spray paint in light coats. Skipping primer makes peeling likely because glazed ceramic is non-porous.
What paint should I use on ceramic flower pots outdoors?
Use spray paint labeled exterior or outdoor use, since the coating must handle UV and moisture. For glazed pots, pair it with an adhesion primer made for glossy or non-porous surfaces. If you want extra protection, add a compatible clear coat labeled for outdoor durability.
How long should ceramic pots dry and cure after spray painting?
Surface drying can happen within hours, but curing takes longer. Wait at least 24-48 hours before heavy handling, watering nearby, or frequent outdoor exposure. If the weather is humid or temperatures are cool, extend the wait time and follow label directions.
What’s the biggest mistake when spray painting ceramic flower pots?
Skipping scuffing and primer is the #1 mistake. Beginners often spray color straight onto glossy ceramic, which leads to peeling or chipping at the rim after the first watering cycle. Clean well, dull the shine with light sanding, and use an adhesion primer before color.
Can I spray paint ceramic pots without sanding?
You can sometimes skip sanding on very rough, unglazed ceramic, but most glazed pots still need scuffing. Without sanding, the surface stays too smooth for primer to bond consistently. Safer approach: light scuffing with fine sandpaper or a sanding sponge, then primer, then paint.
A good next step is simple: determine whether your pot is glossy or unglazed, scuff the surface to dull the shine, then buy adhesion primer and an exterior-rated spray paint if it will go outdoors. If you tell me whether your pot is glossy and whether it stays outside, I can suggest the cleanest paint system for your situation.

- 10 Best Slow Cooker For Slow Cooking Oxtail 2026 (Tested And Reviewed) - October 16, 2026
- 10 Best Slow Cooker For Slow Cooking Venison 2026 (Tested And Reviewed) - October 16, 2026
- 10 Best Slow Cooker For Slow Cooking Turkey 2026 (Tested And Reviewed) - October 16, 2026