Can You Spray Paint Terra Cotta Pots?
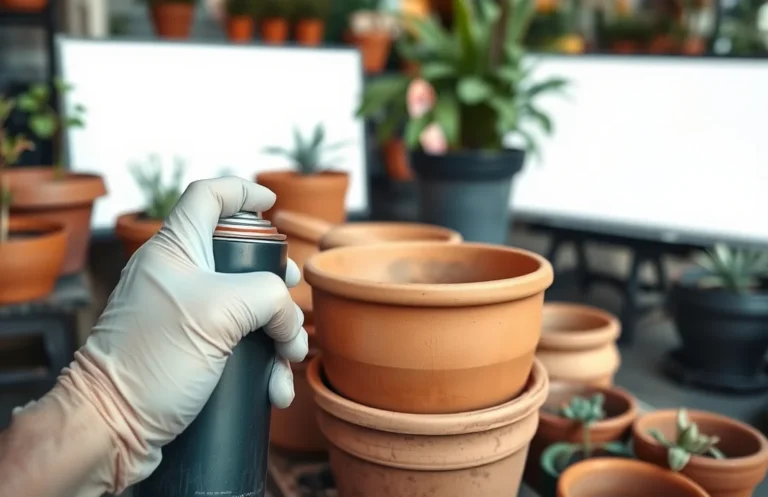
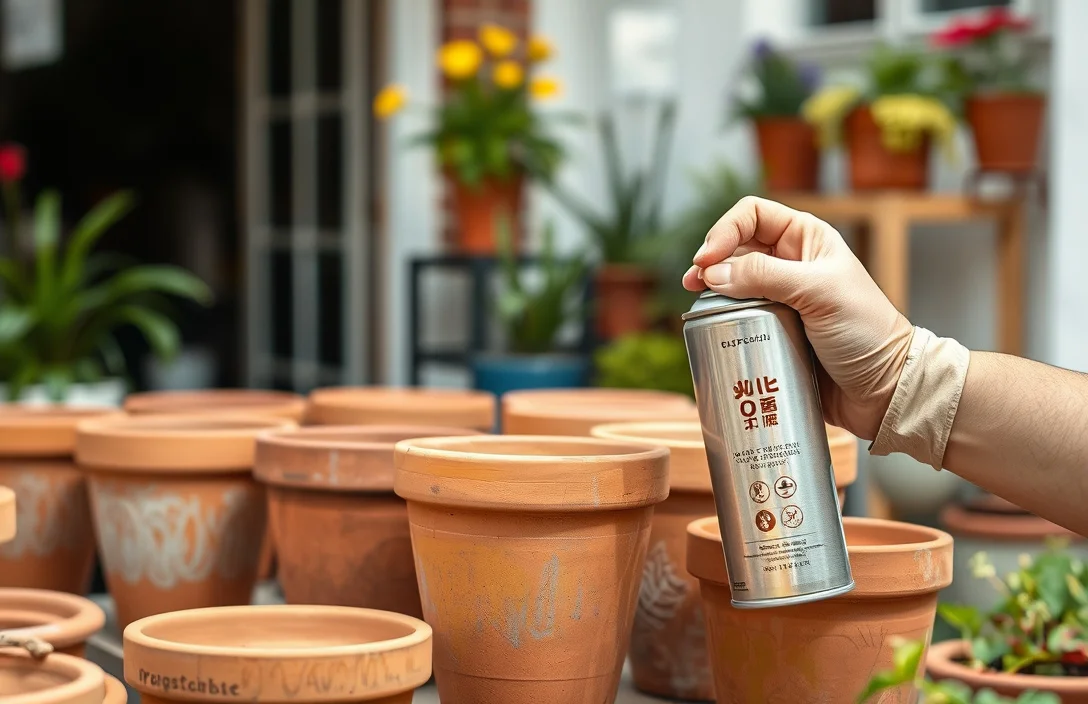
Terra cotta pots look great, but they drink in paint fast, and the wrong prep leaves you with rough, patchy coverage. Spray painting terra cotta pots is usually the fastest way to get a new look without buying new planters. This guide walks you through what to use, what to avoid, and how to get clean, durable results.
Spray painting terra cotta pots works best when you clean and seal the porous surface first, then use paint made for terra cotta or masonry. Use a primer for porous materials, plan on 2 to 3 light coats, and let each coat dry fully. For the best outdoor durability, finish with a clear sealer.
Key Takeaways
- Yes, you can. Terra cotta is porous, so primer and thin coats make coverage look even.
- Prep is the difference. Scrub, dry completely, and remove dust so paint bonds instead of peeling.
- Use the right primer. A bonding or masonry primer helps block tannins and improves adhesion.
- Plan for weather exposure. Outdoor pots need exterior-rated paint and a clear topcoat for longer life.
- Avoid thick coats. Thick spray causes drips and can trap moisture on the surface.
- Don’t rush cure time. Fully dry and cure before heavy watering or moving outdoors.
What to Know Before You Spray Paint Terra Cotta Pots
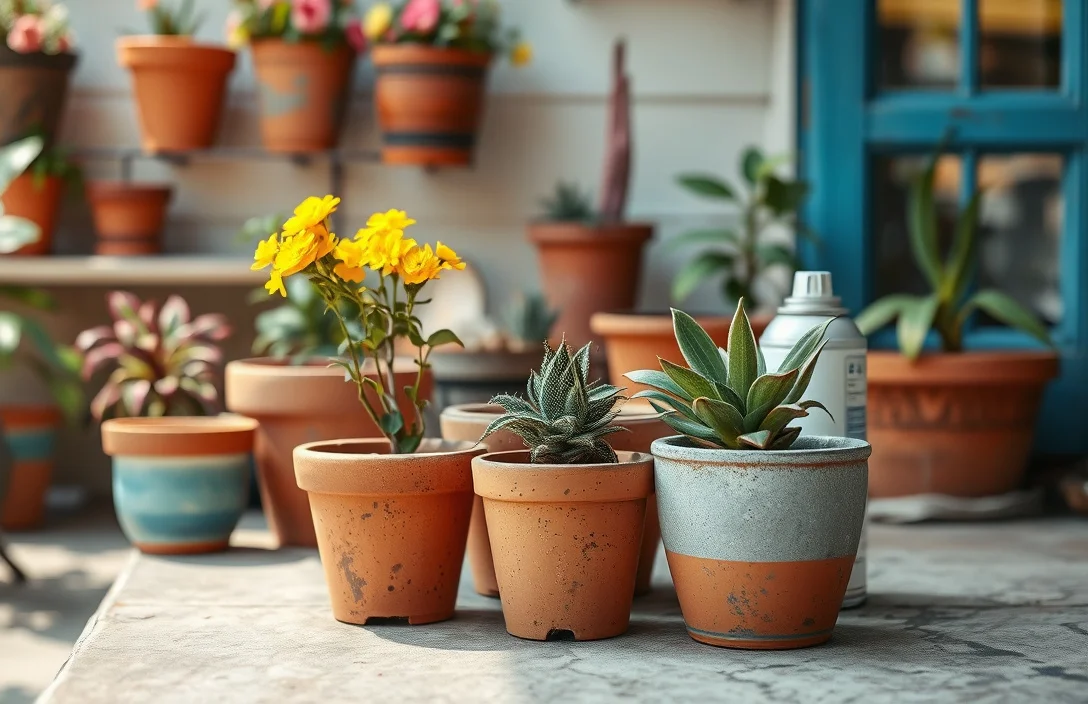
You can spray paint terra cotta pots, but you have to treat them like porous masonry, not like smooth plastic. Terra cotta absorbs paint readily, so without sealing and priming first, color can soak in unevenly and dry blotchy.
Temperature and humidity also matter. If the pot is cold, damp, or still holding moisture from washing, the paint can “fisheye” and dry with a rough, uneven look because the surface condition changes as the solvent flashes off.
Terra cotta also contains minerals and iron compounds that can bleed through some coatings over time. That’s why a stain-blocking or bonding primer matters, especially if you’re painting dark clay to a light color.
If the pot will hold soil and get regular watering, use an outdoor-rated system (or at least an exterior clear coat). Indoor-only finishes can look fine for months, then fail sooner outside when sun and rain stress the coating.
Things that matter most
Pick your paint and finish based on how the pot will be used. “Spray paint” includes very different chemistries, and not all of them hold up to outdoor sun, rain, and repeated wetting.
Outdoor pots should use labels that say exterior. If the pot will contact soil and water, keep paint coverage inside the rim and on the bottom more deliberate. Paint can chip where water hits and where roots grow, especially if you paint areas you’ll constantly keep wet.
The practical order is simple: primer first, then color, then an optional clear topcoat. Skipping primer is the most common cause of peeling on unsealed porous clay.
How you spray matters just as much as what you buy. Use light, overlapping passes instead of one heavy coat. Thin coats dry more evenly, reduce drips, minimize orange-peel texture, and prevent “dry spray” when the nozzle is too far away.
Schedule drying like it matters. The pot may feel dry after an hour, but coatings continue hardening after that. If you water or handle the pot too soon, you can scuff the finish before it reaches full toughness.
Tips That Prevent Blotches, Drips, and Peeling
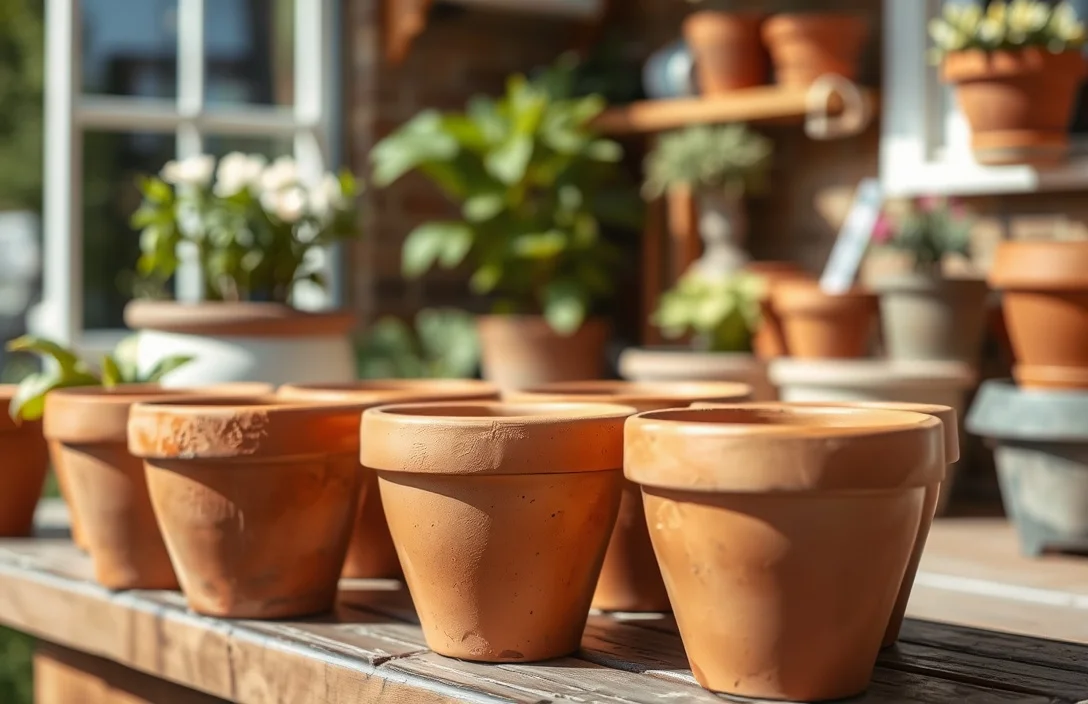
Clean and dry the pot fully before priming. Many terra cotta pieces respond well to a scrub with dish soap and warm water to remove dust and surface residue. Then you need enough dry time for the clay to stop releasing moisture.
For most washed pots, let them dry overnight in a warm, airy spot. If the pot still feels cool or damp inside its pores, pause and dry longer. Paint won’t bond well to clay that’s still “wet in the clay.”
If the surface is glossy or dusty, scuff it lightly. You’re not sanding the pot into oblivion. You’re just giving primer something to grip.
For the smoothest look, use these application habits:
- Shake the can thoroughly so the spray pattern stays consistent.
- Hold the can at the distance specified on the paint instructions.
- Spray in light coats, overlapping each pass about halfway.
- Pay extra attention to the lip and edges, where overspray piles up and runs.
- Let each coat dry fully before applying the next one.
Avoid windy conditions or direct hot sunlight if you want a crisp, clean finish. Wind leaves uneven overspray, and hot sun can flash-dry the surface before the coat levels out.
Benefits of Spray Painting Terra Cotta Pots
Spray painting terra cotta pots lets you match existing planters, furniture, or outdoor decor without replacing anything. It also lets you control the color intensity and finish level, whether you want matte, satin, or gloss.
A good coating can make cleaning easier. Proper primer and sealing create a smoother surface that’s simpler to wipe when mineral stains, fertilizer residue, or soil splatter show up.
Paint also helps slow down some environmental wear. It’s not armor, but a solid primer plus a clear topcoat reduces the speed of surface erosion and helps limit fading from sun exposure.
Spray painting also upgrades mismatched thrift finds quickly. When you use the same primer and paint system across a pile of terracotta pots, they start looking like a coordinated set.
Your Best Options for Painting Terra Cotta
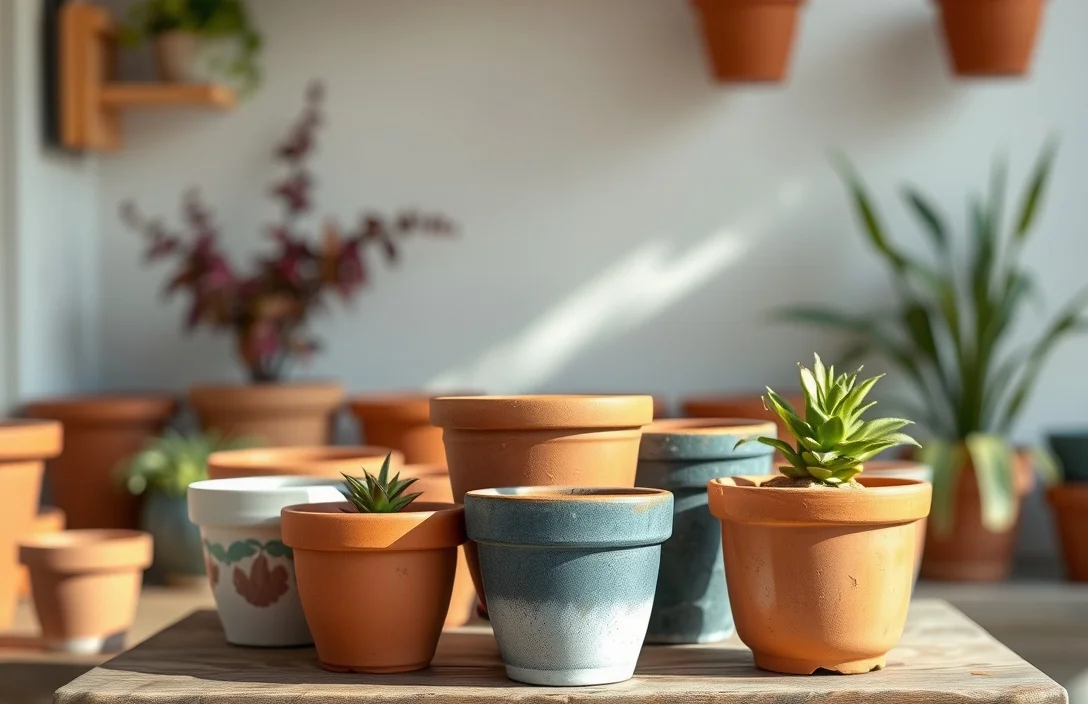
You have several workable paths, and the best one depends on indoor vs outdoor use and whether you want matte vs glossy.
Option A: Full Paint System (Best for Durability)
Clean and dry, prime, spray color, then add an optional clear exterior topcoat. This is the most reliable approach for even coverage and the longest-lasting finish outdoors.
Option B: Primer + Color Only (Good for Indoor Use)
If the pot stays inside and only sees light, you can often skip a clear topcoat. Primer still matters, but the extra sealer step mostly protects from weather stress and abrasion outdoors.
Option C: Paint + Partial Sealing (For “Look First” Projects)
If your priority is color and you don’t mind some wear at contact points, you can avoid clear coating in the inner rim area. This reduces the chance of flaking where water routinely hits.
Option D: Stencil or Pattern Approach
For stripes, dots, or lettering, spray the base color first and let it dry. Then use painter’s tape or stencils for masking and spray your accent color in light coats. Remove tape when the paint is dry to the touch but not fully cured to reduce the risk of tearing.
| Approach | Best For | Key Product Choices | Expected Wear |
|---|---|---|---|
| Primer + color + clear exterior | Outdoor pots, long-life finish | Masonry/bonding primer, exterior spray color, exterior clear topcoat | Highest |
| Primer + exterior or indoor spray color (no clear) | Indoor pots, decorative use | Primer + color matched to indoor/exterior exposure | Medium |
| Specialty stain-blocking primer + color | Light colors over old dark terra cotta | Stain-blocking or high-adhesion primer | Medium to high |
| Pattern masking (stencil/tape) | Clean designs | Tape/stencils rated for paint, multiple light coats | Medium |
If you’re unsure, default to the full paint system. It isn’t complicated, and it gives you more margin for error.
Practical Advice That Makes Outdoor Results More Reliable
Do a test pot if you’re painting a set. Spray a small section on one spare pot first so you can judge coverage, bleed-through, and how the finish looks in your lighting. Terra cotta batches vary, and testing helps you avoid ruining your whole stack.
Use the light coats method. Thick coats trap moisture and solvents, and on porous clay that can show up as tacky spots, dull patches, and drips. If you see runs starting, stop and let it dry before sanding and re-priming. Don’t just spray over it.
Be strict about cure time. Soil and watering too soon can stress the coating while it’s still hardening. Let it dry to the touch first, then wait longer before heavy use and planting.
If you want longevity outdoors, a clear coat is usually worth it. Transport and day-to-day contact can scratch paint, and a clear topcoat adds abrasion resistance when paired with an exterior-rated system.
Avoid painting inside drain holes and deep interiors if the pot will get lots of direct water. Most failures start at water-hit areas where coating chips, then peels outward. Keep the finish where it’s least likely to stay constantly wet.
Examples of What “Good” Looks Like
You can get great results with either a simple color or a pattern, as long as you keep the prep and coat strategy consistent.
A white matte look on a terracotta pot works well with a bonding primer and 2 to 3 thin color coats. The biggest mistake is trying to cover the clay in one pass, which often leaves reddish “ghosting” through the paint. If the pot is outdoors, seal after the final coat dries to help prevent scuffing during watering.
A weathered “antique” finish is easier when you combine a base color with a light overlay technique. Paint the pot with one solid base, let it dry fully, then apply a contrasting color using partial coating methods like rag wiping or gentle dry-brushing. Skip heavy spraying to reduce buildup in texture valleys.
For patio or classroom projects, striped planters are a crowd-pleaser. Spray the base color first, let it dry, apply painter’s tape for straight bands, spray the stripe color lightly, then remove tape carefully. Cure everything before moving the pots into their final spot.
If you have multiple pots, match them by using the same primer and the same spray brand throughout one project. Different paint batches and nozzle performance can create subtle shade shifts that become obvious once the pots are grouped together.
FAQ
Can you spray paint terra cotta pots without primer?
You can, but it’s a gamble. Terra cotta is porous and absorbs paint, so skipping primer often causes uneven coverage and peeling over time. A bonding or masonry primer improves adhesion and helps reduce clay color bleeding through.
How long should you wait before watering a freshly painted terra cotta pot?
Wait until the paint is dry to the touch, then give it extra time to cure before heavy watering. If you can press a fingernail lightly into the finish and it feels tacky, wait longer. Outdoor use usually benefits from longer cure time to reduce scuffing from moving and rainy weather.
What type of spray paint is best for outdoor terra cotta pots?
Use exterior-rated spray paint plus an exterior clear topcoat for outdoor exposure. Pair it with a primer designed for masonry or porous surfaces so adhesion holds when humidity and temperature swing. If the pot gets direct sun, prioritize a system that resists fading and abrasion.
What is the biggest mistake people make when spray painting terra cotta?
They rush thick coats. Thick spray drips and traps solvents, and on porous clay it can create dull patches and weaker bonding. Use light, overlapping passes and let each coat dry fully before applying the next.
Can you spray paint terra cotta pots and still plant in them?
Yes, you can plant in painted pots, but plan around where water repeatedly contacts the finish. Paint can chip where water hits most often, so keep coverage intentional around drain holes and the inner rim area. For the longest lasting finish, paint mostly outside surfaces and avoid coating areas that stay wet.

- 10 Best Slow Cooker For Slow Cooking Oxtail 2026 (Tested And Reviewed) - October 16, 2026
- 10 Best Slow Cooker For Slow Cooking Venison 2026 (Tested And Reviewed) - October 16, 2026
- 10 Best Slow Cooker For Slow Cooking Turkey 2026 (Tested And Reviewed) - October 16, 2026