Filler For Large Flower Pots Explained Simply
Large flower pots sink, slump, and look “empty” fast unless you pack the bottom. The easiest fix is pot filler – space-filling material that lets you use less potting mix while keeping the plant stable and drainage working. This guide on filler for large flower pots helps you pick the right material, size it correctly, and avoid the common drainage mistakes that waste money.
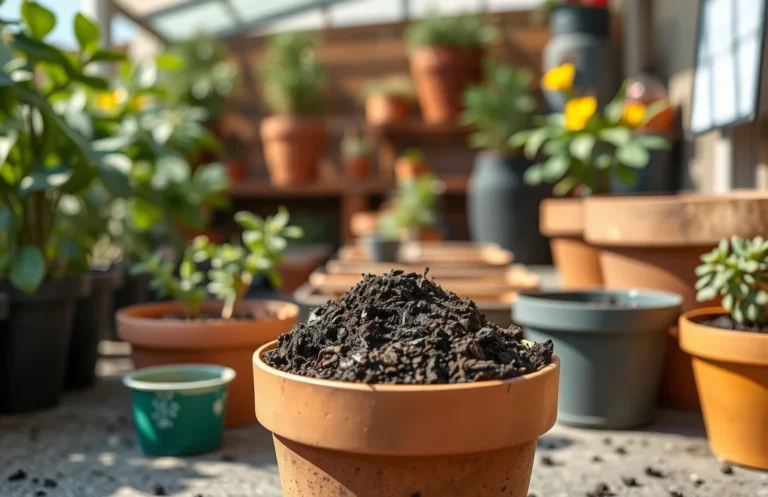
Filler for large flower pots is anything you place in the pot’s bottom to reduce potting mix volume without stopping water flow. Use lightweight, porous material and keep it above the drainage holes, or roots sit in waterlogged conditions. For most setups, leave at least a couple inches of clearance from the holes, then top with potting mix.
Key Takeaways
- Purpose is simple. Filler reduces potting mix volume and helps large pots look fuller without wasting soil.
- Drainage comes first. Keep filler above drainage holes so water can flow through.
- Pick materials wisely. Use inert, porous options like foam insert substitutes or pot-shaping mix – not soil.
- Weight matters. For patios and balconies, lightweight fillers cut load without creating a soggy root zone.
- Size the air pocket. Cover filler with a solid layer of potting mix so roots grow into real growing medium.
- Avoid compaction. Don’t pack filler tight, or you risk slow drainage and stressed roots.
What to know about filler for large flower pots
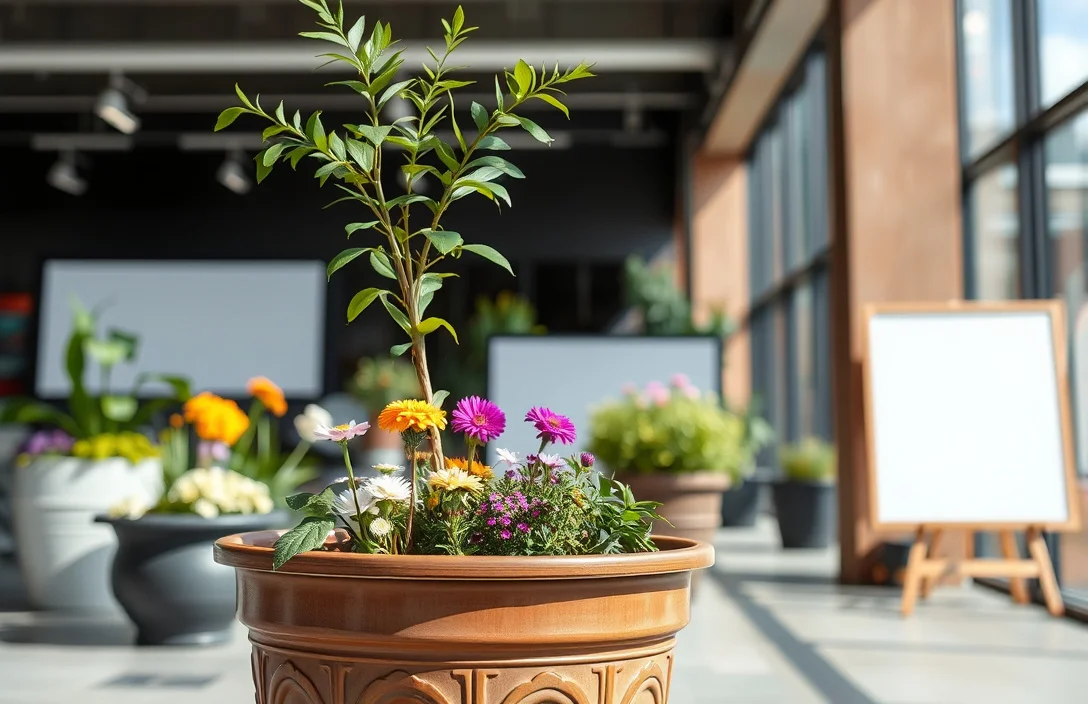
Filler for large flower pots is not “soil” you mix into everything. It is material you place lower in the container so you buy less potting mix and the pot doesn’t look hollow underneath. For plants, the point is simple: roots still need enough real potting mix depth to access oxygen and nutrients.
The biggest mistake blocks the drainage holes or creates a low-drain “bathtub” zone. When water can’t move freely, roots sit in stagnant moisture and start to rot or stall. That’s why filler isn’t just a volume trick – it’s a drainage decision. Your pot’s drainage pattern determines what will work.
People also underestimate how fill height changes the look. Large pots look best when the plant sits high enough to hide the transition from the rim to the root zone. That usually means choosing filler that raises the “true soil level” without loading the pot with unnecessary mix.
Filler also changes watering. More potting mix means more water held in reserve; less potting mix dries faster in heat. That’s not automatically bad, but it does mean you should adjust how often you water.

Helpful pick
Burpee, 9 Quarts | Premium Organic Potting Natural Soil Mix Food Ideal for Container Garden-Vegetable, Flower & Herb Use for Indoor Outdoor Plant
Provides a chunky, budget-friendly layer of filler at the pot’s base to reduce overall potting mix usage.
Things that matter most
Treat filler like structure, not like growing medium. Its job is to occupy space, keep the pot lighter, and let excess water exit quickly. Everything else is secondary.
These decisions drive success:
- Keep clearance from holes. Leave a gap between filler and drainage holes so water can pass.
- Choose inert, porous materials. Porous, non-rotting options prevent sogginess and break down less.
- Maintain root depth. Most plants need enough potting mix depth to anchor and spread roots.
- Don’t create a compaction layer. Dense or packed materials can block airflow and slow drainage.
- Match to climate and pot type. Terracotta dries faster than plastic, so reducing potting mix volume can increase drying rates.
Get those five right and you usually solve cost, weight, and appearance at once. Skip them and you land in slow drainage, uneven moisture, and plants that look okay for a few weeks before they struggle.
Tips for filler for large flower pots
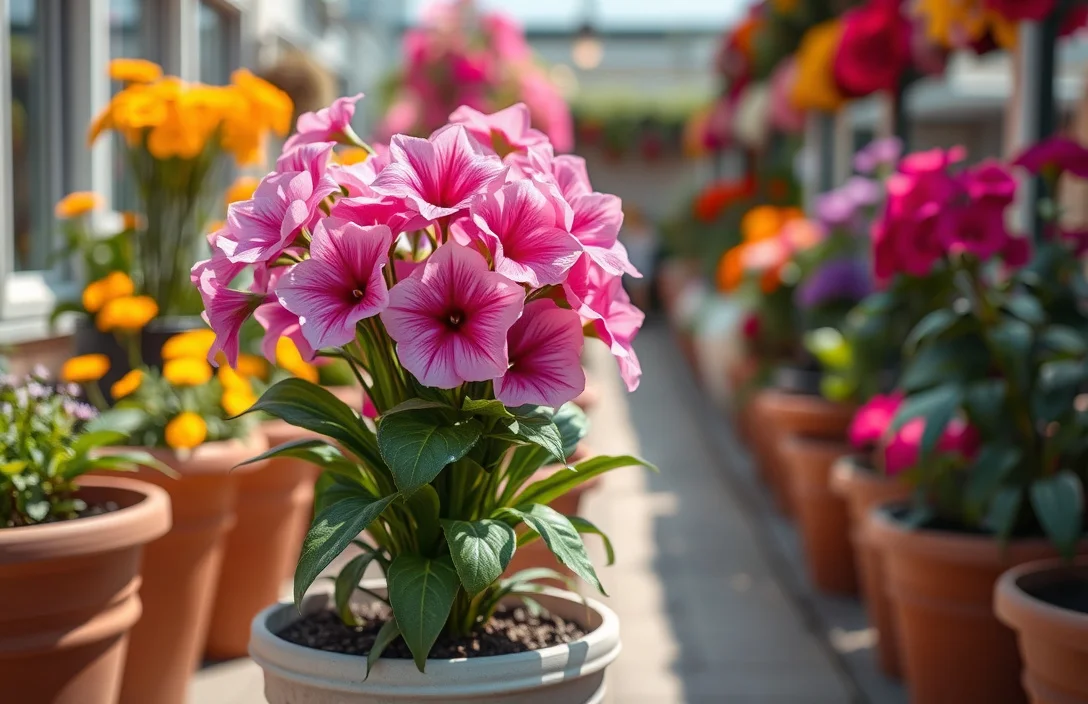
Measure first, then build. Before you buy any filler, check how deep your pot is and how high you want the top of your potting mix to be once the plant is in. In large pots, even a 2-3 inch change shifts how much potting mix you need – and that’s where the savings show up.
Use a “base layer” approach. Put filler low in the pot, then add potting mix thick enough for roots. Don’t let roots grow into filler, because filler is there to take up space – not replace the aeration and nutrition role of potting mix.
Set planting depth correctly. If you’re raising the soil level with filler, keep the plant’s original planting depth in mind. Burying the crown too deep can cause stem issues or slow growth in some species.
Water smarter with filler-heavy pots. After potting, water thoroughly until you see drainage, then wait until the top layer of potting mix dries before watering again. Light watering right away can leave a wet filler zone and a dry root zone – a mismatch that plants don’t like.
Plan for stability in tall pots. A top-heavy pot tips in wind. If the plant is large, especially with thick stems or a trunk, add a few chunks of sturdy material at the bottom or increase potting mix depth near the base for stability.
Benefits of filler for large flower pots
Filler saves money in the most direct way: it reduces how many bags or gallons of potting mix you need. Potting mix costs more partly because it stays lightweight and is designed for drainage and aeration. Using filler to occupy the bottom reduces that expense without harming root performance when drainage and root depth stay correct.
Weight drops too. Large pots get brutal once potting mix is fully soaked. Lightweight filler helps you avoid the “one move and my back pays for it” problem.
The look improves as well. When you fill the pot properly, the plant has a natural silhouette instead of looking like it’s floating above empty space. That visual fullness makes the whole arrangement feel more intentional.
Drainage design gets cleaner. A correctly built pot can drain faster because water has a clear path down and out. A lot of large-pot failures are really drainage failures wearing a different name.
Filler can also extend pot life. With less overloaded wet soil sitting in the structure, you reduce some stress on rims and supports, especially on decks and stands where weight and water retention matter.
Options for filler for large flower pots
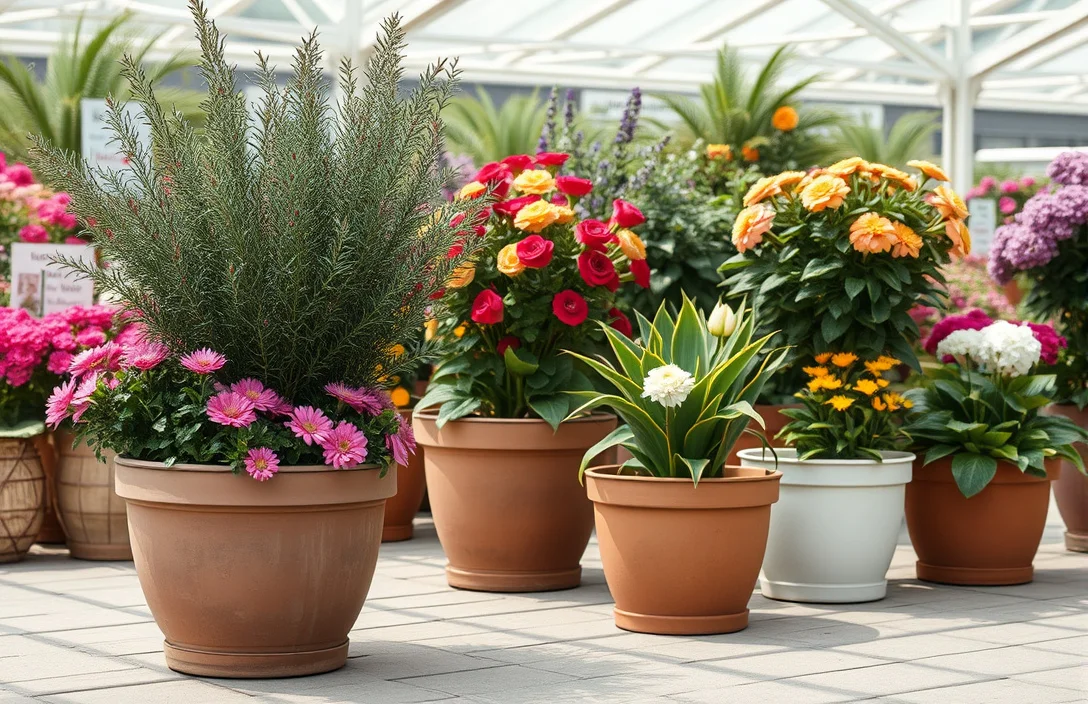
Not all filler materials perform the same. The best options are inert, won’t rot, don’t turn into mud, and stay porous enough to avoid trapping water.
Solid filler categories for large pots:
- Lightweight pot insert foam (porous). These are made for containers, are usually inert, and reduce weight. Use them only in the bottom section and keep them away from drainage holes with a clearance gap.
- Coarse inert chunks (like clean horticultural gravel). Gravel is dense, so stability is excellent, but packing it tight can slow drainage.
- Broken ceramic or crockery. Large pieces can stay porous and help with drainage paths. It also adds weight, so it’s better when stability matters more than lightness.
- Plastic “pot shards” and similar inert inserts. Many are designed to stay hollow or porous. They’re easier to position without compacting than gravel.
- Foam peanuts or similar lightweight packing waste (only if inert and non-degrading). These can work as a budget option, but only if quality is good. If the material breaks down, it becomes debris and you lose the point of using filler.
What to generally avoid:
- Using regular garden soil as filler. It compacts, holds water, and can block drainage.
- Using fine, dusty materials that turn muddy. If it clogs spaces and mats down, it disrupts aeration.
- Burying filler near the plant roots. Even inert options can’t replace potting mix depth where roots grow.
Practical filler decision
| Filler option | Key spec | Best for | Main trade-off |
|---|---|---|---|
| Lightweight container foam inserts | Porous, engineered pieces | Patios, decks, large pots you move often | Costs more than DIY options |
| Clean horticultural gravel | Inert, heavier | Very top-heavy plants, wind exposure | Can slow drainage if packed too tight |
| Broken ceramics/crocks | Inert, porous air gaps | Decorative planters, stability needs | Adds weight, can be bulky |
| Inert plastic pot inserts | Hollow/porous shapes | Consistent results | Less “DIY,” depends on availability |
| Approved lightweight packing material | Lightweight, should be inert | Budget filler for bottom space | Only works if it does not degrade |

Helpful pick
Miracle-Gro Organic Outdoor Potting Mix – Plant Soil for Outdoor Container Plants, Contains Quick-Release Natural Fertilizer, OMRI Listed, 16 qt.
Provides drainage and aeration to prevent compaction and waterlogging in large pots.
Expert advice on filler for large flower pots
The best rule is straightforward: build for drainage first, then build for roots. If filler ruins drainage performance, it becomes the problem.
Use this checklist before you pour anything:
- Confirm your pot has drainage holes sized and positioned for water flow.
- Add a small drainage barrier only if needed (for example, mesh or a cover that keeps fine potting mix from washing out).
- Leave clearance between filler and the drainage holes.
- Add potting mix as a continuous layer where roots will grow.
Stop thinking in “one bottom filler layer” terms and shift to “root zone depth.” If you want roots to have enough mix, define the root zone height you’re aiming for, then fill below it. That’s how you save money without accidentally limiting what the plant needs.
For tall pots or top-heavy plants, mix strategies. Use a little heavier inert material for anchoring at the base, then use lighter foam lower down where weight matters more than density. The goal is a pot that doesn’t wobble once it’s placed – especially while roots are still establishing.
If you use container foam or inert inserts, don’t crush or pack them. Air spaces help maintain drainage and reduce pooling under the root zone.
If you’re unsure, do a test run. Fill the pot with your planned layers, water slowly, and watch where water goes. If water lingers near the bottom longer than expected or backs up, increase clearance or switch to a more porous filler material.

Helpful pick
Potting Mix Soil 3 QT for Indoor Plants & Outdoor Gardening – Seed Starter Soil, All Purpose Planting Mix – Moisture Retaining, Fast Draining Soil for Seeds, Herbs, Flowers & Vegetables
Promotes fast drainage essential for large pots, helping roots stay oxygenated and preventing waterlogging.
Examples: filler for large flower pots
For example, a 20-24 inch tall plastic pot with one or two drainage holes can use lightweight porous foam inserts at the bottom. Keep a clearance gap above the holes, then add 6-10 inches of potting mix for roots. This setup often cuts how much potting mix you buy by a noticeable amount while keeping the pot light enough to move when needed.
Top-heavy plants like a container rosemary or a small dwarf tree often benefit from stability-focused filler. Add a shallow base layer of larger inert chunks for anchoring, then bring in potting mix where the root zone belongs. You get less wobble without messing up where roots actually grow.
If you’re planting multiple smaller annuals in a large round pot, root depth still has to be consistent across the planting area. Use filler below, then add one uniform potting mix layer before planting. That keeps moisture distribution more even, instead of creating dry edges and wet pockets.
A “looks better” approach is raising planting height to hide the filler transition. Build potting mix depth right where the plant will root so the surface looks rich and connected. Done right, the pot reads full and lush instead of hollow underneath.
If you want to experiment without committing, build one test pot. Fill, plant, and water for a week, then check how quickly it dries and whether drainage is prompt after watering. Adjust filler height for the next pot based on how your plants respond.
FAQ
What is the best filler for large flower pots to save potting mix?
Foam container inserts or other porous lightweight inert materials usually save potting mix best because they keep weight down and don’t rot. Keep whatever you choose above the drainage holes, then follow with potting mix – usually several inches deep – so roots have real growing medium.
Can I use rocks as filler in a large pot?
Yes, clean rocks or horticultural gravel can work, but don’t pack them tightly. Dense materials can slow drainage and create a wet zone if the pot’s internal structure blocks airflow. Keep clearance from the drainage holes and add enough potting mix depth for roots.
How much filler should I put in the bottom of a large pot?
Size filler for the root zone depth your plant needs, not a one-size-fits-all percentage. As a practical starting point, leave enough clearance from drainage holes and provide several inches of potting mix for roots before planting. If your plants dry out too fast, reduce filler next time.
Does filler make pots dry out faster?
Yes. When filler reduces potting mix volume, the pot holds less water and can dry out faster, especially in hot sun or windy areas. You may water more often, and checking soil moisture before watering helps prevent over- or under-watering.
What’s a common mistake people make with filler in large flower pots?
Burying filler too close to the drainage holes or using fine materials that compact. Both can create slow drainage or a waterlogged bottom that stresses roots. Keep a clearance gap, use inert porous filler, and place potting mix where roots will actually grow.
FAQ (continued)
What should I use instead of filler if my pot already has enough soil?
If your pot already has enough root depth and feels stable, you may not need filler at all. Upgrade the setup instead by improving potting mix, adding mulch on the surface, or choosing a plant that fits the pot size. Those options preserve steadier moisture while still improving the outcome.

- 10 Best Slow Cooker For Convenient Cooking 2026 (Tested And Reviewed) - October 18, 2026
- 10 Best Slow Cooker For Quick Preparation 2026 (Tested And Reviewed) - October 18, 2026
- 10 Best Slow Cooker For Family Meal Preparation 2026 (Tested And Reviewed) - October 18, 2026