How To Split A Plant Into Two Pots?
Splitting a plant into two pots is the fastest way to grow your collection without buying new plants, and it often also fixes overcrowded roots. The trick is doing it at the right time, with the right tools, and handling the root ball without tearing it more than needed. This guide walks you through how to split a plant into two pots, from prep to aftercare, so both plants recover well.
Splitting a plant into two pots works by dividing the root ball into two clumps and repotting each clump in its own container with fresh potting mix. Most divisions succeed when done during active growth, using clean tools and pots with drainage holes. Plan for 1-3 weeks of slower growth while roots re-establish.
Key Takeaways
- Pick the right plant. Most perennials and many houseplants divide well, but some (like certain tap-root plants) don’t.
- Do it at the right time. Early spring or late summer usually gives roots the best chance to recover.
- Use sharp, clean tools. Sterilize blades and avoid crushing the root ball during the split.
- Repot at the correct depth. Planting too deep or too shallow can stress the crown and roots.
- Water and then pause. Water thoroughly after potting, then keep soil lightly moist until new growth appears.
- Expect downtime. Growth often slows for 1-3 weeks, especially if the plant is stressed or divided aggressively.
how to split a plant into two pots
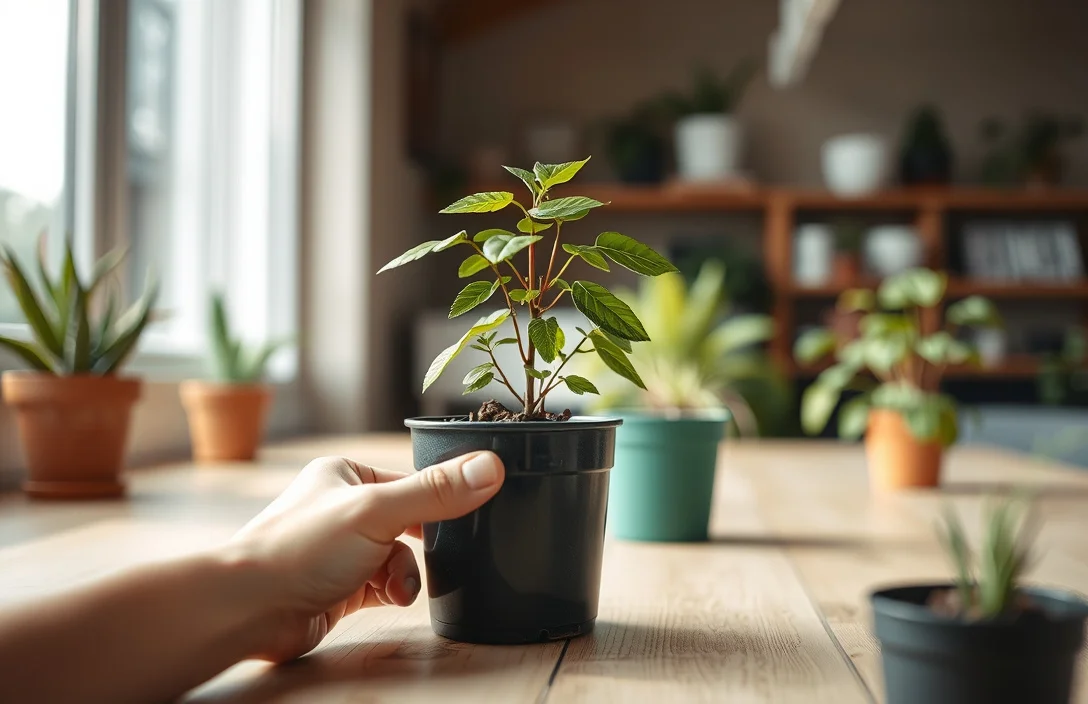
The outcome you want is two plants with intact enough roots to keep growing, not a “science project” where half the roots get damaged. Start by identifying what kind of plant you have, because the method changes a lot between bulbs, rhizomes, clumping perennials, and plants with a single main root.
You also want to choose containers and mix before you touch the plant. Both pots should have drainage holes, and the potting mix should be fresh – not old, compacted soil from last season. If your plant is large, do this in a sink, on a tarp, or outdoors so you can handle the root ball without losing soil everywhere.
Before you split, gather a few essentials: pruners or a sharp knife, a trowel, rubbing alcohol or diluted bleach for cleaning tools, paper towels, and (if needed) gloves. Prepare your new pots and label them “A” and “B” so you keep each division together and avoid mixing up stems or growth directions.
how to split a plant into two pots
A plant division is a root-and-shoot separation. Most successful splits keep a similar ratio of roots to top growth on both sides, so each new plant can support leaves until the roots catch up.
Look for the plant’s “clumping points” – spots where shoots gather and roots are dense but separable. If the root ball is a tight mat, you may need to tease roots apart gently before you cut. If the plant has a crown (the area where stems meet roots), split so each division includes part of the crown – not just loose roots.
Moisture and cleanliness matter. Dry root balls tear more easily, but soaking can make them slippery and harder to manage, so aim for “slightly damp” conditions. Clean tools reduce the risk of infection, especially if you have to cut through thicker roots.
Watering timing is part of the basics too. After potting, you’ll water thoroughly to settle soil around the roots, then reduce frequency. Overwatering is the most common reason new divisions fail, because damaged roots can rot in soggy mix.
how to split a plant into two pots
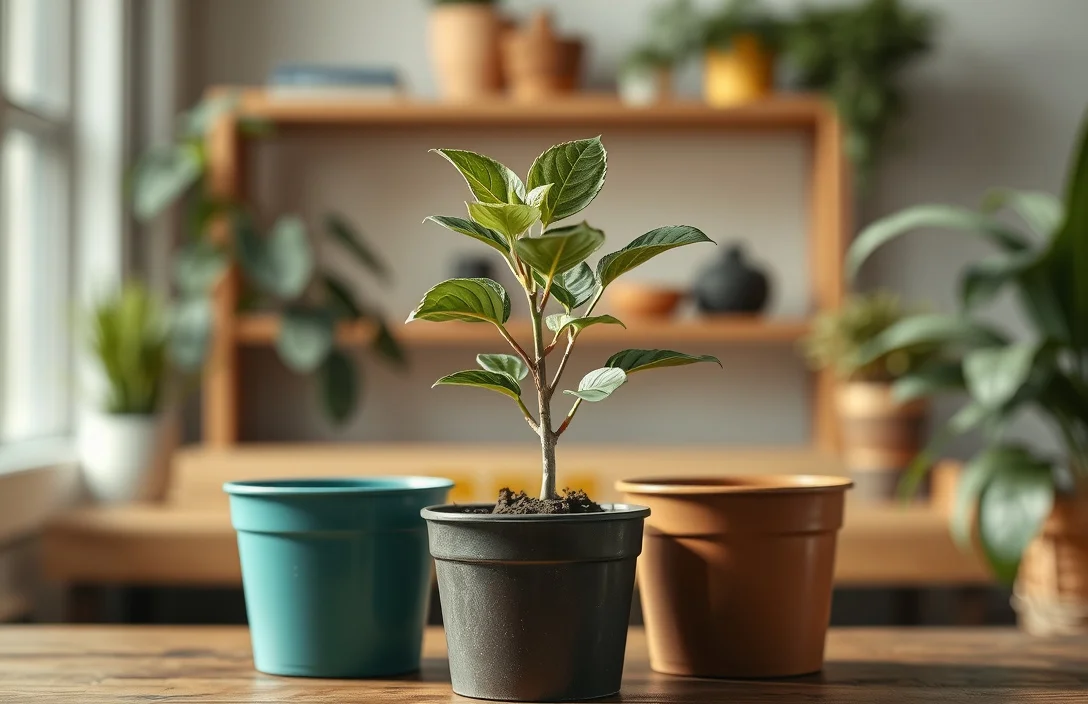
Use this process for most clumping houseplants and outdoor perennials that tolerate division. Read the steps first, then do them in order so you minimize time the roots spend exposed.
- Choose timing and plant type. Divide during active growth (often spring or early fall), and avoid splitting when the plant is dormant or flowering heavily.
- Water lightly first. Water the day before if the soil is very dry. If the mix is already moist, wait and avoid soaking so the root ball isn’t muddy.
- Prepare two pots with drainage. Fill each pot with fresh potting mix to about the same level you want after planting, leaving room for the root ball.
- Remove the plant carefully. Tip the pot on its side and slide the plant out by the root ball, not by tugging stems.
- Inspect the root ball. Identify where the plant naturally splits, looking for clumps and multiple crowns or growth nodes.
- Separate by hand first. Gently tease roots apart with your fingers to reduce damage. Stop if you hit resistance that will likely tear everything.
- Cut only when you must. Use a clean, sharp knife to cut through roots. Each side should have roots attached to stems, and ideally a crown.
- Trim dead or damaged roots. Remove mushy, black, or obviously dead roots with sterile pruners. Healthy roots are firm and pale to tan.
- Pot each division at the same depth. Place each clump in its own pot so the crown sits at the same height it did before.
- Backfill and water thoroughly. Add mix to fill gaps, then water until liquid drains from the bottom. Don’t leave air pockets.
- Adjust light and care for recovery. Keep in bright, indirect light for 1-2 weeks, and water only when the top layer starts to feel dry.
- Monitor for recovery signs. New leaf growth or firmer stems usually means the roots are re-establishing.
In practice, a clumping perennial (or a houseplant that grows in multiple stems from a shared base) often shows a “division line” where roots separate naturally. For example, many aloe-type plants form offsets with their own root systems, so you can sometimes pull them apart with minimal cutting.
If the plant is densely rooted and won’t separate by hand, a clean cut beats tearing. When a root ball is completely fused, one or two deliberate cuts often results in less damage than yanking and pulling at random.
how to split a plant into two pots
The best technique is the one that minimizes root damage while keeping enough roots attached to support the top growth. That means you should prefer “tease and separate” over “rip and hope,” and “few clean cuts” over “many jagged cuts.”
Start with how you handle the root ball. Support it fully while you work, and keep it slightly moist. If the root ball is bone-dry, soak briefly – just enough to soften soil – so roots bend rather than snap.
Next is dividing strategy. If the plant has multiple crowns or clear growth points, split along those lines so each division includes at least one growth point. If there is only one obvious crown and everything radiates from it, aggressive splitting is risky because you can end up with a division that has little to no crown.
For plants that produce offsets (baby plants), the technique changes. Offsets often succeed when they’re large enough to have their own roots. Pulling small offsets too early can leave you with something closer to a cutting, which takes longer to root.
Here’s a practical comparison table for common division scenarios:
| Plant type scenario | What to look for | Best technique | Common failure point |
|---|---|---|---|
| Clumping perennial | Natural clumps and multiple shoots | Tease roots, then 1-2 clean cuts | Cutting so each side loses most roots |
| Rooty houseplant crown | Crown present on both sides after split | Split along crown lines | Planting division too deep |
| Offsets / pups | Offset with its own roots | Separate gently, minimal cutting | Splitting offsets too small |
| Thick rhizomes / runners | Firm rhizome sections | Cut rhizome segments with growth nodes | Cutting nodes off the segment |
| Tap-root plant | One main central root | Often skip division, use other methods | Cutting main root, causing long failure |
Clean up the “wounds” after cutting. When you trim thicker roots, use sterile tools and make the edges cleaner. You won’t get instant healing, but clean wound surfaces reduce the chance of rot in the first week.
how to split a plant into two pots
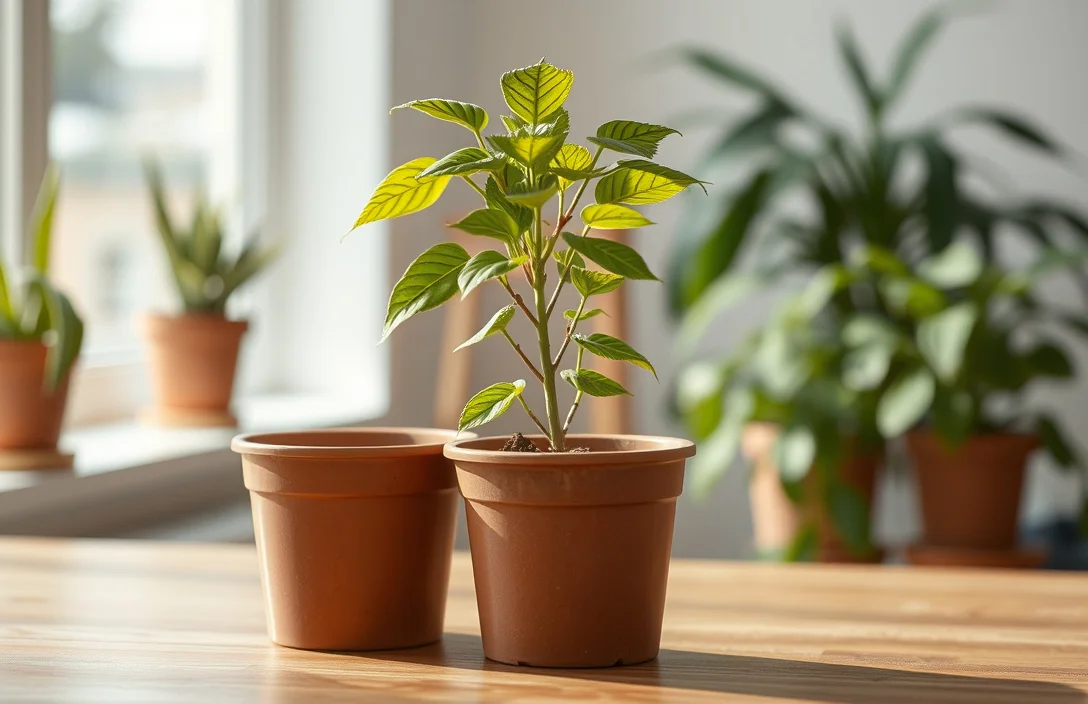
Match the plant’s needs right after the split: minimize shock, then stabilize the environment. That means keeping potting depth correct, using fresh mix, giving bright but not harsh light, and watering consistently without letting the mix stay soggy.
Choose pot size carefully. Bigger isn’t better for a fresh division, because excess wet soil increases root-rot risk. Aim for a pot that holds the root ball snugly, with about 1 inch (2-3 cm) of space around it for mix.
After splitting, treat it like it’s recovering from a haircut. It needs time to regrow roots before it can support full leaf growth. Keep it away from extremes like hot midday sun, cold drafts, and strong indoor fans for the first couple weeks.
Outdoors, avoid dividing right before a heat wave or during a cold snap. Temperature stress stacks on top of root damage, and that combination is where many divisions fail. If you have to divide in less ideal weather, use shade cloth or move it to a sheltered spot.
Use these aftercare habits to improve odds:
- Keep soil lightly moist, not wet.
- Water when the top layer starts to dry out.
- Skip fertilizer for about 4-6 weeks, until you see new growth.
- If leaves wilt, increase humidity slightly (tray of pebbles, light misting), but don’t drench the soil.
how to split a plant into two pots
Splitting a plant that doesn’t naturally divide is the biggest mistake. Tap-root plants and some fragile species can survive with extreme luck, but division often causes long-term decline because the plant loses its main root system.
Another common error is cutting too aggressively. If you tear the root ball apart without a plan, you can end up with divisions that have leaves but too few roots. The plant can’t supply water to the leaf tissue, and wilting can quickly turn into root rot.
Overpotting is a close second. A small division in a very large pot keeps the mix wet for too long. Damaged roots get hit first, and you may not notice until leaves yellow and stems soften.
Other mistakes to watch for:
- Planting too deep or too shallow. Crown depth affects stress and rot risk.
- Skipping drainage. Pots without holes make soggy soil almost unavoidable.
- Fertilizing immediately. Fertilizer salts can burn stressed roots.
- Ignoring tool hygiene. Dirty blades increase infection chances on cut roots.
Also, resist the temptation to make “one more split.” If you can divide again but each piece would be tiny with weak roots, make fewer divisions and let them recover into healthy plants.
how to split a plant into two pots
Make the division match the plant’s natural structure. If you see clumps, crowns, or offsets, split along those lines. If you don’t, take your time teasing roots apart and pause before forcing the cut.
Do a “root-to-shoot check” before you commit. If one side has almost all the roots but fewer stems, that’s usually fine. If one side has stems but hardly any roots, you’ll likely get prolonged wilting, so adjust the split to balance things.
If rot is a concern, improve drying control with a mix that drains well. Standard potting mix can work, but dense mixes stay wet longer. When that’s the case, mix in extra drainage material (like perlite) so water moves through more quickly after a thorough watering.
For quicker recovery, start with gentle light. Bright, indirect light helps the plant maintain energy while roots rebuild. Direct sun right after division is where leaves can scorch, especially if roots are temporarily compromised.
When dividing multiple plants, clean tools between each one. Alcohol or a diluted bleach solution works well. Wipe off debris, then sanitize again before the next cut so you don’t spread problems from one plant to another.
Finally, label and track your divisions. “A” and “B” sounds silly until you’re troubleshooting. If one division fades after 10 days, you can compare differences in watering, pot depth, light, and soil moisture.
FAQ
Can I split a plant into two pots anytime during the year?
Most divisions do best during active growth, often early spring or early fall. Midwinter houseplants and heat-stressed outdoor plants are higher risk because roots recover slower. If the plant is flowering heavily or showing dormancy, wait. If you must split urgently, keep light gentle and watering conservative.
How long does it take for a split plant to start growing again?
Expect slower growth for about 1-3 weeks while roots re-establish, especially if you cut thicker roots. New leaf growth is the clearest sign the division is working. Some plants may stay quiet longer if they were stressed beforehand, like being rootbound for a long time.
What’s the safest way to water after splitting?
Water thoroughly once right after potting until it drains from the bottom. After that, water only when the top layer of mix starts to feel dry to the touch. If leaves wilt but the soil is wet, you may have rot risk, so let the mix dry slightly more before watering again.
Will splitting a plant into two pots damage it?
Splitting always causes some stress because you disturb roots and wound tissue, but healthy plants usually recover when divided correctly. Damage risk increases if the plant doesn’t divide well, if the crown is lost on one side, or if the potting mix stays soggy. A correctly balanced division with drainage and gentle aftercare gives the best chance of success.
What should I do if one of the two pots fails?
Trim any mushy or black roots, then repot into fresh, well-draining mix at the correct depth. Move it to brighter, indirect light and reduce watering until the top layer dries out slightly between waterings. If there’s no new growth after a few weeks, check for crown loss or severe root damage, which is usually the cause.
If you want the highest success rate, do a “clean-cuts, crown-in-both, snug pot” split, then give 2 weeks of bright indirect light and cautious watering. Next step: pick one plant you’ve been thinking about dividing and confirm it has a crown or clumps you can split before you grab the knife.

- 10 Best Slow Cooker With Cool Touch Handles 2026 (Tested And Reviewed) - October 22, 2026
- 10 Best Slow Cooker With Quality Construction 2026 (Tested And Reviewed) - October 22, 2026
- 10 Best Slow Cooker With Premium Construction 2026 (Tested And Reviewed) - October 22, 2026