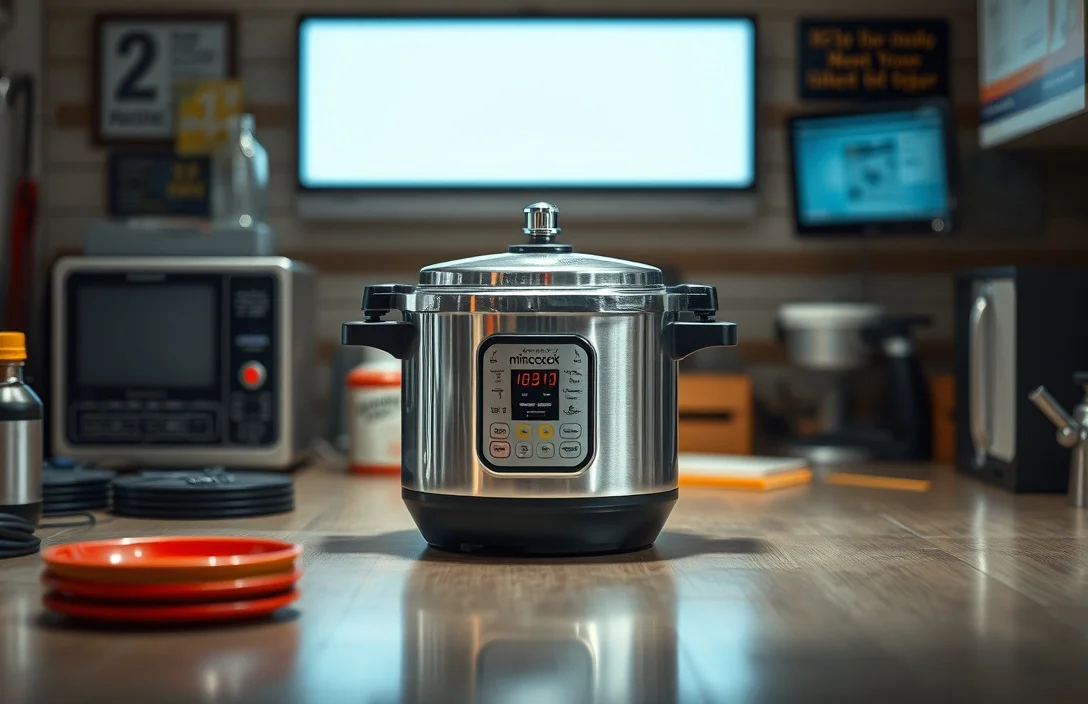
Mirro Matic Pressure Cooker Parts: 3 Tips Worth Trying
A Mirro Matic pressure cooker that won’t pressurize, seals poorly, or vents at the wrong time usually points to a specific replacement part. The catch is matching the right gasket, pressure regulator valve, and lid locking/safety hardware to your exact model, because Mirro Matic versions aren’t one-size-fits-all. This guide shows you what to identify, what to buy, and where to look first when you have leaks or weak pressure.
Mirro Matic pressure cooker parts you replace most often are the sealing gasket, pressure regulator valve, and the lid locking/safety pieces. Match replacements to your cooker’s model number, swap one part at a time, and test venting and pressure build-up. If the lid won’t lock or pressure won’t rise, move to the safety and regulator checks next.
Key Takeaways
- Model number first. Match parts to your exact Mirro Matic model number because shapes and fit vary by version.
- Gasket must seal. A worn gasket causes steam leaks and weak pressure even when the regulator is correct.
- Regulator controls pressure behavior. Correct regulator valve placement determines normal venting during cooking.
- Safety parts matter. A missing, stuck, or worn safety plug or float can stop pressurization or trigger abnormal venting.
- Lid lock prevents inconsistent sealing. Weak lid locking can seal inconsistently or fail to lock fully.
- Troubleshoot in order. Check the gasket, then the regulator, then the safety and lid hardware before changing cooking settings.
Mirro Matic Pressure Cooker Parts Identification Guide
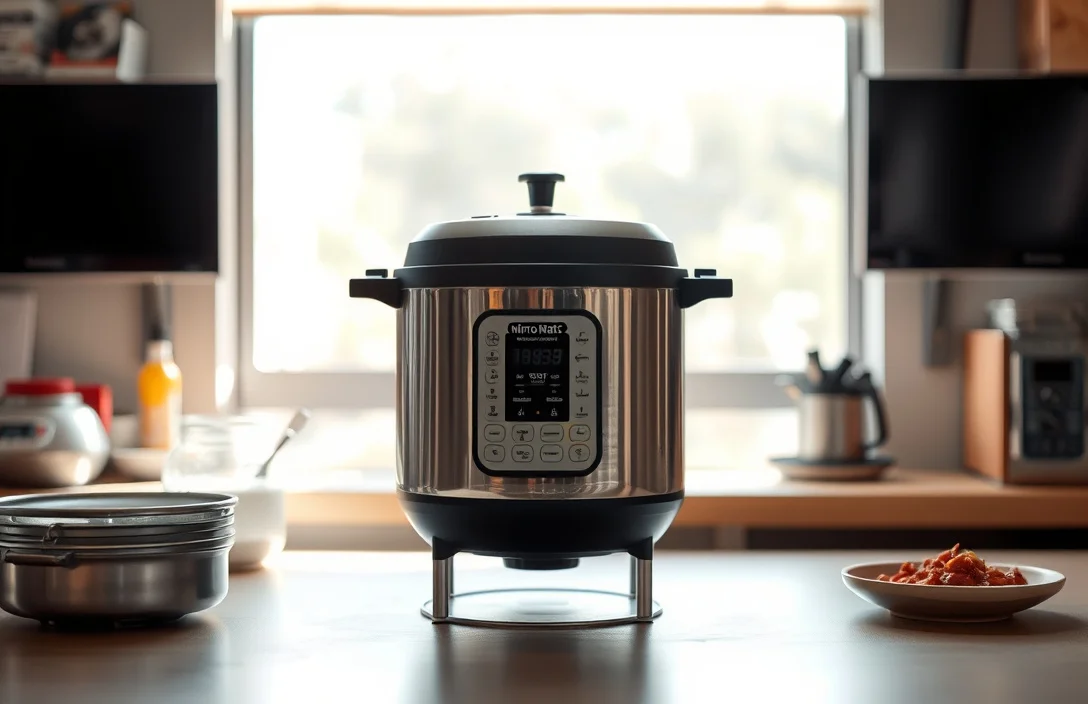
Identify Mirro Matic pressure cooker parts in a top-down order: lid sealing surfaces, then the vent and regulator system, then the safety and float parts, then the lid lock hardware. Once you remove the lid, you can usually spot wear points right away: a hardened or flattened gasket ring, residue around the vent, or a safety component that doesn’t move freely.
Start with the sealing gasket path. On most pressure cookers, the gasket sits in a groove around the underside of the lid, where it contacts the pot rim. Cracks, stretching, a glossy hard surface, or uneven thinning usually mean the gasket needs replacing. Gasket problems often look like “regulator trouble,” because pressure fails to build consistently and steam escapes where it shouldn’t.
Next, inspect the pressure regulation parts. Look for the regulator valve (often a small assembly near the vent area) and the parts that must sit correctly for normal venting. Mineral buildup, residue, bent metal parts, or a valve that won’t seat can cause constant steam venting instead of controlled cycling.
Then check safety and lid lock pieces. The safety plug and float respond to pressure and prevent unsafe operation. If a safety component is stuck, missing, or worn, pressure behavior becomes unpredictable. Lid locking is mechanical: if it feels loose, doesn’t align, or doesn’t lock with the same firmness as before, stop forcing it and treat the lock hardware as a real failure point. Replace worn clips, springs, or locking tabs before troubleshooting performance.
Which Mirro Matic Sealing Gasket Do You Need
A Mirro Matic sealing gasket must match the lid’s groove size and the exact gasket profile. A small mismatch leaves gaps under pressure and causes steam leaks. A gasket that’s too small won’t seal evenly. One that’s too large or shaped differently can fold, sit proud of the rim, and leave a channel for steam to escape.
Replace the gasket when you see three common signs. The gasket feels stiff or brittle when you flex it gently by hand. It shows flattening or a “set” in one spot. Steam leaks appear at the rim area and worsen as the cooker heats, then do not improve once the lid is seated correctly.
Installation matters as much as size. The gasket should sit in its groove without twisting and must not be pinched between the lid and pot. If you stored it rolled up or kept it curved, it may need time to relax into the groove. If you cleaned it and left residue behind, sealing can stay inconsistent until you clean again and reinstall properly.
Also inspect the interface surfaces. If the pot rim or lid groove has scoring, dents, or corrosion pits, a new gasket may still leak. Use a flashlight and check the sealing path. Fixing damaged contact surfaces prevents you from spending on a gasket that can’t seal against a compromised rim.
Replacing The Mirro Matic Pressure Regulator Valve
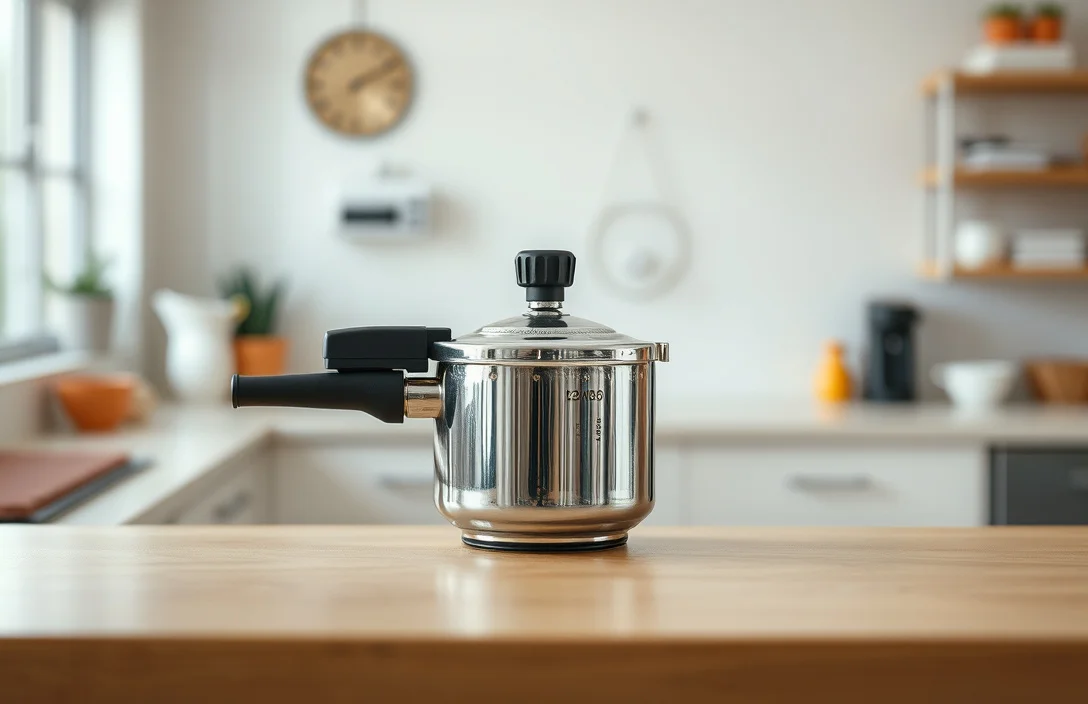
The pressure regulator valve controls normal venting once the cooker reaches pressure. A wrong, dirty, or incorrectly seated valve can cause constant venting or weak pressure. When the regulator isn’t positioned correctly, the cooker can fail to stabilize, which affects both cook time and texture. This isn’t just a “messy vent” problem – it’s pressure control.
Before replacing, do a functional check. Clean the regulator area so you can see what you’re working with. Confirm the valve moves freely through its normal range. Mineral deposits can make valves stick even when parts look “fine,” and removing buildup often restores normal cycling.
When you install a replacement, focus on fit and seating. The regulator assembly needs to install to the correct depth and orientation. Follow your model’s intended tightening or positioning method. If the part won’t seat flush, you usually have the wrong style, wrong size, or debris in the mounting area.
After installing the new regulator, run a water-only test. Fill the pot with a small measured amount of water, lock the lid, and watch venting. Proper regulation is controlled venting after pressure builds. If it vents continuously at full intensity, or if it never vents because pressure never builds, you likely have a gasket issue, a safety component issue, or the wrong regulator style.
Swapping The Mirro Matic Safety Plug And Float
The safety plug and float are pressure-responsive. When they’re stuck or worn, they can prevent normal pressurization or cause abnormal steam behavior. If the cooker won’t reach pressure, vents unpredictably, or the lid feels like it isn’t operating as it should, check these parts early.
Start with movement and cleanliness. Remove the safety parts according to your lid design, then check that the safety plug and float move smoothly and return correctly. Grinding, stiffness, or “grabbing” indicates a cleaning or corrosion issue. Safety parts should move freely under light manual handling, not fight you.
Inspect for wear. The safety plug can thin, round off, or develop damage at sealing surfaces. The float can wear at its interface points or warp, which changes response timing. Cracks or significant flattening means replacement is the correct move.
Install replacements with correct orientation and full seating. A safety component installed backward, not fully seated, or misaligned with the mechanism it interacts with can prevent safe operation. After installation, do a water-only test to confirm pressure builds and safety behavior matches what your model is supposed to do.
Don’t remove safety parts “to fix” a pressure issue. When venting is wrong, the usual cause is gasket fit, regulator seating, or installation alignment. Removing safety components creates a risk where the cooker can fail in ways you won’t notice until it’s too late.
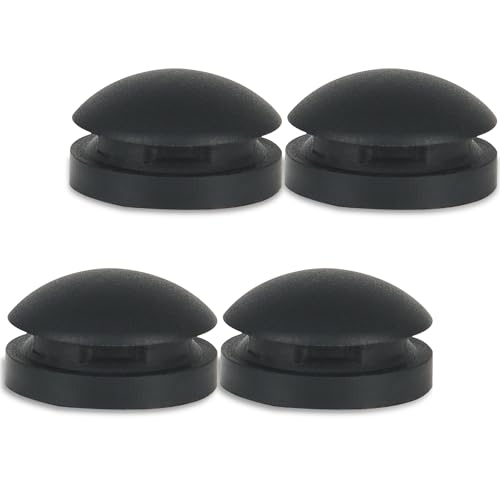
Helpful pick
Pressure Cooker Plug Rubber Safety Device That Automatically Vents Steam Fits (1930 – Overpressure Plug) Pressure Cookers/Canners Parts
Direct replacement rubber plug that automatically vents, restoring proper pressure release and safe venting.
Fixing Or Replacing The Lid Locking Mechanism
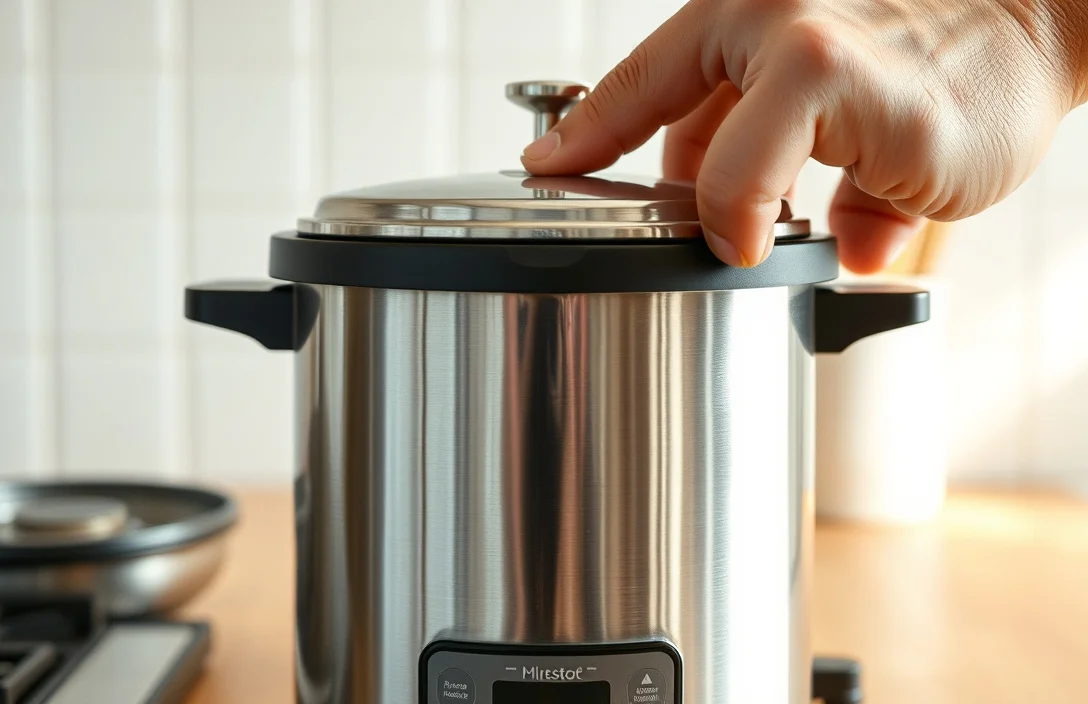
A lid locking mechanism that won’t align or engage fully can cause inconsistent sealing and pressure problems even when the gasket and regulator are correct. The lid lock is mechanical, so increased looseness, slipping, or a lid that won’t rotate and lock with the usual firmness points to a lock hardware failure.
Check basic engagement first. With the cooker empty and cool, place the lid and see whether it locks at the same position each time. If the lock lever or tabs feel bent, sticky, or unevenly worn, the problem is likely worn hardware, not a gasket.
Inspect the parts that contact and hold the lid. Look for cracks, worn edges, missing springs, or metal fatigue at pivot and latch points. If a spring is weak or a latch surface is rounded, the lid may appear to close but never reaches full alignment. That mismatch creates steam leaks that can look like regulator failure.
Match the replacement mechanism to your model. Mirro Matic models can differ in lock geometry, so don’t assume a generic “lid lock piece” fits. After installation, verify in two steps: confirm firm lock alignment when the cooker is cold, then run a water-only test to confirm stable pressure build-up and controlled venting.
If the lock is mechanically fine but won’t close properly, check for interference. Bent lid rims, warped parts from drops, or debris in the locking track can stop engagement. Clean the tracks, remove obstructions, inspect for physical damage, and only replace parts after confirming nothing is physically preventing motion.
How To Match Replacement Parts To Your Model Number
Model number matching gets you the fastest route to the right parts because Mirro Matic didn’t use a single universal layout. Ordering by appearance alone can lead to a gasket that looks similar but seals differently, or a regulator valve that installs but doesn’t control venting correctly.
Find the model number first. It’s typically stamped or printed on the cooker body or lid area, often near the base or underside markings. Write it down exactly as shown, including letters and numbers, because small variations can matter. If multiple stickers are on the pot, cross-check that the stamp and sticker agree.
Use the model number to identify each part category separately. The gasket style depends on lid groove shape. The regulator valve depends on vent geometry and how the valve mounts. The safety plug and float depend on how they interact with the lid and vent system. The lid lock mechanism depends on latch geometry.
When you compare replacement listings or packaging, don’t rely on “works with Mirro Matic pressure cookers.” Use the listing’s model fit details, and treat any mismatch as a warning sign. If the listing won’t confirm model-specific compatibility, prioritize sellers or part catalogs that explicitly support your exact model number.
Use this checklist before you check out:
- Verify gasket type by lid groove fit.
- Verify regulator valve type by vent and installation method.
- Verify safety parts by correct float and plug style.
- Verify lid lock mechanism by lock geometry and engagement feel.

Helpful pick
Hawkins B1010 3 Piece Pressure Cooker Safety Valve – B1010-3pcSet
Ensures replacement safety valve components match lid interfaces and maintain proper engagement.
Troubleshooting Leaks, Steam, And Pressure Issues With Parts
Most Mirro Matic pressure problems come down to parts, and the symptom pattern tells you where to start. Steam leaking around the lid rim with no pressure stability usually points to the gasket. Pressure that reaches level but vents constantly in an uncontrolled way usually points to the regulator valve. No pressure build-up or unpredictable behavior usually points to the safety plug/float and lid lock engagement.

Helpful pick
50332 3-Piece Pressure Regulator 5-10-15lb Canning Weight for Presto Pressure Cooker Canner 0178107 0178410 0175107 0174510 0175510 0177001 0174001 6803571
Replaces the regulator to restore proper pressure levels and prevent continuous venting during use.
Use a symptom-first approach:
- Steam at the lid rim. Usually means gasket fit, gasket installation, or sealing surface damage on the rim or lid.
- Steam from the vent/regulator area. Usually means regulator seating, regulator cleanliness, or a regulator style mismatch.
- No pressure build-up. Usually means the lid isn’t locking fully, the safety plug/float is sticking, or the regulator isn’t controlling pressure correctly.
- Intermittent behavior. Often means residue buildup, a marginal gasket that shifts as it heats, or a safety component that responds slowly.
Clean and inspect before replacing anything. Mineral deposits and food residue around valve areas can make parts stick, especially regulators and safety components. Clean carefully and avoid abrasives that can scratch sealing surfaces. Reassemble, then confirm the lid locks fully.
If you already replaced a part and the issue persists, the next most likely cause is a mismatch or installation error. A gasket installed with a twist, a regulator seated off-center, or a safety component not fully aligned can all recreate the same symptoms. Many “second replacement” problems happen because the new part matched the brand but not the model variant, or it was installed slightly off-center.
For your water-only test, focus on behavior, not perfect timing. Confirm pressure builds, venting cycles normally for your model, and steam leaks drop dramatically once pressure stabilizes. If you see continuous heavy venting from the regulator, stop and reassess gasket and regulator seating before you keep cooking.
When you do need to replace again, use this order in most households: 1) gasket, 2) regulator valve, 3) safety plug/float, 4) lid lock mechanism. This order prevents you from buying later parts to “fix” symptoms that come from a gasket or seating issue upstream.
FAQ
What Mirro Matic pressure cooker parts fail most often?
The sealing gasket, pressure regulator valve, and lid locking hardware fail the most. Gaskets harden or flatten with age, regulators can stick from mineral buildup, and lid locks wear so the lid never aligns fully. If steam shows up around the lid rim, start with the gasket. If venting is constant, start with the regulator.
How long does it take to replace a Mirro Matic gasket and regulator?
Plan for about 30 to 60 minutes for a basic swap if you already have the parts and tools. Gasket replacement is usually faster. Regulator replacement takes longer because you need careful cleanup and correct seating. After swapping, allow another 10 to 20 minutes for a water-only test before cooking food.
Are Mirro Matic safety plug and float replacements urgent?
Yes, when pressurization symptoms point to them. A worn or stuck safety plug or float can prevent the cooker from reaching normal pressure or create abnormal venting. Don’t run the cooker “to see if it works out” – safety parts are part of how it manages pressure safely.
What’s the fastest way to match parts to my Mirro Matic model?
Use the exact model number stamped or printed on your cooker, then match each part category separately. Don’t assume one gasket or regulator style fits every Mirro Matic version. Check that the replacement listing explicitly supports your model number, then confirm the gasket groove and vent geometry match what you have now.
What common mistake causes “steam leaks” after replacing parts?
Installing the gasket twisted or improperly seated is the most common mistake. Another frequent error is mounting the regulator valve without correct seating or leaving residue that makes it stick. If steam leaks appear immediately after reassembly, remove the lid, check gasket alignment in the groove, clean the regulator/safety area again, and retest with water.

- 10 Best Slow Cooker For Large Kitchens 2026 (Tested And Reviewed) - October 19, 2026
- 10 Best Slow Cooker For Small Kitchens 2026 (Tested And Reviewed) - October 18, 2026
- 10 Best Slow Cooker For Kitchen Countertop 2026 (Tested And Reviewed) - October 18, 2026