How To Paint Ceramic Pots?
Ceramic pots look store-bought when the coating bonds to the glaze and the paint survives sun, watering, and handling. The whole project is mostly prep, then a heat-cure or kiln-style finish, depending on what paint you use. This tutorial shows how to paint ceramic pots with reliable adhesion, clean coverage, and a finish you can actually use outdoors. You’ll also get troubleshooting fixes for peeling, streaks, and tacky paint.
Ceramic pots need paint that bonds to ceramic plus thorough surface prep. For glazed pots, scuff with fine sandpaper (220-400 grit), wash, and dry fully, then use ceramic-specific paint and a sealing step. If you skip scuffing on glossy glaze, peeling is the most common failure mode within weeks.
Key Takeaways
- Choose the right paint. Use ceramic-specific acrylic or enamel, not plain craft acrylic, for durable results.
- Scuff glazed surfaces. Sand glossy glaze lightly (220-400 grit) so paint has something to grip.
- Clean before you paint. Wash with dish soap, rinse well, and dry completely to remove oily residue.
- Use thin coats. Two to three light coats beat one thick coat for fewer runs and better bonding.
- Seal at the end. Seal with an outdoor-ready clear coat, especially if water or sun hits the pot.
- Bake if your paint requires it. Follow the paint instructions for curing (air-dry versus heat-cure).
How to begin
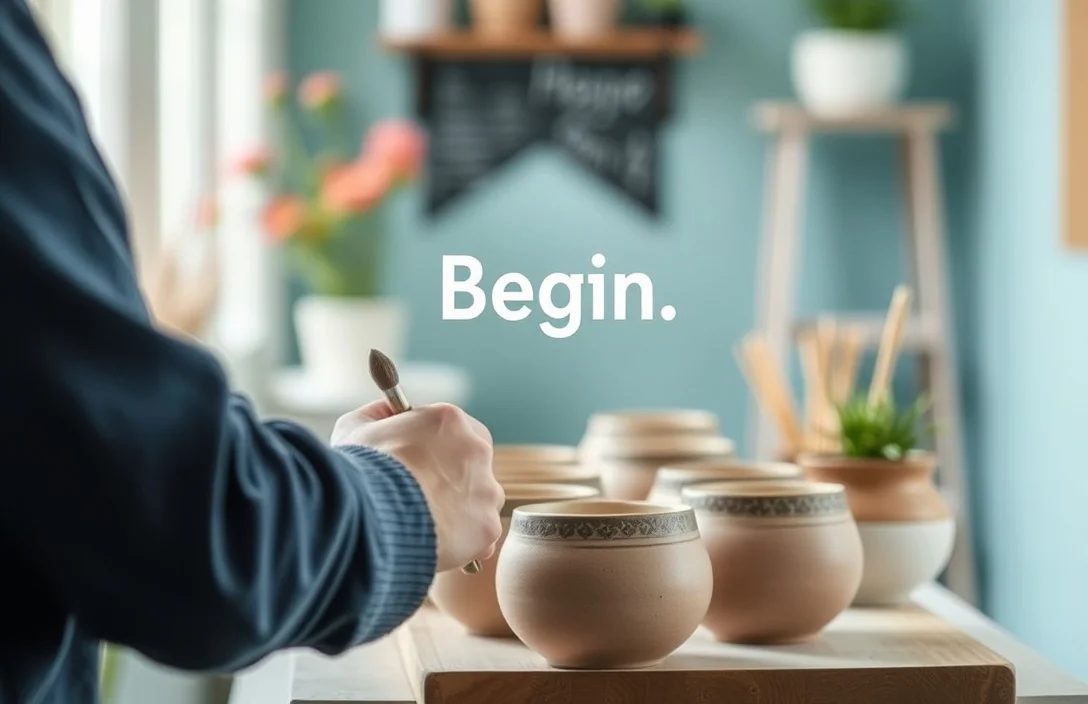
Paint ceramic pots for results that last: either (1) scuff glazed surfaces before painting or (2) use paint made to bond to glazed ceramics. With a glossy factory glaze, assume you have to rough it up first – otherwise the paint peels. If the pot is unglazed terracotta, you can usually sand less aggressively, but cleaning still has to be complete.
Check what kind of pot you have before you pick products. Glazed ceramic is shiny and slick; terracotta or unglazed ceramic is matte and porous. Water-based paints and outdoor exposure punish weak prep, so treat this as surface-bonding work, not just decoration.
Basics of how to paint ceramic pots?
Ceramic paint success comes down to three things: adhesion, coverage, and protection. Adhesion comes from scuffing (for glaze) and removing dust and oils (for glazed ceramic and terracotta). Coverage comes from thin coats that dry before you add the next layer. Protection comes from a clear topcoat that fits the conditions, like outdoor sun and regular watering.
Use two different workflows depending on the pot. Glazed pots need sanding plus a primer or a ceramic paint designed for slick surfaces. Unglazed pots absorb paint easily, but thick coats can leave a rough texture or uneven color because the paint grabs as it soaks in.
Set up your workbench like this:
- Ceramic paint (labeled for ceramics, pottery, or kiln/heat-cure compatibility)
- Fine sandpaper (220-400 grit for scuffing glaze)
- Dish soap and clean water for degreasing
- Lint-free cloths or paper towels
- Painter’s tape (optional, for crisp lines)
- Brushes and/or sponge applicators
- Clear sealer that matches the paint system and is outdoor-rated if the pot sits outside
how to paint ceramic pots?
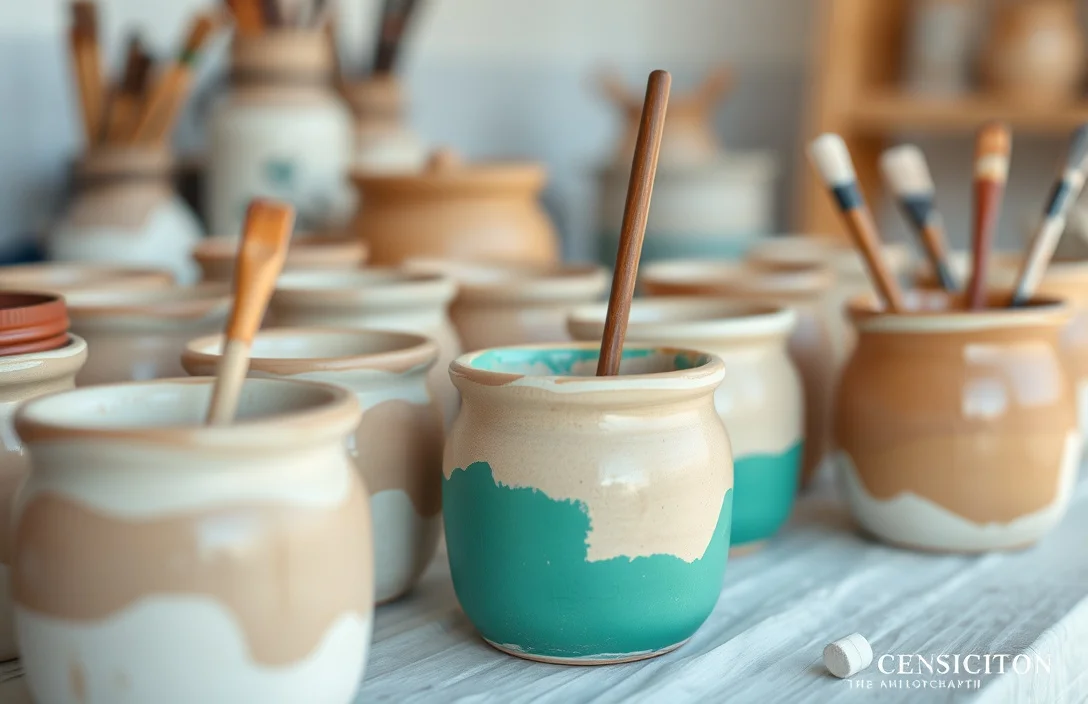
- Pick the pot type. Decide if it’s glazed (shiny) or unglazed (matte), because glaze needs scuffing.
- Wash the pot thoroughly. Scrub with dish soap and warm water, rinse well, then let it dry completely with no damp spots.
- Scuff glazed surfaces. Lightly sand glossy glaze with 220-400 grit until the mirror shine fades, then wipe off the dust.
- Dry-fit your design. Tape off patterns and plan where color blocks, lines, or stencils go before you paint.
- Apply the first thin coat. Use smooth strokes, keep coats light, and let it dry fully per the paint instructions.
- Add 2-3 additional coats. Stop when coverage looks even and the surface no longer looks patchy.
- Cure or heat-bake if required. Follow the curing instructions for your ceramic paint (air-dry versus heat-cure varies by brand).
- Seal the pot. Apply a compatible clear coat for water and sun resistance, then cure it fully before use.
Drying time is part of the work. Thin coats reduce the chance that paint stays tacky underneath. If the pot feels slightly sticky after the last coat, don’t seal yet – sealing over under-cured paint can trap moisture and increase peeling.
For a simple monochrome pot, paint a base color, let it dry, then apply a second coat for an even finish. For stripes or geometric shapes, tape after the base coat is fully dry, paint the accent color in thin layers, and remove tape only after the accent is dry to the touch so you don’t tear edges.
Things that matter most
Use “bond-first, decorate-second.” Scuffing bonds on glazed pots. On terracotta, the paint grips better already, but thin coats still matter so layers level out instead of drying too fast.
Brush control makes more difference than most people expect. Match your brush to the pot’s texture, and avoid overworking wet paint because it can lift previous layers or leave marks that show through the next coat. For a smoother finish on small curved surfaces, sponge-painting often reduces visible brush strokes.
Tape and stencils work best when edges stay sealed and paint stays thin. Press tape edges firmly and keep layers light so paint doesn’t bleed underneath. If paint seeps under tape, pause, let that section dry, then clean up with a small damp brush before continuing.
Test helps. Try the paint on the bottom rim or an extra scrap piece. If it beads, refuses to stick, or turns rough and flaky after drying, the prep or paint choice is wrong. Fix it on the test area – repainting a finished pot is a time sink.
What works in practice
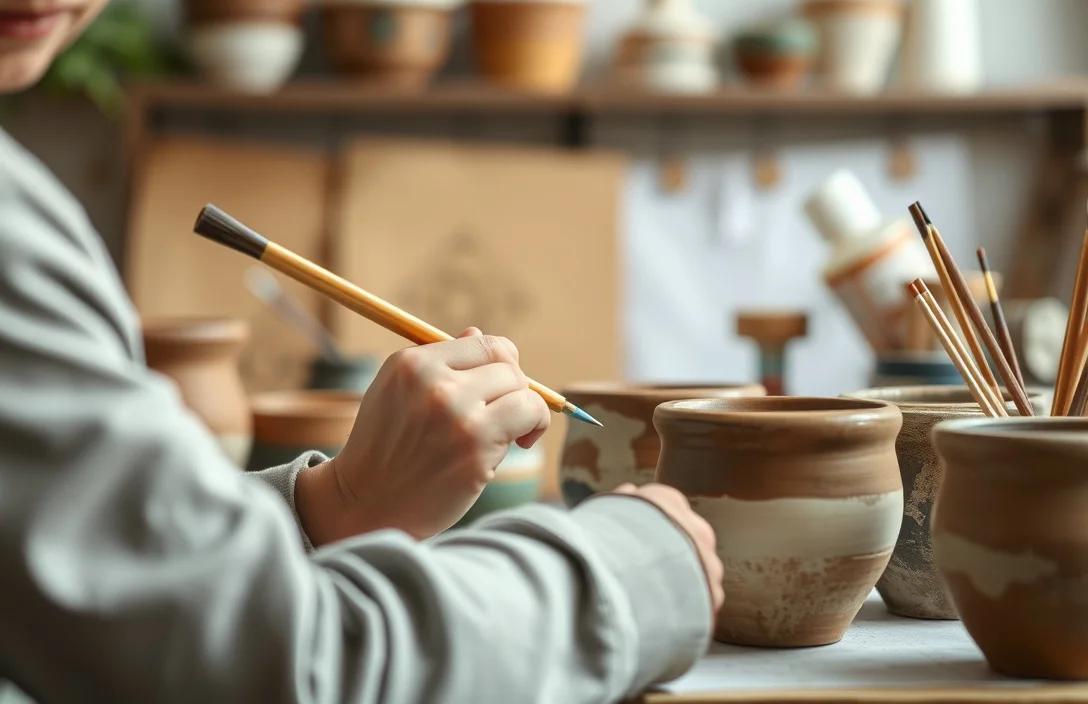
Do two things every time: prep like you mean it and finish like you plan to use the pot. Prep means washing, complete drying, and scuffing glaze until it’s no longer glossy. Finish means sealing with a clear sealer that matches your paint system and cure time, especially for outdoor pots.
Control humidity and dust. Paint cures best in dry conditions, and dust sticking to tacky surfaces creates bumps that even sealing can’t smooth away. If you’re painting in a garage or dusty space, cover the work area with a simple plastic sheet to cut airborne grit.
When painting multiple pots, keep your workflow consistent. Finish one pot through full cure before starting the next, especially when you’re switching between coats and sealer. Consistency also protects your brush cleanliness, so you don’t drag semi-dried paint across surfaces or accidentally mix colors.
Paint and sealing choices that usually work
| Option | Key Spec/Price to Check | Best For | Main Trade-off |
|---|---|---|---|
| Ceramic-specific acrylic paint | Look for “ceramic” or “pottery” on the label | Indoor pots or light outdoor exposure | May need sealing for durability |
| Enamel-style ceramic paint | Check if it’s labeled water-resistant once cured | Outdoor planters needing tougher coverage | Stronger odor, longer cure |
| Heat-cure ceramic paint | Check for oven/bake instructions and temp range | High-durability decorative pots | Requires careful curing steps |
| Clear outdoor sealer | Look for outdoor-rated, water-resistant, UV-rated | Outdoor pots and watering cycles | Can change sheen (matte/satin/gloss) |
Pick the simplest system that matches how the pot will be used. If it’s outdoors and gets watered, prioritize a ceramic-rated paint plus an outdoor-capable topcoat instead of relying on paint alone.
Mistakes to Avoid with how to paint ceramic pots?
The most common failure is skipping sanding on glazed pots. Paint can look stuck at first, then peel in sheets once temperature changes and water exposure hit. Scuffing is not optional if the surface is slick.
Another common problem is skipping cleaning. Finger oils and manufacturing residue can cause fisheyes, patchy curing, or weak adhesion. Even if the pot looks clean, wash it, rinse well, and dry completely before sanding and painting.
People also over-apply paint. Thick coats trap solvents and can stay tacky, especially at edges and low points on curved pots. Thin coats dry more evenly and give the clear coat a better bond.
Sealing too early is another easy mistake. Even if the paint feels dry, some ceramic paints still need a full cure. Sealing before curing traps softness underneath and can lead to fingerprints, dull spots, or premature chipping.
Troubleshooting quick hits
| Symptom | Likely Cause | Fix |
|---|---|---|
| Paint peels after drying | No sanding on glazed surface, or wrong paint | Strip/clean, scuff 220-400 grit, repaint with ceramic-specific paint |
| Paint beads up (fisheyes) | Oils or residue on the pot | Wash with dish soap, rinse, dry, then lightly scuff and repaint |
| Uneven patchy coverage | Coats too thick or inadequate primer | Apply thin additional coats, ensure full dry between layers |
| Streaks or brush marks | Overworking paint or wrong brush | Use light, smooth strokes, switch to foam/sponge for texture |
| Still tacky after time | Under-cure or sealed too early | Let cure fully, then reseal with compatible clear coat |
Pro Tips for how to paint ceramic pots?
Plan your “layer stack” for crisp designs. Lay down a base color first, then tape lines or stencil only after the base is fully dry. For multi-color patterns, dry between colors so you don’t lift the layer underneath when you mask.
Manage sheen for a finish you’ll like in real light. Matte paint hides imperfections but can feel less “finished” on curves. Satin or gloss reflects more light and makes bumps and texture more visible. If your paint instructions allow it, sand lightly between coats for a smoother surface; otherwise, stick to thinner layers and let them level.
Make the job easier with a simple handle. Use a scrap stick, dowel, or pot holder to rotate the pot while you paint. Consistent rotation keeps your stroke direction uniform and reduces drips from working one side at a time.
If you’re painting a garden pot with a two-tone gradient, sponge-painting creates a softer blend. Use two slightly damp sponge passes, blend where the colors meet, stop when the transition looks right, then let it dry fully before the next layer.
FAQ
What paint works best for ceramic pots?
Use paint labeled for ceramics, pottery, or “ceramic” use. Plain craft acrylic often peels or chips sooner on glazed pots unless you scuff and seal properly. For outdoor planters, choose a ceramic-rated paint plus an outdoor-capable clear sealer, and follow the curing instructions on the label.
How long does it take to paint and cure a ceramic pot?
Expect a full drying cycle per coat, especially between thin layers. Most pots need 2-3 coats, and ceramic paint labels usually specify cure time separate from “dry to the touch.” After painting, give the final sealed finish extra time before regular watering so the coating bonds fully.
Can I paint glazed ceramic pots without sanding?
You can try, but adhesion is the issue. Glossy glazed surfaces are smooth, and paint often doesn’t grip well. Sand with 220-400 grit just until the shine fades, so paint has something to lock into – and the finish lasts much longer.
How do I stop painted ceramic pots from peeling?
Use the right paint system and prep correctly. Wash to remove oils, scuff glazed surfaces, apply thin coats, and seal with a compatible topcoat. If peeling starts, remove loose paint, re-prep the surface, and repaint instead of piling on more paint.
What’s the easiest alternative if I don’t want to paint?
Use ceramic-safe decals or pre-glazed outdoor planters instead. If you want a painted look with less risk, choose a pot that’s already matte or lightly textured, then paint with fewer adhesion issues. Another low-fuss option is replacing the top layer with a ceramic-rated spray system designed for bonding plus sealing.

- 10 Best Slow Cooker For One Pot Cooking 2026 (Tested And Reviewed) - October 21, 2026
- 10 Best Slow Cooker For Hearty Stews 2026 (Tested And Reviewed) - October 20, 2026
- 10 Best Slow Cooker For Hearty Soups 2026 (Tested And Reviewed) - October 20, 2026