How To Make Sticky Rice With Rice Cooker?
Sticky rice is the one rice style that goes from “meh” to “wow” with a few details – rinse, water level, and a short rest before serving. If you have a standard rice cooker, you can still get that tender, clumpy texture people associate with Thai and Japanese sticky rice. This tutorial shows how to make sticky rice with a rice cooker, using practical ratios, timing, and fixes when it comes out too wet or too dry.
Sticky rice in a rice cooker works best with the right rice type plus a slightly lower water amount than regular white rice, then a 10-15 minute rest after cooking. Most failures come from using the wrong grain or skipping the rinse/soak steps. Aim for warm, sticky grains – not mush.
Key Takeaways
- Use the right rice – medium-grain or short-grain glutinous-style rice makes it sticky, not long-grain white rice.
- Rinse thoroughly – rinse until the water looks less cloudy to prevent gummy clumps.
- Start with a lower water line – begin around 1:1 for dry rice to water, then adjust next time.
- Soak when possible – soaking 20-60 minutes improves texture and reduces uneven cooking.
- Rest after cooking – 10-15 minutes off the heat (or on Keep Warm) helps grains firm up and stick better.
- Troubleshoot quickly – too wet? reduce water next batch, too dry? add a splash and rest longer.
How to begin
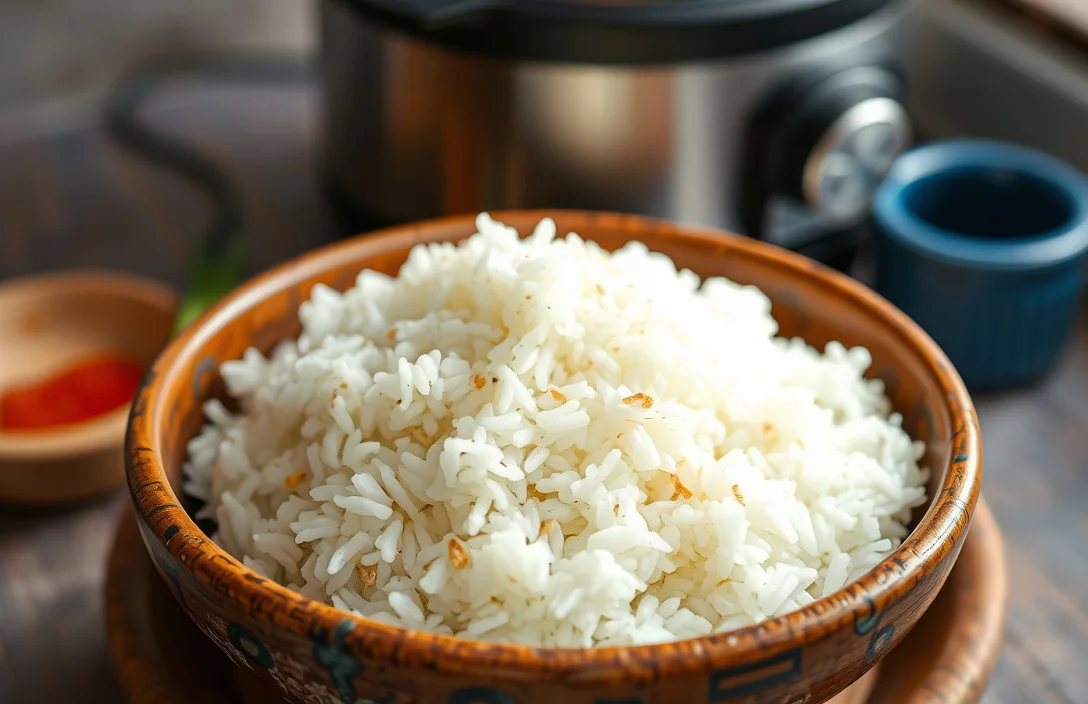
You can make sticky rice in a rice cooker, but you need two things to get the texture right: the correct rice grain and a realistic water plan. Sticky rice is mostly about starch behavior, and “sticky” varieties use grains that absorb and cling differently than regular long-grain white rice. With the wrong rice, no ratio will recreate the real scoopable, chewy result.
Check your rice label first. Look for words like “sweet rice,” “glutinous rice,” “sticky rice,” or “short-grain.” (Brand wording varies.) If your bag says long-grain jasmine or basmati, expect less stickiness. It will still taste good, but it won’t behave like true sticky rice.
Next, match your cooker program to its heat behavior. Most modern cookers have “White Rice,” “Quick,” or “Steam,” and you can use one of those. If your cooker has a “Sticky Rice” program, use it. If it doesn’t, “White Rice” plus a rest usually delivers the right finish.
Basics of Sticky Rice in a Rice Cooker
Sticky rice should cling together when you scoop it. It should not be fluffy and separate, and it should not turn into paste. You shape that outcome by controlling surface starch (through rinsing) and internal starch hydration (through soaking and water amount).
Water level drives most of the results. Too much water makes sticky rice soft and wet. Too little makes it dry and chalky.
Rice recipes for sticky rice often use soaking and then steaming. With a rice cooker, you’re still relying on controlled heat – the cooker’s “steam” and absorption do the job you’d get from steaming – so you lean more on water ratio and the post-cook rest to lock in texture.
A common misconception is that sticky rice needs more water than regular rice. In a rice cooker, it often needs the opposite: slightly less water than you’d use for standard white rice. Think clumpy and tender, not fully submerged and soupy.
What you need:
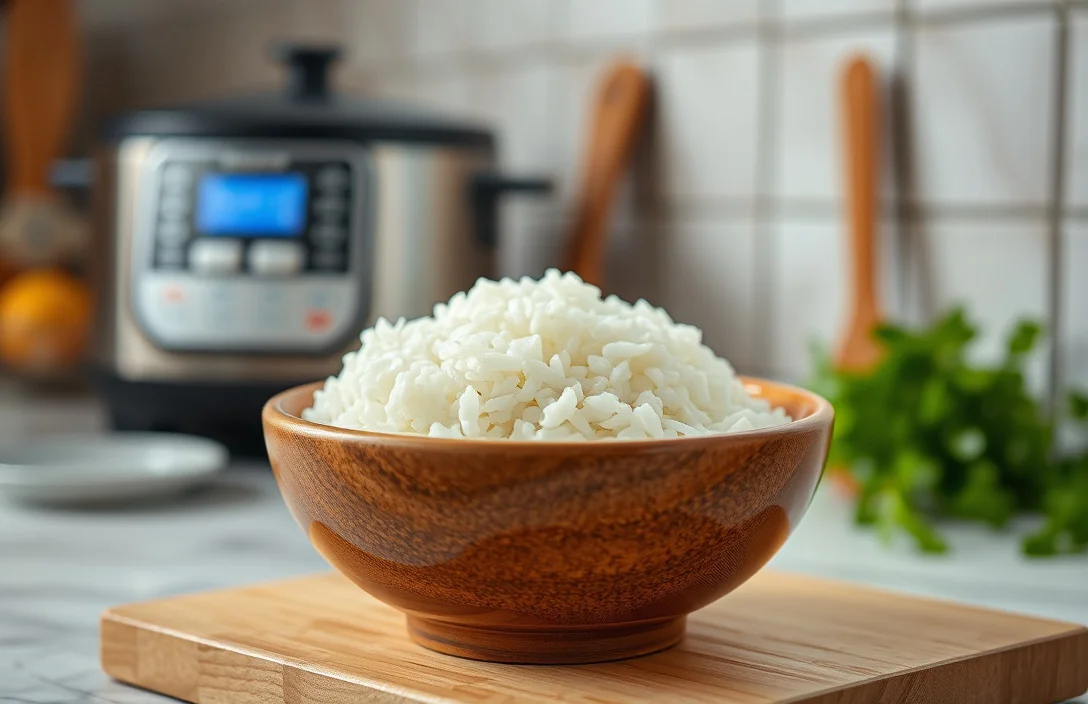
- Rice cooker with a keep warm function
- Sticky rice grain type: sweet rice / glutinous rice / short-grain sticky-style
- Optional bowl, measuring cup, and a timer for consistent soaking
How to Make Sticky Rice in a Rice Cooker
Start with the right rice type, rinse and soak (if you can), cook with a slightly lower water amount, then rest before serving. That sequence consistently produces clumpy, scoopable sticky rice.
Step 1: Rinse until the water looks less cloudy
Measure dry sticky rice (for example, 2 cups). Put it in a bowl and rinse with cool water, stirring with your hand. Drain and repeat until the water looks less milky – usually 3-6 rinses, depending on the brand.
Step 2: Soak for better texture (optional, but helpful)
If you have time, soak the rinsed rice in fresh water for 20-60 minutes. Soaking hydrates the grains more evenly, which matters in a rice cooker where your water amount is the main timing control.
Step 3: Drain well
After soaking, drain thoroughly. If you soaked, don’t just pour off the surface water – give the rice a moment in a colander or bowl so you’re not accidentally adding extra water.
Step 4: Measure water slightly under your “normal rice” expectation
For sticky rice in a rice cooker, start around 1:1 water to dry rice by volume. If you like it firmer, start closer to 0.9:1. If your cooker tends to run dry, start closer to 1.05:1.
Examples:
- 2 cups dry sticky rice + about 2 cups water (start here)
- For a firmer batch: 2 cups dry rice + about 1.8 cups water
Step 5: Cook on the closest matching program
Add rice and measured water to the cooker. Choose the closest option to your model’s “White Rice.” If your cooker has a “Sticky Rice” program, use it. Close the lid and start.
Don’t open the lid during cooking. Each peek releases steam and changes how evenly the rice hydrates.
Step 6: Rest, then fluff gently
When the cooker finishes, let the rice rest 10-15 minutes on Keep Warm (or off if you want it firmer). Then fluff gently with a rice paddle or fork.
Fluffing hard breaks grains and can reduce the clumpy stickiness you’re aiming for.
Step 7: Serve warm
Sticky rice is at its best warm. If it sits too long and dries, it loses the scoop-and-cling texture. If you need to hold it, keep it covered and warm, then consider adding a teaspoon or two of water and resting briefly before serving.
Things that matter most
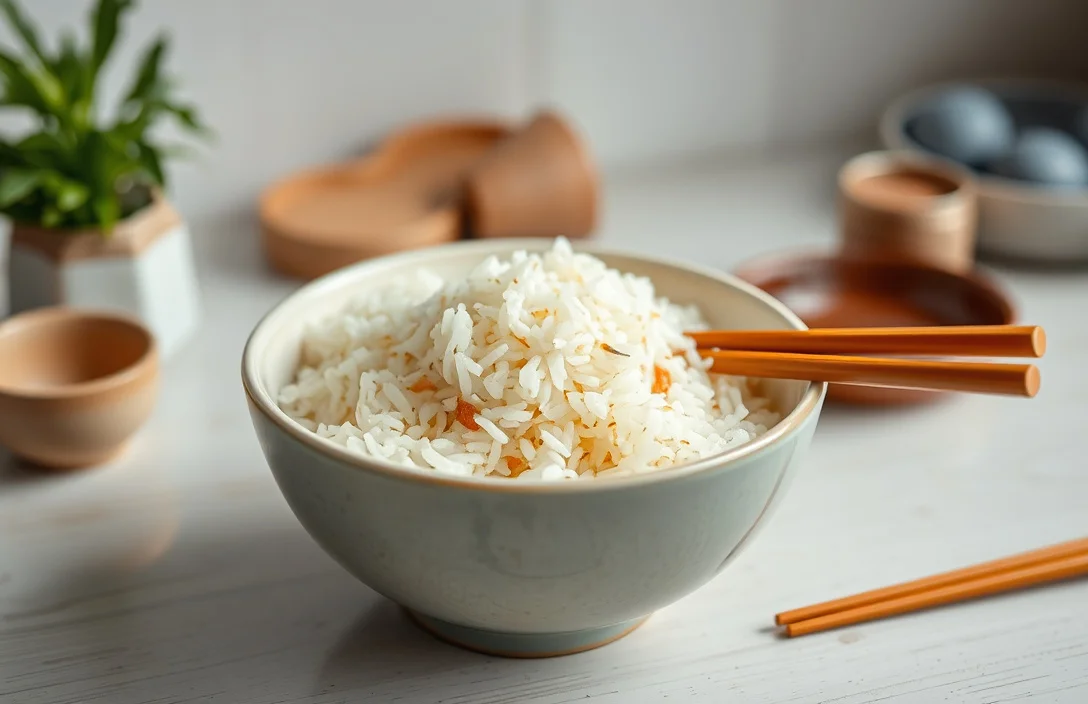
Water ratio control matters most in a rice cooker. You’re not steaming separately, so the water you add determines whether starch forms clumps or turns wet and heavy. Use the same measuring style each time so your changes actually mean something.
Rinsing comes second and does more than people expect. Extra surface starch makes sticky rice gummy, especially if you’re already on the higher water side. Rinsing reduces that excess starch and helps the rice cook through cleanly.
Soaking is the third big lever, especially if you want firmer sticky rice. Even a 20-minute soak improves consistency and reduces uneven texture. Skip it if you must, but expect more variation and plan to adjust water next time.
When you test your own cooker, treat it like an experiment. Change one variable at a time:
- Same brand and amount of rice
- Same rinse and soak duration
- Adjust water slightly (for example, by 1-2 tablespoons per cup)
What works in practice
Best results come from consistency, not complexity. Use the same rice brand, rinse method, and measuring approach every time. Sticky rice is unforgiving when you switch grains, because starch and absorption behavior change.
Cooker behavior varies too. Some distribute heat differently, and some run slightly hotter or drier. If your first batch is off, don’t guess wildly – adjust water in small steps and repeat.
Practical best practices:
- Measure rice and water with the same style measuring cup
- Rinse until less cloudy to prevent surface starch from overwhelming texture
- Soak when you can for 20-60 minutes
- Rest after cooking for 10-15 minutes
- Keep warm covered to prevent drying
- Avoid over-fluffing if you want strong clumps
Water adjustment guide for your next attempt (assuming sticky rice grain and a normal rice program):
| If your sticky rice is… | Likely cause | Adjust next batch (water to dry rice) | What to do immediately |
|---|---|---|---|
| Too wet and heavy | Too much water, not enough rest | Reduce to about 0.9:1 | Spread in the pot, rest 10-15 more minutes |
| Too dry and firm | Too little water, short rest | Increase to about 1.05:1 | Sprinkle 1-2 tbsp water, cover, rest 10 minutes |
| Gummy or sticky in a bad way | Excess surface starch from under-rinsing | Rinse 1-3 more times next time | Fluff gently, and rest longer before serving |
| Uneven texture | Soaking skipped, water absorption uneven | Add a 20-40 min soak | Rest covered 10-15 minutes, then fluff gently |
| Sticking to the pot too much | Cooker runs hot, or rice is over-dry | Slightly increase water to 1.0-1.05:1 | Line with a light rinse of water before cooking next time |
Mistakes That Ruin Sticky Rice (and How to Avoid Them)
The biggest mistake is using the wrong rice. Long-grain white rice won’t turn into the chewy, clumpy sticky rice you want, even if it cooks “well.” Match the grain to the dish.
Another common miss is using regular white-rice water ratios. Sticky rice grain needs a different water plan because the starch texture is the goal, not separate fluffiness. If you pour in the same water line you’d use for jasmine or basmati, you’ll often get wet, gummy rice in a cooker.
Skipping rinsing is also a problem. Without rinsing, extra surface starch can make sticky rice gummy, especially when water runs high. That may still feel sticky, but it’s the wrong kind of stickiness.
Overcooking past the finished cycle can happen when rice cookers shift to Keep Warm and stay there too long. Sticky rice needs to stay warm without drying out or over-softening, so timing matters.
Avoid these common “blame the cooker” moves:
- Don’t open the lid during cooking to check progress
- Don’t add random water mid-cook without a plan, because hydration becomes uneven
- Don’t leave it uncovered while it cools, or it will crust and lose stickiness
- Don’t measure rice loosely (compressed scoops throw off the water ratio)
Pro Tips That Make Sticky Rice Easier to Get Right
Use a start-simple-then-tune approach. If you’re learning, prioritize consistency over perfection. Start with a water ratio (1:1 is a solid default), rinse thoroughly, and rest 10-15 minutes. On the next batch, change only one variable – usually water or soak time.
If your rice cooker tends to run dry, add water gradually. Increase by small amounts per batch rather than jumping. For example, if 1:1 was dry, try closer to 1.05:1 next, keeping everything else the same.
If it runs wet, reduce water slightly and increase rest time. Longer rest helps moisture redistribute through the pot. This is especially helpful when the rice looks done right after cooking but feels loose or soupy.
Pro tips for real kitchen use:
- Use a flat paddle when fluffing so you don’t break clumps
- Press and scoop for eating – clumps are part of the point
- Keep covered during warm holding to prevent drying
- For firmer sticky rice, reduce water slightly and rest the full 15 minutes
A practical scenario that usually works
If you want Thai-style sticky rice for mango and you only have time for a quick rinse, rinse thoroughly, use 1:1 water to dry rice, cook on White Rice, and rest 15 minutes. You’ll still get close to the right texture. If it’s too wet, adjust water down slightly next time – don’t switch programs unless you have to.
FAQ
What rice do I need to make sticky rice with a rice cooker?
Use sticky rice grains labeled sweet rice, glutinous rice, sticky rice, or short-grain marketed for sticky rice. Regular long-grain white rice won’t develop the chewy, clumpy sticky texture, even with correct water ratios.
How much water should I use for sticky rice in a rice cooker?
Start at 1:1 water to dry sticky rice by volume. If your cooker runs dry, try 1.05:1 next. If it runs wet, try 0.9:1. Adjust in small steps so you can learn your cooker.
How long does it take to cook sticky rice in a rice cooker?
Cooking time depends on your specific cooker program, but you typically get a full cook cycle plus a 10-15 minute rest after it’s finished. Don’t rush the rest – it’s where grains firm up and stick better.
Is sticky rice in a rice cooker safe to reheat?
Yes, reheat gently and keep it covered to avoid drying and crusting. For best texture, reheat until warm, then rest 5-10 minutes. If it dries out, sprinkle a small amount of water and rest briefly.
What’s the most common mistake when making sticky rice with a rice cooker?
Using the wrong rice grain or using standard white-rice water levels. That usually leads to either wet, gummy rice or dry, chalky rice. Start with sticky rice labeled for the dish, begin at 1:1 water, and rest properly.

- 10 Best Slow Cooker For Hearty Stews 2026 (Tested And Reviewed) - October 20, 2026
- 10 Best Slow Cooker For Hearty Soups 2026 (Tested And Reviewed) - October 20, 2026
- 10 Best Slow Cooker For Comfort Food 2026 (Tested And Reviewed) - October 20, 2026