How To Paint Glazed Pots?
Glazed pots are slick, so paint won’t grab unless you prep the surface correctly. If you skip the right sanding and primer, your “fresh coat” can peel within days. This guide gives you a practical, do-this-first tutorial for painting glazed pots (ceramic, earthenware, and similar finishes), plus troubleshooting when the finish bubbles, chips, or won’t cure.
Key Takeaways

- Use bonding primer – Regular craft primer often fails on glossy glaze, but bonding primer grips better.
- Sand to dull glaze – You are not trying to remove the glaze, just scuff it so paint can key in.
- Clean with alcohol – Oils and dust kill adhesion, so wipe with isopropyl alcohol right before priming.
- Build thin coats – One thick coat runs and drips, especially on rounded pot walls.
- Seal for durability – Indoor paint can sometimes skip sealer, but outdoor pots usually need one.
- Let it cure fully – Touch-dry is not cure time, and early handling causes chipping.
what you’ll need to paint glazed pots
Painting glazed pots works best when you plan for adhesion first, color second. Glaze is shiny and non-porous, so paint either bonds through mechanical “tooth” (sanding) and a bonding primer, or it peels.
Decide what the pot will do before you pick products. Indoor décor can take a simpler system, while outdoor pots need exterior-rated paint and sealer that can handle moisture and UV.
how glazed pots accept (or reject) paint
Glazed ceramic resists water and paint, but it will accept paint when you create a rough surface and use the right primer. Your job is to make the glaze scuffed and clean, then lock the first layer to that surface.
Choose paint that matches the pot’s job. Acrylic craft paint can work for indoor pieces. Enamel or specialty ceramics paints last longer on planters or items that get handled often (test on a scrap first if you can).
how to paint glazed pots
Start by removing slickness and oils, then build in layers. Do it once, and your result looks intentional.
- Pick the right pot type – Use truly glazed ceramic or similar finished pottery, not unglazed clay or porous terracotta.
- Remove dust and grease – Wash with dish soap and warm water, rinse well, then dry completely.
- Scuff the glaze – Sand with 220-400 grit sandpaper until the surface looks dull and feels less slick.
- Wipe with alcohol – Use isopropyl alcohol on a lint-free cloth to remove sanding residue, then let it flash-dry.
- Apply bonding primer – Spray or brush on a thin, even coat, then follow the can’s recoat window.
- Paint in thin coats – Apply 2-3 light coats, letting each coat dry before the next. Avoid heavy buildup.
- Let cure before handling – After the final coat, give it enough time to cure, not just dry to the touch.
- Seal if needed – Use a clear sealer compatible with your paint if the pot will get water exposure or go outdoors.
What to do if your glazed pot has chips and rough edges
Damaged glaze can lift paint later, especially at edges. Sand rough chips smooth, then prime extra carefully in those spots so the primer fills micro-gaps.
how to make paint stick to glaze
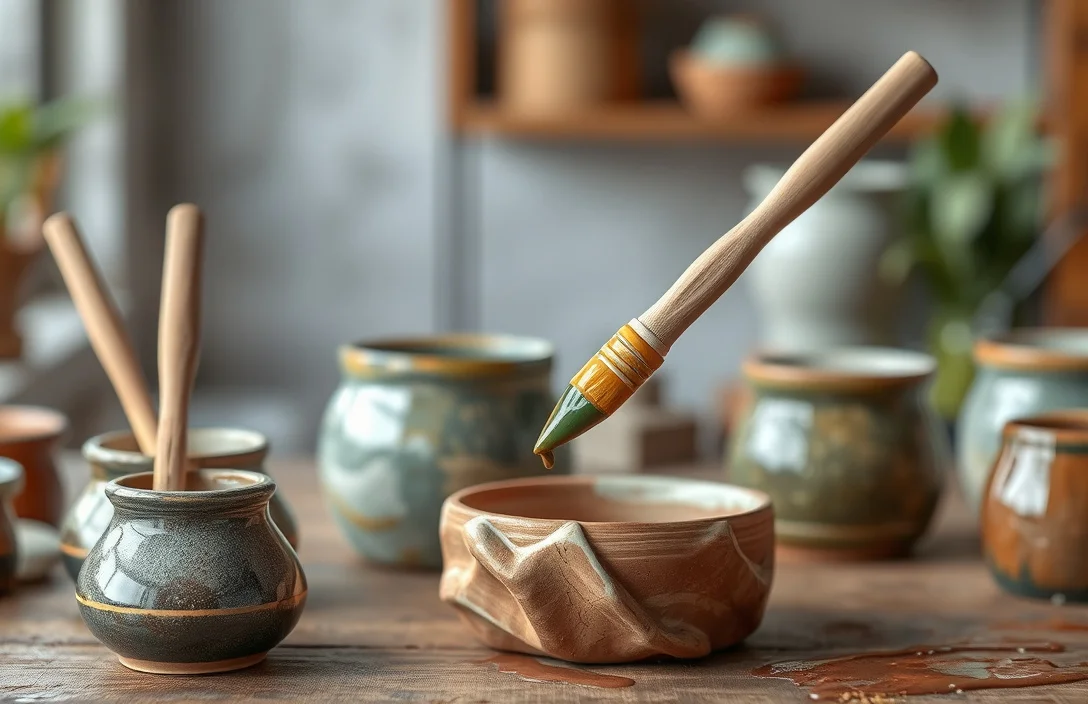
Adhesion comes down to three habits: consistent scuffing, disciplined cleaning, and thin, even layers. Nail those, and the color part becomes straightforward.
Match your sanding method to the pot’s shape. Use a hand sanding block on flat spots. Fold sandpaper and wrap it around curves so you keep the surface even. Avoid gouges that create sharp ridges, since they telegraph through the topcoat.
Control coat thickness to prevent most problems. Thin coats reduce runs and limit trapped solvents that can cause tackiness or uneven cure later.
Quick technique
- Scuff every glossy area – Every reflective surface needs tooth, not just the “trouble spots.”
- Prime once, then paint – Primer gives grip; paint gives the look.
- Respect recoat timing – Wait too long between primer and paint and adhesion can weaken.
- Keep edges clean – Wipe drips immediately so they do not harden into bumps.
What works in practice
Use a full system when you can: bonding primer, compatible paint, and (if needed) a sealer. Mixing random products is how you end up with peeling, soft paint, or weird stickiness even when the color looks great at first.
Where you work matters too. Many primers and paints cure by solvent evaporation, so ventilated airflow helps. A dusty area also ruins the first coat because primer can trap particles as it dries.
Outdoor and planter reality check
Frequent wetting changes the rules. For watering, rain, and planter use, pick exterior-rated paint plus a compatible exterior clear sealer, and wait for full cure before you expose the finish. Skip sealing the inside rim where soil moisture can sit and stress the coating.
Here’s a simple “pick the system” guide:
| Project Goal | Paint / Primer Pairing | Best For |
|---|---|---|
| Indoor décor look | Bonding primer + acrylic paint | Tables, shelves, low-moisture use |
| Durable hand-painted finish | Bonding primer + enamel-style or specialty paint | Frequently handled items, better chip resistance |
| Outdoor exposure | Bonding primer + exterior-rated paint + clear exterior sealer | Weather and moisture exposure (with full cure) |
why glazed-pot paint fails
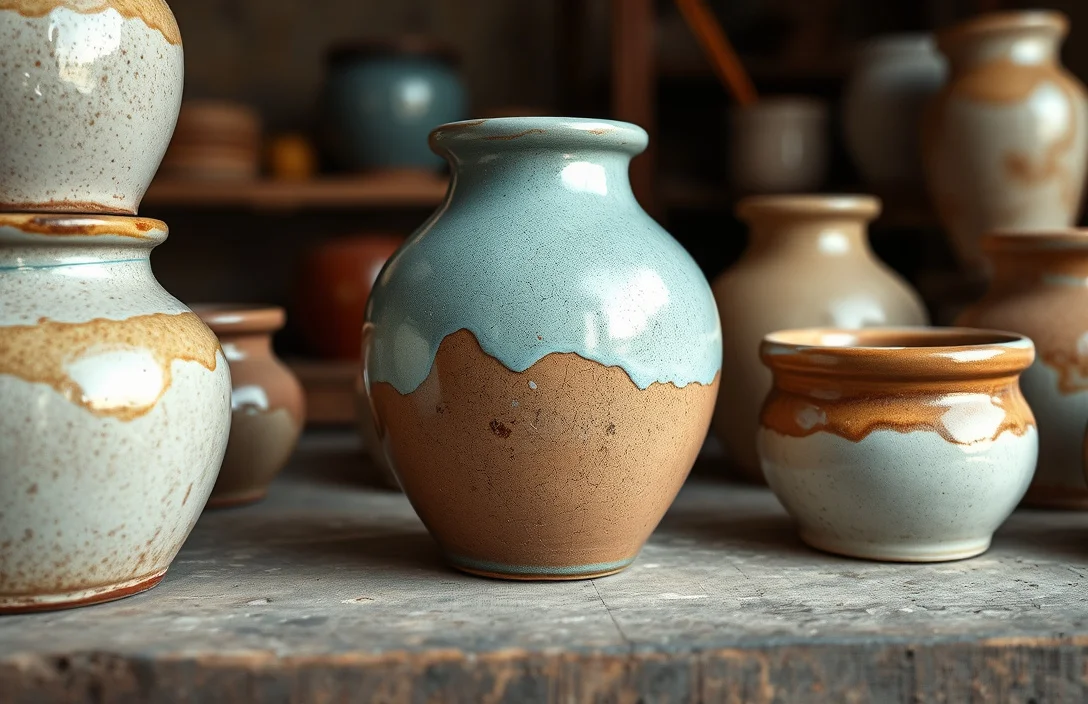
Most failures are predictable, and that’s good news. They come from missing prep, using the wrong primer, or rushing cure.
The biggest mistake is painting over glossy glaze without scuffing it. If the pot still looks mirror-shiny after sanding, you probably did not create enough tooth for primer and paint to grip.
Skipping the alcohol wipe causes adhesion problems too. Sanding dust and skin oils can form a barrier layer that primer cannot bite into, leading to peeling patches.
People also confuse “dry” with “cured.” If you stack, rotate, or handle the pot while it is still curing, you can chip coatings at stress points, and fingerprints can leave marks that never fully disappear.
The failure patterns you’ll see
- Peeling in sheets – Usually no scuffing or the wrong primer.
- Bubbles under paint – Often trapped moisture or painting on a still-damp surface.
- Chipping at rim or handle points – Often thick coats or not enough cure time.
- Tacky finish weeks later – Incompatible products or coats applied too heavy or too quickly.
Pro Tips: get cleaner lines and fewer runs
A crisp, professional look comes from control: masking, design transfer, and uniform surface coverage.
For sharp designs, use painter’s tape only after primer is fully dry. Press tape edges firmly, then remove tape while the topcoat is in its early set stage (not fully cured) so the paint edge doesn’t tear.
For patterns, a craft stencil is easier than freehand on curved surfaces. It reduces over-brushing, which can flood one area and leave texture.
For spray paint, rotate the pot slowly while applying. Keep the nozzle moving and hold a consistent distance to avoid stripes from uneven spray overlap.
Examples that work well
For a minimalist monochrome pot, prime and paint with 2-3 thin coats, then seal once if the pot will see moisture.
For a two-tone look (like a stripe), paint the base first. After the base fully dries, tape the stripe boundary, then apply the stripe color in two light coats.
FAQ
Can you paint glazed pots without sanding?
You can, but it is risky. Glossy glaze has little grip, so paint often peels unless the surface is scuffed for mechanical adhesion. If you truly cannot sand, a bonding primer designed for glossy surfaces is your best alternative, but test on a small hidden spot first.
What’s the fastest way to paint glazed pots?
The fastest path is scuff-sand, alcohol wipe, bonding primer, then two thin paint coats. Skip thick coats because they can dry on the outside while staying soft underneath, which delays usable handling time. Work around the product’s recoat and cure windows.
How long should glazed pots cure before using them?
Plan for at least 24 hours before light handling, but full cure often takes longer, sometimes 48-72 hours. If the pot will be outdoors or used as a planter, extend cure time to reduce chips and coating softening. Always follow the label directions for primer, paint, and sealer.
Are there safe options for painted pots that hold plants?
Yes, but match the products to the exposure. If the pot will hold soil and get regular wetting, use exterior-rated paint plus a compatible clear sealer, then fully cure before planting. Avoid painting areas where water can pool under an edge, since stress from water can lead to peeling.
What’s the most common reason painted glazed pots peel?
Paint peeling usually comes from skipping scuffing and cleaning, or using the wrong primer for glossy surfaces. Sand too lightly and primer cannot key into the glaze. Skip the alcohol wipe and residue remains, breaking adhesion and causing peeling after a few days or weeks.
Final practical verdict: scuff the glaze until it looks dull, wipe it with alcohol, prime with bonding primer, then paint in thin coats and seal if the pot sees moisture. Next step: pick your paint and primer system, do a small test on an inconspicuous spot, and check how it looks after full cure.

- 10 Best Slow Cooker For Hearty Stews 2026 (Tested And Reviewed) - October 20, 2026
- 10 Best Slow Cooker For Hearty Soups 2026 (Tested And Reviewed) - October 20, 2026
- 10 Best Slow Cooker For Comfort Food 2026 (Tested And Reviewed) - October 20, 2026