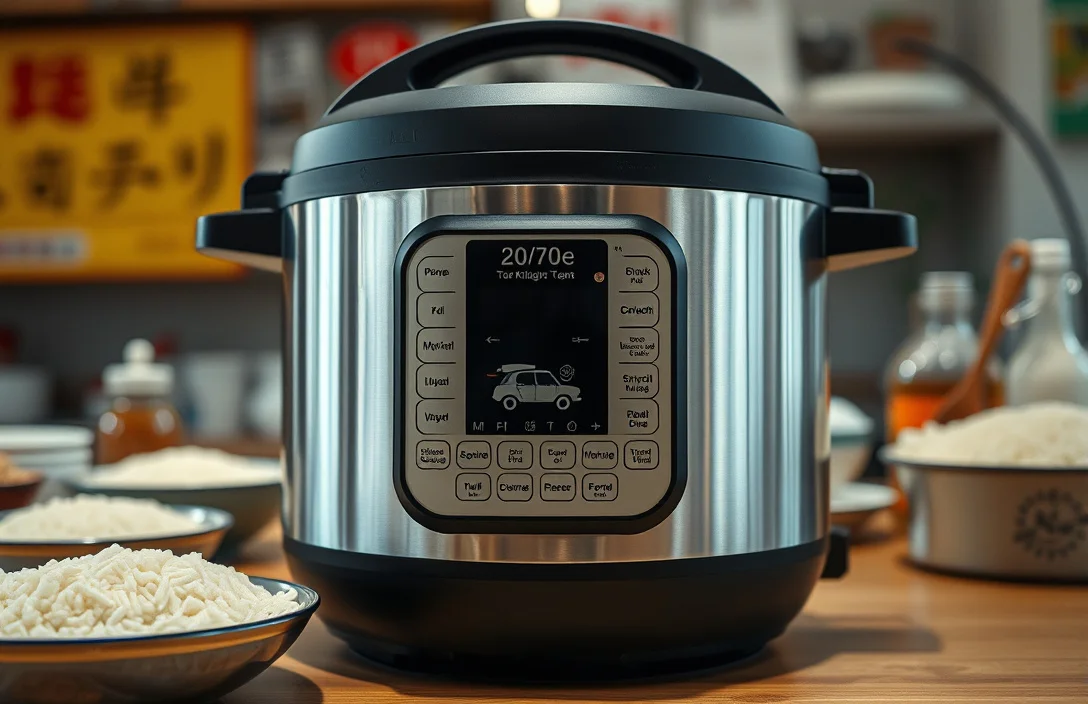
Power Pressure Cooker Xl Cooking Rice: White & Brown Results
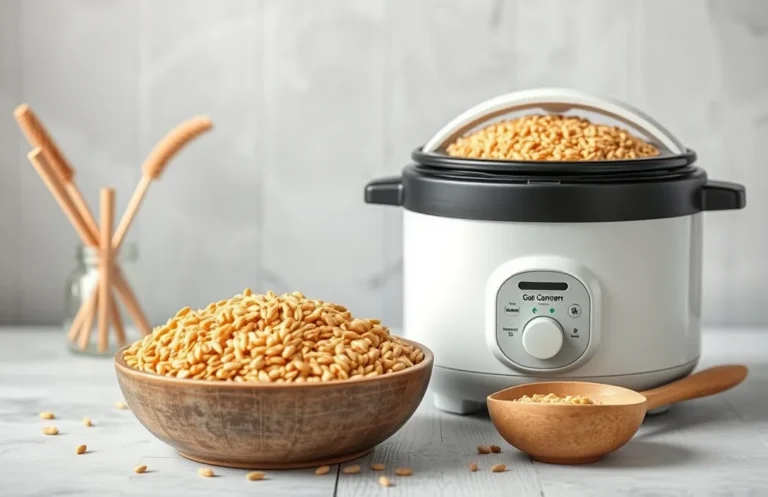
Cooking rice in a Power Pressure Cooker XL comes down to two things: water ratio and what you do after the timer ends. Pressure cooking speeds hydration, and the rice keeps changing as the pressure drops. Follow the steps below and you’ll get repeatable white rice, brown rice, and quick-rice results.
Power Pressure Cooker XL rice works best with the right water ratio and a short natural-release window. For most white rice, use about 1:1 water-to-rice by volume and cook on the Rice program. Then let pressure come down naturally for 5 to 10 minutes before opening. Brown rice needs more water and more time, with a longer natural release.
Key Takeaways
- Pick the right rice type. White and brown rice need different time and water because brown absorbs slower.
- Use consistent ratios. Start near a 1:1 water-to-rice ratio for white rice, then adjust.
- Let pressure release naturally. A 5 to 10 minute natural release improves tenderness and reduces hard centers.
- Don’t overfill the pot. Keep rice below the cooker’s max line so bubbling doesn’t block valves.
- Fluff, then rest. Fluff rice and rest 5 minutes to finish steaming evenly.
What to Know About Power Pressure Cooker XL Rice
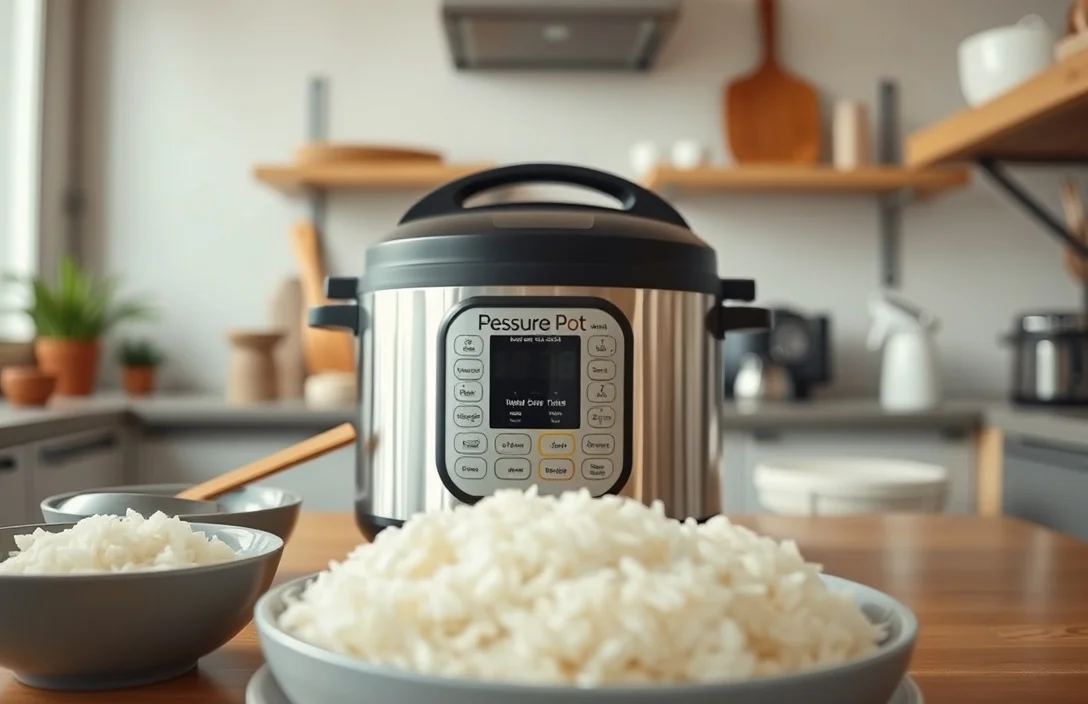
Power Pressure Cooker XL rice mostly comes down to how much water you add and how long you wait before opening the lid. Under pressure, rice cooks faster than it does on the stove, and the cooker continues redistributing heat while pressure drops. Open the lid immediately and you usually get uneven texture, especially with longer grains and brown rice.
The Rice program also isn’t a one-size-fits-all guarantee. Some settings are tuned for white rice, while brown rice typically needs more water, more time, and a longer natural release. Treat brown rice like a different recipe, not a quick swap.
Rinse decisions affect texture. Rinsing removes surface starch, which helps prevent gummy white rice. If you want fluffy rice for fried rice or bowls, rinse. If you skip rinsing, expect stickier results and plan on slightly adjusting water.
Things that matter most
Start with a baseline ratio, then adjust based on what you see. For white rice in a pressure cooker, a solid starting point is 1:1 water to rice by volume. It’s not universal across every brand and every pot size, but it’s a repeatable place to begin.
Natural release matters. For pressure-cooker rice, 5 to 10 minutes lets grains finish absorbing water without overcooking. If your rice often comes out a bit firm, increase natural release or add a small amount more water next time. If it’s mushy, reduce water slightly or shorten natural release.
Use simple cause-and-effect troubleshooting:
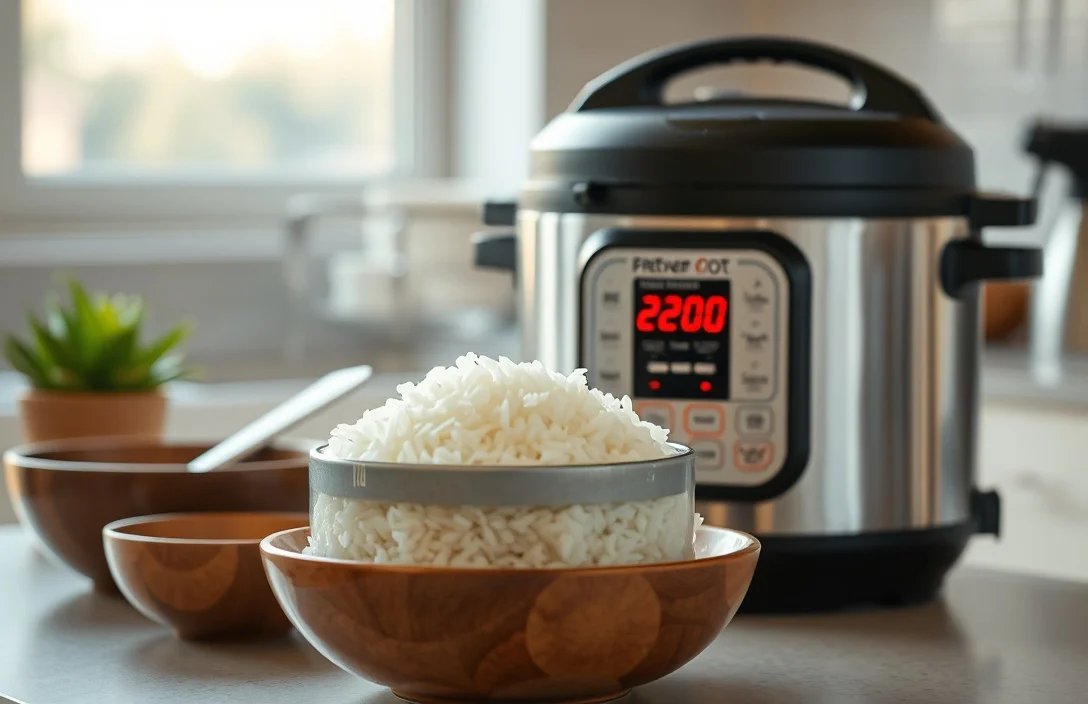
- Crunchy rice: you’re usually short on effective water or stopping the cook too soon (quick release makes this worse).
- Wet rice at the bottom: you’re usually heavy on water, or you’ve kept it sealed too long after cooking.
Baseline approach you can reuse:
- White rice, rinsed: start around 1:1 water:rice, use the Rice program, and natural release 5 to 10 minutes.
- White rice, un-rinsed: start slightly lower than 1:1 if you tend to get gummy results.
- Brown rice: plan on more water and more time than white rice, plus a natural release on the longer end.
Tips for Power Pressure Cooker XL Rice
The biggest “secret” is what happens after the timer ends. When the cook finishes, pressure drop continues the cooking process. Opening early vents steam that would otherwise keep the top layers hydrating.
Quick adjustment rules:
- If rice is hard in the center, add more natural release first (or increase water slightly next time).
- If rice is mushy, reduce water slightly and shorten natural release.
- If rice is watery, double-check your measurements and avoid leaving it on “keep warm” too long.
- If you see scorching, reduce total water slightly and make sure the pot bottom is clean before cooking.
Use enough liquid to build steam, but not so much that starchy water foams and interferes with pressure regulation. If you want consistent results, weigh ingredients or use the same measuring cup for both rice and water every time.
Don’t stir immediately after cooking. Fluff with a fork, then rest 5 minutes (still closed or loosely covered) so steam equalizes. Stirring right away can break grains and make texture feel worse even when the rice is fully cooked.

Helpful pick
Ninja HyperHeat 9-in-1 Electric Pressure Cooker | 6.5 Qt Multi Cooker with Sear/Sauté, Slow Cooker, Rice Cooker, Sous Vide | 1200W | Fast Cooking, PFAS-Free Pot | Blue Macaron | PC201
Helps manage post timer cooking in Power Pressure Cooker XL rice, promoting consistent grains.
Benefits of Power Pressure Cooker XL Rice
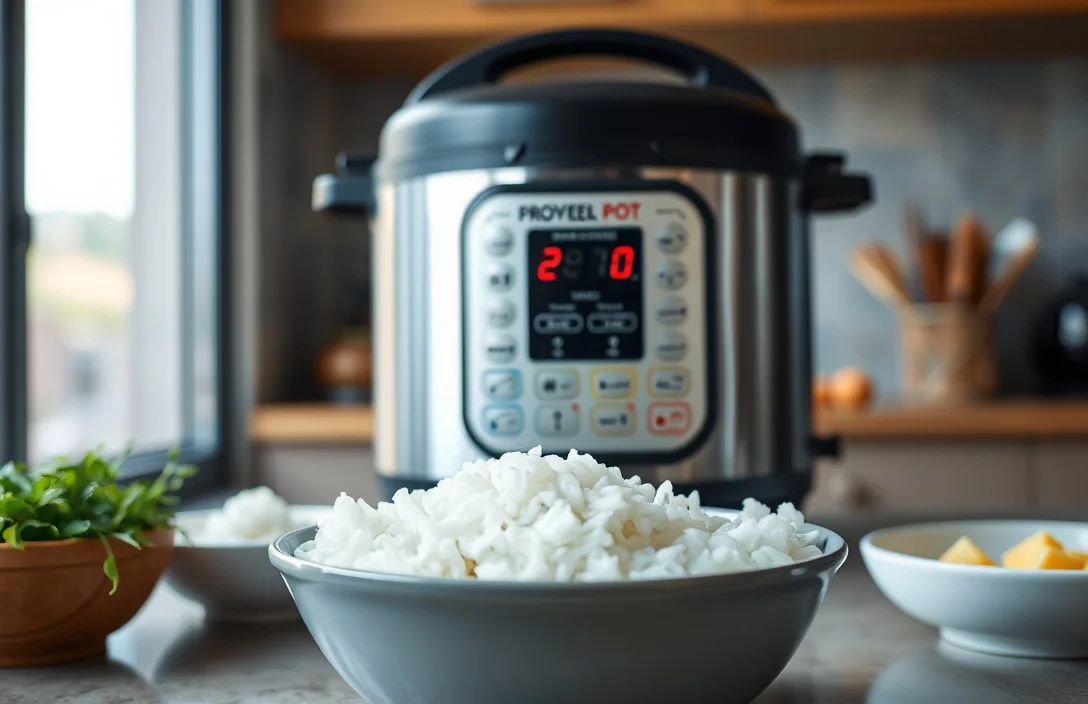
Pressure cooking rice gives repeatable texture with less babysitting than stovetop cooking. Once your ratio and natural-release timing are dialed in, results improve fast, and you can cook rice while prepping the rest of the meal.
Timing consistency improves too. On the stove, the bottom can overcook while the top stays underdone. In a pressure cooker, heat and moisture distribute differently, and following the natural release routine helps grains cook more evenly.
You also get better energy efficiency and multitasking. After the cooker reaches pressure and maintains a controlled environment, you’re not constantly checking the pot. That helps when cooking rice alongside proteins or vegetables.
Pressure-cooked rice is also strong for batch cooking. When it’s cooked properly, it reheats without turning into watery porridge. Meal-prep users like it for that reason.
Helpful pick
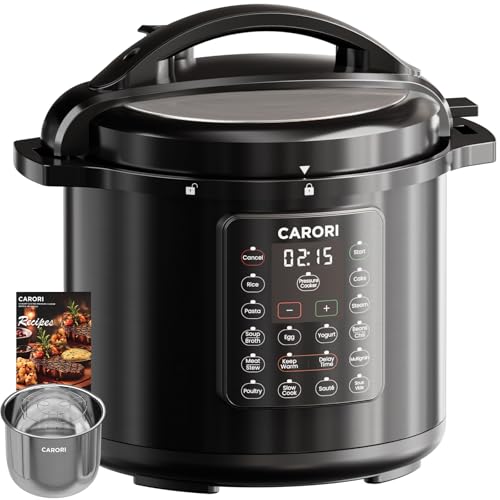
12-in-1 Electric Pressure Cooker 8 Quart, 1200W olla de presion Multi-Cooker with Stainless Steel Pot, Slow Rice Cooker, Saute, Steamer, Yogurt & Food Warmer, Delay Timer, Black
Delivers consistent rice texture and hands-free timing to match the section’s repeatable results while you prep.
Options for Power Pressure Cooker XL Rice
The best option depends on the rice type and the texture you want. For everyday white rice bowls, the Rice program plus the right ratio and natural release is usually the simplest route. For brown rice or longer-grain styles, longer cook time and longer natural release usually work better than forcing white-rice settings to do all the heavy lifting.
Texture control options:
- Rinse vs no rinse changes starch and stickiness.
- Oil or butter in small amounts can help separation in some styles, but it can shift moisture behavior.
- Broth vs water adds flavor, but broth can vary in salt and thickness. Keep your ratio consistent and taste-adjust after cooking.
If you want quick progress without a lot of math, keep everything the same and change one variable at a time. Keep the same rice brand and measuring cup. Change only water ratio, or only natural release time, and compare results. That’s how you converge on your ideal setting.
Also account for expansion. Rice grows a lot, and overfilling increases the chance of foamy boil-over and inconsistent pressure. Measure the rice you’re actually using and follow the cooker’s max line in your manual.

Helpful pick
Instant Pot Duo 7-in-1 Mini Electric Pressure Cooker, Slow Rice Cooker, Steamer, Sauté, Yogurt Maker, Warmer & Sterilizer, Includes Free App with over 1900 Recipes, Stainless Steel, 3 Quart
The Instant Pot Duo Mini provides a reliable Rice program with natural release for fluffy white rice.
Practical Advice for Power Pressure Cooker XL Rice
Build a repeatable workflow: measure rice and water the same way every time, choose the program that matches the rice type as closely as possible, and stick to a natural release window. Most “inconsistent rice” problems come from changes in one of those steps, especially how you release pressure.
For white rice, use this order:
- Rinse if you want fluffier grains.
- Start at about 1:1 water to rice by volume.
- Use the Rice program.
- Do a 5 to 10 minute natural release.
- Fluff and rest 5 minutes before serving.
Brown rice follows the same workflow, but expect more water and more time. The bran layer slows hydration, so crunchy rice is often a timing or liquid issue. Opening the lid early makes the problem worse.
To keep results consistent across brands, treat water ratio like a dial. Make small changes next time: slightly less water if it’s mushy, slightly more if it’s underdone. Changing everything at once makes it hard to learn what fixed the problem.
Examples: Power Pressure Cooker XL Rice Settings
Use these examples as starting points, then tweak water ratio in small increments based on your results. Brands and pot sizes vary, so treat these as reliable first attempts.
Example 1: White rice, fluffy for bowls
Rinse white rice, measure water at about 1:1 water-to-rice by volume, and run the Rice program. After the timer ends, let it do a 5 to 10 minute natural release, then open and fluff. Too wet? Reduce water slightly next time. Too firm? Increase natural release slightly.
Example 2: White rice, slightly stickier (for fried rice)
Skip rinsing if you want more starch. Start close to 1:1, run Rice, then keep natural release in the same 5 to 10 minute range. Fluff after resting briefly so grains separate more before you cool and use later.
Example 3: Brown rice
Treat brown rice as its own recipe. Use more water than you’d use for white rice, and expect a longer cook time. After cooking, prioritize natural release on the longer end of what you’d do for white rice, then fluff and rest.
Example 4: Rice for meal prep
Cook slightly under your “perfect” texture if you plan to reheat. Fluff and let it rest 5 minutes, then cool promptly (especially if you’re storing). Reheated rice softens further, so starting firmer can prevent mush.
FAQ
1) What water-to-rice ratio should I use for rice in a Power Pressure Cooker XL?
Start with 1:1 water to rice by volume for white rice. For mushy rice or rice that’s wet at the bottom, use slightly less water next time. For crunchy rice or firm centers, use slightly more water and increase natural release by a few minutes.
2) How long should I natural release rice after the Power Pressure Cooker XL finishes?
Aim for 5 to 10 minutes of natural release for white rice. Brown rice usually benefits from the longer end because it needs more time to fully hydrate. If you quick release right away, you often get uneven texture.
3) Can I cook brown rice in a Power Pressure Cooker XL?
Yes. Brown rice needs more water and more cook time than white rice. Use the closest matching rice/brown-rice program if your cooker has one, then keep natural release longer to avoid crunchy grains near the center.
4) Why does my rice sometimes scorch on the bottom?
Scorching usually points to not enough free liquid, a dirty pot bottom, or a ratio that’s too low. Measure accurately, keep fill levels reasonable, and avoid letting the cooker run empty at the start. If you add oil, keep it small and consistent.
5) What’s the most common mistake people make with pressure cooker rice?
Opening the lid immediately at the end of the cook. That vents steam and stops the final hydration that happens during natural release. Use a 5 to 10 minute natural release (longer for brown rice) for the biggest texture improvement.
If you want one next step, cook your next batch using the white-rice baseline (about 1:1 water-to-rice, Rice program, 5 to 10 minutes natural release), then adjust only one variable based on whether your rice is too firm or too soft.

- 10 Best Slow Cooker For Quick Preparation 2026 (Tested And Reviewed) - October 18, 2026
- 10 Best Slow Cooker For Family Meal Preparation 2026 (Tested And Reviewed) - October 18, 2026
- 10 Best Slow Cooker For Freezer Meal Preparation 2026 (Tested And Reviewed) - October 18, 2026