How To Seal Terracotta Pots?
Terracotta pots wick water through tiny pores, so unsealed planters often leak, stain, or crumble faster in wet conditions. Sealing terracotta cuts seepage and helps the pot stay usable for indoor plants, balconies, and outdoor patios. This guide covers practical sealing options, what to do before you start, the steps to follow, what to check when it still leaks, and what to do next.
Sealing works best with a masonry sealer or a product made for outdoor terracotta. Plan on 2-3 thin coats, let each coat cure fully (often 24-72 hours), and keep the pot dry until you plant. You’ll lose some breathability, but you’ll usually see a big drop in drips and mineral marks.
Key Takeaways
- Choose the right sealer. Use a masonry-compatible sealant or terracotta sealer, not random craft paint.
- Clean thoroughly first. Scrub out soil and mineral deposits, then dry the pot completely.
- Mind food and plant safety. Use sealers labeled safe for plants, or keep chemicals off the soil-contact surface.
- Plan for multiple coats. Two to three thin coats seal pores more effectively than one heavy coat.
- Dry and cure fully. Rushing curing can cause tackiness, peeling, or early leaks.
- Test before committing. Run a small water test to confirm reduced seepage.
How to begin
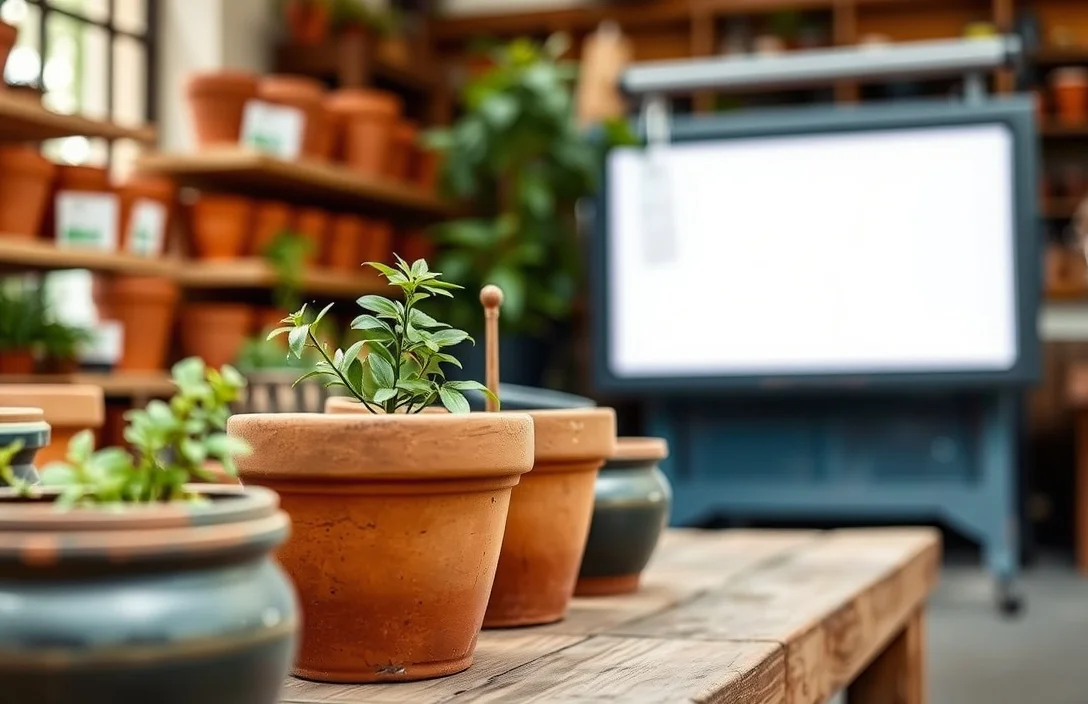
Sealing a terracotta pot blocks the pores that carry moisture through the clay. You’re not making terracotta permanently waterproof in every situation, but you can cut leakage and staining a lot.
Start by matching the job to where the pot will live. Indoors, the goal is stopping drips onto floors and furniture. Outdoors in rain, the goal becomes water resistance and better handling of wet-dry cycles and freeze-thaw.
Then match the sealer to the pot’s condition. Terracotta is porous, dusty, and sometimes chalky from mineral deposits. Any coating that won’t bond to clean clay fails early.
Basics of how to seal terracotta pots?
Water travels through terracotta in three common ways: micro-cracks in the surface, pores inside the clay, and mineral staining left by previous watering. A sealer forms a film or penetrates the surface to slow or block that movement. The coating you pick determines how much the pot still “breathes” and how it reacts to repeated water exposure.
The main choice is penetrating vs surface film:
- Penetrating sealers sink into pores and reduce leakage while keeping a more natural clay look.
- Film-formers sit on top and can look smoother, but thick coats or dirty clay can cause peeling.
Plant use adds another constraint: some sealers are fine on the outside but should not contact soil. If you seal the inside, use products explicitly designed for pots or masonry environments that include plant safety guidance.
how to seal terracotta pots?
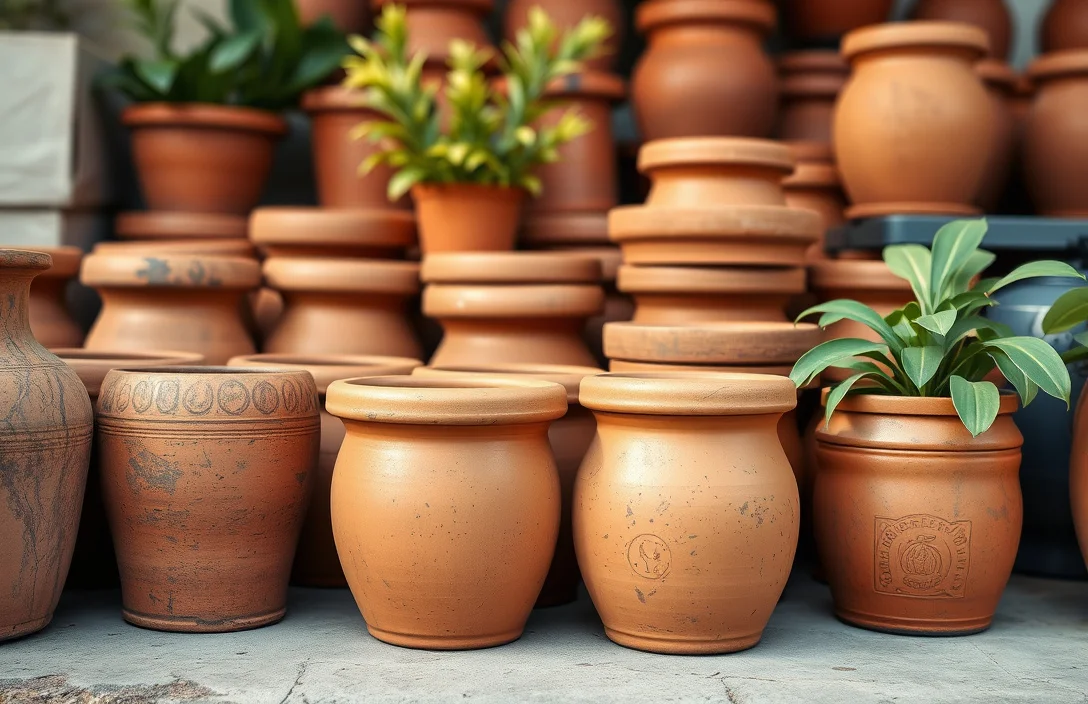
1) Pick your application goal. Seal the outside only for typical indoor use, or seal inside and outside when leakage is severe.
2) Remove old soil and debris. Scrub out all potting mix, rinse, then dry until the pot feels completely dry in the pores.
3) Strip mineral buildup if needed. Scrub off white crusty deposits, rinse, then dry again thoroughly.
4) Lightly dry-sand (optional). If the surface is chalky or rough, very light sanding improves grip. Wipe off all dust.
5) Apply thin coats. Use a brush or roller and apply 2-3 thin layers instead of one thick layer. Work cracks and the rim carefully.
6) Let each coat cure. Follow the product’s cure time, not just “dry to touch.” If you can dent or smear the coating slightly, it isn’t ready.
7) Do a water test. Run water into the pot before planting and check for leaks onto a towel or tray. Add another coat if needed.
If the pot sits on a wooden stand indoors, sealing the outside and the bottom rim is often enough to prevent that delayed “ring” of dampness.
If you seal both inside and outside, keep the interior coating as even and thin as possible. Heavy interior layers can create slick patches or trap moisture at edges, which can still turn into leaks later.
Things that matter most
Thin, even coats beat thick, rushed coats. Terracotta pores are irregular, so heavy application can create a film on top while pores underneath stay active. That’s how a pot can look sealed but still sweat water from the base days later.
Prep does most of the work. Clean clay gives better adhesion, and proper drying controls whether the sealer bonds to clay or to trapped moisture. A damp interior undermines nearly every coating.
Rims and seams are where leakage starts most often. Edges and hairline cracks tend to have the thinnest sealer layer, so use a brush for detail work at the rim, then expand to broader coverage once those points are fully coated.
For the most natural look, choose a penetrating (or breathable-leaning) product and accept that you’ll reduce seepage rather than eliminate it. For maximum stain reduction and easier wipe-downs, film-forming sealers usually work better, as long as you cure correctly to prevent peeling.
What works in practice
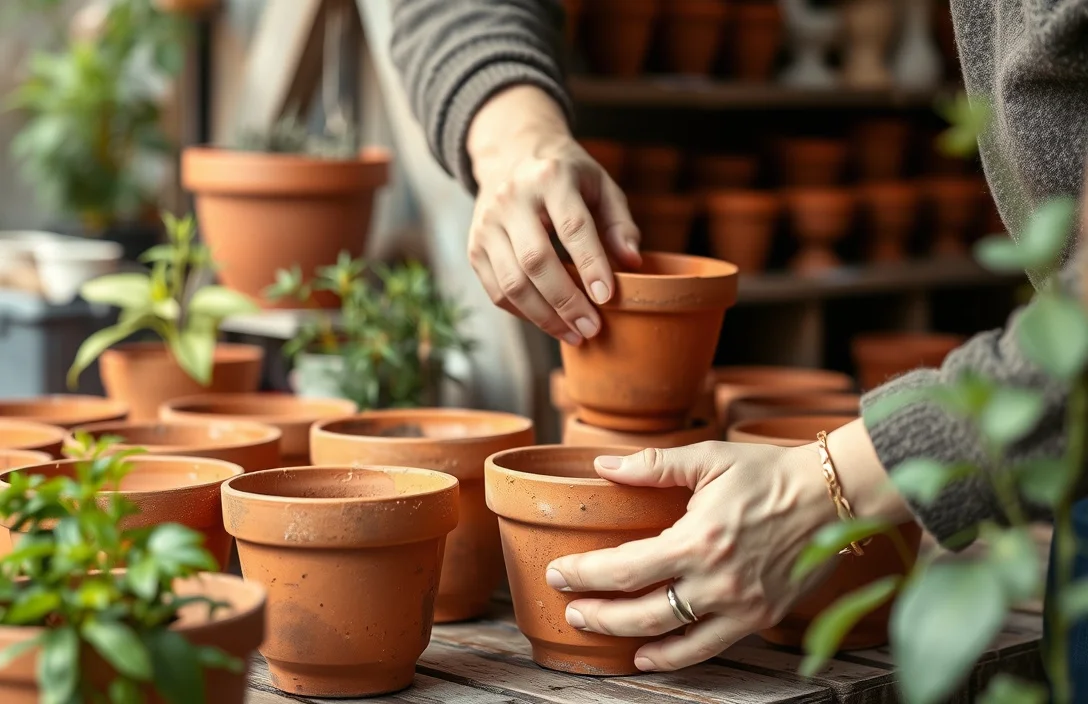
Match the sealer to the environment. Indoors, an exterior-focused approach reduces mess without putting chemicals where soil touches. Outdoors in wet climates, you need weather resistance and you must cure fully before exposure.
Use this coating schedule as a practical default:
- 2 coats for lightly used, fairly clean pots
- 3 coats for older pots with more mineral deposits or visible seepage
Apply each coat thinly, let it cure fully between coats, and avoid coating on humid days if the product instructions don’t support it.
Set up a simple test. Place the sealed pot on dry, absorbent material like paper towels or cardboard, then add water at a normal watering level. Check after 30-60 minutes, then check again after 24 hours. The second check catches slow seepage that can look fine right away.
Seal after you’ve cleaned the pot, not right before planting. Coating and then rushing straight into soil can interfere with curing and expose the sealer to trapped moisture, which can lead to early failure.
| Sealing approach | Best for | Main trade-off | How you’ll notice it failed |
|---|---|---|---|
| Exterior-only sealer | Indoor use, mess reduction | Leaks can still happen at interior surfaces | Water stains appear from rim or base edges |
| Interior + exterior sealer | Severe seepage, outdoor wet exposure | Chemicals may contact soil unless labeled safe | Tackiness, flaking, or continued seepage after cure |
| Penetrating masonry sealer | Natural look, less surface coating | May not fully stop heavy water flow | Still “sweats” after multiple days |
| Film-forming sealer | Maximum stain reduction | Can peel if prep/cure is wrong | Coating turns patchy, chips, or peels |
Mistakes to Avoid with how to seal terracotta pots?
Sealing a dirty or wet pot causes quick failures. Mineral crust, dust, or moisture trapped in pores weakens bonding, so leaks often come back within days.
Using the wrong product also backfires. Some craft sealants and generic clear coatings don’t bond well to masonry or degrade under moisture cycling. Use a product intended for masonry or terracotta-type surfaces, and follow its application directions.
Skipping full cure is another common problem. “Dry to touch” means the surface feels dry, not that internal pores finished locking the coating in place. Watering too soon can wash out adhesion.
Applying too thickly is a fast route to cracking. Thick layers can cure with stress and gaps that invite seepage. Thin coats take longer, but they build coverage more reliably.
If you’re sealing an indoor herb pot and want extra caution, avoid sealing the inside unless the product is labeled suitable for plant or pot use. Seal the outside and rim, then keep the soil-contact area more straightforward.
Pro Tips for how to seal terracotta pots?
Use a soft brush for control. Brushing helps push sealer into hairline cracks and the rim without flooding the clay. Rollers can miss detail where leaks start, especially near the base.
Aim for warm, dry conditions. Humidity or stored moisture slows or unevenly cures sealer, which leads to weak coverage. Schedule the job so the pot and the room can stay dry through the curing window.
Plan placement after sealing. Even with a good exterior seal, a saucer during the first watering sessions protects surfaces while the coating reaches final curing.
Target the next coat at the leak point. Many pots leak from the bottom center or one edge seam. Adding a little extra at those spots usually beats recoating the entire pot repeatedly.
A simple method that prevents overbuilding: apply one coat, let it fully cure, then run a water test. If seepage still appears after full cure, add one targeted coat at the leak points, then retest after 24 hours.
FAQ
How do I seal terracotta pots so they stop leaking?
Clean and fully dry the clay, then apply 2-3 thin coats of a masonry-compatible sealer. Focus on the rim and the bottom edge. After the sealer has fully cured (not just “dry to touch”), do a water test on a tray, check after 30-60 minutes, then re-check after 24 hours.
Is sealant safe for plants inside a terracotta pot?
Plant safety depends on the exact product. If you seal inside where soil sits, use a sealer explicitly labeled safe for plant use or food-garden environments. If you’re unsure, seal only the exterior and rim and keep the soil-contact area unsealed.
How long does it take to cure before I can water the pot?
Cure time depends on the sealer brand and conditions, and it’s often longer than “dry to touch.” Plan for 24-72 hours as a starting point, then confirm readiness using the manufacturer’s instructions. If the coating feels tacky, dentable, or smells fresh, wait longer.
What’s the easiest way to seal a terracotta pot for indoor use?
Exterior-only sealing is usually the easiest. Clean the pot, dry it completely, then coat the outside and base rim with a suitable masonry sealer in 2 thin coats. Put it on a saucer for the first watering cycle, then do a 24-hour leak test.
What’s a common mistake when sealing terracotta pots?
Sealing over dirt, mineral buildup, or residual moisture. That weakens adhesion and causes early failure even if it looks fine at first. Another frequent error is applying one thick coat instead of multiple thin coats, which can crack during curing.
If you want the simplest next step: choose an exterior-compatible masonry sealer, fully clean and dry your pot, apply 2 thin coats, and run a 24-hour water test before you plant.

- 10 Best Slow Cooker For Hearty Stews 2026 (Tested And Reviewed) - October 20, 2026
- 10 Best Slow Cooker For Hearty Soups 2026 (Tested And Reviewed) - October 20, 2026
- 10 Best Slow Cooker For Comfort Food 2026 (Tested And Reviewed) - October 20, 2026