How To Plant Oxalis Bulbs In Pots?
Oxalis is one of those plants that rewards you fast – but it also punishes sloppy pot prep. In a pot, oxalis bulbs (or bulb-like structures called corms) need the right container, drainage, and planting depth to prevent rot. Use this guide to plant oxalis bulbs in pots with confidence, then troubleshoot when growth looks off.
Planting oxalis bulbs in pots is simple: use a pot with drainage holes, fill it with a light, fast-draining mix, plant bulbs about 1 inch deep (cover completely), water lightly to settle, then keep the soil lightly moist until shoots appear. After growth starts, water when the top inch dries. Stop heavy watering if leaves yellow.
Key Takeaways
- Use drainage holes. Oxalis bulbs rot quickly in soggy soil, so every pot needs drainage holes.
- Plant at ~1 inch deep. Cover bulbs fully, then leave the top soil loose and breathable.
- Choose a fast-draining mix. Potting mix plus extra perlite helps prevent waterlogging.
- Water lightly at first. Moisten to settle, then wait for the top inch to dry before watering again.
- Expect staggered sprouting. Growth often appears in waves over 2 to 6 weeks depending on conditions.
- Stop watering when dormant. In dormancy, keep soil barely dry to prevent rot.
How to begin
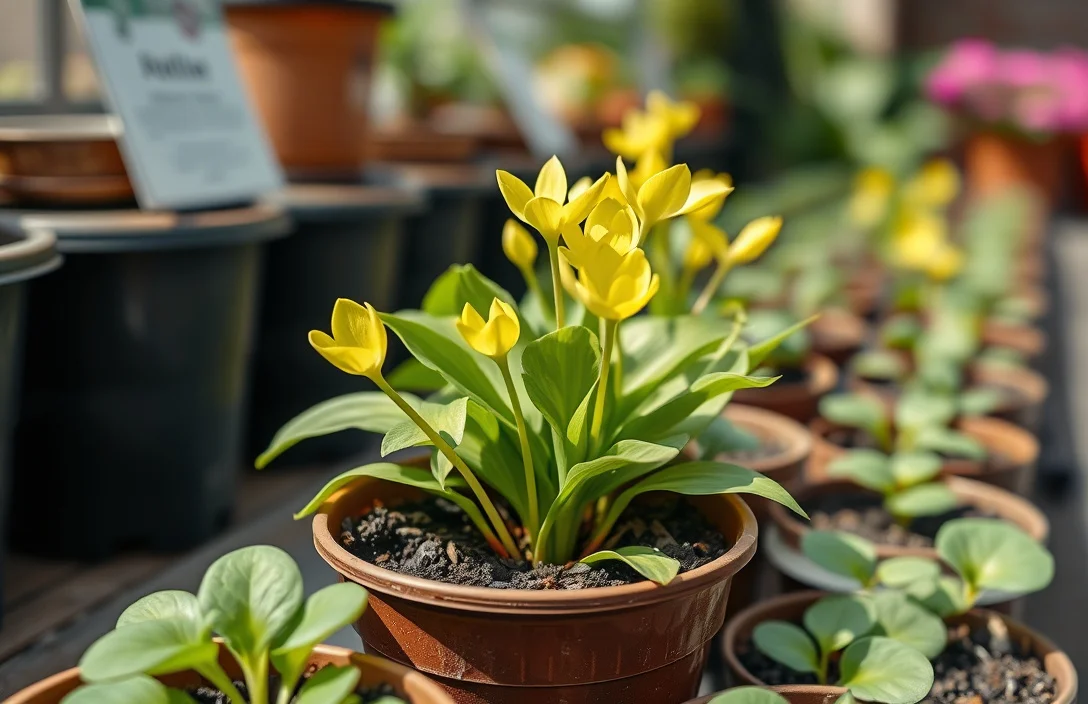
Pick the oxalis timing that matches your situation, because timing controls whether bulbs sprout cleanly or sit in damp soil too long. In the US, many oxalis are grown indoors or outdoors seasonally, so your job is to pair warmth and moisture with the plant’s current growth phase.
Two essentials never change: drainage and a light mix. If your pot doesn’t have drainage holes, don’t use it. If you’re using dense garden soil in a container, switch to a potting mix that drains well and add perlite if you want extra insurance.
Pot Basics for planting oxalis bulbs in pots
Oxalis in pots typically comes from bulb-like corms, and it needs a “wet enough to start, dry enough to avoid rot” setup. Water kicks growth off, but standing moisture around the corms turns into rot.
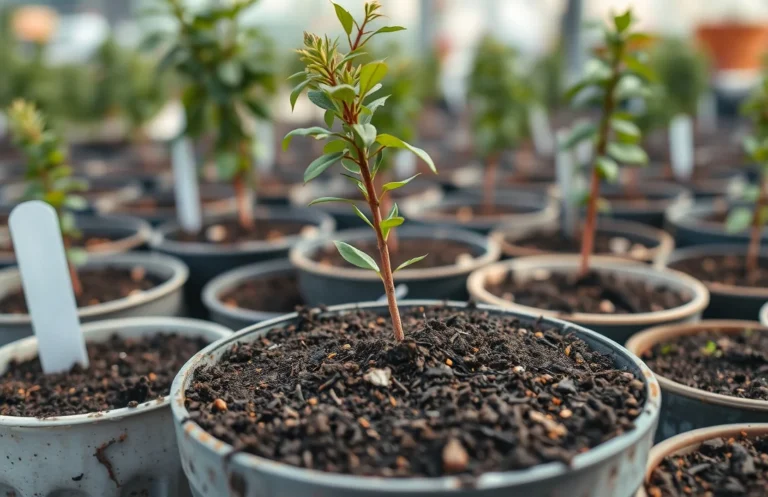
Planting depth drives a big part of the outcome. Corms are small and shallow-rooting, so a reliable target is about 1 inch deep. Cover them completely so they don’t dry out fast or end up exposed.
Soil texture matters just as much as depth. Use a light, airy potting mix and avoid anything that stays waterlogged. Perlite helps keep the mix draining and reduces the chance that moisture hangs around the corm zone longer than the plant can handle.
Step-by-Step: planting oxalis bulbs in pots
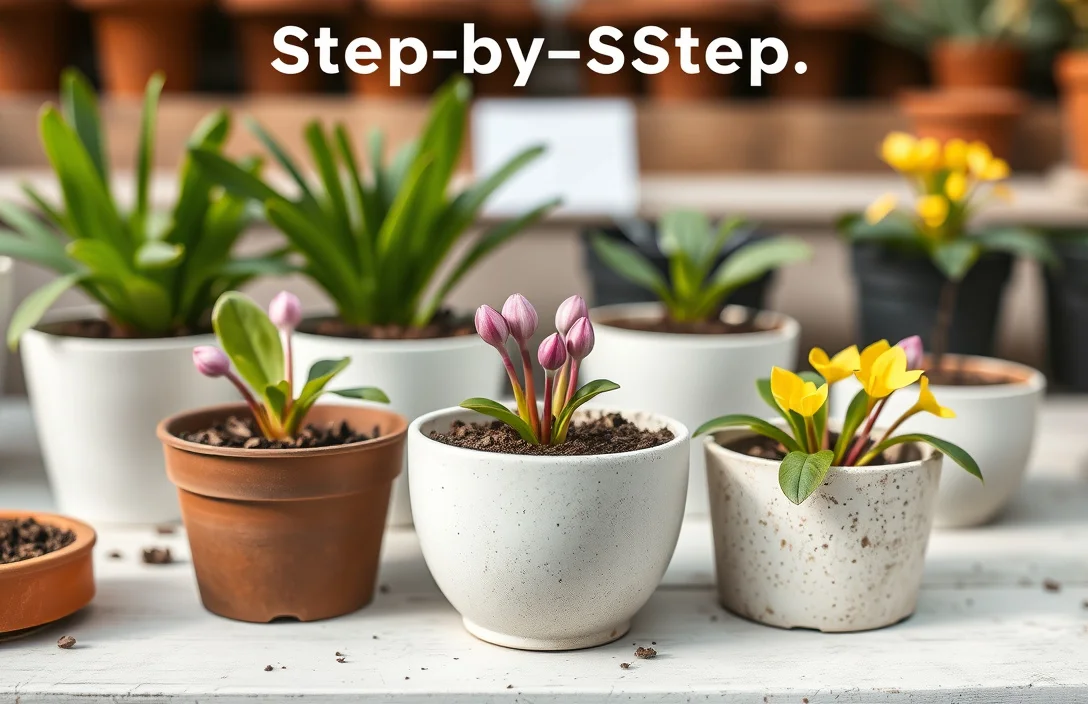
- Pick the right pot. Use a container with drainage holes, and choose one that’s only slightly larger than your bulb cluster.
- Fill with fast-draining mix. Use quality potting mix and mix in perlite (or another aerating ingredient) for better drainage.
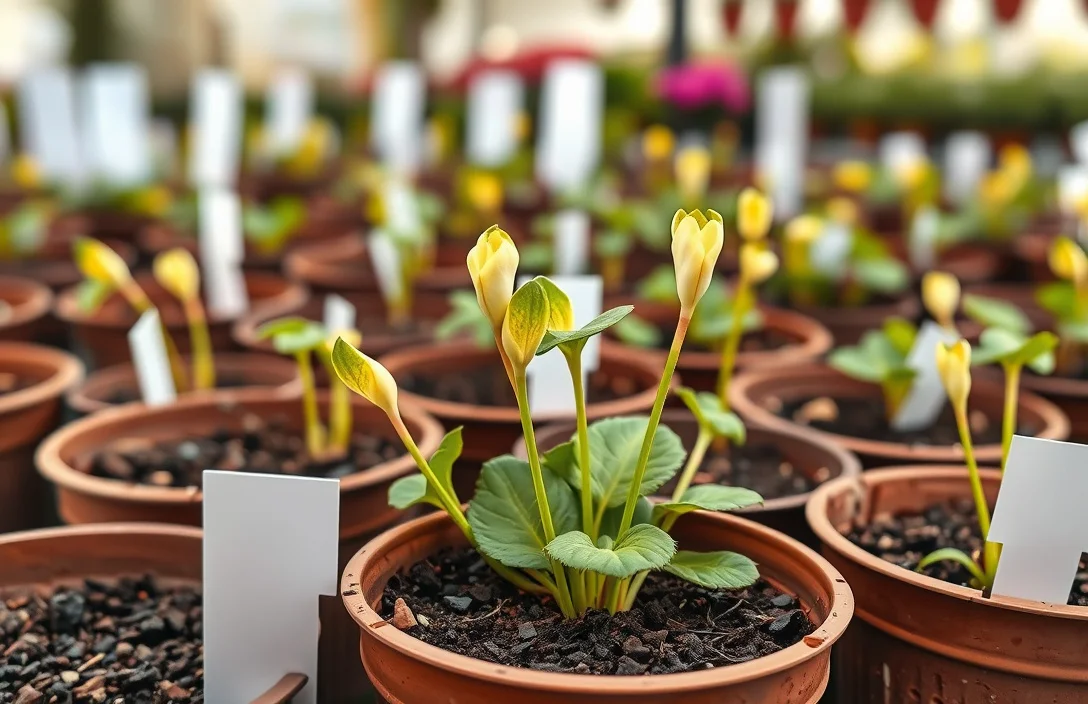
- Set bulbs at the right depth. Plant oxalis bulbs/corms about 1 inch deep and space them enough to avoid crowding.
- Water to settle, not to soak. Water once enough to moisten the mix evenly. Don’t keep the soil constantly wet.
- Place where it gets good light. Use bright, indirect light indoors or morning sun outdoors. Skip harsh midday sun right after planting.
- Watch the top inch before watering again. When the top inch feels dry, water lightly until it drains out the bottom.
- Adjust for sprouting and dormancy. Keep light watering once shoots appear. When leaves yellow or growth stops, cut back to barely-dry soil.
If you’re planting in spring for indoor growth, keep the pot in a warm spot with steady light and water lightly as described. If you’re planting in late fall or when your oxalis is already fading outdoors, treat it like a dormancy-risk situation: aim for drier conditions and slower watering.
If your bulbs look dry when you buy them, plant them into slightly moist (not wet) mix and move them to bright light. That helps them transition into growth without waterlogging the corms.
Things that matter most
Moisture control is the main technique that separates success from rot. In a pot, the mix around the bulbs is everything. Start with even moisture, then switch to a “dry the top inch, then water” rhythm.
Spacing and clustering matter too. Many oxalis look best in small clusters, but extreme crowding reduces airflow in the soil. Plant clusters with breathing room, then let corms multiply over time.
Light management works like a dial, not a switch. After planting, bright indirect light is safer than blasting full sun, especially while bulbs wake up. Once you have healthy leaves, you can usually increase direct light gradually based on whether you’re indoors or outdoors.
Practical checklist while you plant:
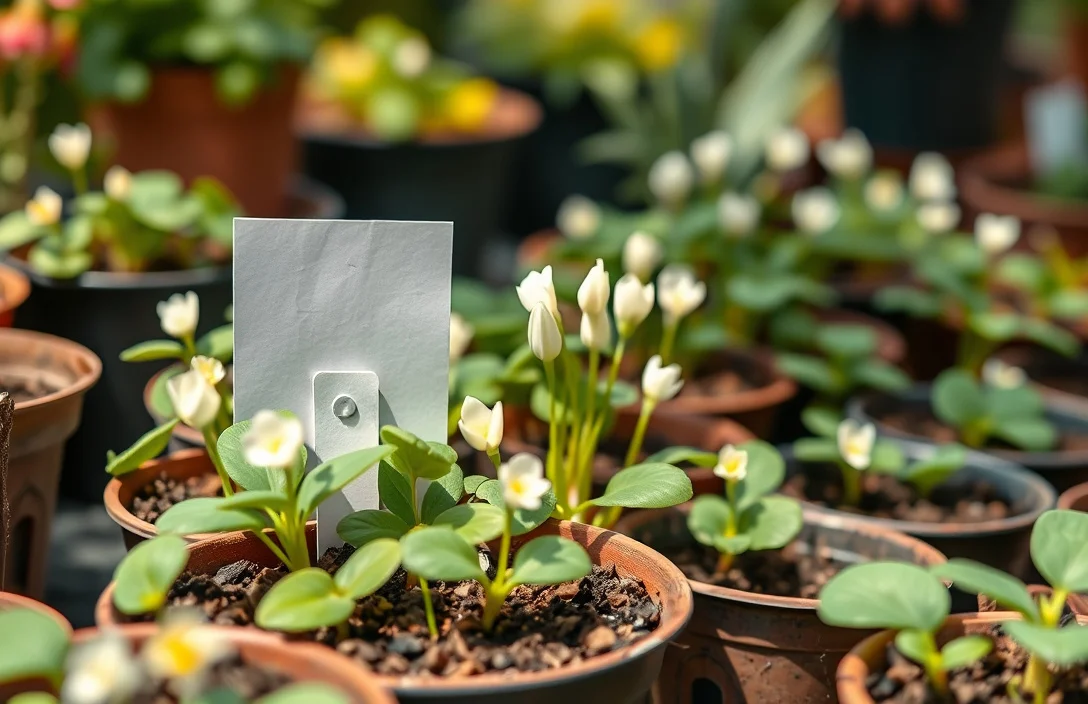
- Drainage first. Confirm holes are open, not blocked by pot shards or compacted media.
- Light soil around bulbs. Add perlite if the mix feels heavy.
- Consistent depth. Keep corms around 1 inch deep.
- Water timing. Water to settle once, then wait to feel dry before re-watering.
- Light ramp-up. Move from bright indirect to more sun only after shoots appear.
What works in practice
Standardize your setup for higher success. Use the same potting mix blend each time and don’t pick a pot so large that it holds extra wet soil around the roots.
Oxalis also changes the pot over time. As corms multiply, overcrowding can mean fewer, weaker leaves or patchy growth. When growth slows, refresh the plant by splitting the cluster and replanting into a slightly larger container.
For indoor growing, keep temperatures steady. Big swings near hot and cold windows can disrupt dormancy timing and dry the top layer unevenly, which can lead to staggered, uneven sprouting.
Troubleshooting by reversing your best practices:
- Yellowing + a mushy base usually points to overwatering or heavy soil. Lighter mix and less watering fix it fast.
- No sprouts after several weeks often means corms are too cold, too dry, or planted too deeply. Check warmth, light, and planting depth.
| Leggy, weak stems usually means not enough light. Increase brightness gradually. | Option | Key spec (what to do) | Best for |
|---|---|---|---|
| “Low-risk” pot | Drainage holes + fast-draining mix with perlite | Most beginners, especially indoors | |
| “Outdoor sun” pot | Morning sun only, watch soil moisture closely | Gardens where you can protect from midday heat | |
| “Drier dormancy” pot | Reduce watering once leaves fade | Seasonal oxalis timing and storage | |
| “Small cluster” planting | Slightly snug pot, spaced corms | More uniform clumps and easier maintenance |
Mistakes to Avoid when planting oxalis bulbs in pots
Don’t plant oxalis corms in a pot with no drainage – even if it “feels like it holds moisture well.” The bulb zone stays wet longer than oxalis can tolerate, and rot follows.
Avoid dense garden soil in containers. Garden soil compacts in pots and turns a manageable moisture cycle into a waterlogged one, especially when temperatures drop.
Don’t water on a calendar. Oxalis responds to soil moisture, light, and temperature, so watering too frequently is the most common failure. Touch the top inch instead. If it’s still damp, wait.
Don’t plant too deep. Deeper isn’t “safer.” It delays sprouting and keeps corms in damp conditions longer than they need, which raises rot risk.
For example, if your pot sits in a saucer of water after indoor watering, the soil can reabsorb moisture and bulbs can decay even if your watering seemed correct. Dump excess runoff right after watering.
Pro Tips for planting oxalis bulbs in pots
If you’re planting multiple pots, keep the mix and depth consistent so sprouting is more predictable. Small differences in bulb depth or mix density can create uneven growth across containers.
Label your planting date. Oxalis often shows growth in waves, and it’s easy to blame the bulbs when the timeline simply doesn’t match your expectations. A date makes troubleshooting clearer.
Water gently and avoid letting runoff linger. Watering from the top is usually fine because it flushes the mix through the drainage holes. The key is never letting the pot sit in runoff. If you bottom-water, remove the pot as soon as the surface looks evenly moistened.
Rotate indoor pots every week or so so shoots don’t lean toward the light. Leaning isn’t deadly, but it makes the pot look messy and can reduce even leaf density.
Watch dormancy behavior and match watering to it. Many people “rescue” oxalis by watering more when it should be resting. When leaves yellow and growth stops, reduce watering so corms don’t rot while they’re inactive.
FAQ
How deep should oxalis bulbs be planted in pots?
Plant oxalis bulbs/corms about 1 inch deep, then cover them completely with the potting mix. Deeper planting can delay sprouting and keep the bulb zone damp longer. If you’re unsure, aim for around 1 inch and adjust based on how quickly you see shoots.
What soil mix is best for planting oxalis bulbs in containers?
Use a light, fast-draining potting mix, ideally amended with perlite for extra airflow. Avoid dense garden soil in containers because it compacts and holds water too long. The goal is soil that drains well, so the top dries between waterings.
How often should I water oxalis bulbs after planting?
Water once to settle the mix after planting, then wait until the top inch of soil dries before watering again. Frequency depends on temperature and light, so touch-test the soil instead of following a fixed schedule. Overwatering is the most common problem that causes bulb rot.
How long does it take for oxalis bulbs to sprout in a pot?
Sprouting often takes a few weeks and can come in waves rather than all at once. In comfortable warmth and bright light, you may see shoots sooner, while cool or low-light conditions can slow it down. If you see no growth after several weeks, check depth, warmth, and whether the soil stayed too wet.
What’s the biggest mistake people make when planting oxalis bulbs in pots?
The most common mistake is keeping the pot constantly wet, especially in heavy soil or pots without true drainage. That creates anaerobic conditions around the bulbs and leads to rot. Use a fast-draining mix, plant around 1 inch deep, and water only after the top inch dries.

- 10 Best Slow Cooker For Hearty Stews 2026 (Tested And Reviewed) - October 20, 2026
- 10 Best Slow Cooker For Hearty Soups 2026 (Tested And Reviewed) - October 20, 2026
- 10 Best Slow Cooker For Comfort Food 2026 (Tested And Reviewed) - October 20, 2026