How To Plant Okra In Pots?
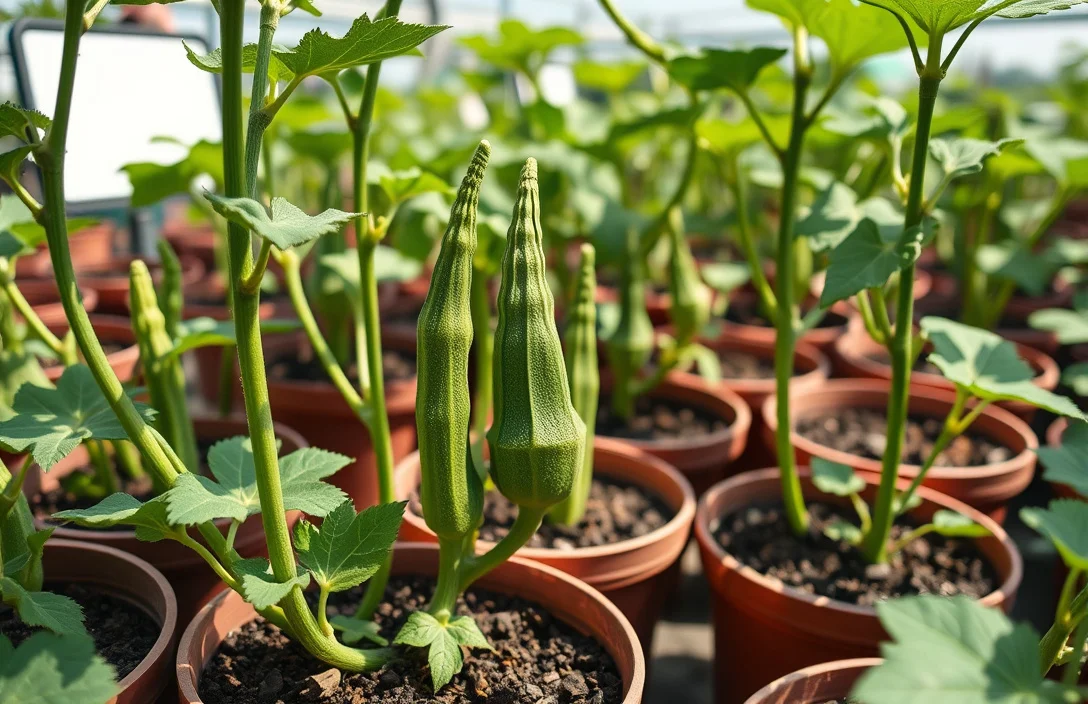
Okra in pots is very doable in the United States, as long as you nail two things – warmth and root space. If your summers are short or your garden space is tight, containers let you start with the right conditions and move plants into the sunniest spot. This guide walks you through how to plant okra in pots, from choosing containers to harvesting pods.
Okra in pots succeeds when you use a pot with good drainage, warm soil, and at least 4-6 hours of direct sun daily. Use a pot 12-18 inches wide (bigger is better), sow seeds 1 inch deep, and keep soil consistently moist until germination. Expect sprouts in about 5-10 days in warm weather.
Key Takeaways
- Use a large container. Choose a pot 12-18 inches wide with drainage holes to prevent stunted okra growth.
- Plant after soil warms. Sow only when soil is reliably warm, because okra struggles in cold conditions.
- Give full sun. Aim for 4-6+ hours of direct light daily to support flowering and pod production.
- Water consistently. Keep soil evenly moist, then reduce stress once plants are established.
- Thin to one plant. If you start multiple seeds, thin early so each plant has room to spread.
- Feed for pods. Use a balanced fertilizer during active growth and adjust if leaves turn overly lush.
How to begin
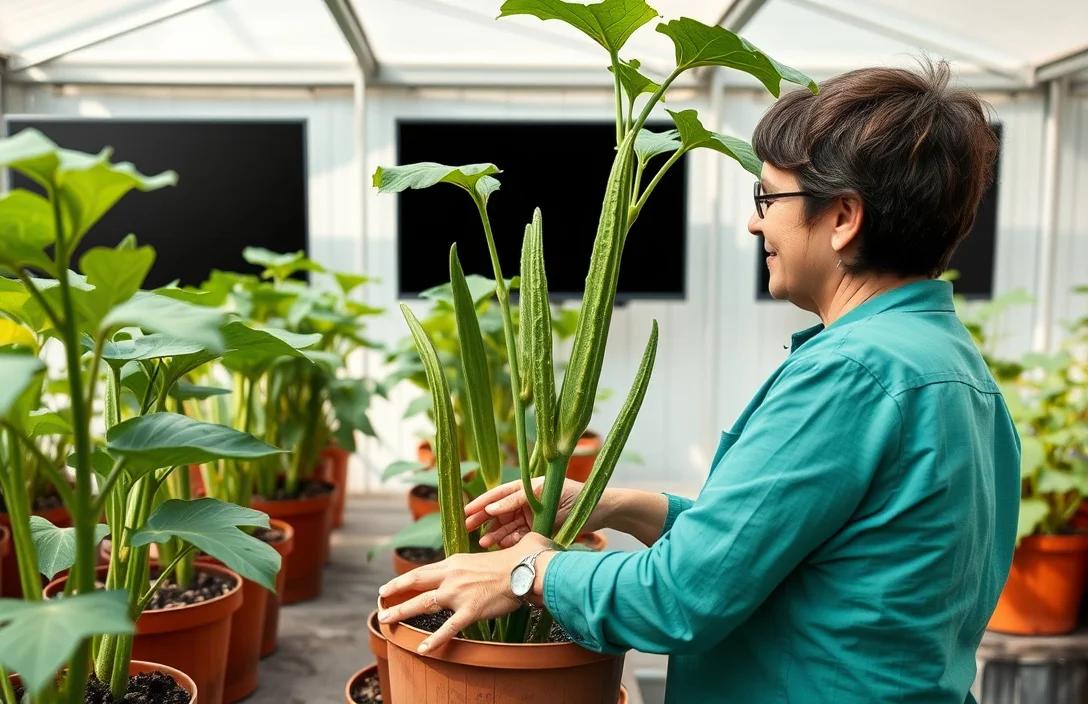
Planting okra in a pot is about getting a predictable cycle – warm start, steady growth, then flowers that turn into pods. The difference between in-ground okra and container okra is simple: containers dry out faster and limit root growth, so you have to manage space, water, and sun more carefully.
Treat okra like a warm-season crop. It grows best when temperatures stay warm and days are long enough for flowers and pods to form. Planting early “to get a jump” often leads to slow germination and weak growth that never catches up.
Plan for the logistics, too. Okra gets tall and spreads as it grows, so choose a location where it can get sun and you can water without making a mess. Drainage holes are non-negotiable, and a large drip tray or saucer can help with cleanup – just empty it so the pot never sits in pooled water.
Gather what you need before you sow:
- A pot or grow bag with drainage holes
- A quality potting mix (not garden soil)
- Seeds (or seedlings if you must)
- A way to water evenly (hose nozzle, watering can, or drip line)
- Optional: a stake or trellis plan for later
Basics of how to plant okra in pots?
Okra is a heat-loving plant that grows reliably from seed when soil is warm and moisture stays consistent. In containers, pot size drives outcomes because root restriction reduces yield and can delay flowering.
Okra forms a fairly substantial root system for its above-ground size. In most home setups, a 12-18 inch wide pot gives better results than smaller containers. If you can go bigger, do it – especially in hot areas where moisture drops quickly.
Use the right soil, too. Choose a container potting mix with good drainage and enough organic matter to hold moisture. Heavy mixes that stay soggy create root stress. Stressed okra is less likely to flower and less able to hold pods.
Light matters immediately. Okra needs direct sun to produce. Indoor spots and shaded patios often give you leggy plants and fewer pods. If you’re unsure about your sun, watch the spot for a full day and map where direct sunlight actually lands.
Water in a way that matches container behavior. Pots need more frequent watering than beds, but the goal is not constant saturation. Keep soil evenly moist, avoid waterlogging, and adjust based on weather and pot size.
how to plant okra in pots?
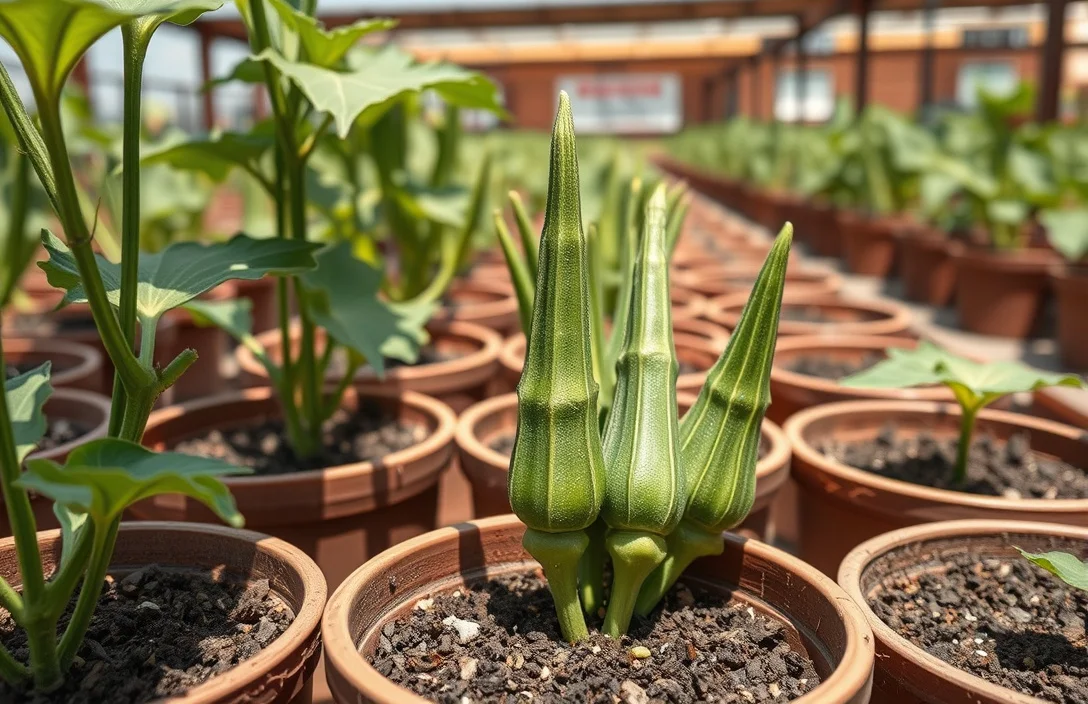
Follow these steps in order to avoid the container mistakes that slow growth.
- Pick the pot size and drainage.
Choose a container 12-18 inches wide with multiple drainage holes. If you use a saucer, empty it after watering so the pot doesn’t sit in pooled water.
- Fill with container potting mix.
Use a quality potting mix and fill the pot without compacting. Leave about 1 inch of space at the top for easier watering.
- Wait for warm soil.
Sow when temperatures are reliably warm, not just “forecasted.” Containers cool faster in cool snaps, and seeds may stall.
- Sow seeds 1 inch deep.
Plant 2-3 seeds per pot (or per section if using a large tub). Space them a few inches apart and cover lightly with potting mix.
- Water gently and keep moisture steady.
Water until the top layer is evenly moist. Keep soil consistently moist until germination, usually in about 5-10 days in warm conditions.
- Thin seedlings to one plant.
When seedlings are established and growing strongly, thin to the strongest single plant per pot. Competition weakens growth, especially in containers.
- Place in full sun and watch growth.
Move the pot to the sunniest spot you have and aim for 4-6+ hours of direct light. Check soil moisture daily, especially during the first couple of weeks.
- Feed lightly once plants take off.
After seedlings establish and growth gets vigorous, apply a balanced fertilizer according to label directions. If leaves get very lush but pods lag, reduce nitrogen and shift attention to flowering support.
- Support if needed.
Some varieties stay upright; others lean or sprawl. Add a stake early if plants start bending so you don’t damage roots later.
Starting with seedlings works, but okra doesn’t love root disturbance. Seed-starting in place or careful transplanting can work – in most home situations, direct sowing is simpler.
A practical
In a warmer part of the U.S. where summer heat arrives early, sow seeds directly into 15-inch pots once soil stays warm. Place them in the sunniest patio corner and check moisture daily for the first two weeks. Thin to one plant per pot, then start feeding once you see sturdy growth and early buds.
A practical example: short summer strategy
With a shorter growing season, start earlier under protection like a warm porch or temporary cover. Move the pot into full sun when nights stop dropping too low. The goal stays the same – warm soil and stable light, because okra doesn’t rush if it feels cold.
Things that matter most
Container okra depends on steady technique, not guesswork. These are the methods I’d lean on for dependable pods from a patio setup.
Manage temperature first. Cold slows okra down fast. If nights cool off, shelter the pot overnight and uncover it in the morning. That one adjustment can separate steady germination from a slow, uncertain start.
Manage moisture with repeatable checks. Don’t rely only on the top inch. Press a finger into the potting mix near the drainage side. If it feels dry 1 inch down, water thoroughly until it drains, then wait again until it needs water.
Protect the soil surface to slow evaporation. Strong sun dries containers out quickly. A thin layer of mulch (or a small amount of compost lightly mixed into the top) reduces evaporation without turning the pot into a swamp.
Prioritize flowering and pollination. Okra flowers rely on insects, and container plants can get fewer visitors. If you see flowers but few pods, confirm you’re getting enough direct sun and that watering isn’t swinging between dry and waterlogged.
Choose your container layout with space in mind. If you have limited space, go with fewer large pots instead of many small ones. Small pots look tidy early, but they dry out fast and often cut yield.
Here’s a quick comparison of container choices so you can decide fast:
| Container type | Key spec (what matters) | Best for |
|---|---|---|
| Plastic nursery pot | Usually 12-18 inches wide, good drainage | First-time growers, easy to move |
| Fabric grow bag | Breathable, fast drainage | Hot patios, when you can water frequently |
| Ceramic pot | Heavier, holds moisture longer | People who overwater less often |
| Large half-whiskey tub | Big root volume, stable moisture | Highest yield in small spaces |
What works in practice
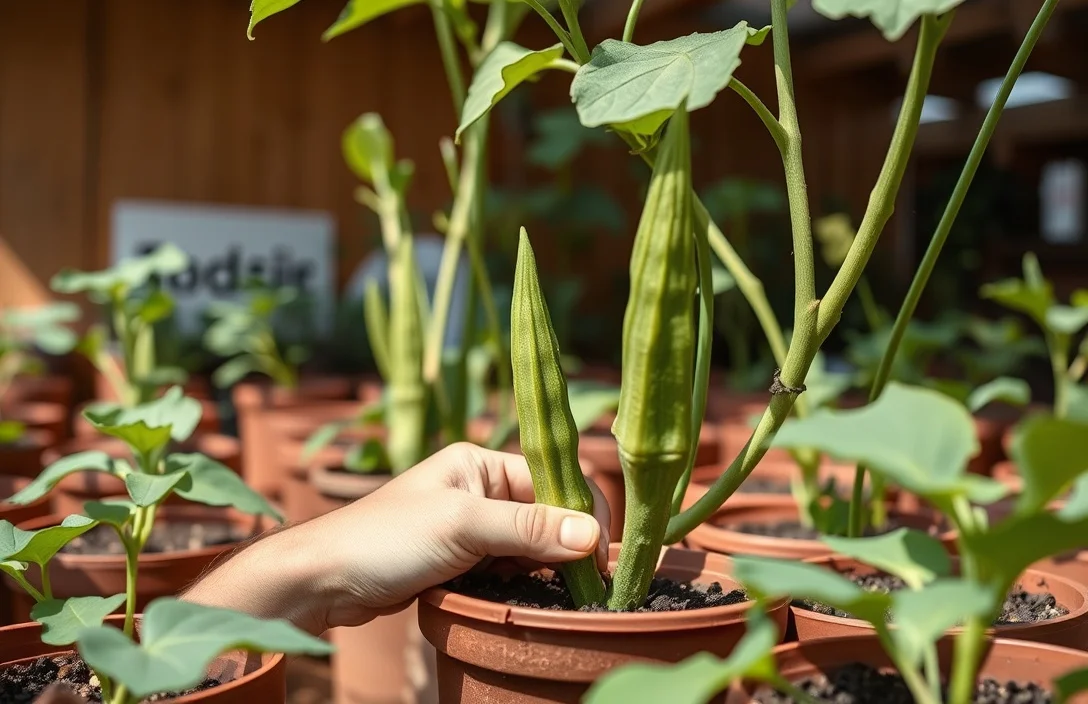
Best practices focus on consistent conditions. Okra stays simple when you keep the basics right.
Schedule your planting. Okra is warm-season, so time matters more than impulse. If you plant early, you spend time and energy nursing slow growth that never catches up. Sow when local conditions support steady growth.
Monitor sun like it’s part of the job. A patio spot that looks sunny in the morning can shift into shade by afternoon. Move pots if you can, because container okra doesn’t “reach” for light as well as people expect. If moving isn’t an option, pick a spot that holds sun longer.
Water with purpose: water deeply until you see drainage, then stop. This “deep then wait” approach supports healthy root behavior and reduces disease risk from constant soggy soil.
Feed in a controlled way. Balanced fertilizer supports active growth, but too much nitrogen pushes leaves at the expense of pods. Thick, dark foliage with delayed flowering usually means cut back on nitrogen and keep watering steady rather than overcorrecting.
Harvest on time. Okra pods turn tough when they sit too long. Pick frequently once pods appear to keep production moving. Check for pods every couple of days when harvesting starts.
Plan for space as plants mature. Some okra reaches a height where staking helps. Adding a stake when plants are small is easier than trying to straighten and brace a leaning plant later.
Mistakes to Avoid with how to plant okra in pots?
Okra container failures are usually preventable. Fix these, and you’ll save time.
- Using a pot that’s too small.
Small pots restrict roots, causing slow growth and lower yields. Use 12-18 inches wide or bigger when possible.
- Planting in cold soil.
Okra stalls in cool conditions. Seeds can also fail in overly wet, cold mixes. Wait for reliably warm conditions before sowing.
- Overwatering and waterlogging.
Containers can hold water longer than you expect, especially with heavy mixes. Water deeply, let it drain, then water again only when the mix dries slightly.
- Underwatering during heat.
Hot days make containers dry fast. If the soil swings between dry and saturated, plants get stressed and flower less.
- Ignoring thinning.
Multiple seedlings compete for light and roots. Thin to one strong plant per pot as early as you can.
- Putting the pot in shade.
Direct light drives flowering and pod production. Shaded patios often give you leaves with few pods.
- Late harvesting.
Leaving pods too long reduces quality and slows new production. Pick frequently once pods appear.
- Fertilizing like it’s a lawn.
Too much nitrogen encourages vegetative growth at the expense of pods. Stick to label rates and adjust if leaves become overly lush.
When something goes wrong, don’t change ten things at once. Pick the most likely issue, correct it, then observe for several days. Okra responds faster to stable conditions than to constant tinkering.
Pro Tips for how to plant okra in pots?
Small upgrades make container okra easier to manage.
Sow in batches. Plant again a couple of weeks after your first sowing so you have a backup if germination slows or a cold snap wipes out seedlings.
Track timing. Write down sowing date and when you thin. Comparing that schedule to previous years helps you interpret slow or fast growth – okra reacts strongly to temperature.
Use a consistent watering method. A watering can with a rose head or a gentle hose nozzle waters without blasting soil away from seedlings. Seedlings and newly formed roots are fragile during germination.
Check for pests early. Watch the undersides of leaves. In containers, pests can show up quickly because plants are concentrated and easier for insects to find. Early detection keeps control simpler.
Choose varieties that fit your container reality. Some okra stays more compact and handles patio life better. If tall, sprawling plants have been a problem for you, switch to compact varieties next.
A pro example: stability during hot weather
In scorching afternoons, move pots out of the harshest late-day sun during heat spikes while keeping them in bright light. Plants often flower better when daily stress stays lower.
A pro example: keep soil steady in windy locations
Wind dries soil fast and can make plants lean. Stake early and use a moisture-stabilizing top layer like mulch or a light compost layer to help the soil stay even while the plant grows upright.
FAQ
What size pot is best for okra?
Use a pot 12-18 inches wide with drainage holes. Smaller pots increase drought stress and root restriction, which cuts flowering and pod production. If you’re choosing between two sizes, pick the bigger one because container okra needs root room as it grows tall.
How long does it take okra to germinate in a pot?
In warm conditions, okra often sprouts in about 5-10 days after sowing. Cold or overly wet soil delays germination or causes seeds to fail. Keep the potting mix consistently moist until you see sprouts, and keep the location warm.
Is okra safe to grow in containers on patios?
Okra is generally safe to grow in containers as long as you use clean potting mix and follow normal garden hygiene. Keep the pot away from areas where water runoff might collect and become slippery. If you apply fertilizers or pest products, follow the label and keep children and pets away during application.
How do I keep okra producing pods in containers?
Harvest pods frequently once they start appearing, because letting them sit too long slows new production. Give the plant full sun, keep watering steady, and fertilize moderately during active growth. If flowers show up but pods don’t form, check for stress from heat swings or insufficient light.
What’s the most common mistake when planting okra in pots?
Planting in a pot that’s too small is the most common problem because okra needs root space to develop. Sowing too early when soil is still cool is the second biggest issue – it causes stalling. Fixing pot size and timing typically improves results quickly.

- 10 Best Slow Cooker For One Pot Cooking 2026 (Tested And Reviewed) - October 21, 2026
- 10 Best Slow Cooker For Hearty Stews 2026 (Tested And Reviewed) - October 20, 2026
- 10 Best Slow Cooker For Hearty Soups 2026 (Tested And Reviewed) - October 20, 2026