How To Winter Mums In Pots?
Mums in pots do not “go dormant” the way garden plants do. In most U.S. winters, the biggest risk is root freeze-thaw in the pot, plus winter wet that turns into rot. If you want winter mums in pots to come back in spring, your job starts in fall: prep the plant, control moisture, and insulate the root ball. This guide gives you practical steps, plus troubleshooting when things go sideways.
Winter mums in pots survive when you protect the roots from repeated freeze-thaw and keep the soil from staying soggy. Start in fall by cutting back spent growth (leave a little for structure), stop feeding, and move the pot to an unheated garage or sheltered spot that stays above about 0°F. Water only when the mix dries out, then mulch or wrap the container for insulation.
Key Takeaways
- Insulate the pot – root freeze-thaw kills potted mums more often than cold air does.
- Keep it barely moist – water when the top inches dry, then stop once the soil is frozen solid.
- Use sheltered placement – a garage, porch corner, or wind-protected spot beats exposed landscaping.
- Cut back lightly – trim after blooming ends, leaving some stems to help protect the crown.
- Watch for rot – overwatering in winter leads to mushy stems and a foul soil smell.
- Expect survival odds – many store-bought mums are treated like annuals, so some will die despite good care.
How to begin
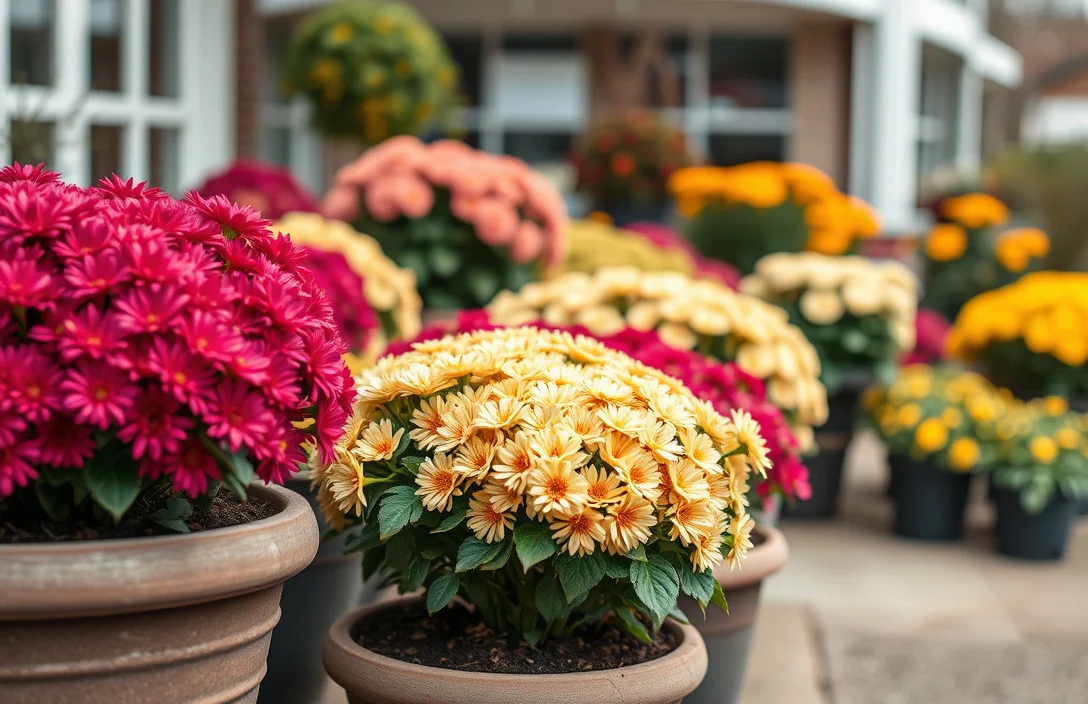
Keep the root ball alive through winter, not keep it blooming. Potted mums are vulnerable because the pot is a small container that freezes through quickly, then thaws, then freezes again. Those cycles shred roots and crown tissue, so “winterizing” is mostly about stability.
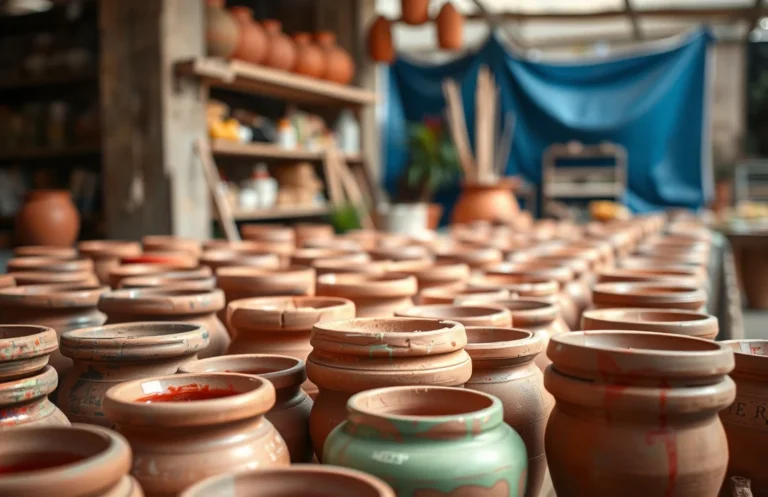
Start by checking the setup. If your mum is in a nursery pot inside a decorative container, manage the nursery pot (with the drainage holes) and insulate around it. If your pot has no drainage holes, fix that before cold weather – trapped water turns into rot fast.
Next, pick an indoor-ish space that stays steady. In most U.S. climates, the easiest method is an unheated garage or shed, or a sheltered porch area where wind is blocked. You do not need a warm room. You need predictable temperatures and moisture control.
Gather a few basics before you start:
- A way to insulate the pot (mulch, straw, bubble wrap, or frost blanket)
- Pot feet or something to lift the pot off wet ground (brick blocks work)
- A moisture-check habit (your finger test is enough)
- If needed, a tray to catch runoff (without letting the pot sit in water)
If you do nothing else, do this correctly: protect the root ball from freeze-thaw and make sure drainage works.
Basics of how to winter mums in pots?
Potted mums survive winter best when the crown and roots stay protected and not alternately frozen and thawed every few days. Aim for “steady and dry-ish,” not “ice cold” and not “soaked.” In practice, that means insulation plus a location that reduces wind and direct exposure.
Temperature matters, but stability matters more. The plant can tolerate cold when it stays consistent. It struggles when thawing is followed by refreezing, because that repeat cycle damages roots and crown tissue. An exposed patio can be worse than a colder but consistent garage corner, because wind and sun swings keep the pot cycling.
Moisture is the other half of the equation. The potting mix should not turn bone-dry, but it also should not stay saturated through freezing weather. If the pot stays waterlogged, stems can collapse and the soil can smell sour.
Be realistic about the mum type and purpose, too. Store-bought “fall mums” are often sold as short-term color, and not all cultivars are equally hardy in pots. You improve odds when you treat the plant like a container crop, not like a hardy ground perennial.
A quick checklist for your winter setup:
- Drainage holes clear and working
- Pot lifted off the ground
- Wind protection (even a simple barrier helps)
- Insulation that surrounds the pot, not just a blanket on top
- A watering plan that avoids soggy soil
how to winter mums in pots?
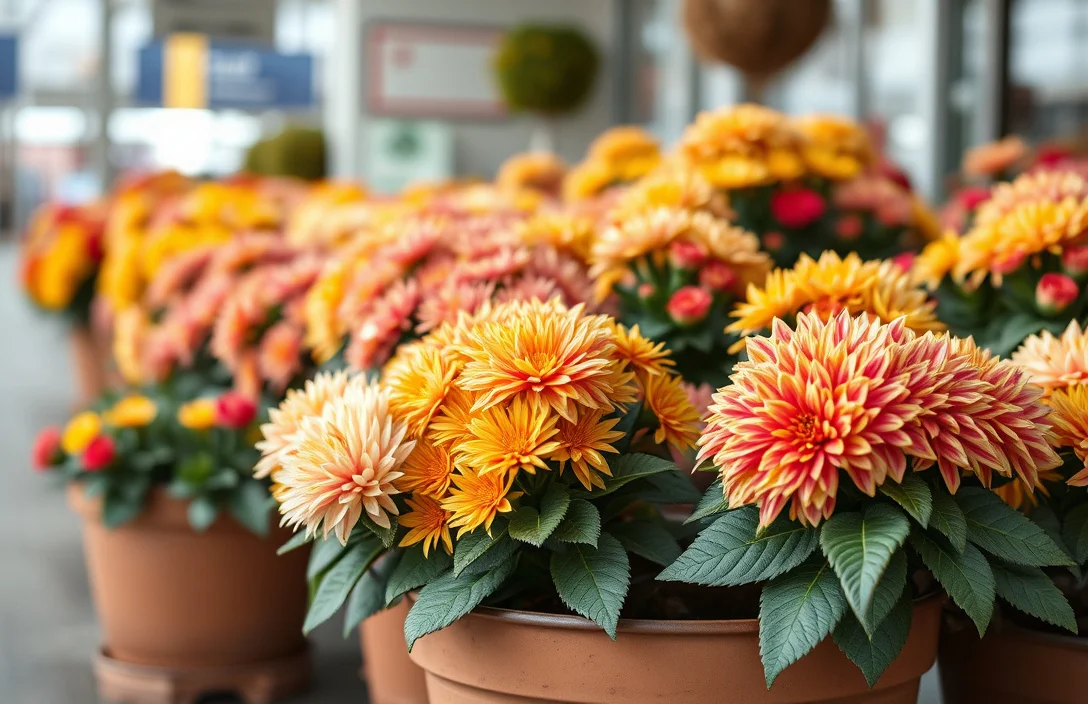
Follow these steps in order so you cover the big failure points: freeze-thaw, rot, and dehydration.
1) Stop feeding by mid-fall
Let blooming end naturally, then stop fertilizer. Late feeding pushes tender growth that does not survive hard cold. If the plant still has buds, leave them, but do not add nutrients.
2) Water correctly before cold really hits
Give the pot a deep watering when the soil is drying out, then let it drain thoroughly. You want moisture in the root ball going into cold, not a pool sitting at the bottom.
3) Trim after blooming fades
Cut back spent stems to tidy the plant, usually leaving a few inches of growth. Do not strip it to bare sticks. Leaving some structure helps protect the crown and reduces drying.
4) Move it to a sheltered location
Best-case setups for many U.S. regions are an unheated garage, shed, or sheltered porch spot. Reduce wind and temperature swings. If it has to stay outdoors, place it close to the house or behind a barrier where winds are blocked.
5) Insulate the pot, not just the top
Wrap the pot with bubble wrap or use a frost blanket around the container, then mulch or straw around the base if outdoors. For extra insurance, set the pot inside a larger container (like a tote) and pack insulation material in the gap.
6) Lift it off wet ground
Set the pot on pot feet or bricks so water does not freeze directly against the pot bottom. That air gap reduces the worst freeze-thaw and lowers rot risk.
7) Water only when the mix dries, then stop when frozen
Check every 2 to 4 weeks (more often during unseasonably warm spells). Water lightly if the top couple inches are dry and temperatures are above freezing. When the soil is frozen solid, stop watering until it thaws.
8) Uncover/vent during mild stretches
If insulation or wrapping traps too much moisture, vent briefly on warmer dry days. The goal is to avoid stale, wet conditions.
9) Spring transition
When temperatures reliably rise and hard-freeze danger passes, remove extra insulation gradually. Move the pot back to its normal sun spot and watch for new shoots.
Example: garage method that works in most places
In late fall, water and trim, then place the pot in an unheated garage near a window or under bright light if available. Wrap the pot sides with bubble wrap and set it on bricks. Water only when the pot feels light and the top mix is dry. When nights warm in spring, unwrap and reintroduce it outdoors.
Example: outdoor method for people without garage space
Choose a spot sheltered from wind, ideally near a wall. Lift the pot on bricks, wrap it with insulation, then surround it with straw or leaves in a loose, breathable layer (no compacted soggy mulch). Keep the soil just slightly moist. When winters swing above and below freezing frequently, use thicker insulation or a larger outer container.
Things that matter most
Insulation prevents freeze-thaw cycles. A thin blanket that only covers the top is less effective because the pot sides and bottom still experience the biggest temperature swings. Protect the whole container, especially the bottom edge where water freezes and expands.
Drainage decides whether you get rot. Winter rot happens when water cannot escape and cold locks the pot in a saturated state. If you see water sitting in the saucer, empty it. If the potting mix stays heavy and wet for days, loosen the setup – your insulation may be too tight, or the pot may be too small for the root ball.
Placement should reduce wind and temperature cycling. A garage or sheltered nook slows temperature change. Even if a garage is colder in the day, it’s usually more stable than an exposed porch corner where wind blasts the pot and sun thaws only the top layer.
Manage stems and crowns with care. Cutting back reduces dead material and can lower disease pressure, but cutting too hard exposes the crown. Leave enough stems to protect the central crown area while removing truly dead growth.
Mix and match technique options:
- Pot-within-a-pot insulation – put the mum pot inside a larger container, fill the gap with straw or packing insulation.
- Bubble wrap + mulch jacket – wrap the sides, then add a loose mulch/straw collar at the base.
- Unheated storage – move indoors for the coldest months, then return outdoors gradually.
- Moisture check routine – finger test the top 1 to 2 inches, water only if dry.
If you remember one thing, make it this: prevent freeze-thaw. Insulate like you mean it, and keep the mix from staying wet.
What works in practice
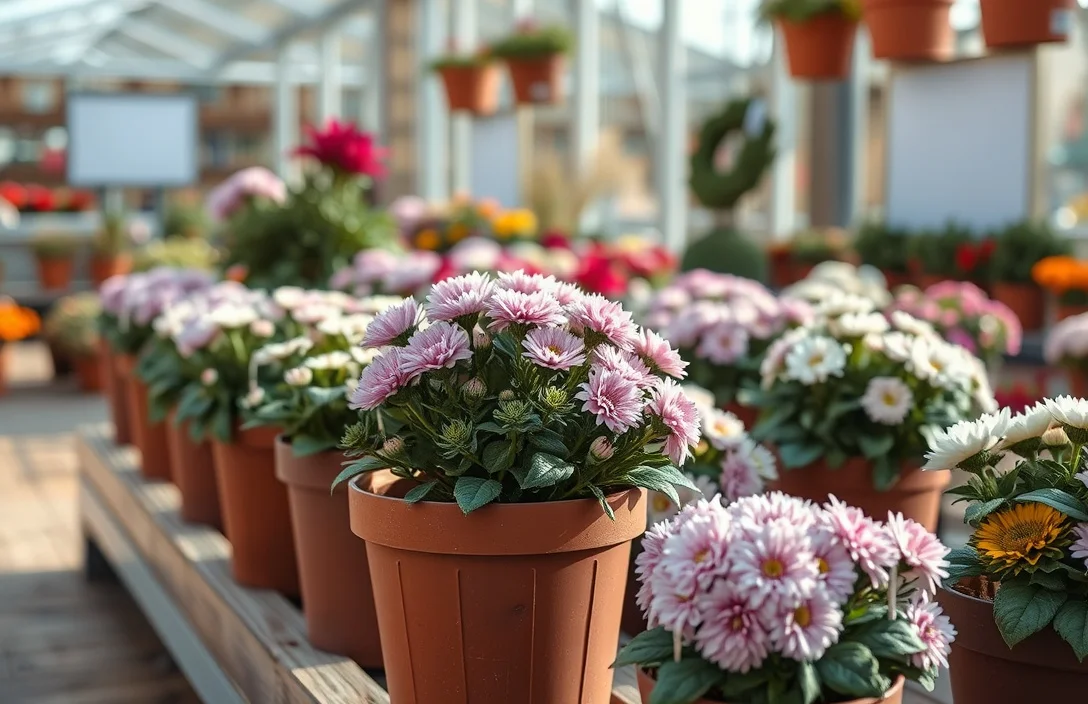
Make the environment boring: stable temperatures, reliable drainage, and minimal moisture swings.
Start with pot size and drainage. If you’re overwintering in the same container it came in, it’s often small. Small pots freeze through faster, so transplant before winter if you can – at least to a pot with drainage holes. Use a container potting mix instead of garden soil, because it compacts and holds water differently in winter.
Use mulch strategically. A thicker mulch collar buffers bottom and side temperatures, but it has to stay breathable. Avoid packing mulch tightly against the crown in a way that holds moisture. Loose straw is more forgiving than heavy, compacted mulch.
Watering turns into “less is more” once cold arrives. Many people lose mums by trying to keep them like spring plants – watering frequently. In winter, check less often, water only when the mix is dry, and stop once the soil freezes.
Know your climate pattern. U.S. winters vary. If you get frequent warm-ups, you need stronger insulation and often a garage-style approach, because thaw events can stress the crown.
A simple best-practice rule set:
- Drain first – water, then ensure no standing water remains.
- Insulate fully – wrap sides and protect the base, not just the top.
- Keep stable – choose placement with fewer temperature swings.
- Check moisture less – water only when dry; avoid winter saturation.
- Remove protection gradually – spring is a transition, not a switch.
If you can do one upgrade, upgrade the location and insulation together. A garage nook plus pot wrapping usually beats any “outdoors only” plan.
Mistakes to Avoid with how to winter mums in pots?
Overwatering is the most common mistake. People try to be careful and keep the soil “comfortably moist,” but that turns into a wet pot through freezing nights. That leads to rot, mushy stems, and a collapsed plant in spring.
Leaving the pot on exposed ground is the next big problem. Direct contact with cold ground makes the bottom freeze hard and worsens freeze-thaw damage. Lift the pot on bricks or pot feet so the air gap buffers the coldest zone.
Another frequent error is the wrong insulation approach. A blanket stuffed on top without protecting the pot sides can trap moisture and still leave the pot freezing through. Insulation for potted plants has to protect the container itself, not just the surface.
Cutting back too late or too hard can also backfire. Waiting until hard frost to trim can leave stems snapping and breaking, which creates more rot entry points. Cutting all the way to the bare crown removes tissue you need to protect.
Finally, remember that “annual retail mums” may not behave like dependable perennials in pots. You can improve the odds a lot, but expecting a 100 percent comeback is a setup for disappointment.
Avoid this trouble list:
- Soggy soil from frequent watering
- No drainage or a pot left sitting in water
- Pot on the ground without air buffering
- Top-only coverage that ignores pot sides
- Heavy mulch packed too tightly against the crown
If you’re unsure what went wrong, check the base and crown. Mushiness and a sour smell point to rot. Brittle stems and a bone-dry mix point to dehydration.
Pro Tips for how to winter mums in pots?
Time the work around the first hard cold, not the first cold snap. A first frost is a nudge, but winterizing well before deep freezes prevents you from rushing the process. Trim after bloom ends and insulate before repeated deep-freezing starts, and you stack protection in the right order.
Stage insulation instead of doing everything on the first cool day. Wait until temperatures consistently trend downward, then insulate more fully. This cuts down how long the pot sits trapped in damp conditions before real cold locks in.
If your area gets windy winters with sunny spells, add reflective wind protection. Wrapping the pot plus placing it behind a barrier reduces wind-chill cycling, which helps the pot stay at steadier temperatures.
Adjust based on what you see – not on panic:
- Soft, yellowing stems: cut back moisture and vent on mild days when temperatures allow.
- Pot feels very light and the mix is dry: on a thawed day, water lightly and let it drain.
- Crown looks intact but growth pauses: that’s normal. Let it wait out winter.
Here’s a “pro setup” to copy:
- Trim after bloom ends
- Water and drain thoroughly
- Place pot on bricks
- Wrap sides with bubble wrap
- Surround with loose straw or leaves in a breathable collar
- Keep it sheltered from wind and direct rain
Label your plan and check every 2 to 4 weeks. Winter care works through small, consistent actions, not one big push.
FAQ
FAQ
Can I overwinter potted mums outdoors in the United States?
Yes, but it’s more reliable when you insulate the entire pot and keep it in a sheltered, wind-blocked spot. Lift the pot off the ground on bricks, wrap the sides, and add a loose mulch or straw collar around the base. Water only when the top inches dry out, and stop once the soil is frozen.
How often should I water winter mums in pots?
Water sparingly. Check the mix every 2 to 4 weeks by feel, then water only when the top 1 to 2 inches are dry and temperatures are above freezing. If the soil stays wet for days or the pot feels heavy, don’t water. Once the mix is frozen solid, skip watering until it thaws.
Will winter mums in pots survive if there’s a thaw then freeze?
They can, but repeated thaw-freeze cycles are the biggest survival threat for containers. Better insulation and more stable placement (like an unheated garage or wind-protected corner) reduce those swings. If you see rot signs (mushy stems, sour soil smell), reduce moisture and improve ventilation on mild days.
What’s the fastest way to winterize a mum in a pot?
Trim spent growth after blooming ends, water and let it drain fully, then move the pot to a sheltered location. Insulate the sides with bubble wrap or a frost blanket and protect the base by lifting it off wet ground. If you can, add pot-within-a-pot insulation (mum pot inside a larger container with straw in the gap).
What’s the most common mistake when wintering mums in pots?
Overwatering is the big one. People keep the mix “slightly moist” through winter, which often becomes soggy in cold weather and leads to crown or root rot. Empty any saucer, let the pot drain after watering, and use a finger check before you add water.

- 10 Best Slow Cooker With Cool Touch Handles 2026 (Tested And Reviewed) - October 22, 2026
- 10 Best Slow Cooker With Quality Construction 2026 (Tested And Reviewed) - October 22, 2026
- 10 Best Slow Cooker With Premium Construction 2026 (Tested And Reviewed) - October 22, 2026