How To Paint On Ceramic Pots?
Ceramic pots look great painted, but the finish only lasts if you prep correctly and use the right paint. If your design chips or flakes, it’s usually because the glaze wasn’t scuffed enough or you used paint that never fully bonded. This tutorial takes you through a simple, reliable process for painting ceramic pots, plus fixes for the common failures.
Paint that stays on ceramic pots needs three things – surface prep (scuffing and cleaning), a primer or paint that bonds to glossy ceramic, and a finish step if you need durability. For most craft projects, scuff the glaze with fine sandpaper (about 220 grit), clean with isopropyl alcohol, paint in thin coats, then seal for long life.
Key Takeaways
- Pick paint that sticks. Choose bonding primer or paint labeled for ceramics to avoid peeling.
- Scuff the glaze first. Sand smooth glaze lightly (around 220 grit) so paint can grip.
- Clean before you paint. Wipe with isopropyl alcohol to remove dust and skin oils.
- Use thin coats. Two to three light coats dry smoother and chip less than one thick coat.
- Seal for durability. Add a clear sealer, especially if the pot will get water or outdoor sun.
- Test on a scrap. Try your exact paint and sealer on a small piece before committing.
How to begin
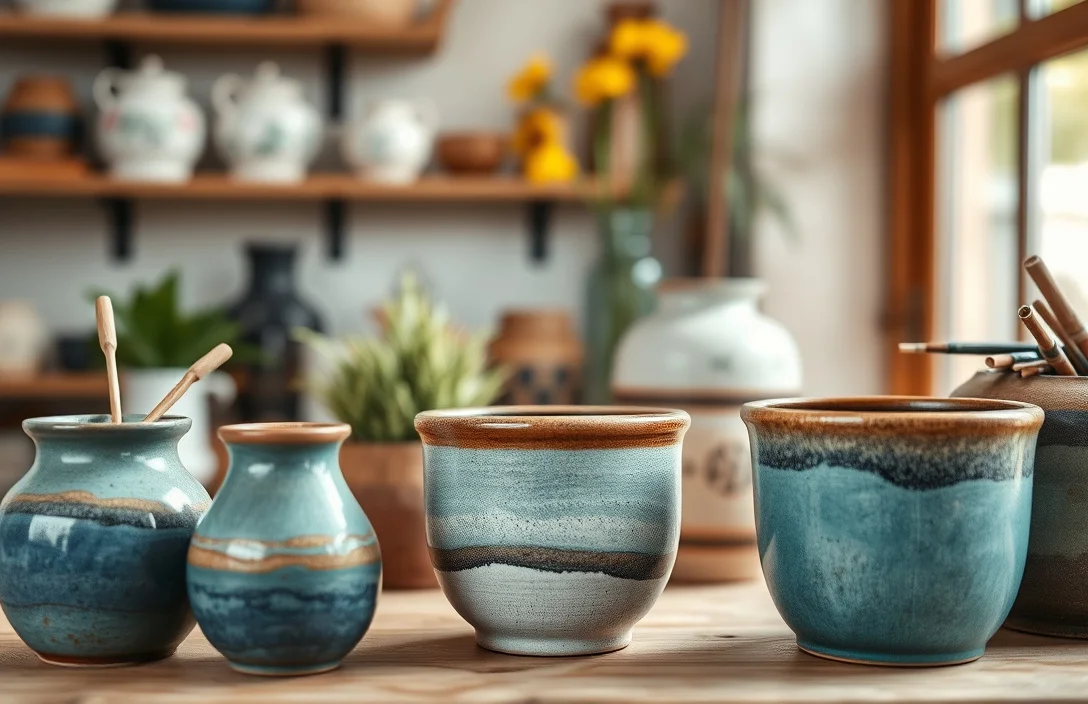
You want a painted ceramic pot that doesn’t flake when you move it, water it, or set it in light. The shortest route there is sanding the glaze, cleaning thoroughly, and using paint (ideally a primer) designed to bond to ceramic.
Decide one thing before you open any bottles – will the pot be indoors only, or will it handle moisture and outdoor weather? That choice determines your sealer and whether you should avoid painting inside the drainage holes or the water-contact area.
Match your pot type to your plan, too. Unglazed clay absorbs paint easily, while glossy glazed ceramic needs more scuffing and a bonding layer.
Gather these items before you start:
- Fine sandpaper (220 grit or similar)
- Isopropyl alcohol (90% or higher if you have it)
- Painter’s tape (optional)
- Primer that bonds to ceramic (spray or brush)
- Acrylic craft paint or ceramic paint
- Thin synthetic brushes and/or a small foam roller
- Clear sealer (water-based or spray, depending on your paint)
- Drop cloth, paper towels, and gloves
Basics of how to paint on ceramic pots
Most ceramic pots are either glossy glazed or factory-finished, and paint doesn’t grip smooth surfaces well. When paint peels, the bond failed at the surface – not your drawing skills.
Use three layers as your rule: a prep layer (sand and clean), a color layer (primer + paint), and a protection layer (sealer). Skip any one and you’ll get predictable problems like fisheyes, tacky patches, or chipping at edges.
Two paint routes work well:
- Craft route (most common): acrylic paint + bonding primer + clear sealer
- Ceramic-art route (strongest durability): ceramic-specific paint + primer + seal (and sometimes heat-curing if the product instructions say so)
For a glazed pot, sand even if the paint brand promises “works without prep.” In real life, that usually still means light scuffing.
Drying time matters more than people expect. Painting over tacky paint causes smearing and weak adhesion, and rushing between coats creates texture that traps dust.
how to paint on ceramic pots
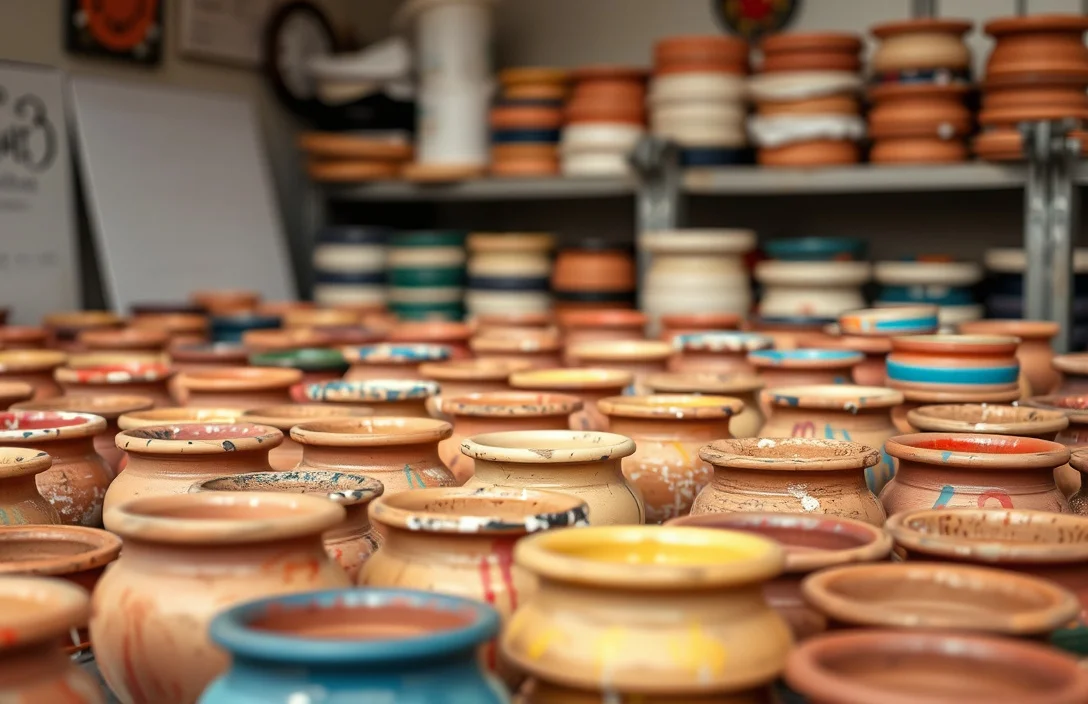
1) Choose your pot and clean it well. Wash off dust and manufacturing residue with warm water and dish soap, then rinse and dry completely. Once it’s dry, wipe the entire surface (including under the rim) with isopropyl alcohol.
2) Scuff the glaze for bonding. Lightly sand glossy areas with 220 grit sandpaper until they look less shiny. Don’t sand through the glaze – dull it so primer can grip.
3) Remove all sanding dust. Wipe with a dry microfiber cloth, then do a final alcohol wipe. Leftover dust creates uneven adhesion and tiny bumps.
4) Apply bonding primer in thin coats. Use a ceramic bonding primer (brush or spray). Add one light coat and let it dry per the product directions. Add a second light coat only if you need better coverage.
5) Paint in thin layers, not thick ones. Start with your base color and let each coat dry fully. For crisp patterns, wait until the paint doesn’t drag when you touch it lightly with a clean fingertip.
6) Seal when the paint is dry and cured. Use a clear sealer compatible with your paint system. Apply thin, even coats, and let it dry thoroughly before moving the pot.
7) Reinstall and test after it’s fully cured. Put the pot in its final spot and wait a few days before heavy water exposure. If you’re using it as a real planter, avoid scrubbing the painted surface during the first days.
For a solid-color pot, this order works consistently: sand, alcohol wipe, primer coat(s), then 2 to 3 thin paint coats. After the final coat dries, seal with 2 light layers for durability, especially if the pot will face outdoor humidity.
For stripes or simple shapes, tape works best only after the primer and base paint are fully dry. Press tape down lightly to prevent bleed, then remove the tape while the paint is still slightly firm (not wet) so edges stay clean.
Things that matter most
Control adhesion and edge quality together. Adhesion comes from prep plus primer. Edge quality comes from brush choice, paint thickness, and how you handle corners and ridges.
Make glossy ceramic behave
Sand with purpose – create a uniform dull surface. If you sand only a few spots, you can end up with a pot that looks fine up close and fails in patches later.
If your pot has an embossed pattern, sand carefully so paint reaches the raised areas and primer bridges tiny pits. Lightly sand across the texture works better than aggressive sanding in one direction.
Paint smooth, even coverage
Thin coats beat thick coats on pottery surfaces. Thick paint shrinks as it dries, which can create micro-cracks and a rough finish that chips.
Use a small foam roller on flat sides for even, thin coverage. For details, use a small synthetic brush and avoid overworking the same wet area.
Create clean designs
For stencils, use a stencil brush and let paint sit briefly on the stencil openings instead of dragging it across. For freehand designs, sketch lightly with pencil, then trace with a small brush after you confirm the placement.
A simple polka-dot design looks better when every dot matches in size. Use a dotting tool or the end of a small brush, and practice on paper first. Consistency matters more than complexity for a “store-bought” look.
What works in practice
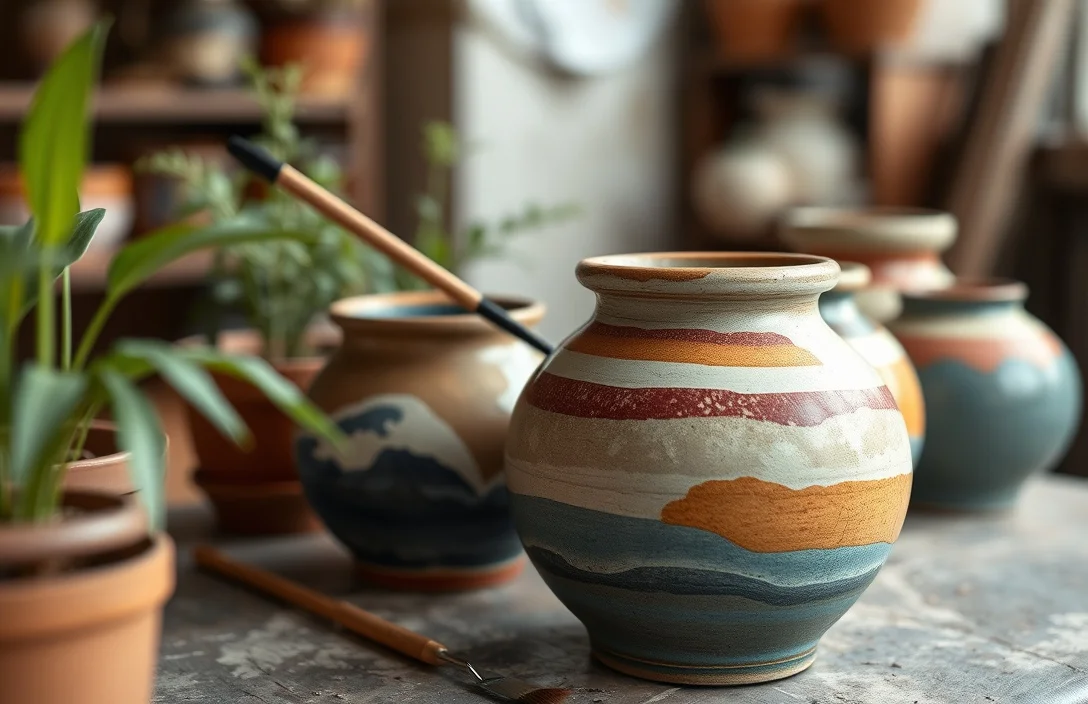
Compatibility, environment, and patience decide whether this holds up. Use a paint and sealer system meant to work together – mismatched finishes can stay tacky or peel even when you prep perfectly.
Work in a stable environment. Cold drafts and high humidity dry paint unevenly, which leads to mottled surfaces and streaking. If your space is cool, add extra drying time between coats.
Protect the parts that contact water and soil. For planters, the inside bottom area and drainage holes need extra durability. Either keep paint off those zones or use a sealer system rated for moisture.
Seal in stages. One heavy sealer coat often drips and clouds. Two to three light coats create a smoother, more even film.
Use this compatibility checklist:
- Primer matches the ceramic surface. Choose bonding primer instructions for slick/glossy surfaces.
- Paint is meant for craft or ceramic use. Acrylic works with proper primer and sealing.
- Sealer is compatible with your paint. Water-based sealer pairs with water-based acrylic systems.
- Dry time is honored. If it says 24 hours, don’t start sealing at hour 3.
- Curing time is respected. Sealer durability improves after full cure.
Quick reference: paint + primer + sealer setups
| System Type | Key Spec | Best For | What to Watch |
|---|---|---|---|
| Acrylic craft paint system | Acrylic + bonding primer + clear sealer | Indoor pots and decorative planters | Ensure full drying between coats to prevent tackiness |
| Ceramic paint system | Ceramic paint + compatible primer + clear sealer | High-durability decor | Follow product curing instructions closely |
| Stencil/stripe system | Primer + base coat + taped stencil layers + sealer | Clean geometric designs | Remove tape at the right tack stage to avoid edge lift |
| Outdoor moisture system | Primer + durable sealer (water-resistant) | Outdoor planters | Avoid painting inside wet-contact areas unless sealer is rated |
Mistakes to Avoid with how to paint on ceramic pots
Failures come from predictable causes. Avoid these and your results go from “looks good today” to “still looks good after weeks.”
Skipping scuffing on glazed pots
Glossy glaze is the #1 reason paint peels. Even good paint can’t bond well to slick surfaces.
Painting over dust or oils
Fingerprints, residue, and sanding dust create weak spots. Alcohol wipes remove oils, and a proper dust wipe handles the rest.
Using thick paint or rushing coats
Thick paint dries slower and shrinks more. That shrinkage creates stress that chips around edges and corners.
Choosing the wrong sealer
A sealer that doesn’t match your paint can cause tackiness or cloudiness. Swapping brands randomly gambles with the final look.
Painting in wet-contact zones without a plan
If the pot sits in water or gets drenched frequently, paint can soften over time. Seal aggressively, or keep paint off inside water-contact areas.
For example, if you see small bumps after the paint dries, it usually means contamination, not “bad luck.” Sanding dust or oily residue is the common culprit, and an alcohol wipe plus better dust control fixes it for the next try.
Pro Tips for how to paint on ceramic pots
The best pro moves are the boring ones – manage thickness, sharpen edges, and build durability gradually.
Do a “tack check” before sealing. If the paint feels tacky when lightly touched (with a clean, dry finger), wait longer. Sealer locks in texture and oils while they’re still shifting, which can ruin the finish.
Work from light to dark in small steps. Dark paint over a fully opaque base is easier than trying to erase mistakes. If you mess up, let the coat dry, sand lightly, and repaint.
Seal for function, not just appearance. A clear coat adds protection, but a heavy top coat can look worse than it protects. Aim for thin, even layers.
For a smoother, more finished look:
- Sand lightly between paint coats if the surface has texture.
- Wipe dust after sanding.
- Recoat thinly, then seal.
If you want a matte look, choose a matte sealer over a glossy one. For high-traffic pots (kids, frequent handling), glossy or satin films usually show scuffing less than deep matte.
FAQ
What’s the best paint to use on ceramic pots?
Use paint made for slick surfaces or ceramics, and pair it with a bonding primer. If you use acrylic craft paint, it can work well when you scuff with about 220 grit, prime, apply thin coats, then finish with a compatible clear sealer. The paint that lasts is the one that matches your prep and sealing, not the one with the biggest claims.
Do ceramic pots need primer before painting?
Usually yes, especially for glazed pots. Primer gives paint something to grip and helps prevent peeling. If you’re painting an unglazed clay pot, primer may be optional, but glossy ceramic needs primer for “stays on” instead of “flakes off.”
How long should I wait before sealing a painted ceramic pot?
Wait until the paint is fully dry and hard, not tacky. For many acrylic systems, this is commonly at least 24 hours, but follow the exact instructions on your paint and sealer for your specific product. Sealing too early can trap moisture and leave a soft or slightly sticky surface.
How do I fix paint peeling or flaking on a ceramic pot?
Scrape off all loose paint, then sand the surface until it’s dull and clean. Wipe thoroughly with isopropyl alcohol, apply bonding primer again, and repaint in thin coats. After the final color coat dries, seal with a compatible clear finish. If peeling came from poor prep, replacing only the topcoat won’t solve it.
Can I paint ceramic pots without sanding?
You can try, but glossy glazed pots are where failures happen. “No-sand” instructions often still require scuffing or surface prep in practice. Skip sanding and you can get uneven adhesion, especially along edges and raised details. For the most reliable outcome, scuff with fine sandpaper (around 220 grit) and clean with alcohol.

- 10 Best Slow Cooker For Hearty Stews 2026 (Tested And Reviewed) - October 20, 2026
- 10 Best Slow Cooker For Hearty Soups 2026 (Tested And Reviewed) - October 20, 2026
- 10 Best Slow Cooker For Comfort Food 2026 (Tested And Reviewed) - October 20, 2026