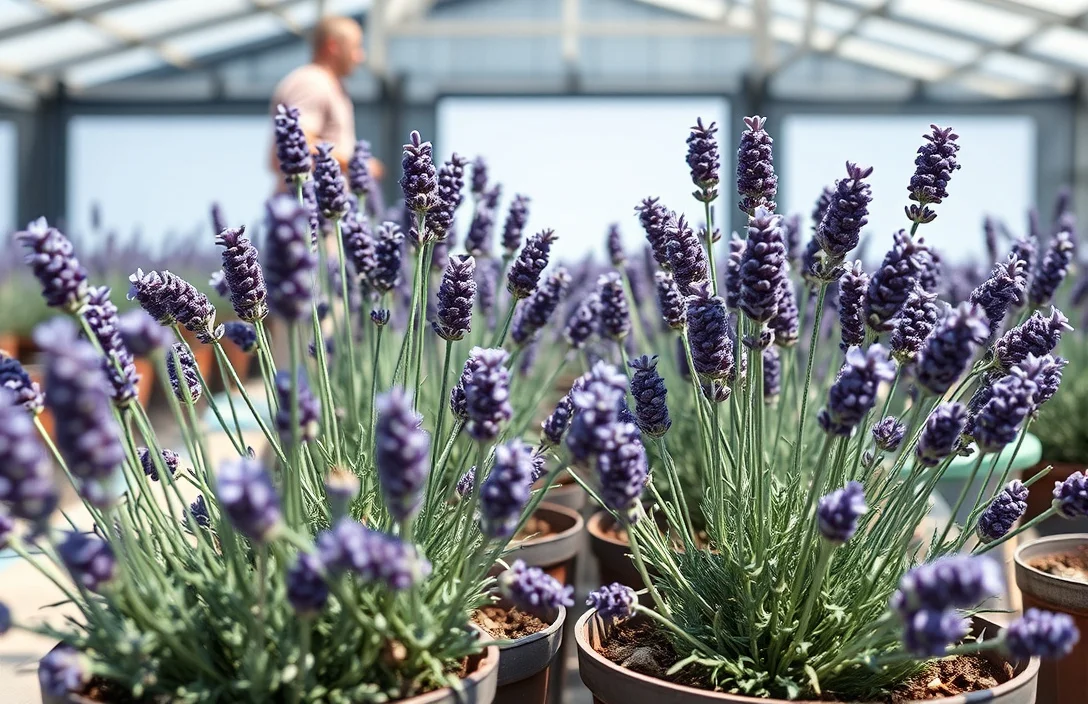
How To Plant Lavender In Pots?
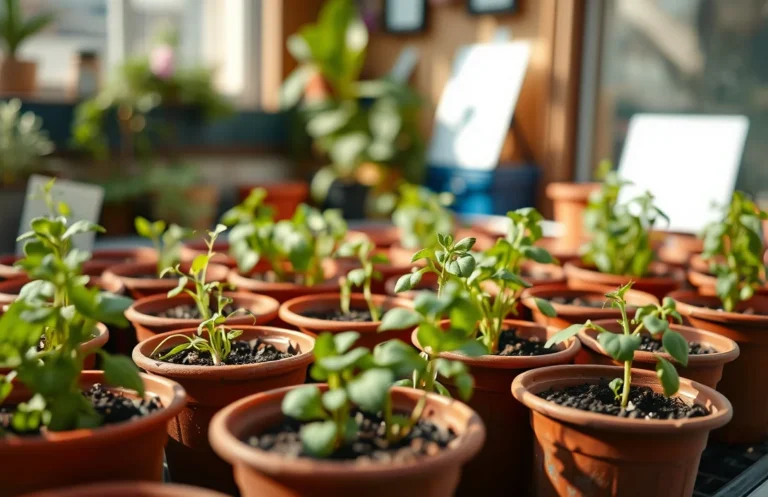
Lavender in pots is usually easy – as long as you match the pot, soil, and light to how lavender naturally grows. Containers fail most often from two problems: wet roots and too little sun. Use this tutorial to nail the prerequisites, pot and soil choices, planting steps, and troubleshooting so your lavender can actually thrive on a US patio or backyard.
Potted lavender needs a container with drainage holes and fast-draining soil – otherwise the roots rot. Choose a pot at least 10-12 inches wide, plant at the same depth as the nursery root ball, and keep it in full sun (6-8 hours daily), especially during the first month. Water deeply once, then let the mix dry out before watering again.
Key Takeaways
- Choose a draining pot. Use a pot with drainage holes – standing water causes root rot.
- Use fast-draining soil. Lavender prefers a gritty mix, not heavy potting soil that stays wet for days.
- Start with full sun. Aim for 6-8 hours of direct sun to keep growth compact and flowering.
- Plant at correct depth. Set the root ball level with the surrounding mix – don’t bury it.
- Water with a dry-down rule. Water deeply once, then wait until the top mix dries before watering again.
- Repot when roots crowd. Move up a size when roots circle or growth stalls, usually each 1-2 years.
How to begin
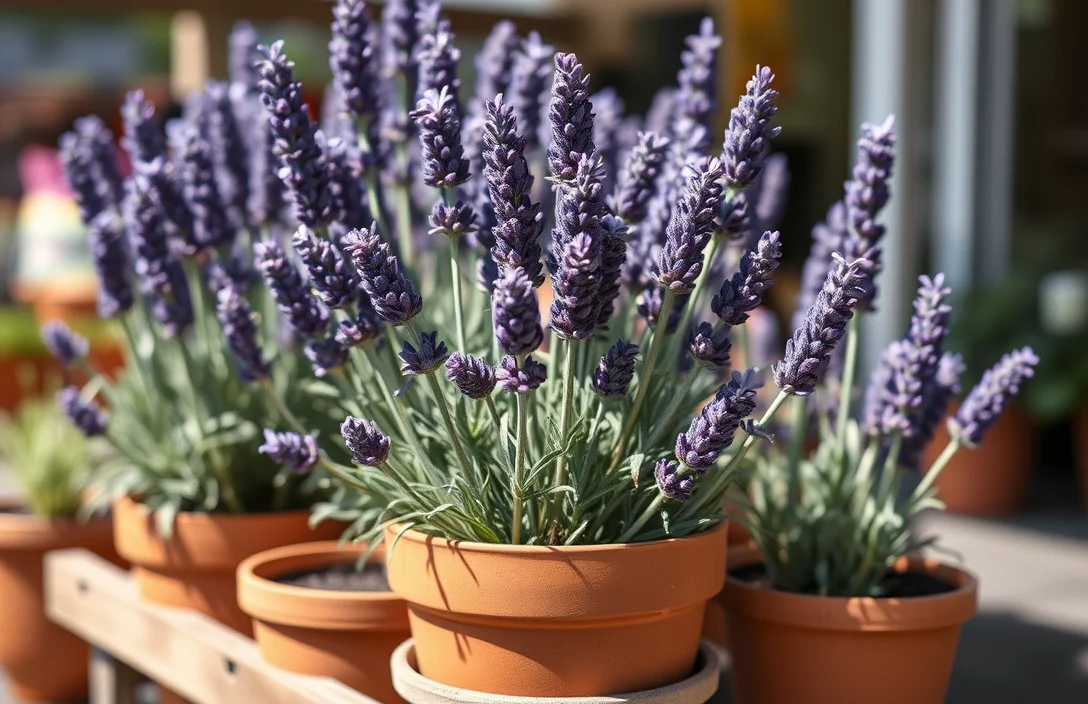
Container lavender works best when you treat it like a plant from dry, rocky ground, not like a moisture-loving herb. If your potting mix stays damp for days, you are stacking the odds against the plant.
Decide where the pot will live first. Choose full sun, ideally 6-8 hours of direct light, because lavender grows and blooms better with consistent sun. Then gather what you need, because you do not want to be improvising drainage or soil at planting time.
Basics of how to plant lavender in pot
Lavender is drought-tolerant, but it is drainage-sensitive. In containers, “dry” is usually correct, while “constantly slightly damp” is where things go wrong.
Soil texture matters as much as watering. Regular potting soil can hold onto moisture too long, so use a mix that drains quickly and dries at a reasonable pace. Skip oversized tubs too – extra soil takes longer to dry after watering.
A simple pot setup that works for most home gardeners in the US:
- Pot with multiple drainage holes
- Fast-draining potting mix (often mixed with gritty amendments)
- Full sun location
- Watering routine that includes letting the mix dry between waterings
how to plant lavender in pot
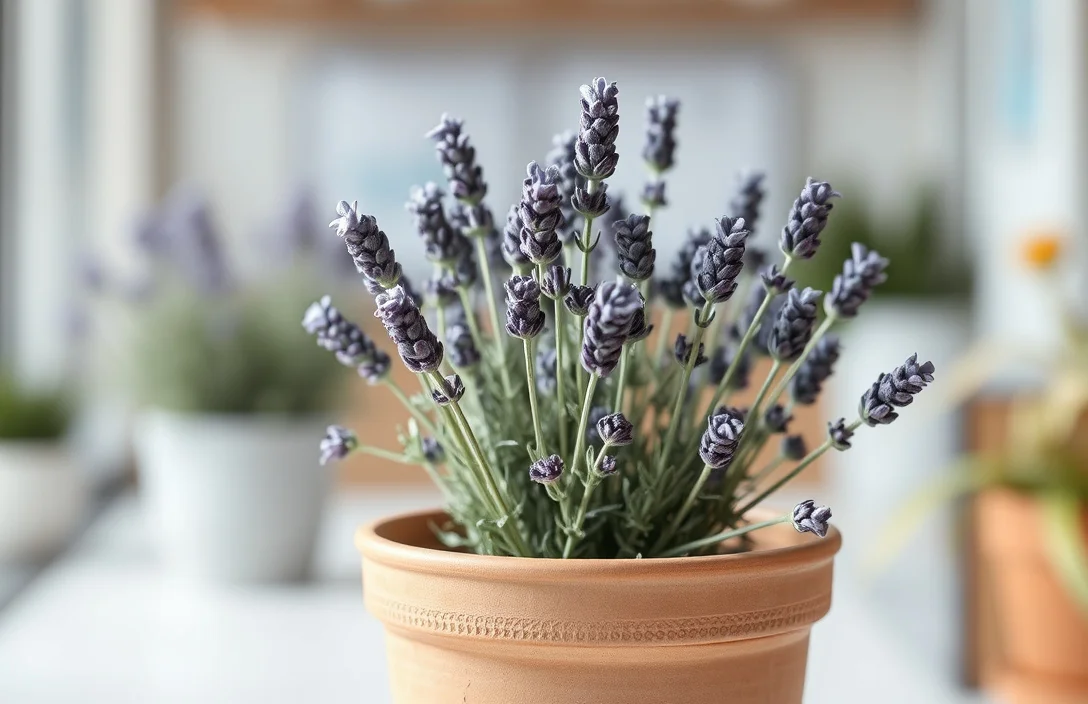
Goal: set the plant at the right depth in a gritty mix, then water in a way that settles roots without drowning them.
- Pick the right pot size. Choose at least 10-12 inches wide with drainage holes, bigger for older plants but avoid huge containers.
- Select a gritty potting mix. Use fast-draining mix, then cut it with perlite, pumice, or coarse grit if your soil tends to stay wet.
- Prepare the pot. Add mix, then set the root ball in to test planting depth before you commit.
- Set the plant at the same depth. The top of the root ball should sit level with the surrounding mix, not buried deeper.
- Backfill and firm lightly. Fill around the root ball and press gently to remove big air gaps – don’t compact hard.
- Water thoroughly once. Water until excess drains out the bottom, then stop. Do not keep topping it up daily.
- Follow a dry-down schedule. Water again only when the top inch or two feels dry.
For example, if you buy a 1-gallon lavender at the nursery, a 10-12 inch pot often gives enough root room without trapping too much moisture. If your climate is humid or rainy, increase grit amendments so the mix dries faster between waterings.
After planting, avoid the temptation to “nurse” it with frequent small sips. Lavender roots need oxygen, and soggy soil steals it. Overwatering early can kill the plant without any dramatic warning signs.
Quick planting depth check (so you don’t bury lavender)
The root crown can rot if it sits too deep. Plant too high and the roots dry out faster than they can establish. The fix is simple: match the nursery depth, then set the crown level with the surrounding mix.
Things that matter most
Drainage – at the pot and mix level – is the technique that matters most. When a pot drains well and the mix dries, lavender handles the rest.
Match the soil texture to your weather. In rainy or humid areas, go heavier on grit than you would in a dry climate. You are aiming for a mix that changes from “damp” to “dry” within a reasonable time after watering.
Keep root disruption low once the plant is established. Lavender can handle drought better than it can handle repeated repotting. If you must repot, do it during a growing-friendly period and keep as much of the root ball intact as possible.
Practical techniques that pay off:
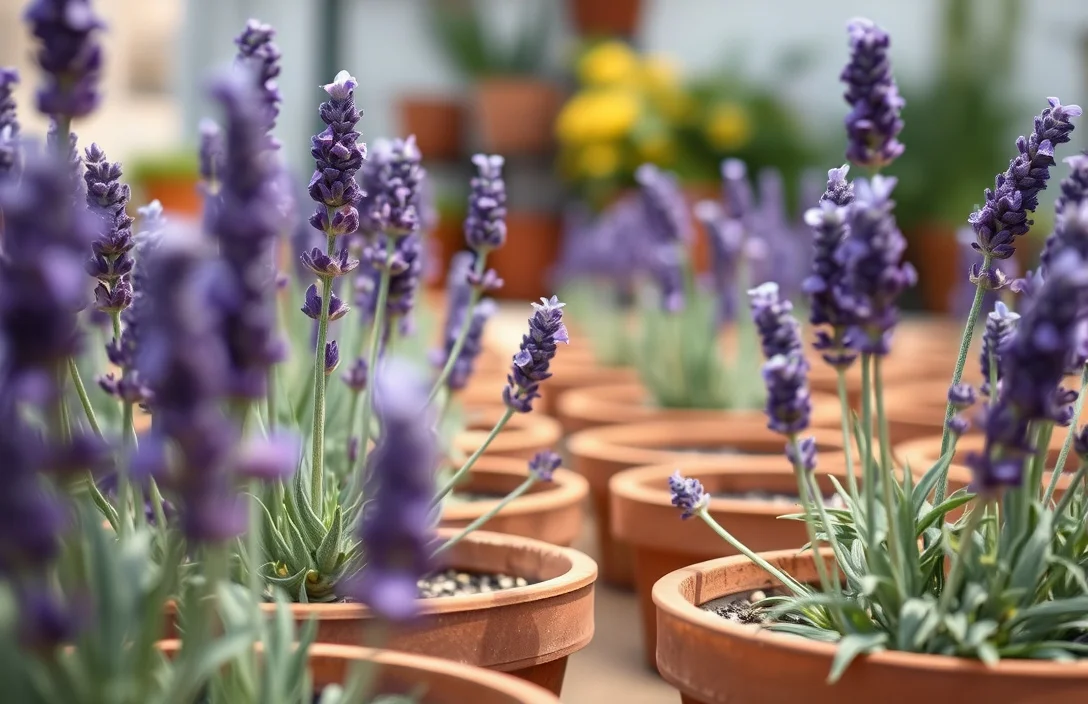
- Amend for faster drying. Add perlite or pumice to reduce moisture retention.
- Use the “tilt test.” After watering, the pot should not feel heavy and wet for days.
- Keep mulch out of the crown. Any top dressing should stay away from where stems meet roots.
- Rotate for even sun. Rotate the pot every week if one side gets more light.
Rocks at the bottom are not a real drainage fix. They do not correct a heavy mix that stays waterlogged. Focus on the soil texture and make sure water drains freely out the bottom.
What works in practice
Planting is only half the job. Keeping potted lavender going year after year depends on sun, correct watering, and seasonal care that fits your climate.
Place the pot where it gets the brightest light you have, like a south- or west-facing patio. If you move the pot indoors, do it only when you can give bright light – low indoor light can weaken lavender and make problems more likely.
Watering is the best-practice skill to nail. Use this rule: water deeply, then let the mix dry out before watering again. In summer you may water more, and in cooler months you usually water less because evaporation slows.
Best-practice checklist:
- Sun first. 6-8 hours direct sun is a strong target.
- Drainage always. Never let the pot sit in a saucer of water.
- Gritty mix only. If your soil stays wet, add more amendments.
- Fewer waterings, deeper soak. Roots grow outward and search for moisture.
- Watch growth and color. Pale, droopy growth often points to overwatering or low light.
Winter note: container roots freeze more than ground roots. If your winters are harsh, insulate the pot (for example, placing it near a wall or using protective wraps). Drainage still matters – frozen wet soil is still a problem.
Mistakes to Avoid with how to plant lavender in pot
Most potted lavender problems are predictable. Lavender does not need “special fertilizer” – it needs the right environment. Fix the mistakes below and your odds improve fast.
First mistake: using a pot without drainage holes or letting water collect in a saucer. Lavender roots need oxygen, and waterlogged conditions lead to rot quickly.
Second mistake: planting in heavy, moisture-retentive soil and watering on a schedule. A calendar routine does not work because weather changes everything. If it rained two days ago, your pot may still be wet even if you “should” water.
Mistakes that waste time
- No drainage holes. Water must exit the pot or roots suffocate.
- Staying damp too long. If the top layer never dries, change the mix.
- Overwatering after planting. Frequent small waterings can be worse than letting it dry.
- Too much fertilizer. Lavender prefers modest feeding, and excess can weaken growth.
- Low light placement. Shade makes lavender leggy and slow to flower.
If you water every morning “just a little,” the mix can stay consistently moist. It might feel manageable to your fingers, but lavender roots still need wet-dry cycles. When drying never happens, the plant declines even if you think you are being careful.
Pro Tips for how to plant lavender in pot
If you want tidy, reliable blooms, these pro moves help.
Use a pot shape that supports airflow around the roots. Tall, narrow pots can hold water deeper in the mix longer than you expect. A wider pot gives the soil more surface area to dry.
Plan for watering in your actual routine. When pots dry too quickly, people compensate with more frequent watering – which can bring the mix back to “staying damp.” Keep pot size reasonable and the mix gritty so the plant is not dependent on perfect timing.
Prune lightly after the plant is established. Gentle shaping keeps form compact and airflow moving through the plant. Avoid aggressive cutting into old woody parts; conservative trimming works better for lavender.
A practical “pro setup” for many home gardens:
- 10-12 inch pot for starting plants
- Gritty mix that breaks apart when you squeeze it, not clumps into a wet paste
- Full sun spot with good air movement
- Water only after the mix dries noticeably
In humid areas, many gardeners get better results by adding more pumice or coarse grit and placing the pot where sun and airflow help it dry. The target is the same pattern lavender evolved for: fast-draining and dry between waterings.
FAQ
What is the easiest soil mix for how to plant lavender in pot?
Use a fast-draining potting mix and amend it with gritty material like perlite or pumice if your mix stays wet. After watering, the pot should drain and not feel heavy and damp for days. If water pools on the surface or the top layer never dries, increase the grit until the dry-down happens reliably.
How often should I water lavender in a pot?
Water deeply until excess drains out, then wait until the top inch or two of the mix is dry. In hot, sunny weather, it might be about once or twice a week; in cooler months it can be much less. The best schedule is based on dryness, not a fixed number of days.
Will lavender in pots survive winter in the United States?
It depends on your winter lows and your drainage. Containers freeze more than ground, so protect the pot and keep drainage excellent in hard freezes. Avoid leaving the plant in consistently wet, cold conditions, because roots can rot. In marginal climates, moving the pot to a protected area with good light can help.
How do I plant lavender cuttings or seedlings in a pot?
Plant cuttings at the right depth for their rooting system (generally not buried deeply) in a gritty, airy mix. Keep the mix lightly moist while rooting starts, but never waterlog it. Once established, follow the usual lavender rule: deep watering followed by drying out before the next watering.
What’s the most common mistake when planting lavender in pots?
The most common mistake is using a heavy, moisture-retentive mix and watering too often. Even if you water “a little,” staying damp prevents healthy oxygen levels in the root zone. Fix it with a pot that has drainage holes, improve soil texture with grit, and water only after the mix dries meaningfully.
Next step: choose a pot with good drainage and a gritty mix today, then plant at the correct depth in full sun so you can start your first “water, drain, dry” cycle right away.

- 10 Best Slow Cooker For One Pot Cooking 2026 (Tested And Reviewed) - October 21, 2026
- 10 Best Slow Cooker For Hearty Stews 2026 (Tested And Reviewed) - October 20, 2026
- 10 Best Slow Cooker For Hearty Soups 2026 (Tested And Reviewed) - October 20, 2026