How To Paint Terracotta Flower Pots?
Terracotta flower pots drink in moisture and dust, so paint fails fast if you skip prep. If you want a smooth, sealed finish, plan for primer, multiple thin coats, and a topcoat that can handle outdoor conditions. This guide walks through the right supplies, a simple workflow, and fixes for peeling and blotchy coverage.
Terracotta pot painting works best when you clean the pot, dry it completely, coat it with primer, then apply 2-3 thin paint coats and seal with a compatible clear topcoat. Thin coats reduce bubbles and drips, and sealing helps prevent moisture from re-soaking the terracotta. For outdoor pots, choose exterior-rated paint and sealant.
Key Takeaways
- Use the right paint. Choose acrylic craft paint for indoor pots or exterior-rated paint for outdoor pots.
- Prime for adhesion. Bare terracotta is porous, and primer helps paint grip instead of flaking.
- Go thin, not thick. Use 2-3 light coats to prevent runs and patchy coverage.
- Seal the finish. A clear topcoat keeps moisture from undermining the paint.
- Dry time matters. Let each coat cure fully before the next for better durability.
- Protect drainage. Keep paint off the pot’s interior drainage areas to avoid long-term clogs.
How to begin
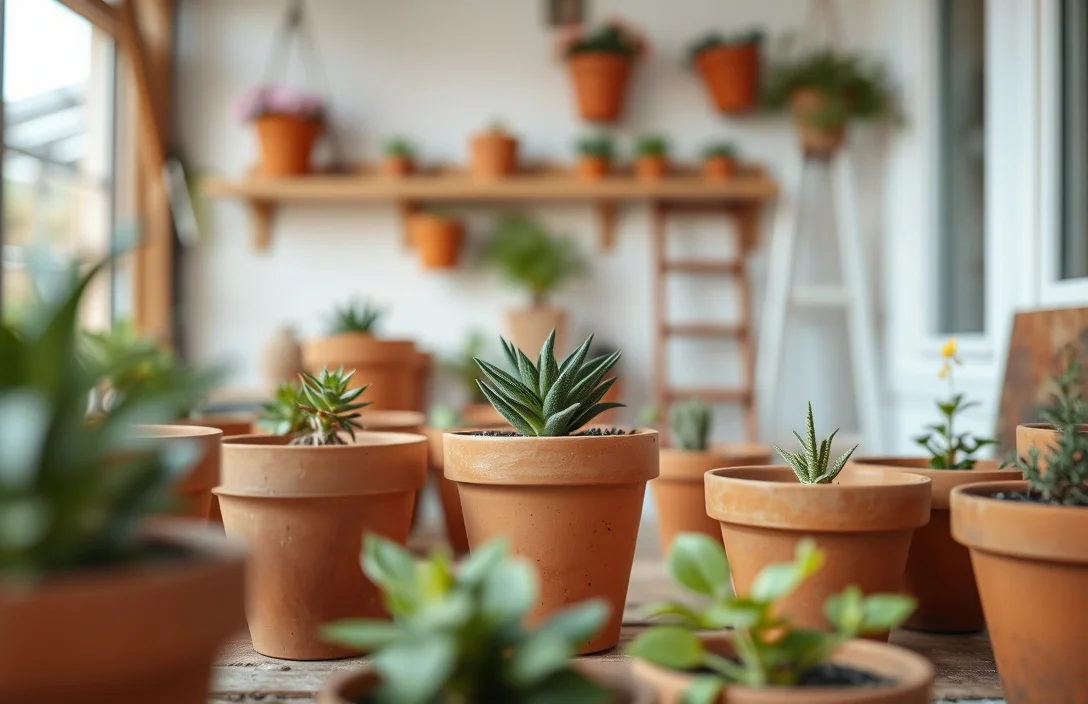
You get a clean, long-lasting painted terracotta pot by treating it like a two-layer job: first seal the porous clay, then build color on top. Painting directly onto raw terracotta is the most common beginner mistake – paint soaks in unevenly and later peels.
Pick where the pot will live (indoors vs. outdoors) and decide on a finish: matte, satin, or glossy. Indoors, acrylic paint usually holds up well. Outdoors, use exterior-rated paint and a topcoat that resists rain and sun without turning sticky or chalky.
Even a new pot needs a wash and full drying. Used pots usually have salts, fertilizer residue, and dust in the pores, which can cause fisheyes (tiny craters) and uneven adhesion unless you clean thoroughly.
Supplies and tools that make this easier:
- Dish soap and a scrub brush (or an old toothbrush)
- Sandpaper (120-220 grit) or a sanding sponge
- Lint-free cloth or paper towels
- Primer (terracotta-friendly, or “adhesion” primer for masonry/porous surfaces)
- Paint (acrylic craft paint or exterior acrylic)
- Small paintbrushes and a foam roller (optional, for smoother coats)
- Clear topcoat (water-resistant sealer for the paint system you used)
Basics of how to paint terracotta pots
Terracotta is porous, so paint soaks in and evaporates unevenly if you skip pre-treatment. Primer bridges the clay and the paint, improving adhesion and smoothing the surface so color lays down more consistently.
Temperature and humidity control how fast coats dry. Cool, damp conditions keep paint tacky longer, which increases smudges, dust sticking to the finish, and uneven curing. Work in a dry space and follow label dry times for primer, paint, and sealer.
Technique matters more than people expect. Terracotta texture creates tiny valleys; thick paint pools and then drips and ridges as it tries to level out. Thin coats let each layer dry enough to lock in before you add the next.
Match your products to each other. Acrylic paint should use an acrylic-compatible primer and an acrylic-compatible clear topcoat. Incompatible layers can peel even if the paint looks great at first.
how to paint terracotta pots
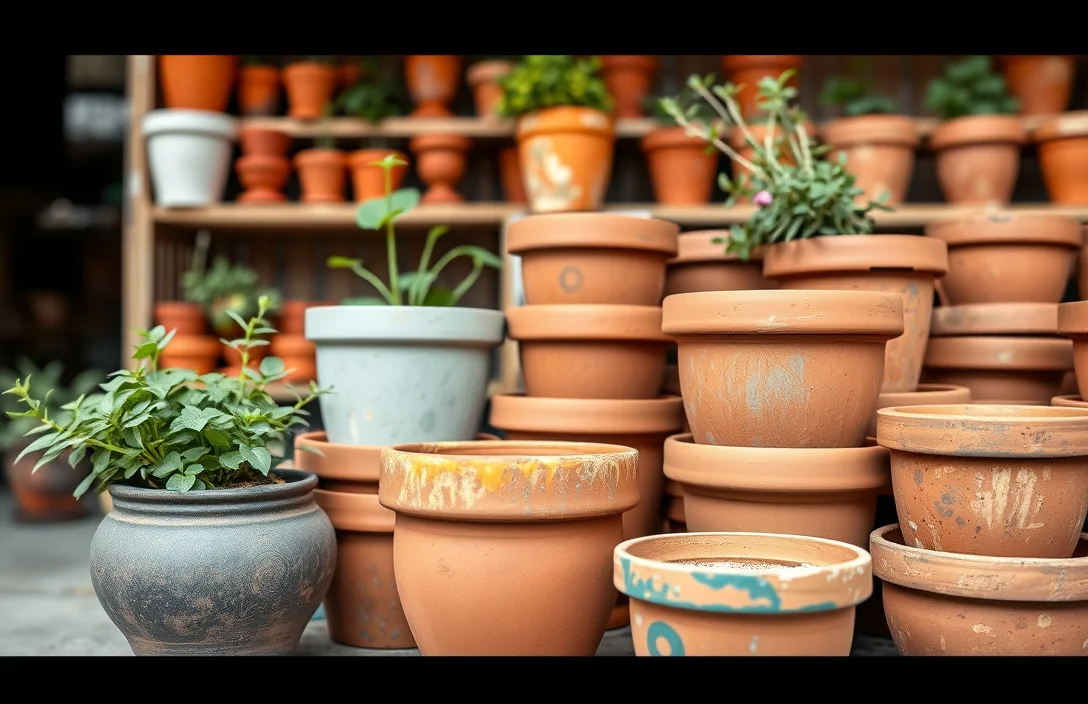
- Inspect the pot for chips and cracks. Fix damage now – cracks can telegraph through the finish.
- Wash thoroughly with dish soap. Scrub the inside and outside, then rinse well. Residue blocks primer adhesion.
- Dry completely. Air-dry for at least several hours, then check for cool damp spots.
- Sand lightly for grip. Use 120-220 grit to scuff the surface, especially glossy glaze areas if your pot is glazed.
- Remove dust. Wipe with a dry cloth. If sanding created lots of dust, rinse lightly, then dry again.
- Apply primer in thin, even coats. Cover every texture nook without flooding. Let it dry fully.
- Paint with 2-3 thin coats. Load the brush lightly and build coverage gradually, rotating the pot as you go.
- Let paint cure before sealing. “Touch dry” is not the same as cured. Give it more time than the label minimum if possible.
- Seal with a compatible topcoat. Use a clear coat designed for painted surfaces, then apply 1-2 layers as recommended.
- Cure again, then plant. Wait until the sealer is fully cured so moisture doesn’t get trapped under a soft coating.
A reliable order for a smooth finish is primer, then paint, then topcoat. Skip primer or seal too early, and you trade one-time convenience for long-term flaking.
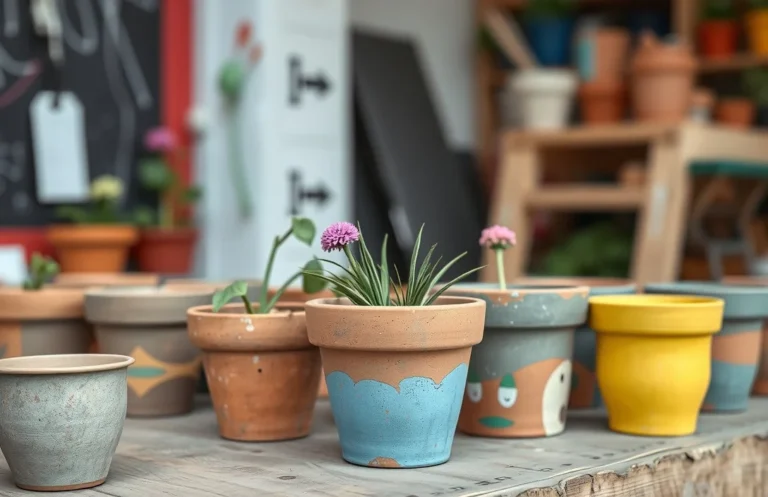
For a simple design, start with a solid base color, then add patterns. For stripes or dots, use painter’s tape for straight lines and let the paint under the tape dry before removing it so you don’t pull color up. Add lettering last using a fine liner brush after the main coats.
If the pot will hold soil, keep the interior drainage region mostly unpainted. Heavy paint on the inside slows re-wetting and drying, and it can trap moisture where soil meets the painted rim.
Things that matter most
Terracotta rewards “seal and build,” not “cover fast.” Primer soaks into the pores and grips the clay. Thin paint coats build pigment without sealing the surface too early.
Use these tactics for textured clay:
- Foam roller for flats. On smoother areas, a foam roller cuts brush marks.
- Brushing into texture. Push paint into crevices with a small brush, then lightly feather the surface.
- Rotate the pot often. Repositioning helps you paint evenly and avoid drips that settle while you’re focused elsewhere.
- Two-direction coats. Apply one coat with mostly vertical strokes, then the next mostly horizontal for smoother coverage.
Tape work is where beginners rush. If tape edges don’t dry enough, paint bleeds. For sharp lines, tape after the prior coat is dry to the touch. Remove tape while the new paint is slightly tacky (only if your paint system supports it), so edges stay crisp.
If you see patchiness, don’t throw on a thick coat. Patchy coverage usually means pigment is drying too fast or soaking into the clay. Add another thin coat after the current one dries, and confirm your primer coverage before blaming the paint.
What works in practice
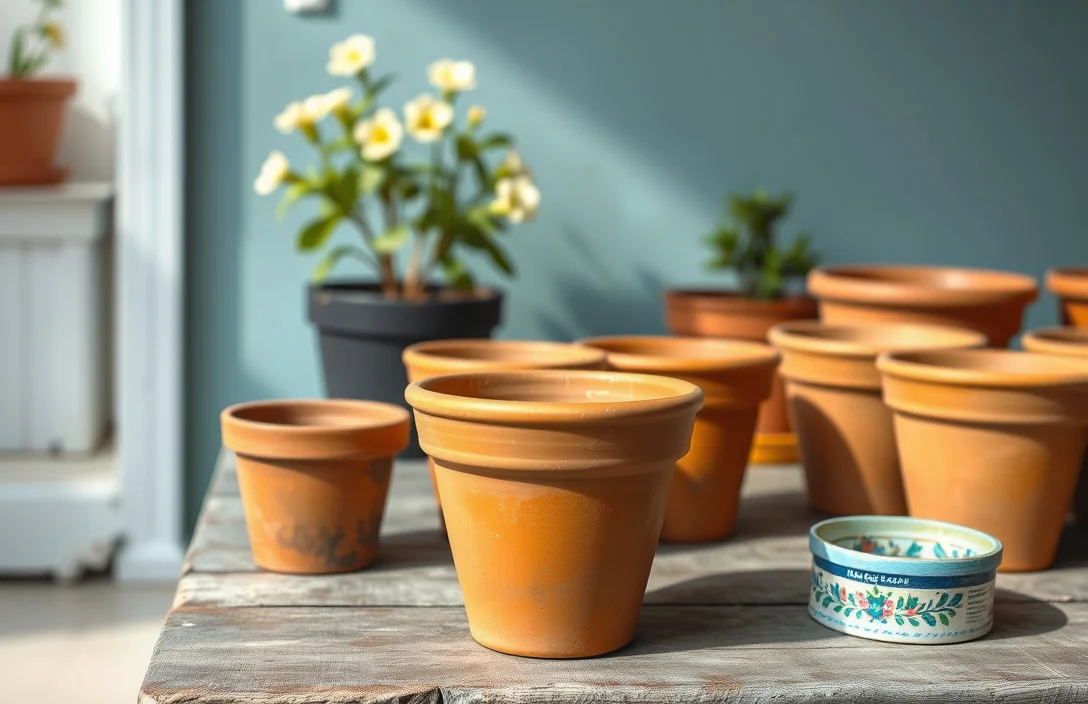
Drying and curing are part of the craft, not an afterthought. If you stack multiple coats in one day, you can trap solvents under the topcoat, leaving the surface tacky later or raising peeling risk.
Ventilation helps. Paint dries slower in still air and takes longer for fumes and moisture to clear. Work in a sheltered spot with airflow, and avoid direct blazing sun where coats can dry too fast and skin over.
Choose the sealing approach that matches your use case. Indoors, a water-resistant clear topcoat often works. Outdoors, use an exterior-ready clear coat that resists moisture and UV wear, or the finish breaks down faster than the paint.
One quick selection rule prevents most compatibility problems: use a primer and topcoat from the same paint system family. If your paint is acrylic, keep the primer and sealant in acrylic-compatible territory.
Also plan for handling. Painted pots get slippery while wet and chip if you move them too early. After sealing, handle gently until everything finishes curing so you don’t scratch the coating before it hardens.
Comparison: paint and sealing choices (practical picks)
| Option | Best for | Coverage behavior | Sealing needs |
|---|---|---|---|
| Acrylic craft paint + clear acrylic topcoat | Indoor pots, decorative use | Holds color well but can soak on raw clay | Yes, for wipe-clean durability |
| Exterior acrylic paint + exterior clear coat | Outdoor pots | Better resistance to sun and rain once sealed | Yes, choose exterior-rated sealer |
| Primer + spray paint base + brush details | Smooth base with detail work | Spray gives even pigment, brush adds control | Yes, topcoat protects the spray layer |
| Paint marker details + acrylic topcoat | Small accents and labels | Markers can dry uneven on porous surfaces | Yes, seal to stop fading and moisture damage |
Mistakes to Avoid with how to paint terracotta pots
Skipping cleaning and primer is the biggest failure point. Terracotta holds dust and residues in pores, and paint that doesn’t bond will peel or rub off even if it looks fine on day one.
Painting too thick is another common problem. Thick coats trap moisture and can crack or form uneven texture, especially on rough terracotta. Thin coats dry more evenly and build stable bonding as each layer sets.
Topcoating too early is a sneaky one. If you apply sealer before paint cures, the sealer traps softness underneath. When the pot cycles through temperature changes, that trapped softness can cause tackiness, bubbling, or peeling.
Don’t skip sanding and de-dusting. Terracotta has micro texture and fine particles. Without scuffing and cleanup, primer adhesion drops – you’ll see paint lifting in spots or primer looking patchy.
Finally, don’t fully coat the interior drainage areas if you plan to grow plants. Thick paint can slow re-wetting and contribute to messy buildup where the soil edge meets the painted rim.
Pro Tips for how to paint terracotta pots
For a finish that looks more “store-bought” and lasts longer, use these beginner-friendly shortcuts.
Start with a test patch on the bottom. Prime and paint a small inconspicuous area, then watch how it looks and feels over 24 hours. If it cures cleanly without blotches, scale up.
Use a “base coat + glaze coat” approach for depth. Paint your main color first, then add a second color layer (or a light glaze wash) after the base cures. This brings out terracotta texture instead of leaving everything flat and chalky.
Run a dust-control routine. Wipe off sanding dust thoroughly. Keep your workspace clean so airborne dust doesn’t land on tacky primer or paint. Specks can lock into the surface and look like tiny craters after sealing.
Plan your cure timeline. If you can, paint one day and seal the next after a longer cure window. Seals bond best to paint that has fully hardened.
For smooth stripes and shapes, use painter’s tape and a press-and-seal pass. Press tape firmly into the texture so paint can’t creep under. Remove slowly and evenly to avoid lifting at the edges.
FAQ
What kind of paint works best on terracotta flower pots?
Acrylic paint is usually the easiest choice because it adheres well and dries to a paintable finish once you use primer. For outdoor pots, pick an exterior-rated acrylic paint, then seal it with a compatible clear topcoat. Skipping primer is the fastest path to peeling on porous terracotta.
Do I need primer to paint terracotta pots?
Yes. Primer is the difference between “looks good” and “actually lasts.” Terracotta is porous, so without primer the paint soaks unevenly and won’t bond consistently to the clay. Use a primer designed for masonry or porous surfaces, then let it dry fully before painting.
How long should I wait before sealing or planting?
Wait until the paint is fully cured, not just touch-dry. That usually means longer than a same-day turnaround, especially if coats are thick or the weather is humid. If you can, paint one day and seal the next to reduce the odds of a soft coating under the clear layer.
How can I fix peeling or flaking paint on a terracotta pot?
Scrape off all loose paint down to stable coating, then sand the edges smooth and scuff the surface. Wash again, dry completely, apply primer, repaint with thin coats, and reseal. If peeling keeps happening, your primer or sealant may not match your paint system.
Can I paint a terracotta pot that will be used outdoors?
Yes, but only with the right system: exterior-rated paint plus a clear topcoat made for outdoor exposure. Use thin layers and allow full curing between steps so moisture and UV cause less damage over time. Avoid sealing too early and avoid heavy paint buildup near drainage.

- 10 Best Durable Programmable Slow Cooker 2026 (Tested And Reviewed) - October 22, 2026
- 10 Best Reliable Programmable Slow Cooker 2026 (Tested And Reviewed) - October 22, 2026
- 10 Best Hassle Free Slow Cooker 2026 (Tested And Reviewed) - October 22, 2026