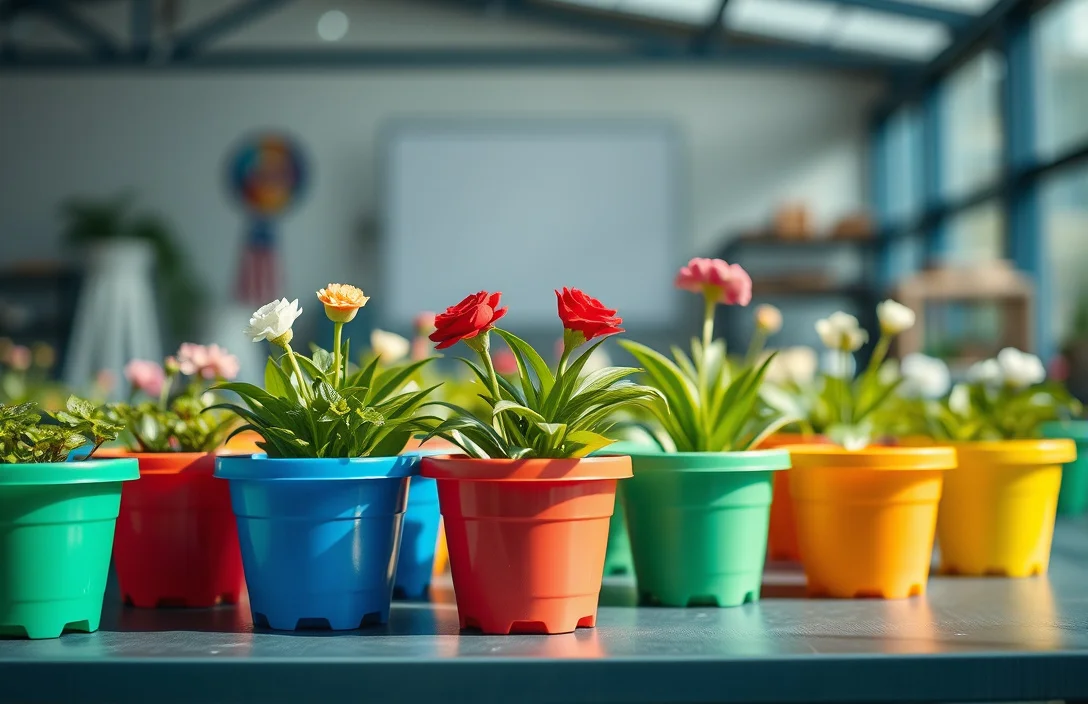
How To Paint Plastic Flower Pots?
Plastic flower pots often peel because paint can’t grab onto smooth plastic. With the right surface prep and a plastic-appropriate primer, you can get a finish that holds up through sun and rain. This guide shows you how to paint plastic flower pots using spray paint or acrylic, what to buy, and how to avoid the failures that pop up a week later.
Plastic flower pots can be painted successfully when you clean thoroughly, lightly sand for texture, then use a primer labeled for plastic plus a paint made for plastics. Budget for at least 2 coats total (primer and/or paint, depending on coverage) and allow full dry time – usually several hours per coat. Skipping sanding or using paint that doesn’t specify plastic adhesion is the fastest path to peeling.
Key Takeaways
- Use plastic-labeled paint. Choose primer and paint that explicitly say they adhere to plastic.
- Clean, then sand lightly. Soap-and-water cleaning plus fine-grit sanding improves adhesion dramatically.
- Prime first, always. Primer bridges slick plastic and paint, reducing peeling and flaking.
- Apply thin coats. Two to three light passes stick better than one thick layer.
- Let it cure fully. Dry-to-touch is not the same as cured, especially outdoors.
- Match your paint to the conditions. Outdoor sun, rain, and temperature swings demand weather-resistant coatings.
How to begin
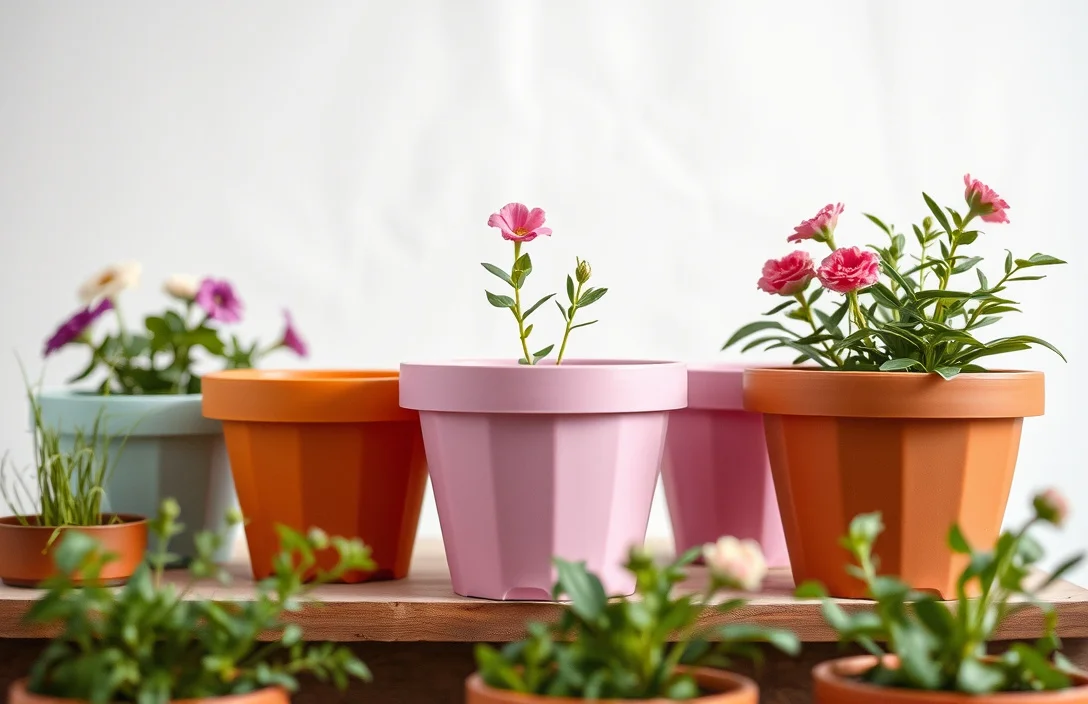
Decide whether your pots stay indoors or spend time outdoors. Outdoor pots need coatings that survive UV, moisture, and temperature swings. Indoor pots can be simpler if you only care about appearance.
Then check the pot material and finish. Many “plastic flower pots” are polyethylene, polypropylene, or PVC-like plastics, and the glossy factory skin is what paint struggles to bond to. If the surface is shiny or has any manufacturing residue (that slick, slippery feel), you need more prep – not less.
Choose your method based on pot shape. Spray paint is faster for rounded pots and textured surfaces. Acrylic paint is easier for detailed brushwork and touch-ups. The real success driver isn’t the tool – it’s the adhesion system: clean plastic, lightly roughen it, prime properly, then paint in thin layers.
Basics of how to paint plastic flower
Plastic doesn’t absorb paint the way porous materials do, so you rely on mechanical grip plus paint/primer compatibility. Light sanding creates micro-texture that lets primer lock in instead of sliding off.
Primer matters because “plastic primer” is built to bond to slick plastics. Regular decorative paint might look fine for a while, then lift at the edges once weather and handling start testing the bond.
Thin coats are non-negotiable. Thick layers trap solvents, streak, and cure unevenly. Two or three light passes dry more consistently and build coverage without flooding the surface you just scuffed.
Treat drying and curing as separate steps. Dry-to-touch happens sooner. Outdoor durability depends on curing time – especially if you plant, water, or move the pot before the coating fully hardens.
how to paint plastic flower

Use this order to keep the failure rate low.
- Pick your paint system first. Choose a primer and top coat labeled for plastic adhesion and outdoor use (if the pot will be outside).
- Remove dirt and residues completely. Wash with dish soap and warm water, scrub seams and bottoms, then rinse well.
- Dry fully. Let the pot dry completely before sanding or coating so moisture doesn’t sit under the primer.
- Lightly sand for adhesion. Use fine-grit sandpaper to dull gloss and create texture, then wipe off dust.
- Prime the entire surface. Apply plastic primer evenly, including edges and creases, then let it dry.
- Apply paint in thin coats. Use multiple light passes rather than one heavy coat, letting each coat dry before the next.
- Let it cure before heavy handling. Follow the product’s cure guidance (often longer than “dry to touch”) before watering or placing outside.
Run a “finger drag” check after sanding and wiping dust. The surface should feel slightly rough, not silky smooth. If it still feels glassy, sand a bit more and clean again.
For “thin coats,” match your timing to the paint type. Spray painting means short overlapping passes, but you still need each coat dry before the next. Acrylic brushed coats should look even, not gloopy, and you may need 2 or 3 coats to avoid patchiness.
Simple planning formula: coats and time
Estimate your schedule with this:
Total schedule (hours) ≈ (primer dry hours + top-coat dry hours) × number of coats + curing buffer
Example assumptions: primer needs 2 hours dry, top coat needs 2 hours per coat, and you apply 2 top coats, plus a 6-hour curing buffer for outdoors.
- Dry time: (2 + 2×2) = 6 hours to get to fully coated
- Curing buffer: + 6 hours
- Total: ~12 hours before confident outdoor handling
Adjust based on the labels on your specific primer and paint – different brands vary.
Things that matter most
Surface prep decides whether the paint stays put. When plastic is shiny, paint peels because there’s nothing stable to grip. Sand just enough to dull the sheen, wipe off dust, then prime – that sequence is what prevents edge lift and flaking.
Cover edges like they’re the whole job. Flower pots have lips, handles, and seams where water collects and bumps happen during moving. Prime and paint those spots thoroughly, even if it means an extra pass.
With spray paint, keep a consistent distance and overlap your strokes. You want an even haze coat that builds coverage over multiple layers. Too far creates dry spray that bonds poorly. Too close causes drips and a thick skin that cures unevenly.
With acrylic paint, use a spreading method that reduces brush ridges. Thin coats spread better and dry more evenly. A foam brush or short, light strokes help keep curved surfaces uniform and reduce thick ridges that chip later.
Recommended paint system options (practical picks)
| Method | Best For | What to look for on the label | Typical coats |
|---|---|---|---|
| Spray + plastic primer | Fast, smooth coverage on most pots | “Bonds to plastic” primer, top coat “for plastic” | 1 primer + 2-3 top |
| Acrylic + primer | Touch-ups, designs, brush control | Primer for plastic, acrylic labeled compatible with plastic | 1 primer + 2-4 top |
| Spray texture finish | Hiding imperfections and light scuffs | Weather-resistant, compatible with plastic primer | 1 primer + 2 top |
What works in practice
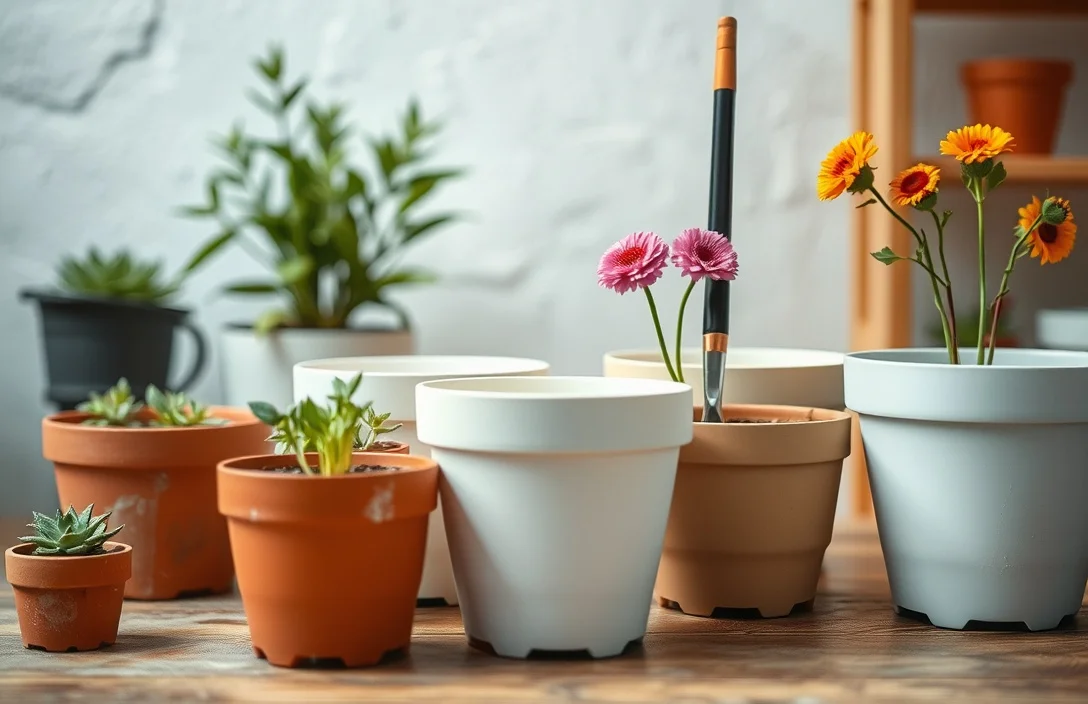
Test on an extra pot or a hidden spot. After curing, gently flex or press the surface. If paint rubs off or stays tacky, swap your primer or paint before you commit to the full batch.
Protect the coating while it cures. Don’t stack pots, scrub them, or set them in ways that cause scuffing until the finish has fully cured. Outdoors also improves when you avoid watering onto fresh paint right away.
Match finish to how the pot will be used. Matte or satin hides minor imperfections and minor wear. Gloss looks clean and wipes easily, but it can show surface flaws more clearly. Pick based on function, not just lighting.
Ventilate and manage overspray and dust. Spray paint creates fine particles that land on nearby surfaces, leaves, and shoes. Cover the area, and wear a mask when sanding. Clean up dust before priming so it doesn’t become a release layer.
If you want to stay on schedule, paint in batches. Finish one pot all the way through primer and top coats while the next pot is ready for the next step. Label your dry times so you don’t catch yourself painting over wet finish.
Mistakes to Avoid with how to paint plastic flower
Skipping sanding on glossy plastic is the big one. Paint can look great for days and then peel in sheets because the bond started weak. Even light scuffing measurably improves primer grip.
Using paint that’s meant for wood, drywall, or generic “multi-surface” without plastic compatibility is another common failure. If the label doesn’t clearly mention plastic adhesion, heat and rain can defeat the coating. When in doubt, choose a system that explicitly says it works on plastic.
Overloading thick coats slows down curing underneath. That can lead to soft spots, cracking, or bubbling later. Build coverage layer by layer.
Rushing into use too early causes premature wear. Dry-to-touch isn’t cured, especially with outdoor top coats. Watering plants or moving pots right away increases scuffs and soft coating.
Not removing dust after sanding kills adhesion. Plastic dust and residue sit on the surface and act like a release layer. Wipe carefully before priming and before each paint layer.
Pro Tips for how to paint plastic flower
Use primer as bond insurance. A thin, even primer coat boosts adhesion and often reduces how many top coats you need, especially if the original plastic is dark and you want a bright color.
Do multiple light spray passes at a consistent angle. Keep your wrist steady so coat thickness stays even around curves. Uneven thickness shows up as dull patches or glossy streaks after curing.
Choose a clean-up approach that prevents acrylic clumps. If paint skins over on a brush or foam tool, the next coat can develop lumps. Rinse and clean promptly so each layer lays down smoothly.
Consider sealing only when the paint system allows it. Some paints already include weather resistance. Adding a separate top sealer can interfere with adhesion if it isn’t compatible. If you want extra outdoor protection, verify the sealer matches your paint type and curing stage.
Plan for drainage and bottom contact. Painted surfaces sitting against wet ground wear sooner. Paint the bottom edge, and if your pot design uses drainage that benefits from direct contact, consider leaving small drainage areas uncoated as needed.
FAQ
What kind of paint sticks to plastic flower pots without peeling?
Plastic flower pots need paint and primer that explicitly say they bond to plastic. A reliable approach is to use a plastic primer plus a top coat labeled for plastic – especially for outdoor pots. General-purpose wall paint often peels because it isn’t designed to chemically bond to slick plastic.
Do I need primer, or can I paint plastic pots directly?
Primer is strongly recommended for slick plastic. Direct-to-plastic painting can look fine at first, then flake at edges or around seams. If your paint is labeled “self-priming” for plastic, test a small area first – but primer is still the safer bet for long-lasting adhesion.
How long should I wait before using the painted pot outdoors?
Dry-to-touch can be quick, but curing is what improves durability. Follow the label for the recommended cure time because products vary. As a practical minimum, plan at least overnight – often longer – before heavy outdoor exposure after your final top coat.
What’s the best way to paint plastic flower pots, spray or brush?
Spray paint covers curved surfaces quickly and evenly. Acrylic brushing works better for designs and touch-ups. For the easiest uniform coverage, use plastic primer plus a spray top coat. For patterns, use plastic primer plus acrylic and keep the coats thin for a smooth finish.
What’s the most common mistake people make when painting plastic pots?
Skipping surface prep, especially sanding glossy plastic, is the most common mistake. Paint can look right at first and still fail because the bond never formed correctly. Also watch for dust after sanding – leftover particles can prevent primer from bonding.

- 10 Best Slow Cooker For Hearty Stews 2026 (Tested And Reviewed) - October 20, 2026
- 10 Best Slow Cooker For Hearty Soups 2026 (Tested And Reviewed) - October 20, 2026
- 10 Best Slow Cooker For Comfort Food 2026 (Tested And Reviewed) - October 20, 2026