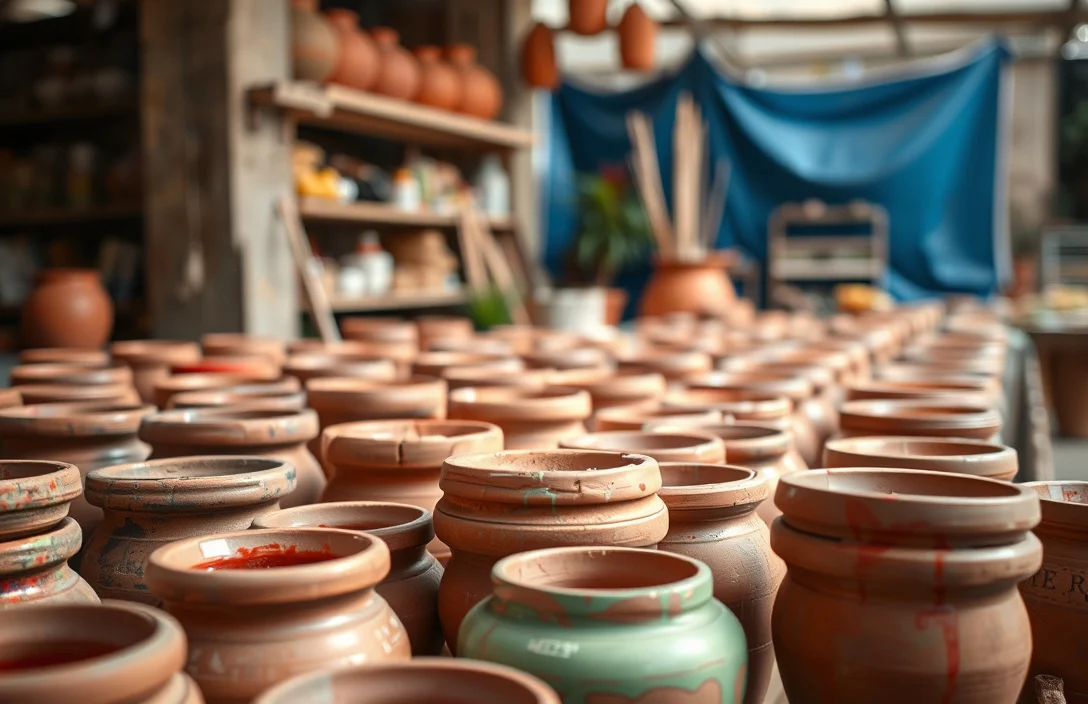
How To Paint On Clay Pots?
Unfinished clay pots are porous, so paint that goes on smoothly can peel later if the surface prep or sealing steps miss the mark. Reliable, clean results come from a simple routine, the right paint type, and a proper clear topcoat. This guide walks you through how to paint on clay pots, from priming to drying time and sealing for everyday use.
Acrylic craft paint works best on clay pots when you clean, dry, and prime the surface, then seal with a matching clear coat. For the most durable results, let each layer dry fully before adding the next, and bake only if your paint system explicitly allows it. Seal after the final color layer.
Key Takeaways
- Pick the right paint type. Acrylic craft paint bonds well to primed terracotta and dries fast.
- Clean before you prime. Wash off dust, then fully dry the pot before painting.
- Use a bonding primer. Primer helps prevent peeling on clay’s porous surface.
- Let layers dry completely. Rushing drying time is the fastest route to streaks and chips.
- Seal the finished pot. A clear topcoat protects color from scuffs and moisture.
- Match the finish to the pot’s use. Outdoor pots need a durable, weather-ready topcoat.
How to begin
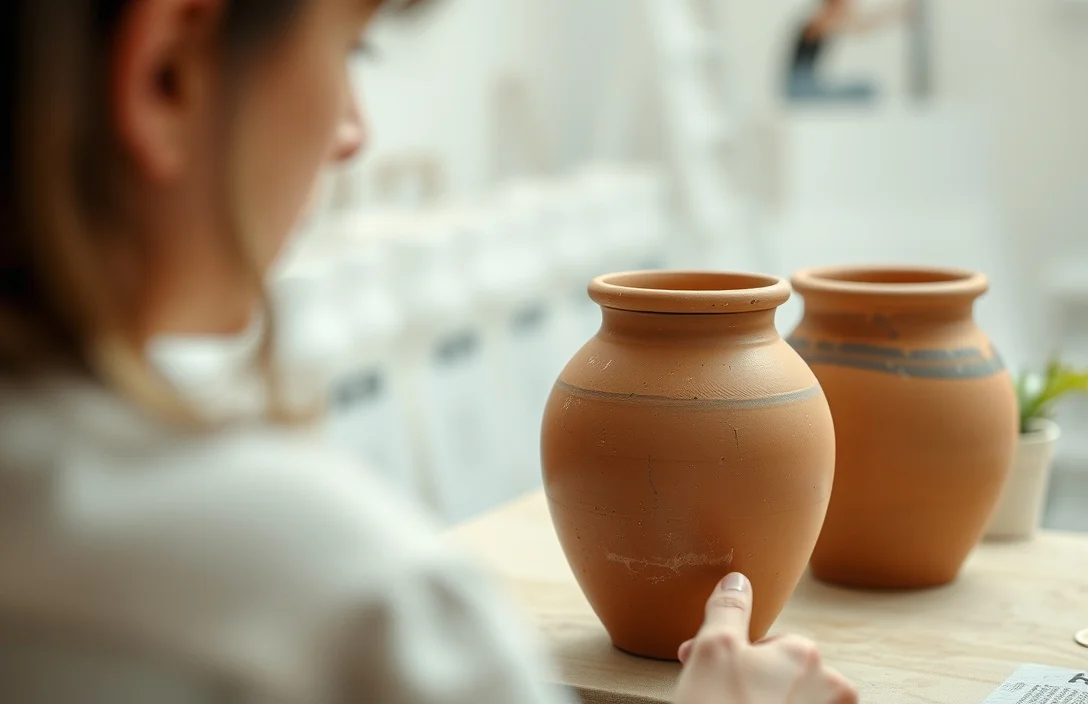
Painted clay pots look great quickly, but they only last if you treat terracotta like porous ceramic. Painting raw clay without sealing the pores lets moisture and texture pull the paint loose over time, especially around the rim and handles.
Start by deciding two things: whether the pot is indoor or outdoor, and whether it will hold water. That call determines how tough your sealant needs to be. If the pot is purely decorative and won’t see heavy water contact, you have more flexibility with your topcoat.
To avoid the most common surprises, prep like this:
- A clean clay pot (new or previously used, stripped of old soil)
- Dish soap, warm water, and a scrub brush
- Fine-grit sandpaper (for scuffing)
- Primer (painter’s primer or craft primer made for porous surfaces)
- Acrylic craft paint (or paint labeled safe for ceramic/terracotta)
- Small brushes and a foam brush or sponge (for fewer streaks)
- Clear topcoat (matte, satin, or gloss, depending on your look)
If you’re mapping out a design, sketch it lightly on paper first, then transfer with a pencil or thin marker on the primed pot. Clay texture makes “perfect lines” unrealistic, so plan for slight variation.
Basics of how to paint on clay pots?
Terracotta is porous, so paint soaks in unevenly unless you block that absorption with primer. Primer is what turns “looks okay today” into “still looks good after a month of handling.”
Acrylic craft paint is popular because it dries fast, stays workable, and layers cleanly. The trade-off is that acrylic can scratch if you skip sealing or if your topcoat isn’t right for the environment.
Layer order matters: clean, scuff, prime, paint, seal. Reverse any step and you fight dust, loose paint, or absorption. The rim is where most failures show up, because it gets the most touching and the most frequent water exposure when plants are watered.
Drying conditions also change results. A cold workspace keeps paint tacky longer, so the next layer can smear. Humidity slows drying, so build in extra time before sealing.
how to paint on clay pots?
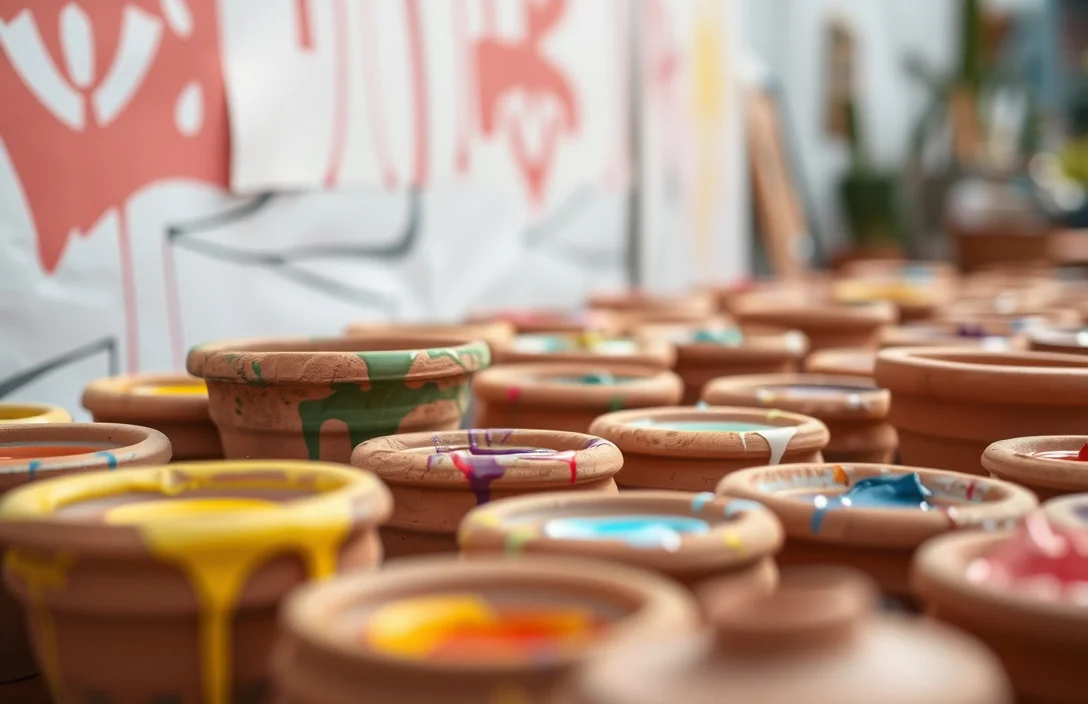
1) Wash the pot thoroughly. Scrub with warm water and dish soap to remove dust, grit, and any surface residue from manufacturing. Rinse well and dry completely.
2) Lightly sand for adhesion. Use fine-grit sandpaper to scuff the surface, especially ridges and the rim. You don’t need to remove color, just knock down smooth shiny spots and give primer something to grip.
3) Remove sanding dust. Wipe with a dry cloth or lightly damp paper towel, then dry again. Dust under primer creates tiny bumps and weak spots.
4) Prime the entire surface. Apply an even coat of bonding primer in small sections. Let it dry fully, then add a second coat if the clay still looks blotchy.
5) Transfer your design lightly. Use a pencil for major shapes. For patterns like polka dots or stripes, use painter’s tape sparingly or a stencil for repeatable edges.
6) Paint with thin layers. Load the brush lightly and build color with multiple thin coats instead of one heavy coat. Thin layers reduce drips and lower the chance of cracking as the paint dries.
7) Let each color dry before layering. Wait until the paint feels dry to the touch and no longer looks wet or glossy. For layered details, add them after your base coat has cured longer.
8) Optional: add dimension carefully. For raised textures, use paint additives or fabric-paint style products made for ceramics. Test on a scrap first, since textured paint can take longer to cure.
9) Seal with a clear topcoat. Apply a clear coat over fully dried paint. Use several light coats instead of one thick coat to prevent runs.
10) Cure before heavy use. Give the topcoat time to cure, not just dry. If you want to water plants, wait until the sealant is fully cured so you don’t compromise the finish.
For a concrete example, paint a plain terracotta pot with a white base, then add a simple geometric design. Prime, paint the base in two thin white coats, let it dry, then use a stencil for triangles. Seal with satin clear coat so the paint stays easy to clean without looking glassy.
In practice, outdoor decor still works with acrylic paint, but sealing is non-negotiable. Use a durable outdoor-rated clear coat and keep the painted surface away from constant splashing.
Things that matter most
Work with clay texture, not against it. Foam brushes and sponges spread paint into pores and reduce visible brush lines, especially on flatter areas.
For crisp edges, use painter’s tape or a stencil, but press the edges down firmly. Clay’s curves can lift tape slightly at the rim, so run a fingertip over the tape edge to confirm it’s sealed. If it feels loose, remove it and reapply.
If you want a smooth finish, your goal changes. Stop thinking “paint until it covers” and switch to “prime until it stops soaking, then paint thin until it evens out.” Clay usually absorbs the first color coat heavily, so the second and third coats do the real work.
Small details depend on brush size. Use a smaller round brush for lettering and fine lines, and a flat brush for larger areas so paint doesn’t pool.
Here’s a practical paint-and-seal pairing table to help you choose the system:
| Goal | Best Paint Choice | Primer Choice | Clear Topcoat Choice | Best For |
|---|---|---|---|---|
| Indoor decor, minimal handling | Acrylic craft paint | Bonding primer | Clear matte or satin acrylic | Shelves, desk planters |
| Outdoor pots, sun and weather | Acrylic craft paint | Bonding primer | Outdoor-rated clear coat | Patios and balconies |
| Pot holds water regularly | Acrylic craft paint | Bonding primer | Waterproof or ceramic-safe sealant | Planters that stay watered |
| Glossy modern look | Acrylic craft paint | Bonding primer | Gloss clear coat | Bright, clean highlights |
If you’re unsure, test an indoor pot first. Paint one similar pot, seal it, and check for tackiness, rubbing, and small scratches.
What works in practice
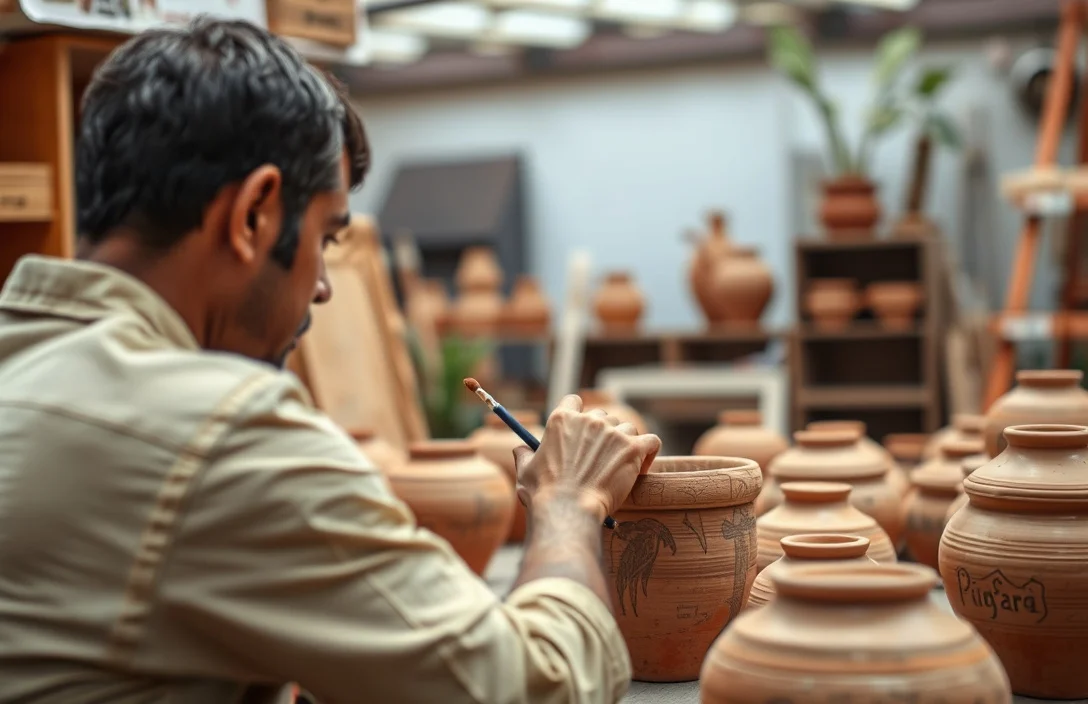
Use primer for even color and fewer chips. It seals the pores and creates a more consistent surface for paint to grip, which improves durability even on small projects.
Follow a drying workflow that respects time. Thin coats can dry fast, but curing takes longer, so don’t seal immediately after a fresh layer if it still looks wet or feels soft.
Control paint thickness. Runny paint pools in ridges and leaves a bumpy surface that’s hard to fix later. Too-thick layers can crack as they dry, especially near the rim where the pot flexes slightly.
When applying clear topcoat, keep your stroke steady. Slow, careful passes reduce streaks and bubbles, and multiple thin coats prevent drips. Between coats, scan for dust specks and remove only after the coat has cured.
Outdoor use requires more than a “decorative” seal. Sun and watering put real stress on the finish, so choose a tougher clear coat than you’d use for an indoor shelf pot.
Use this checklist for almost any clay pot:
- Prime full coverage, including the rim and base lip.
- Paint in thin coats, two to three layers is usually enough.
- Seal with the right sheen, matte hides flaws but can scuff more.
- Test on one pot first, especially for outdoor and water exposure.
- Let cure before planting, so the sealant fully hardens.
Mistakes to Avoid with how to paint on clay pots?
Painting directly onto raw clay without primer causes weak adhesion. The paint may look fine at first, then peel or flake because clay keeps absorbing and releasing moisture.
Skipping sanding (or sanding too lightly) can also backfire. If the pot is too smooth or dusty, primer and paint can’t grip. The first rub or bump lifts the finish.
Overloading the brush creates drips, especially on rounded rims and raised ridges. Drips dry thick, which increases cracking risk and makes sealing uneven.
Sealing too early is another common problem. Paint can feel dry to the touch while internal layers still hold moisture. That soft, wet-underneath condition can interfere with adhesion and cause cloudiness or tackiness.
Using the wrong clear coat can ruin durability. A clear coat that works for paper or canvas often fails on terracotta exposed to moisture, heat, and repeated handling.
Troubleshooting examples:
- Paint scratches off easily after sealing. You likely skipped primer, undercoated too thin, or used a clear coat not designed for the pot’s environment.
- Paint looks blotchy or patchy. The clay is still absorbing unevenly. Add another primer coat and repaint in thinner layers.
- Clear coat looks cloudy. Apply thinner coats, let it cure fully, and avoid spraying or coating in humid conditions.
Pro Tips for how to paint on clay pots?
For cleaner coverage, dry-brush or sponge-apply the first color layer after priming. That first coat locks in an even base. If it looks uneven at first, the second thin coat usually levels it out.
For repeating patterns, stencils beat freehand. Hold the stencil in place with painter’s tape, then apply paint with a sponge instead of brushing through gaps. Remove and reapply the stencil carefully each time to prevent ghosting edges.
To get a “ceramic tile” look, paint a base coat in one color, then add another color as small blocks or dots using stippling. Seal with satin clear for glazed-decor vibes instead of craft paint shine.
For lettering, practice on scrap first. Clay curves can warp letters slightly, so center each word and use thicker strokes than you think you need.
For blending, let the base coat cure longer before adding gradients. Blend too soon and colors can mix unintentionally, turning transitions muddy.
If you work indoors, protect your workspace. Primer and paint drips happen fast, and sanding dust is messy, so lay down paper or a drop cloth and wear a dust mask if you sand heavily.
FAQ
1) What paint is best for clay pots in the United States?
Acrylic craft paint is usually the easiest choice because it dries fast and layers well. Use a bonding primer first so the paint grips porous terracotta. Finish with a clear topcoat (matte, satin, or gloss) to protect the design from scuffs and moisture, especially if the pot is outdoors.
2) How long does it take to paint and seal a clay pot?
Plan for multiple dry steps: wash and dry the pot, prime, paint in thin coats, then seal. Rushing between coats is the #1 reason for tackiness, smearing, or peeling. Follow the drying guidance on your specific primer and clear coat, then give extra cure time before regular handling.
3) Can you paint a clay pot without primer?
You can, but the result is less reliable. Raw clay’s porosity often causes blotchy color and weak adhesion, which can lead to peeling after handling or watering. If you skip primer, expect more touch-ups and a shorter lifespan for the paint job.
4) How do I get crisp lines (like stripes or letters) on a curved pot?
Use painter’s tape for stripes or a stencil for repeatable shapes, then apply paint with a small sponge or foam brush. Press tape edges firmly and remove tape while the paint is still workable (not fully dry). For lettering, choose thicker strokes and test spacing on a scrap pot first.
5) What’s a safer alternative if my pot will hold water?
Use a ceramic-safe, waterproof clear sealant system after painting, and keep the paint layers thin. Even then, avoid submerging the pot or leaving it constantly flooded if your topcoat is only rated for decor. For frequent water exposure, test one pot first and check for soft spots after a week of watering.

- 10 Best Slow Cooker For Hearty Stews 2026 (Tested And Reviewed) - October 20, 2026
- 10 Best Slow Cooker For Hearty Soups 2026 (Tested And Reviewed) - October 20, 2026
- 10 Best Slow Cooker For Comfort Food 2026 (Tested And Reviewed) - October 20, 2026