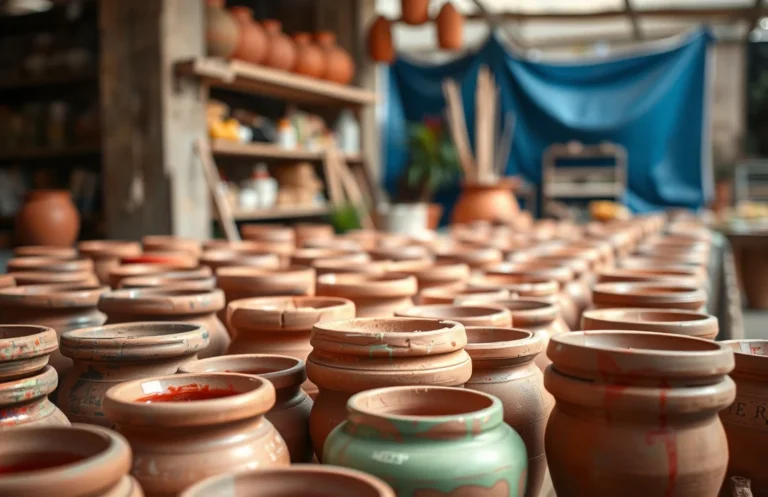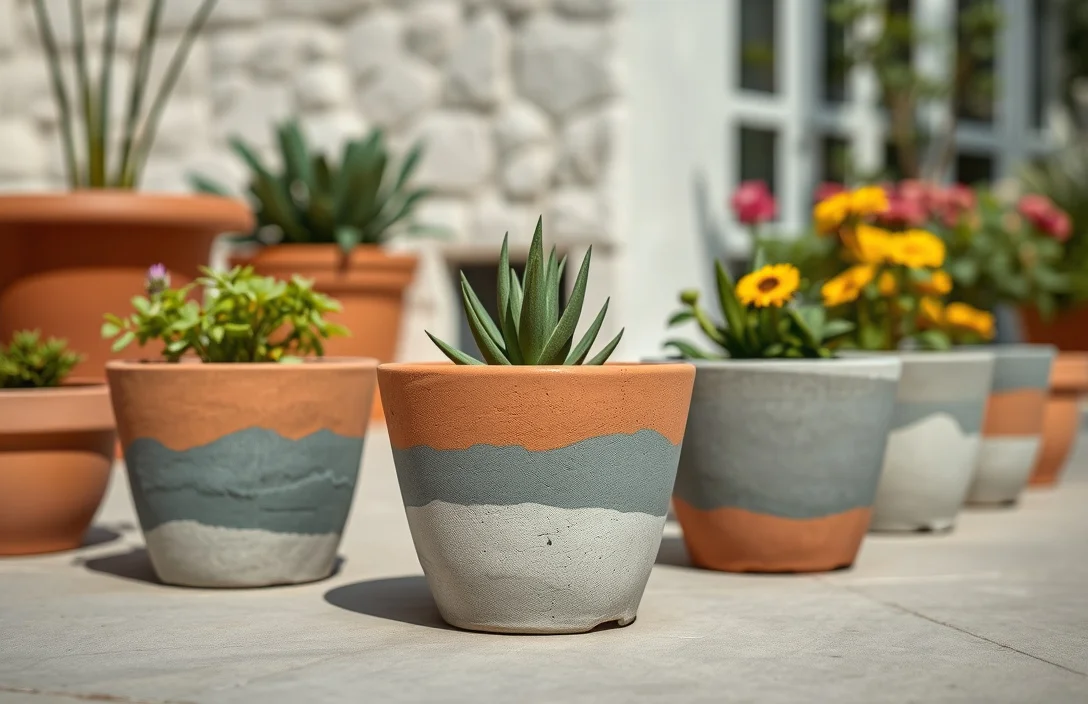
How To Paint Concrete Flower Pots?
Concrete flower pots drink paint like a sponge, so the outcome you want is a smooth, uniform finish that won’t peel. The process comes down to prep, bonding primer, and the right topcoat for masonry – especially if the pot will be outside. Use this guide for indoor or outdoor pots, with clear steps, troubleshooting, and what to do next if the finish doesn’t turn out right.
Painted concrete flower pots need three things to look good and last – thorough cleaning, solid bonding primer, and a topcoat meant for masonry or exterior use (if the pot stays outdoors). Let primer and paint dry fully between coats. Expect 2 to 3 coats for solid coverage. Seal the finished pot if you want easier cleaning and better moisture resistance.
Key Takeaways
- Clean thoroughly. Remove dust, salts, and mold with a scrub and complete rinsing before any coating.
- Fix chalky concrete. If the surface powders when rubbed, you need deeper prep or a bonding primer system.
- Prime for adhesion. Use masonry/bonding primer so paint soaks in evenly and grips concrete.
- Use the right paint. Choose exterior/masonry paint for outdoor pots, and follow the label for drying times.
- Dry time matters. Recoat only after full dry, or you risk soft paint and uneven sheen.
- Seal for longevity. A clear masonry sealer helps with moisture, especially for outdoor and watering-prone use.
how to paint concrete flower pots that stick
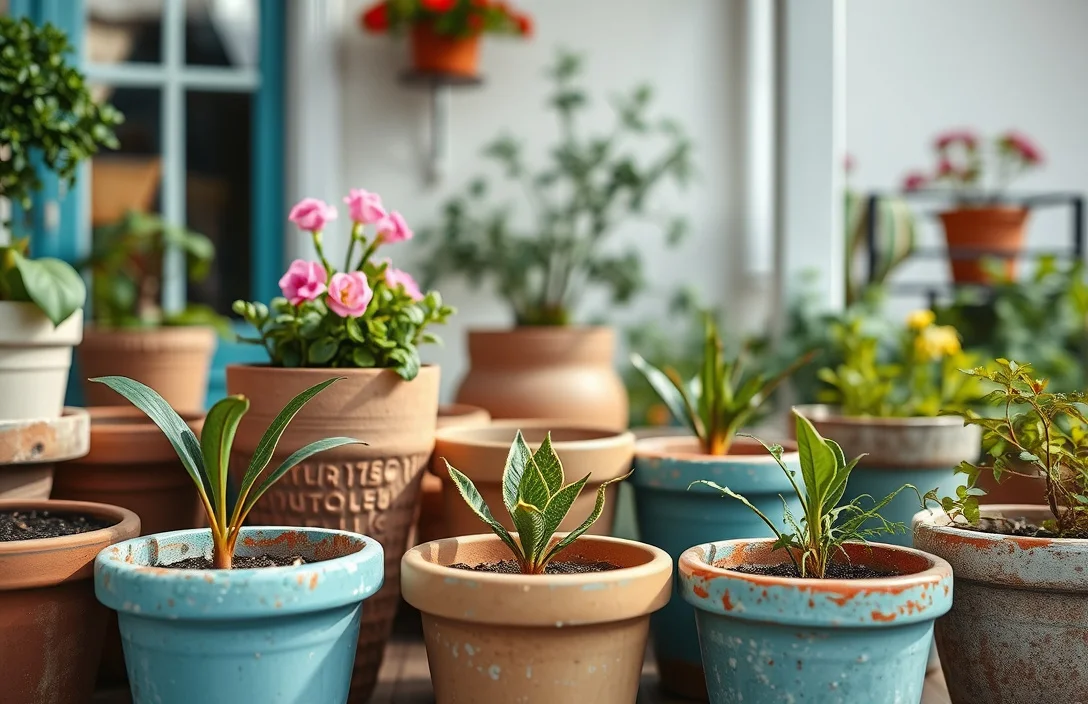
A durable painted finish starts with treating concrete like it’s thirsty and sometimes dusty: clean it all the way, rough it when needed, and prime so the topcoat can actually bond. Skip prep and you usually get patchy coverage or peeling around edges where moisture creeps in.
Decide first whether the pot is indoors or outdoors. Outdoors, rain, irrigation overspray, and freeze-thaw cycles demand exterior-rated masonry paint and (ideally) a sealer. Indoors, interior-friendly coatings work, but adhesion prep still determines whether the paint holds.
Gather supplies before you begin. You need cleaning supplies, sandpaper or a wire brush, primer, paint, and (optionally) a sealer. Add disposable gloves, a drop cloth, and painter’s tape if you’re working near a patio or concrete floor.
what concrete flower pots need before color
Concrete is porous and alkaline. Paint can soak in unevenly and fail to bond when the surface is dirty, powdery, or contaminated. Most “it didn’t stick” failures come from dust, efflorescence (white mineral deposits), or a smooth concrete skin that blocks adhesion.
Primer is what turns patchy results into consistent coverage. A bonding primer (often marketed for masonry, concrete, or hard-to-bond surfaces) helps the topcoat grip and reduces blotchiness. For outdoor pots, primer also stabilizes minor surface issues so color stays even.
Work in layers: clean and roughen, prime, paint, then seal if needed. Even if your paint claims “paint and primer,” concrete pots still get handled, watered, and splashed, so priming helps the finish survive repeated wetting and drying.
A practical material pairing:
- Primer: masonry/bonding primer (the label should mention concrete or masonry)
- Topcoat: exterior masonry paint (outdoor) or interior masonry paint (indoor)
- Optional sealer: clear masonry sealer for moisture resistance
Brand-new pots still need cleaning because manufacturing dust and curing residue are common. Older pots usually need extra attention for efflorescence or mold.
how to paint concrete flower pots
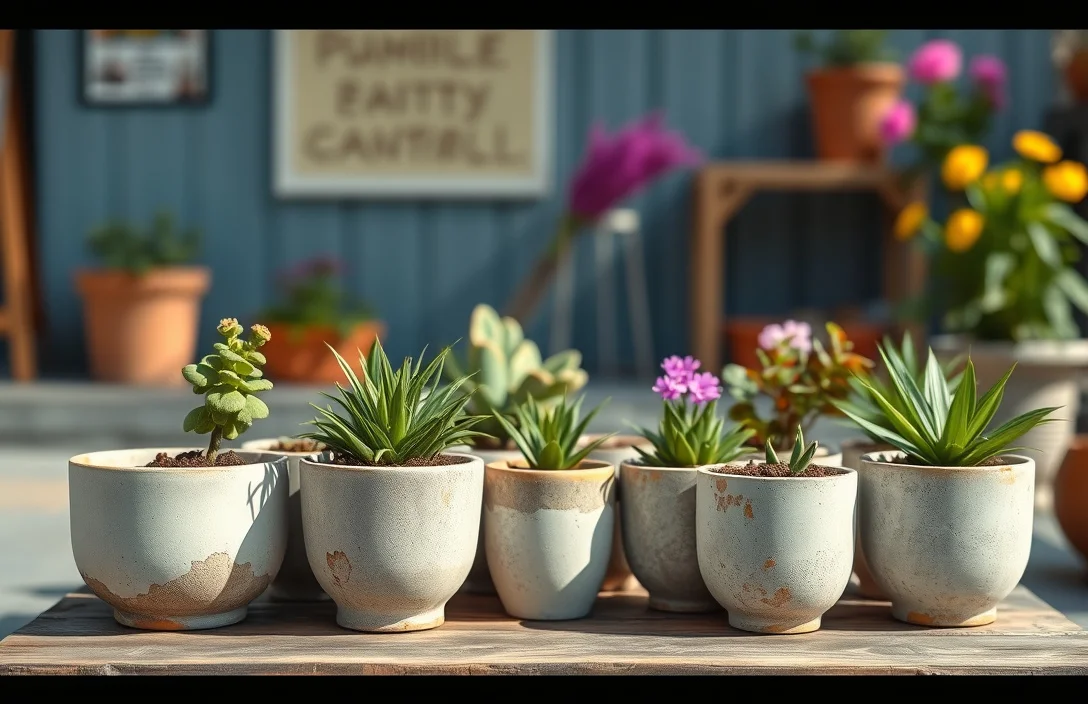
Set up your workspace to avoid dust landing on wet paint. Concrete dust and pollen are constant outside, so work in a protected spot (garage corner, covered patio, or a plastic-tarp setup) and cover nearby surfaces.
1) Remove plants, dry the pot, and inspect the surface
Empty the pot completely. If it’s been outdoors or watered recently, let it dry fully. Look for dusty or chalky areas, white crusty deposits, and cracks or chips where water can enter.
Efflorescence – white powdery areas – counts as a surface contaminant. Scrub it off and rinse thoroughly so primer bonds to clean concrete instead of locking down salts.
2) Clean based on what’s actually on the pot
Scrub the entire pot with a stiff brush and a cleaner matched to the problem. For general grime, use warm water plus a degreasing or masonry-friendly cleaner, then rinse until the runoff looks clean.
For mold or algae, use a cleaner intended for that issue, then rinse very well. If the pot still looks damp or smells “wet” after cleaning, keep drying before priming.
3) Roughen smooth spots and remove loose material
If the surface is smooth or glassy, scuff it with sandpaper (or a wire brush) so primer has tooth. If the pot is powdery, keep prepping until rubbing stops leaving residue on your glove or rag.
Vacuum or wipe up dust after sanding or brushing. Painting over dust turns it into a weak layer that fails later.
4) Prime the pot evenly
Apply primer in thin, even coats. Use a brush for edges and a roller or brush for flatter areas. Concrete drinks coatings, so one thick layer often causes drips, uneven soak-in, and blotchy coverage.
Use two coats of primer if the pot soaks unevenly or if you still see blotchy areas after the first coat. Let primer cure fully before topcoat so you don’t trap moisture.
5) Paint with thin coats, with full dry time between them
Apply the first color coat with smooth, consistent strokes. The first coat often looks patchy because concrete absorbs paint. That’s normal.
Recoat only after the label’s dry time. Most people need 2 to 3 color coats to get solid, even coverage, especially around the rim and vertical faces.
6) Seal (optional, but worth it for outdoor pots)
Seal the finished paint if the pot is outdoors or you water directly inside it. A clear masonry sealer reduces moisture penetration and makes cleaning easier.
Seal only after the paint fully cures. Sealing too early can trap solvents and leave you with a cloudy or soft finish.
7) Cure before heavy handling or full watering
Dry-to-touch doesn’t mean cured. Give the pot extra time before moving it a lot, filling it with wet soil, or exposing it to rain.
A safe rhythm for most hobby projects is overnight drying plus an extra day of curing. If humidity is high, extend drying time.
how to paint concrete flower pots without streaks and edge lifting
The two enemies of painted concrete are uneven absorption and edge lifting. Your goal is consistent coverage by making primer and paint apply evenly.
Use a brush for the rim, handle areas (if any), and texture. Use a short-nap roller for flatter sections to smooth the finish, then brush-bring the paint into small pores to prevent streaks.
Keep coat thickness moderate. Thick paint can form a skin over pores while the center stays softer, which can lead to later flaking. Thin coats also reduce runs on vertical surfaces.
Use a spot-check workflow for absorption
After primer dries, check the pot under angled light. Darker patches often mean the surface is still absorbing. Spot-prime those areas and let them dry before you apply color.
Paint top-to-bottom and finish edges last
Start at the top rim area and work downward. Finish with a careful pass on corners and edges so drips don’t harden into visible lines.
Manage texture realistically
Deep pores and rough aggregates won’t turn into drywall-smooth walls. Aim for consistent coverage and clean edges, not perfect smoothness without specialized leveling products.
Here’s a strategy that saves time:
- Prime everything you can see well.
- Spot prime blotches after the first primer coat.
- Paint in 2 to 3 thin color coats.
- Seal outdoors if you want less maintenance.
how to paint concrete flower pots with repeatable results
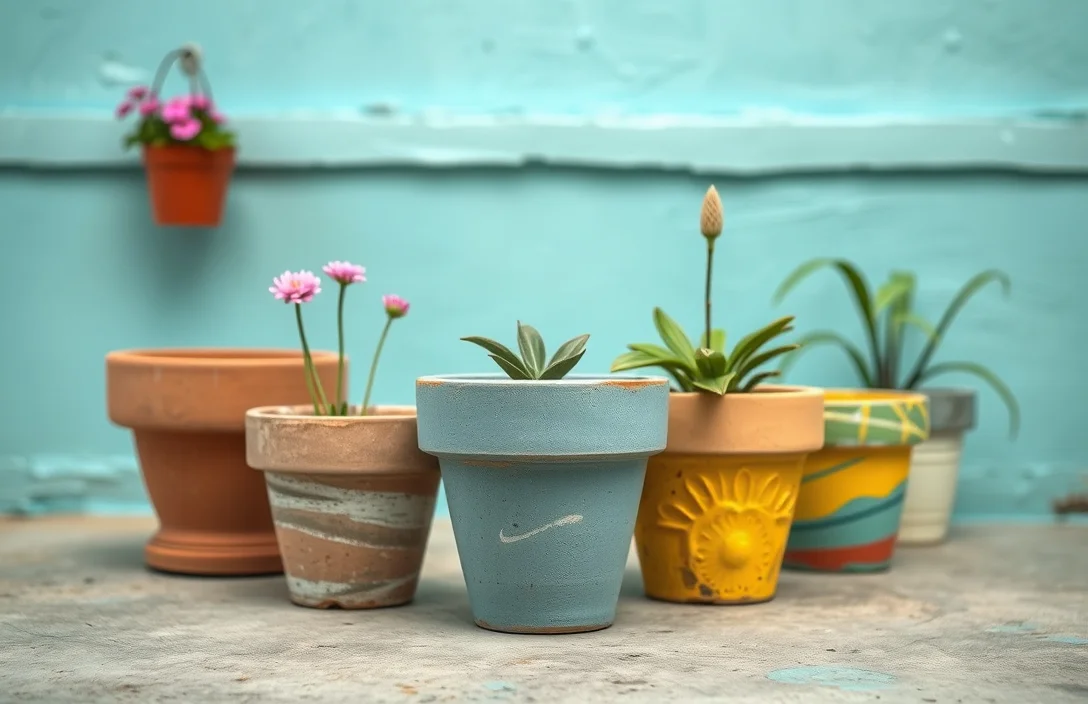
Good results come from repeatable steps, not luck. Follow these in order and peeling becomes far less likely.
Choose coatings made for concrete or masonry, and for outdoor use when the pot gets wet. Concrete pot failure typically comes from coating incompatibility with moisture exposure, not from roller choice.
Prep is non-negotiable. You can tolerate some color inconsistency, but you cannot tolerate skipped cleaning, skipped primer, or paint-on-loose dust. For old pots, slow down on cleaning – rushing is what causes adhesion failures.
Use a checklist so you don’t miss the critical
- Dry the pot fully before starting.
- Scrub until no visible dirt remains.
- Remove dust after sanding or brushing.
- Prime with a masonry/bonding primer.
- Apply 2 to 3 thin coats of paint.
- Seal if the pot is outdoors or repeatedly wet.
Handle weather conditions
High humidity and cold temperatures slow curing and can cause tackiness, soft paint, or weak bonding. Paint in mild conditions when possible, and dry the pot in a sheltered area.
Plan for drying space and dust control
Concrete projects attract dust. Even a few specks can land in wet paint and look like permanent flaws after curing.
how to prevent peeling, runs, and chips
Skipping cleaning and priming is the fastest path to peeling, even if the paint looks fine at first. Concrete often has residue, salts, and chalky surfaces, and topcoat alone usually cannot fix that.
Another common failure is applying paint too thick or recoating too soon. Thick coats trap solvents and moisture. Early recoating can create soft layers that crack or flake later.
Rim and interior lip defects show up first because those areas get the most water contact during watering. If you undercoat or miss them, the finish degrades around the rim and inner edge.
Here’s what goes wrong and how to prevent it:
- Paint peeling in patches. The pot was dusty or efflorescence was still present.
- Blotchy or uneven color. Primer wasn’t applied evenly, or you didn’t correct absorption.
- Runs or drips. Coats were too thick or you used too much product on vertical areas.
- Chipping at edges. You moved or filled the pot before cure, or you didn’t seal outdoor pots.
Avoid oil-based paint “because it’s durable” unless you match it with compatible primer and sealer. Concrete moves slightly with moisture and temperature, so mismatched systems can fail.
Don’t assume indoor pots need no prep. Even indoors, dust and residues cause adhesion problems, especially if the pot was stored outdoors.
how to paint concrete flower pots cleaner and faster
The best upgrades come from controlling surface prep, using the right applicator, and planning coats around your pot’s shape.
Tape for straight lines and clean patterns
For stripes or geometric designs, tape after primer and before color. Press tape edges down firmly (lightly burnish with a fingertip) so paint doesn’t creep underneath. Remove tape while paint is still slightly wet-to-touch (follow your label timing) so dried edges don’t tear.
Paint a test patch first
Paint a small area and watch it dry for 30 to 60 minutes. You’ll see blotchiness, translucency, or run-prone application early. If it looks wrong, adjust your primer approach or technique before you coat the full pot.
Thin paint with care
Stir thoroughly if the paint feels like it wants to drag. Don’t add random thinners unless the label allows it. Many acrylic masonry paints can be adjusted slightly within manufacturer rules, but guessing can ruin the finish.
Improve adhesion with an extra primer pass
For very porous pots, add another primer coat instead of loading up color paint. Primer is built to bond and equalize absorption. Topcoat is for appearance and protection.
Seal for outdoor longevity – after cure
Seal only after the paint has fully cured. Sealing too early can create cloudiness or interfere with the paint’s final hardness.
Seal bottom edges lightly too. Water wicks through small seams and concrete edges, so sealing around the perimeter helps.
FAQ
What kind of paint should I use on concrete flower pots?
Use masonry paint meant for concrete. If the pot will live outdoors or gets frequent watering and splashes, choose an exterior-rated masonry paint and follow the label for recommended primers and drying times. For indoor pots, interior masonry paint works, but primer and clean prep still matter for adhesion.
How long does it take to paint a concrete flower pot?
Plan multiple dry steps: cleaning and drying, primer drying, paint drying, and optional sealing. Many projects take at least 1 full day, often closer to 2 days if you want two full paint coats plus cure time. Humid or cool weather can add time, so rely on the paint and primer label drying guidance.
Will painted concrete flower pots peel?
Peeling usually happens when the pot isn’t cleaned well, has chalky dust or efflorescence left behind, or you skip primer. It also happens when paint is applied too thick or you recoat before prior layers are fully dry. Using masonry/bonding primer, thin coats, and full dry time reduces peeling a lot.
Can I paint a concrete pot without primer?
You can, but adhesion and coverage become a risk. Concrete’s porous surface often leads to blotching and weak bonding without primer. If you skip primer, scuff and clean thoroughly and spot-test a small area to confirm you’re not getting powdery adhesion.
What is a common mistake people make when painting concrete pots?
Painting over loose dust or white mineral deposits, then rushing coats while the surface is still damp or the prior layer isn’t cured, causes most failures. Edge areas – especially the rim – show damage first. Scrub, rinse, dry, and prime, then apply thin coats with full dry time between them.
After priming, the rest is straightforward: clean carefully, prime, apply 2 to 3 thin color coats, seal if it’s outdoors, and give the final coat real curing time before watering the pot.

- 10 Best Slow Cooker For Hearty Stews 2026 (Tested And Reviewed) - October 20, 2026
- 10 Best Slow Cooker For Hearty Soups 2026 (Tested And Reviewed) - October 20, 2026
- 10 Best Slow Cooker For Comfort Food 2026 (Tested And Reviewed) - October 20, 2026