Can You Paint Plastic Pots?
Painting plastic pots is absolutely doable – but adhesion decides whether the finish looks great or fails. Most paint failure on plastic comes from skipping prep, using the wrong primer, or painting in humid conditions. A clean, scuffed surface plus a primer made for plastic gives your topcoat something to grab. Finish with an all-purpose enamel or exterior paint, and plan for 2 coats of primer and 2 coats of topcoat, with proper dry time between coats.
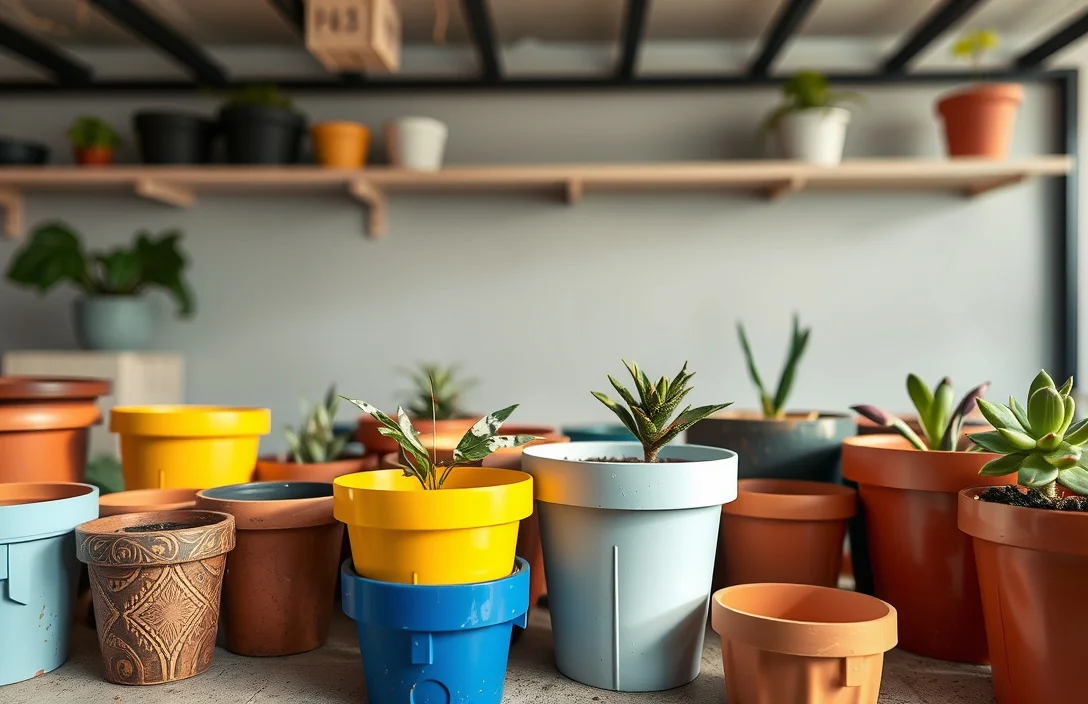
Expect the best results on clean, matte, non-frosted plastics.
Key Takeaways
- Yes, with prep. Plastic holds paint only after cleaning and scuffing for grip.
- Use plastic primer. A primer labeled for plastic improves adhesion more than paint alone.
- Scuff matters most. Sanding with 180-220 grit or scrubbing with a scuff pad boosts bonding.
- Plan coat counts. Most jobs need 2 primer coats and 2 paint coats.
- Dry time controls finish. Follow recoat windows, and avoid painting in high humidity or rain.
- Test a spot first. Paint an inconspicuous area, then wait 48 hours before committing to full coverage.
What to Know About Painting Plastic Pots
Yes, you can paint plastic pots, but treat the job like a plastics-coating project, not a quick spray-over. Smooth plastic has low surface energy, so paint can bead, peel, or chip if you skip the right primer or leave gloss on the surface.
Adhesion relies on two things:
- Mechanical bonding – scuffing gives the coating grip.
- Chemical bonding – a primer formulated for plastic helps the topcoat bond more evenly.
Before you start, decide two practical details. First, is the pot for indoor use, outdoor exposure, or winter storage? Weather cycles affect how durable the finish needs to be. Second, does the pot already have a coating – factory gloss, flexible coating, or textured finish? That determines how aggressively you should scuff.
Things that matter most
Use a primer labeled for plastic and the odds of peeling drop sharply. Skip primer or use the wrong one and you may get color for a while, then see edge lift where the paint film flexes.
Temperature and humidity also matter. A cool surface or damp air can trap moisture under coatings, leading to tackiness, dullness, or poor cure.
Think of bonding as a simple chain:
- Clean and degrease to remove mold release agents, dust, or plant residue.
- Scuff so the coating can “bite” mechanically.
- Prime so the topcoat bonds chemically and evenly.
- Topcoat in thin coats so it cures uniformly without runs.
If the pot is dirty, chalky, or has flaking paint, treat it as “prep first.” Painting over contamination often looks good at first and then fails later.
Tips for Painting Plastic Pots
Follow these steps in order for a clean finish without wasting paint.
- Wash thoroughly. Scrub with warm water and dish soap, then rinse well. Use a household-surface degreaser for stubborn residue, then let it dry completely.
- Remove gloss. Sand with 180-220 grit (or use a scuff pad) until the surface loses its shine. Wipe off dust with a damp cloth and let it dry.
- Choose plastic primer. Buy primer labeled for plastic adhesion. If the pot is outdoors, select an exterior-rated primer.
- Prime in light coats. Use thin, even passes and follow the recoat time on the label. Two coats usually cover better than one heavy coat.
- Paint with a compatible topcoat. Use an exterior-rated acrylic enamel or outdoor spray paint for outdoor pots. Apply 2 coats, not one thick coat.
- Cure before heavy handling. “Dry to touch” is not cured. Give it 48 hours before moving it around, and longer if the pot needs outdoor durability.
A practical prep check: after scuffing, run a dry paper towel over the pot. If it picks up lots of white residue or grit, wipe again and scuff lightly until the towel comes away mostly clean.
For best results, paint the same day you prep (or within 24 hours). Leaving a scuffed pot exposed to dust reduces adhesion and forces more cleaning.
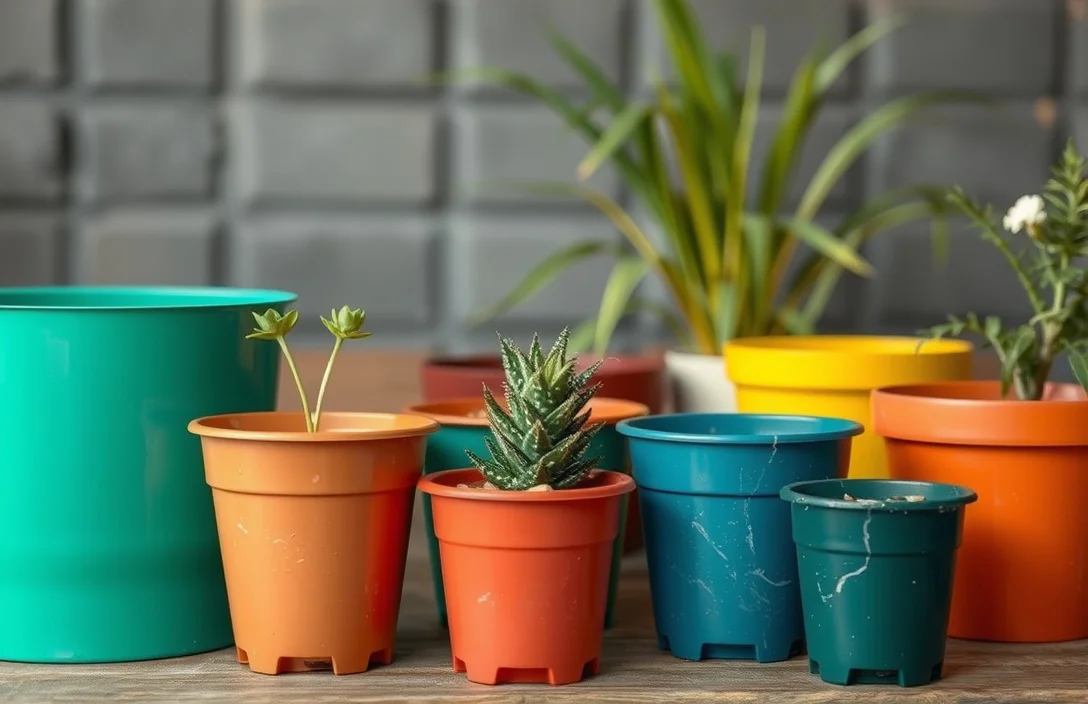
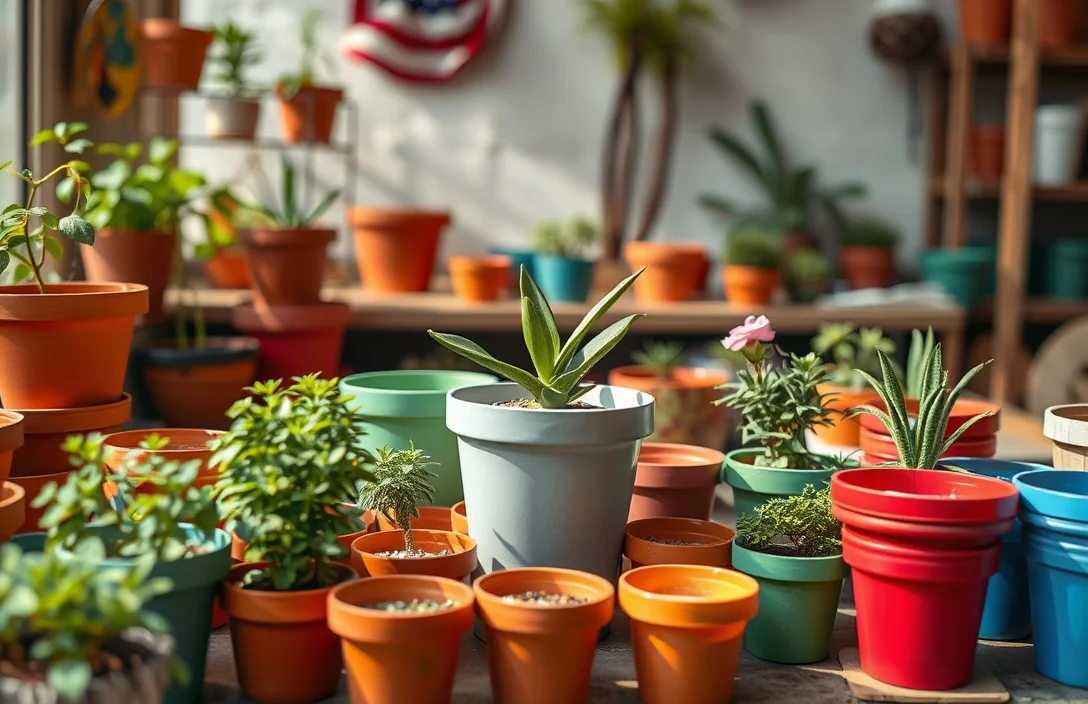
Benefits of Painting Plastic Pots
Painting plastic pots refreshes faded colors, hides scuffs, and lets you match planters to your space. The real advantage is finish control and protection.
A properly primed and topcoated pot is also easier to wipe down between seasons. Outdoor containers collect grime, pollen, and algae, and a durable finish makes cleanup simpler and helps reduce staining.
You can also fix “design problems” without replacing pots. Repaint a mismatched set into a cohesive look, or switch colors seasonally (spring pastels, summer neutrals, fall earthy tones).
The trade-off is real: painted plastic can scratch if you drag it across rough surfaces, and it can chip if you apply too thick or skip scuffing. Careful coats and full curing make the difference.
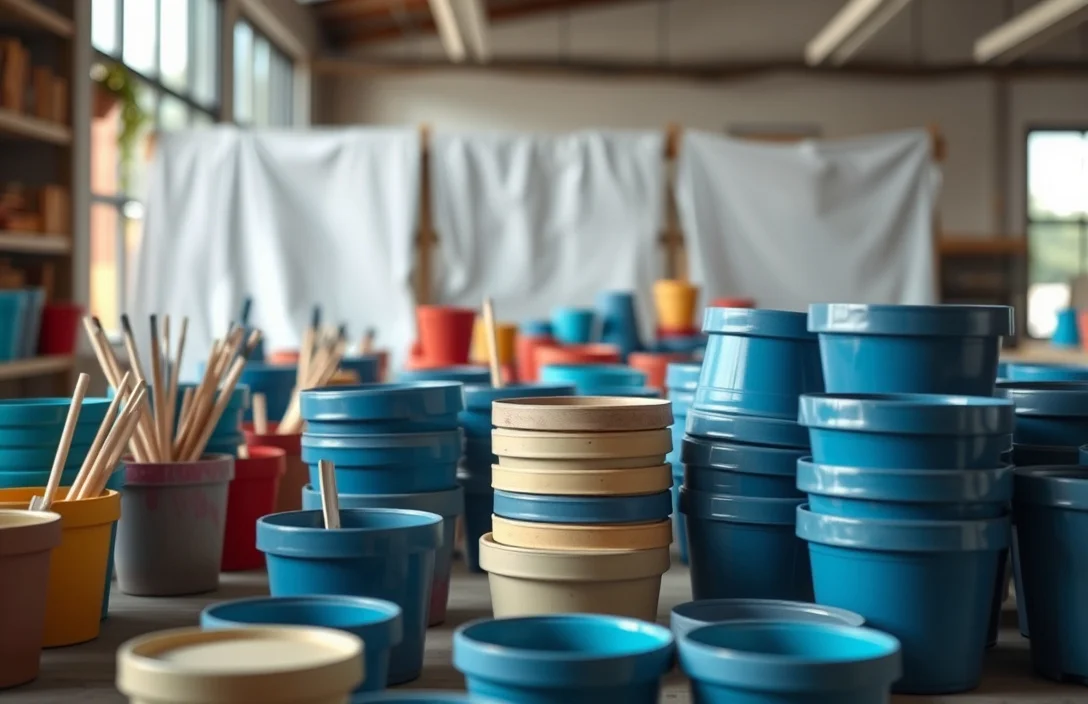
Options for Painting Plastic Pots
You have three workable approaches. The best one depends on whether you want maximum durability or the fastest turnaround.
Option comparison
| Option | Best For | What to Use | Main Risk |
|---|---|---|---|
| Spray paint + plastic primer | Outdoor planters, smooth pots | Plastic primer + exterior topcoat | Runs if you spray too heavy |
| Brush-on paint + plastic primer | Small pots, details, indoor use | Plastic primer + acrylic or enamel | Brush marks if coats are too thick |
| Specialty coating (2-part or flex-rated) | Pots that flex or get rough handling | Flex-rated plastic coating system | Higher cost, more exact steps |
Most people get the best balance with plastic primer plus spray or acrylic enamel. Two thin coats cover better than one thick coat and reduce drips.
If your pots are very flexible (thin nursery pots, soft flexible plastic), choose a coating system meant for flexible plastics. Standard rigid coatings can crack on flexing surfaces and then peel at the edges.
Expert Checks for Painting Plastic Pots
Treat “paintable plastic” as “prep-dependent plastic.” Most failures are avoidable with the basics: correct primer, scuffing, and a compatible topcoat.
Two checks save time later:
- Watch for texture and factory patterns. Deep grooves need enough primer volume to seal and fill thin spots that can show through.
- Don’t match color only – match compatibility. Primer labeling helps, but the topcoat still needs to be recommended for that primer type and for exterior use (if the pot goes outside). Otherwise adhesion can fail even if it looks fine on day one.
When in doubt, test first. Paint a small patch, let it cure, then try to scratch it with a fingernail after 24-48 hours. If it chips easily, go back to prep and confirm the primer label says “for plastic.”
Examples of Painting Plastic Pots
Repainting a smooth white nursery pot into a matte planter for indoors works like this: wash, scuff until the glossy surface looks uniformly dull. Apply one light primer coat, then a second after the recoat window. Finish with two thin topcoats, letting each coat flash and then fully cure.
Outdoor repainting changes the workload. In sun and rain, use an exterior-rated paint and stick to consistent dry time. Apply thin coats so the surface cures without trapping moisture, and don’t leave it outside uncovered during the next rain until it’s fully cured.
If you’re updating a set of 6-8 pots in different shapes, plan coverage realistically. Measure pot heights and estimate surface area, because one tall pot can take about the same paint as several shorter ones.
Quick coverage calculator (simple estimate)
Use this back-of-the-napkin model:
Estimated paint surface area (sq ft) = 2 × π × radius × height
- Assume the pot is a cylinder for estimation.
- radius = diameter / 2.
- height = pot height (same units), convert inches to feet (divide by 12).
Paint needs (typical): primer 2 coats + topcoat 2 coats.
In practice, plan for enough product for 4 total coats.
#### Example calculation: 10-inch diameter, 10-inch tall pot
- diameter = 10 in, radius = 5 in
- height = 10 in
- Convert to feet: radius = 5/12 = 0.4167 ft, height = 10/12 = 0.8333 ft
- Area ≈ 2 × π × 0.4167 × 0.8333 = 2.18 sq ft (one side surface estimate)
Now multiply by coat count (roughly):
- Total coverage area for 4 coats ≈ 2.18 × 4 = 8.72 sq ft equivalent coverage
Spray coverage is never perfect due to overspray and uneven shapes, so round up. A safe rule for purchasing is to add 25% extra if you care about consistent coverage without thinning.
If you share your pot size (diameter and height) and whether it’s indoor or outdoor, you can plug it into this calculator to estimate how many cans or how much paint to buy.
FAQ
Can I paint plastic pots without sanding?
You can, but results are inconsistent. Without sanding or scuffing, paint often beads on glossy plastic and can peel at the edges after curing. If you skip sanding, use a scuff pad enough to remove the shine, wipe off dust, then use a primer explicitly labeled for plastic.
What kind of primer do I need for plastic pots?
Use a primer labeled for plastic adhesion. Regular drywall primer and generic primer can fail on slick plastics. For outdoor pots, choose an exterior-rated system, then topcoat with an all-purpose enamel or exterior acrylic enamel.
How long should plastic pots dry and cure before use?
Follow the label for recoat timing, then let the pot cure before heavy handling. A practical rule is 24 hours before light handling and about 48 hours before putting it outside or moving it frequently. Humid days can extend cure time, so don’t rush if the finish still feels tacky.
How do I prevent paint from peeling on plastic?
Clean thoroughly, scuff until the surface is uniformly dull, and use plastic primer plus a compatible topcoat. Peeling usually starts where the coating is too thick or where primer didn’t bond. Apply thin coats, avoid painting in high humidity, and don’t put soil against uncured paint.
Can I paint old, faded plastic pots that already have paint?
Yes, but inspect first. If existing paint is peeling, flaking, or chalky, remove loose areas and scuff to sound material before priming again. If the old paint is fully intact and well-adhered, scuff the surface, prime over it, then topcoat carefully.

- Top 10 Best Kettle For Induction Cooktop 2026 - July 26, 2026
- Top 10 Best Invisible Induction Cooktop 2026 - July 25, 2026
- Best Kirkland-style 15-piece Hard Anodized Cookware Set Selection Guide 2026 - July 25, 2026