How To Paint Clay Flower Pots?
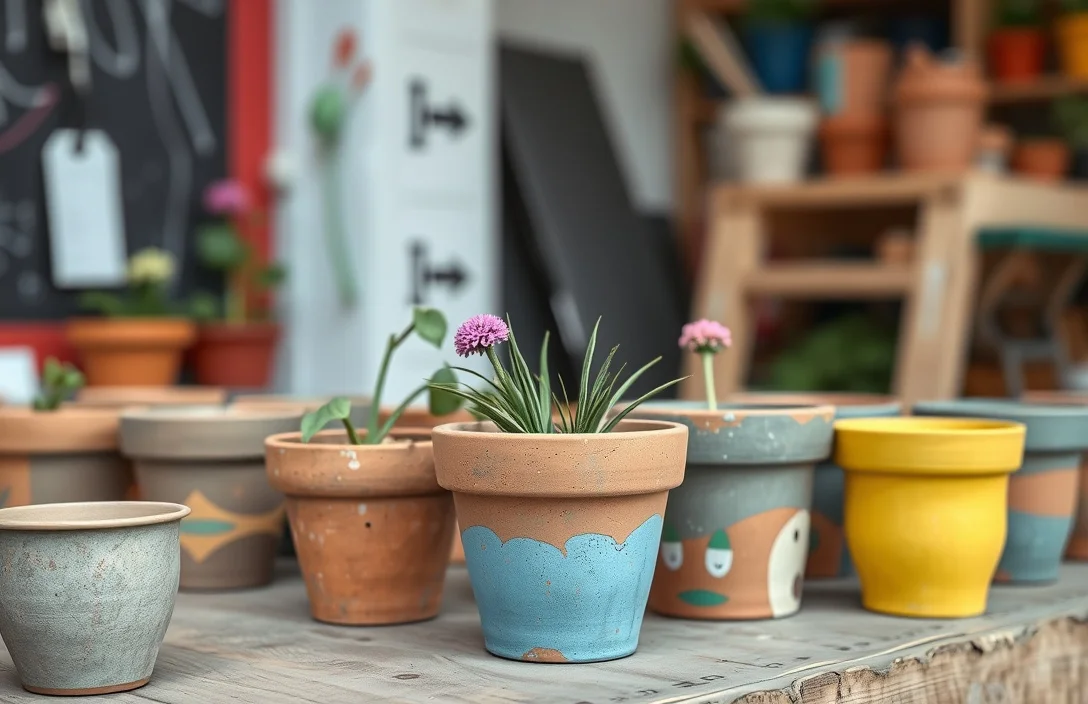
Unglazed terracotta pots look great until color starts to fade into a dusty film and moisture starts working its way into the finish. The difference between “cute for a week” and “still looks good next season” is simple: clean primer, an outdoor-ready paint system, and a proper weatherproof topcoat. Here’s exactly how to paint clay flower pots that hold up outside, including what to buy, how to prep, and how to finish.
Clay flower pots paint best when the pot is fully clean and dry, porous areas get locked down with primer, you use outdoor-safe acrylic paint, and you finish with a clear exterior sealer. Paint won’t bond well to damp or dusty clay, so it can lift and fade. Plan on 2-3 coats of paint plus 1 topcoat, with drying time between each coat.
Key Takeaways
- Dry pot first. Paint won’t bond well if the pot is damp, even if it looks dry.
- Use proper primer. Primer reduces blotchiness by filling terracotta’s porous surface.
- Choose outdoor-safe paint. Acrylic craft paint works well with a weatherproof clear sealer.
- Thin, even coats. Two to three thin coats resist drips and look more uniform.
- Seal the finish. A clear sealer protects color from rain, sun, and mineral residue.
- Let it cure. Dry to the touch isn’t fully cured – give it 24-48 hours.
How to begin
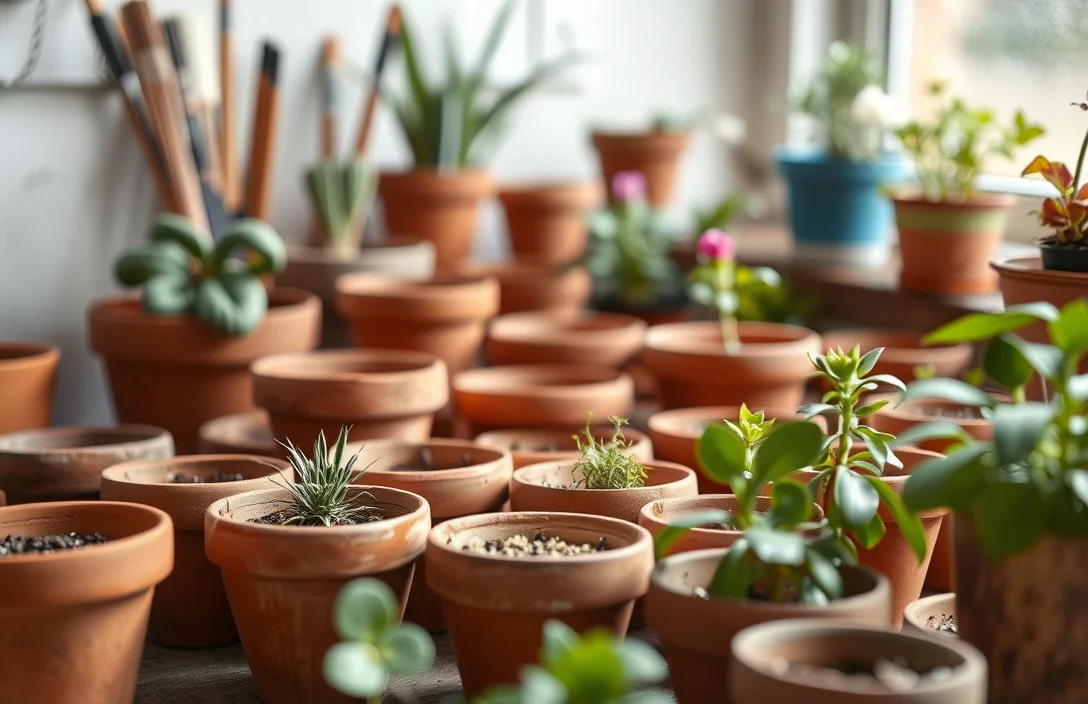
Prep decides whether your painted pot lasts. Wash the terracotta, dry it completely, then prime before you add color. Clay is porous, so skipping primer usually means uneven soaking, blotchy color, and peeling sooner.
Pick up the basics at any US hardware or craft store. You’ll want painter’s tape for crisp lines, sandpaper for smoothing rough spots, a primer designed for bare porous surfaces (terracotta-friendly), acrylic paint rated for outdoor use if the pot lives outside, and a clear sealer made for exterior weather protection.
What you’ll end up with
You’ll get a pot that looks intentional instead of “painted.” That means an even base coat, clean edges where you used tape (if you did), and a sealed finish that resists water spotting.
Pick your pot type first
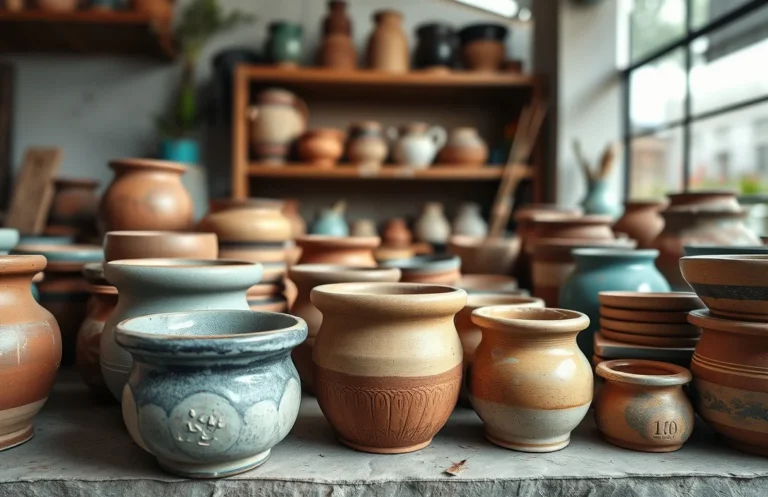
Un-glazed terra cotta acts like a sponge. Glazed or glossy pots don’t. If your surface is slick, use lighter sanding and a primer that bonds to that kind of finish, or your paint can chip when temperatures shift.
Basics of how to paint clay flower pot
Clay flower pots fail mostly due to two things: poor adhesion and moisture getting in. Terracotta absorbs water through pores, and that same porosity can pull pigments out of place unless you seal the surface first.
Primer is the step that keeps everything from looking patchy. Without it, acrylic paint soaks in at different rates. Dark, fast-absorbing areas show through, and your design can turn uneven after the first watering.
What paint and sealer should do
Paint delivers color coverage and adhesion. Sealer creates a barrier against rain and sun and reduces scuffing when you move the pot or when soil dries and mineral residue builds.
Weather matters
Outdoor pots deal with freeze-thaw cycles and direct sunlight. Use exterior-rated materials and accept that you may need touch-ups over time. Indoor pots still benefit from primer and sealer, but you don’t need to chase the same level of weatherproofing.
A quick materials reality check
You can paint a pot with common craft supplies, but you cannot skip drying time. Also, avoid spray paint if you’ve had trouble with overspray or uneven coverage. Spray can work with light passes, but textured clay makes it easier to create unwanted blotches.
how to paint clay flower pot
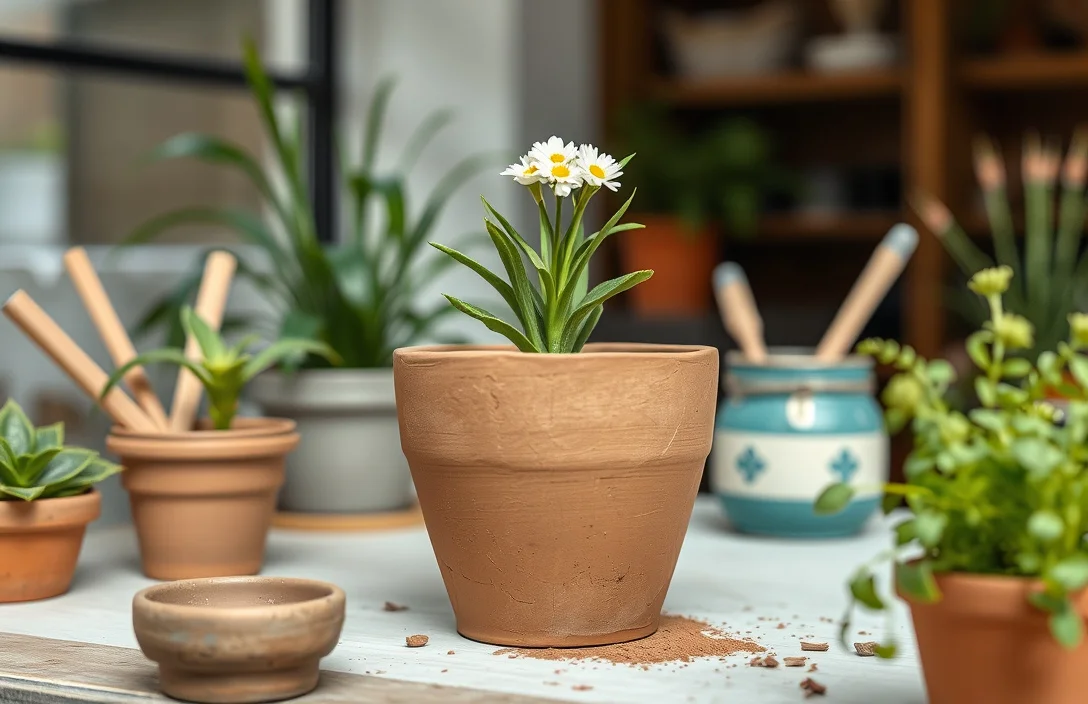
1) Choose your design and plan tape placement. Mark the pattern with pencil before you prime so you’re not guessing later.
2) Wash the pot thoroughly. Scrub off dust, soil residue, and any white mineral film using warm water and a stiff brush.
3) Dry completely. Let it dry for several hours minimum, overnight if the clay is cold or your workspace is humid.
4) Sand rough spots lightly. Smooth bumps and drips, then wipe away sanding dust with a dry cloth.
5) Prime the entire area that will be painted. Apply a thin, even primer coat, especially where terracotta looks darker or more porous.
6) Paint in thin coats. Use 2-3 coats, fully drying each coat before applying the next.
7) Add tape-based details carefully. Tape only after the base coat is dry. Remove the tape while the paint is slightly flexible to reduce tearing lines.
8) Seal when the paint is fully dry. Use an exterior clear sealer if the pot will be outside, applying 1 coat (or 2 for extra protection).
For a solid-color pot, prime the whole surface, paint two thin coats, then seal. For stripe patterns, base-coat first, tape the stripes once the base coat is dry, apply the stripe color in thin coats, remove tape, and seal everything.
Keep a “drying workflow” going while you paint. Work one side at a time, rotate the pot, and avoid touching wet paint. Rushing creates shiny dents that the sealer will lock in.
A simple example design that looks great
Start with something beginner-friendly:
- Base coat: one solid color (2 coats)
- Accent: 1-2 simple bands using tape
- Final: clear sealer
This skips the hardest part of clay painting – detailed line work on textured surfaces.
Things that matter most
Thin coats beat thick coats on terracotta. Thick paint bridges texture unevenly, runs on vertical areas, and can dry pebbly. When the pot flexes, that heavy film can flake.
Brush choice changes the finish. Use a flat or angled craft brush for broad coverage, and switch to a smaller detail brush when you need control. For textured pots, stippling helps fill pores without building heavy brush marks.
How to prevent blotches
Blotching happens because terracotta absorbs paint at different rates across the pot. Primer reduces those absorption differences, and sanding plus a dust wipe reduces hot spots where paint grabs too fast.
If you see blotches after the first coat, let everything dry fully and apply the next coat evenly. Don’t try to “fix it” by loading on extra paint.
How to get cleaner edges
Tape lines look sharp when:
- the base coat is fully dry
- the tape sticks firmly to the surface
- you lightly burnish along the tape edge
- you remove tape at the right moment
If tape peels paint, wait slightly longer next time. If paint seeps under the tape, press the tape edge down more firmly and use thinner coats.
How to seal without ruining the look
Sealer comes in matte, satin, or glossy. Choose based on the look you want, not what’s left in the garage. Apply in light, even strokes and keep your motion consistent to prevent streaks.
Let the sealer coat dry untouched. Touching too soon can leave fingerprints or tacky spots that catch dust.
What works in practice
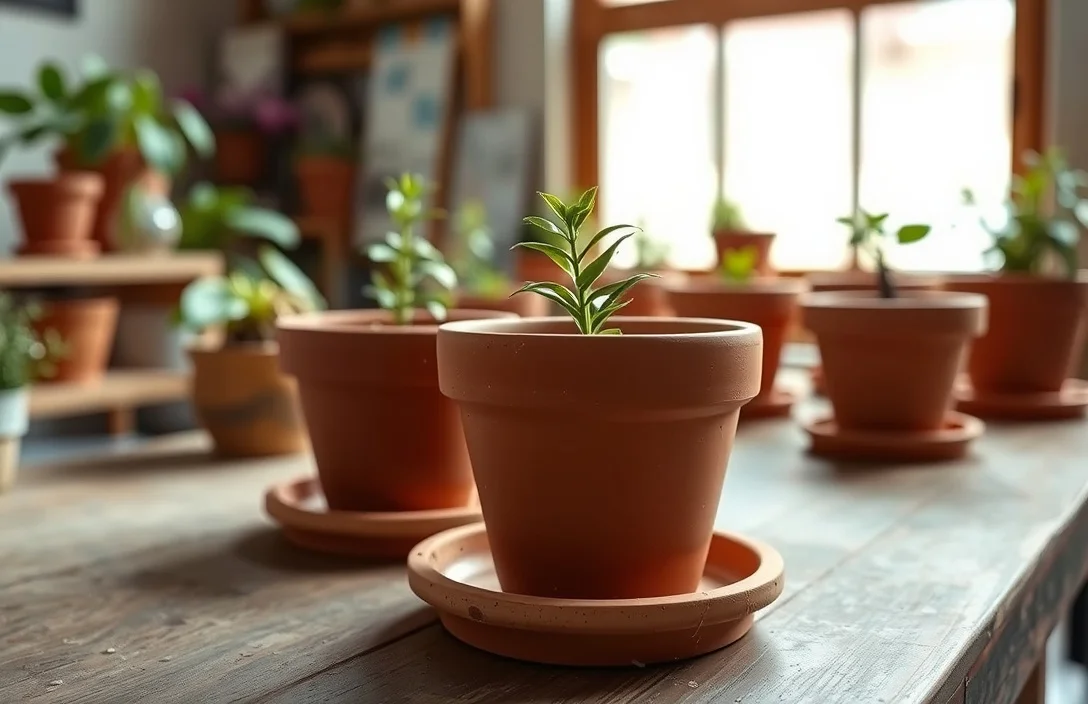
Control moisture before paint touches the clay. Even small dampness can cause primer and paint to bubble or lift later, especially after watering.
Build the finish with multiple thin layers instead of one thick “hero” coat. Two to three paint coats typically cover porous clay more evenly and look more professional.
Use a “test patch” if you’re unsure
If you’re trying a new paint brand or a new primer, test on the bottom or an offcut. Check three things: adhesion, coverage (does it blotch?), and the final look after it fully dries.
Work in sensible conditions
Temperature and humidity change how fast paint dries. In hot sun, paint can flash-dry too quickly and leave brush marks. In cold conditions, paint can stay tacky longer than you expect.
Create a cure timeline you can actually follow
Dry-to-touch time is shorter than full cure. Give it at least a day before heavy handling, and longer if the paint feels tacky or if your climate is humid.
A simple schedule that keeps you safe:
- Day 1: wash, dry, prime, first paint coat
- Day 2: second/third paint coat (if needed), then seal after full paint dryness
- Day 3: normal handling, outdoor placement if the sealer is fully dry
Mistakes to Avoid with how to paint clay flower pot
Skipping cleaning causes the most preventable failures. Dust, residue, and mineral film interfere with primer bonding, and peeling shows up at the first watering cycle.
Applying too much paint too fast creates texture problems. Thick coats trap moisture, drip under their own weight, and dry with uneven thickness that later shows through under sealer.
Mistakes that waste time
- Mistake: painting on damp clay. Instead, dry the pot completely, even overnight.
- Mistake: skipping primer. Instead, prime bare clay before color coats.
- Mistake: one thick coat. Instead, use 2-3 thin coats, drying fully between coats.
- Mistake: sealing too early. Instead, seal only after the paint is fully dry to avoid clouding and tackiness.
- Mistake: heavy brushing on textured clay. Instead, use lighter pressure, and consider stippling for coverage.
If a pot looks great right after painting but dulls or flakes after a couple weeks outdoors, check adhesion (primer coverage) and moisture control (dry time and sealer step).
Also, avoid treating an outdoor pot like an indoor craft. If it will see rain or direct sun, treat it like a small exterior project with proper drying and weatherproofing.
Pro Tips for how to paint clay flower pot
Prime with intention. Apply primer evenly but don’t flood the surface. Pooled primer texture shows through in the paint.
Rotate the pot for consistency. Paint one side, rotate, and keep your brush passes from building thick edges or drips from repeatedly going over the same spot.
Make your colors look richer
Terracotta can shift final tones. Bright colors (reds, yellows, pastels) may need an extra paint coat, or a primer tinted closer to your target color.
Choose finishes based on how you’ll use the pot
Matte finishes hide small brush marks better. Gloss finishes show everything, so they only look good if your paint layers are smooth and your sealer application stays careful.
If the pot holds soil long-term, prioritize scuff resistance. A quality exterior sealer reduces wear spots from moving the pot and from grit rubbing the surface.
Example pro workflow for a neat result
For a clean monogram or simple icon:
- Prime and paint base color (2 coats)
- Mark the design lightly with pencil
- Paint the icon with thin strokes in 2 light layers
- Seal once everything is fully dry
Layering like this keeps edges crisp and reduces bleeding into the texture.
FAQ
FAQ
How do you prepare clay flower pots before painting?
Wash the pot to remove dust and residue, then dry it completely before primer. Lightly sand rough spots and wipe away sanding dust. If you skip cleaning or paint on damp clay, primer and paint can lift later, especially after watering.
What kind of paint works best on terracotta pots?
Acrylic craft paint works, but outdoor-safe paint gives better results if the pot will be outside. Use multiple thin coats because terracotta is porous. Finish with a clear exterior sealer for moisture and sun protection.
Do you need primer on clay flower pots?
Yes. Primer reduces blotches and improves adhesion on porous terracotta. Without primer, paint soaks unevenly and often looks patchy after the first few waterings. Primer also helps the topcoat color look more consistent.
How long should you wait before sealing a painted pot?
Seal only after the paint is fully dry, not just dry to the touch. Plan at least 24 hours between painting and sealing for most beginner projects, and longer in humid conditions. If the paint feels tacky, wait longer.
What’s the most common mistake when painting clay flower pots?
Painting on a not-quite-dry pot. Even a little moisture can cause bubbling, peeling, or a rough finish that looks off after sealing. Dry longer than you think, then prime and use thin paint coats.

- 10 Best Slow Cooker For Hearty Stews 2026 (Tested And Reviewed) - October 20, 2026
- 10 Best Slow Cooker For Hearty Soups 2026 (Tested And Reviewed) - October 20, 2026
- 10 Best Slow Cooker For Comfort Food 2026 (Tested And Reviewed) - October 20, 2026