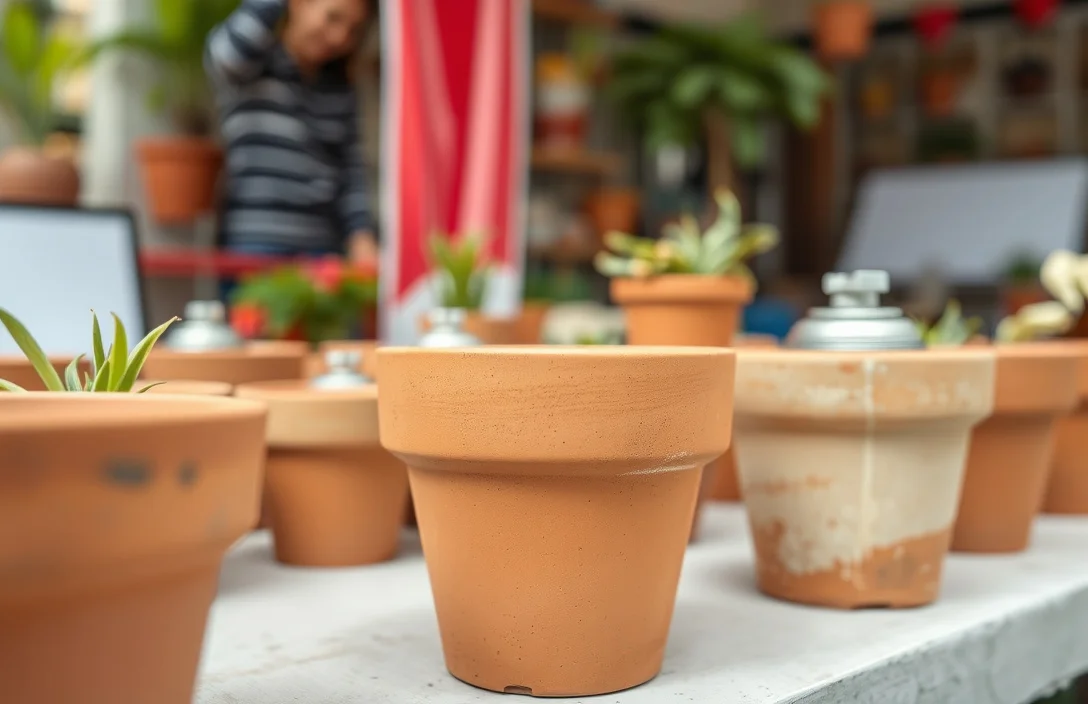
Spray Paint Terra Cotta Pots: Primer, Light Coats, Cure Time
Terra cotta pots drink in moisture and grit, so spray paint can look great one day and peel the next if you skip prep. The good news is you can get a durable finish with the right primer, paint type, and curing time. This guide walks through how to spray paint terra cotta pots step by step, plus what to avoid so you do not waste paint or end up with flaking.
Spray paint terra cotta pots work best when you clean thoroughly, seal the porous surface with primer, and apply light coats that cure fully. For outdoor or humid spots, use exterior-rated spray paint and a bonding primer, then let the pot cure for multiple days before exposure. Drying usually takes hours, but curing takes longer.
Key Takeaways
- Prime for adhesion. Use a bonding primer so paint grips terra cotta’s porous surface.
- Use light coats. Apply 2-4 thin layers to prevent drips, bubbles, and uneven coverage.
- Let it cure. Dry-to-touch is not the same as curing. Plan for at least 48-72 hours before heavy use.
- Choose the right paint. Use exterior-rated spray paint for outdoor pots to reduce peeling and fading.
- Dry fully between coats. Rushing traps moisture and increases the chance of tacky spots.
- Seal for weather. Add an outdoor clear sealer if the pot will see rain, sprinklers, or high humidity.
What to Know About Spray Painting Terra Cotta Pots
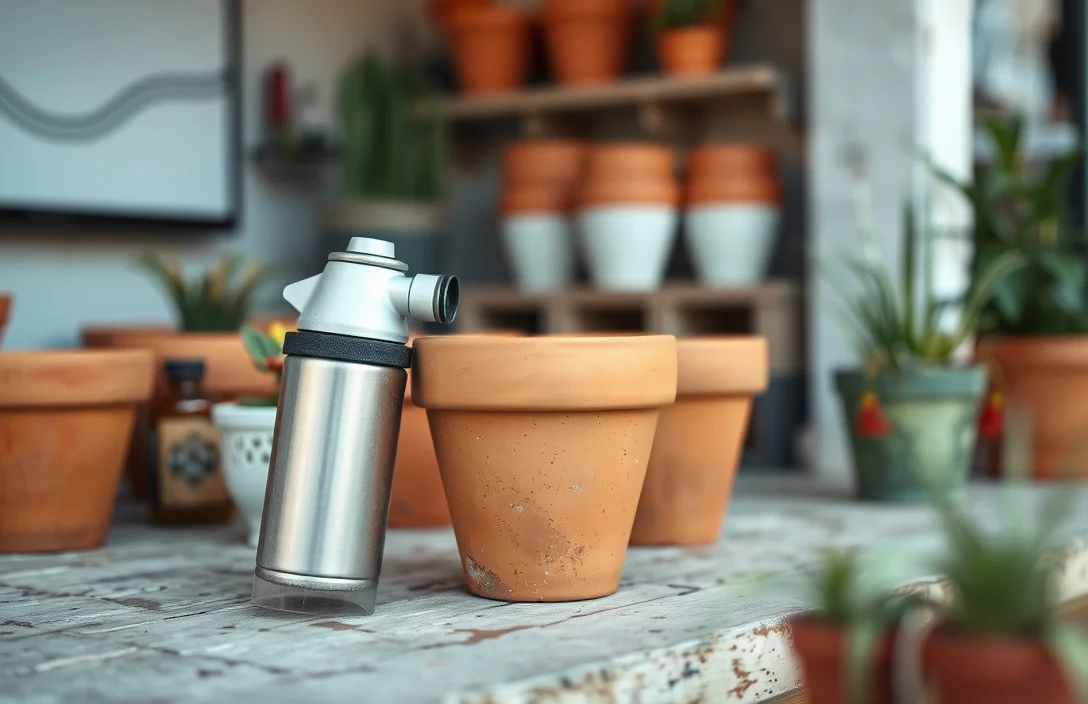
Spray paint terra cotta pots can look great, but the clay is porous and absorbent. If you spray directly onto unsealed terra cotta, the paint can sink in unevenly and fail to grip, which leads to chips and flakes. Clean the pot well, then use primer made for adhesion.
You also need to match the finish to where the pot will live. Indoor pots tolerate finishes that fail faster outdoors, but outdoor pots take hits from UV, rain, and temperature swings. If the pot will hold soil and water, the finish needs time to fully cure before you put it back in service.
Moisture release is another reality check. A freshly painted pot can still release moisture from the clay for a while, especially if it is been washed or is sitting cool in shade. “Dry to touch” does not guarantee it is cured, so pause before watering or putting it back into damp conditions.
Things that matter most
Primer is the difference between a finish that survives bumps and one that flakes after a season. Terra cotta behaves like blotting paper, so use a primer that seals and bonds, not just a thin coat of color.
Coat thickness matters. Spray paint applied too heavily can wrinkle as solvents flash off. Heavy coats can also trap moisture in the clay, which can show up later as tackiness or weak bonding.
Here are the rules I follow for reliable results:
- Start clean and dry. Remove dust, grime, and any chalky residue, then let the pot dry completely.
- Use bonding primer. Pick a primer intended for masonry, ceramic, or general bonding on porous surfaces.
- Spray in thin passes. Target uniform coverage with multiple light coats instead of one thick coat.
- Respect dry time. Follow the can’s recoat window, and wait longer if the weather is humid or cool.
- Cure before use. Treat 48-72 hours as a baseline for usable durability. Longer is safer.
- Protect outdoor finishes. Add an exterior clear coat if the pot will get sun and rain.
If you only change one thing, make it primer plus light coats. That combination fixes most “why is my paint peeling” problems.
Tips for Spray Painting Terra Cotta Pots
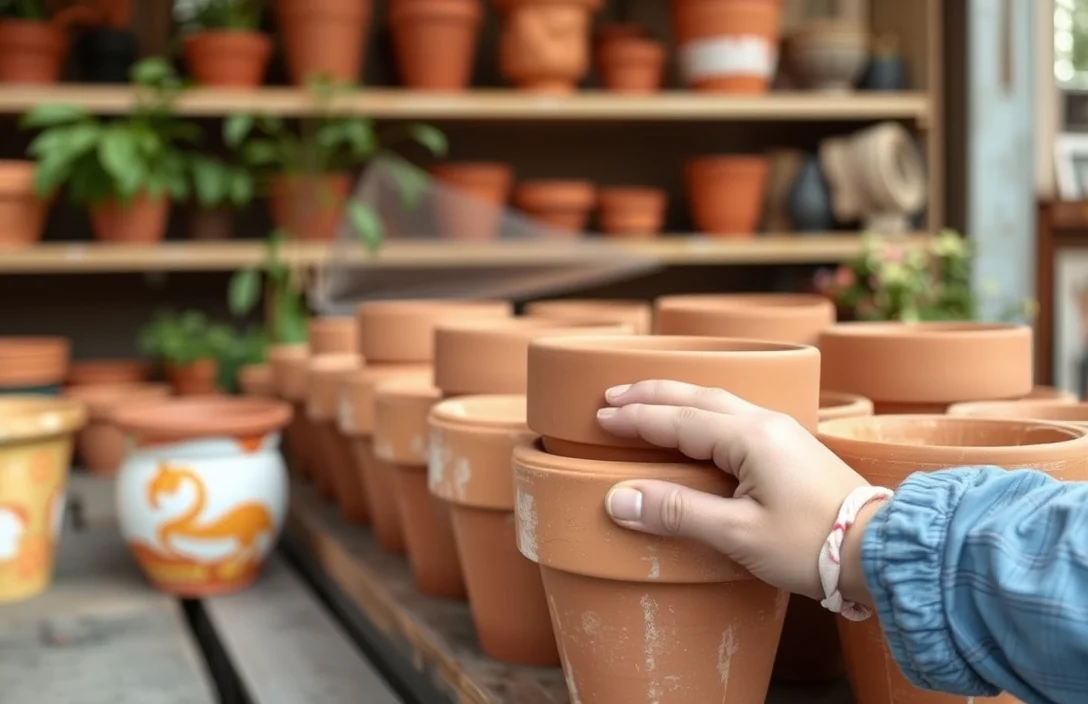
Sand lightly if the pot is glazed or rough in a way that holds dust. For standard unglazed terra cotta, you can usually skip aggressive sanding, but remove loose material so the primer has something to grab. After sanding, wipe with a damp cloth, then let it dry completely before priming.
Use a steady spray pattern with consistent distance and overlapping passes. Do not “spot spray” thick areas repeatedly. Those ridges look bad up close and are more likely to crack later.
If you paint indoors, protect the floor with paper or plastic and raise the pot on a stand so you can spray the sides evenly. Use good airflow too. Solvent smell and slow dry times are the two biggest indoor risks.
Use these tactics to prevent common failures:
- Degrease if needed. Fingerprints, plant oils, and shelf dust can repel paint.
- Dry fully between steps. Primer should dry before color, and color should dry before you seal.
- Avoid windy overspray. Wind makes uneven coats, and uneven coats create a patchy finish.
- Add thin color coats. Most good results come from 3-4 thin layers.
- Finish with an outdoor clear coat. For exterior use, sealing helps prevent water intrusion and scuffs.
Finally, remember the paint job depends on the pot. Chips, deep cracks, or flaking residue come first. Handle those before you spray.

Helpful pick
Krylon ColorMaxx Red Oxide 12 Oz. All-Purpose Spray Paint Primer – 1 Each
Provides built-in primer to improve adhesion and reduce extra steps, helping you avoid common coating failures.
Benefits of Spray Painting Terra Cotta Pots
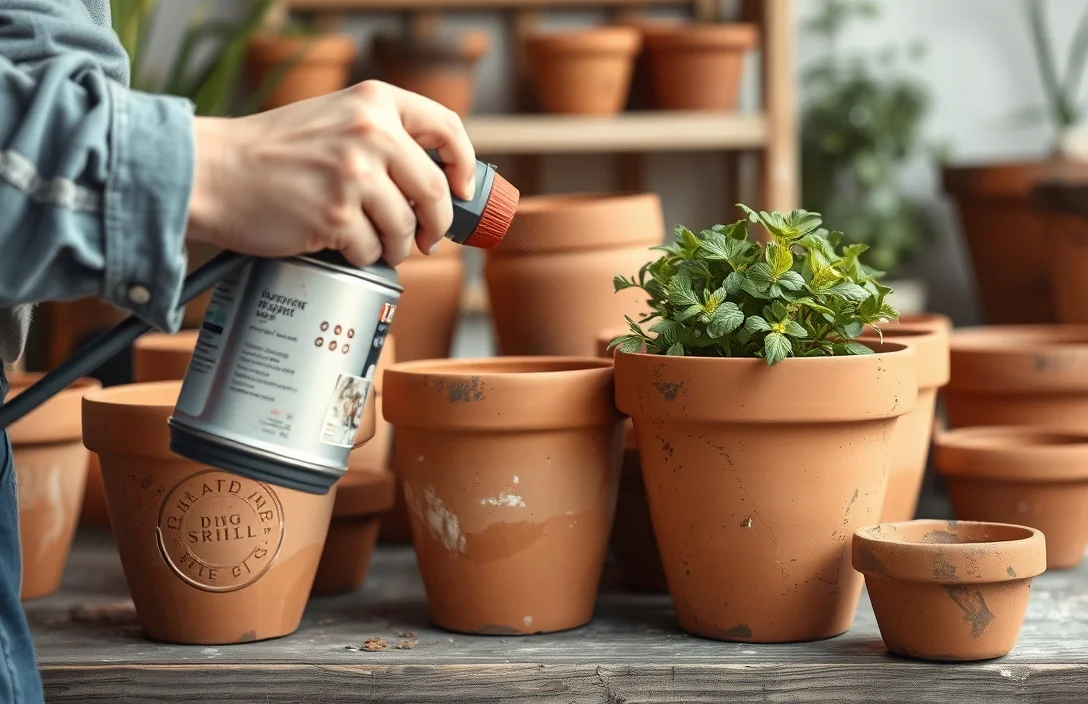
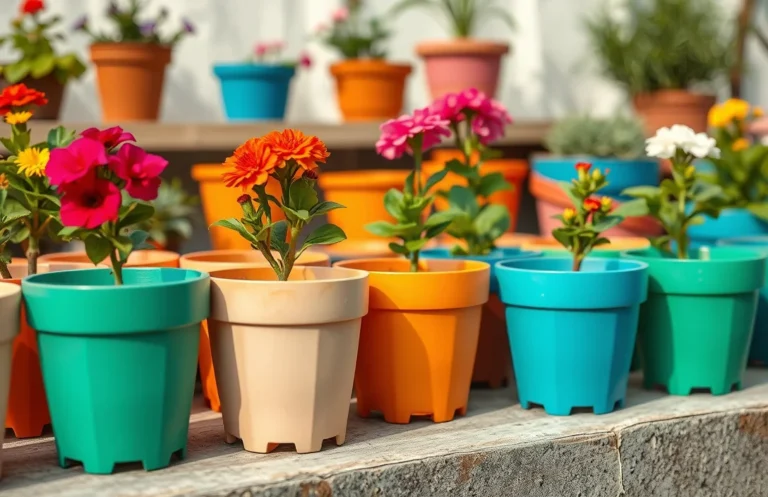
A painted terra cotta pot looks intentional and tidy, especially when you are matching a set of planters. You also get control over color and finish, from matte rustic to a more polished look with satin or glossy top coats.
Paint also helps with day-to-day maintenance. Terra cotta often develops stubborn rings or grime where water evaporates and leaves minerals behind. With a sealed painted surface, those mineral stains usually clean up more easily.
A good paint system can also reduce micro-chipping from small scuffs. Bare clay rims show damage immediately, while a properly bonded paint finish with primer and sealer takes abrasion without turning into loose flakes.
There is a practical safety angle too: when the finish bonds and cures correctly, you do not keep redoing the project. Fewer rework sessions mean fewer fresh coatings, less mess, and less ongoing chemical exposure.

Helpful pick
Rust-Oleum 249084 Painter’s Touch 2X Ultra Cover Spray Paint, 12 oz, Satin Cinnamon
This spray paint delivers color options and a smooth finish, helping you achieve coordinated, polished terracotta planters.
Options for Spray Painting Terra Cotta Pots
Your main decisions are primer type, color paint type, and whether to add a clear sealer. For terra cotta, treat it like masonry: use a primer designed to bond to porous surfaces, then use spray paint rated for the environment you care about.
For outdoor pots, prioritize:
- Exterior-rated spray paint.
- Bonding primer (masonry/porous surface type).
- Optional exterior clear coat for extra scuff and moisture resistance.
For indoor-only pots, you can sometimes get away with simpler products, but primer still matters because terra cotta is porous whether it is inside or out. Indoor paint can last longer without a clear coat, but primer still prevents patchiness.
Finish choice affects look and maintenance:
- Matte hides minor imperfections but can stain more easily.
- Satin is easier to wipe down.
- Gloss looks crisp but reveals unevenness.
One caution: “craft” spray paints can work, but they often do not handle rain or UV well. If the pot will sit outside, check that the can specifically supports outdoor use. When in doubt, go exterior-rated.

Helpful pick
Rust-Oleum 267118 Painter’s Touch 2X Ultra Cover Spray Paint, 12 oz, Satin Warm Caramel
Provides durable, bonded color on porous terra cotta after proper primer, aligning with masonry-style prep.
Expert Advice on Spray Painting Terra Cotta Pots
Treat terra cotta like a porous substrate that needs a bonding system. Primer first, then color, then sealing when the conditions demand it.
Control the timing. Recoat only within the can’s window, then let it cure long enough that you can move the pot around, tip it, or return it to wet soil without damaging the finish. If you rush, you get a pretty coat that breaks down when you actually use it.
Do not chase coverage with thicker spraying. If you do not see coverage after two light coats, wait and add another thin coat. Thick coats are a common cause of drips, wrinkling, and early peeling.
Here is the checklist to use before you start spraying:
- Clean the pot. Dust and oils block adhesion.
- Dry completely. Paint over damp clay is a gamble.
- Prime and recoat properly. Use bonding primer and follow the recoat time.
- Spray light layers. Aim for even coverage, not heaviness.
- Cure fully. Plan on 48-72 hours minimum before heavy exposure.
- Seal for outdoors. Use an exterior clear coat when weather is involved.
If you want durability, the biggest “upgrade” is not a premium color paint. It is the right primer system plus enough cure time.
Examples of Spray Painting Terra Cotta Pots
Example: you have a set of small unglazed terra cotta pots for an indoor windowsill herb display. Clean them, let them dry, apply a bonding primer, then spray 3 thin coats of a matte or satin color. After the final color coat, wait at least 48 hours before planting and watering so the finish is less likely to soften or mark.
Example: you are refreshing an outdoor planter that gets sun and occasional rain. Start with bonding primer, spray 3-4 thin coats of exterior-rated spray paint, then add an outdoor clear sealer. If you skip the clear coat, the color may still last for a while, but scuffs and moisture intrusion usually show up sooner, especially around the rim.
Color choice changes how forgiving the pot is. Dark colors and high-contrast designs make uneven coverage obvious, so those pots need extra attention to coat overlap and drying between coats. Lighter colors hide small variations more easily, but patchiness still shows up if you do not prime.
If you want a smooth, more “ceramic-like” look, use a satin or semi-gloss finish and avoid heavy application. Thick coats create texture, even on clay that looks smooth before painting.
FAQ
What primer should I use before spray painting terra cotta pots?
Use a bonding primer intended for porous surfaces like masonry or unglazed clay. If your pot is outdoor-rated, pick primer compatible with exterior finishes too. Primer prevents uneven absorption and reduces peeling. Follow the can’s dry and recoat times.
How many coats of spray paint do terra cotta pots need?
Most terra cotta pots look best with 3-4 thin coats. Two heavy coats often lead to drips or uneven coverage. Thin coats level out better. Wait for the recommended recoat window between coats, and do not spray again if the surface is tacky.
How long should I cure spray paint on terra cotta pots before watering?
Plan for at least 48-72 hours after the last coat before putting the pot back into heavy use, especially if it will hold wet soil. Dry-to-touch times are usually shorter than curing, and humidity or cool temperatures mean you should extend the wait.
Can I spray paint terra cotta pots for outdoor use?
Yes, but choose exterior-rated spray paint and add an exterior clear coat when possible. Outdoor terra cotta gets UV, rain, and temperature swings that punish finishes without proper protection. Primer plus a sealed top coat is the most reliable combo.
What is the most common mistake when spray painting terra cotta pots?
Spraying color directly onto dirty or dry-in-place terra cotta without primer. Another frequent issue is rushing coats or using heavy passes, which can cause drips, wrinkling, or early peeling. Clean, prime, use thin coats, and let everything cure fully.

- 10 Best Slow Cooker With Spill Proof Design 2026 (Tested And Reviewed) - October 24, 2026
- 10 Best Slow Cooker With Locking System 2026 (Tested And Reviewed) - October 24, 2026
- 10 Best Slow Cooker With Insulated Lid 2026 (Tested And Reviewed) - October 23, 2026