Pressure Cooker On Induction Cooktop Explained Simply
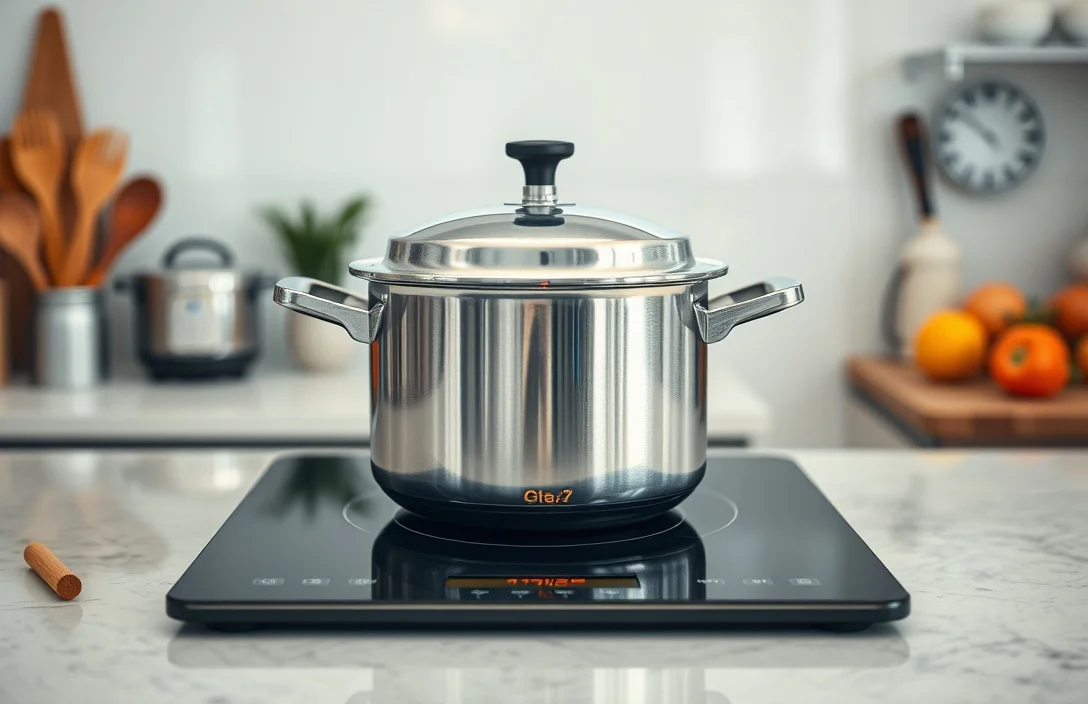
Induction cooktops and pressure cookers are a great pairing – if your pressure cooker is induction-compatible and you manage heat like induction demands. If you’re worried you’ll waste time with the wrong pot or accidentally cause a safety issue, you can relax. This guide gives you the checks to run, the setup steps that matter, and the settings habits that keep pressure cooking predictable on induction.
Pressure cooker on induction cooktop is doable when the pressure cooker has a magnetic base (induction-compatible). In practice, stainless steel ranges from “works” to “won’t heat,” while plain cast iron is typically reliable. The simplest measurable test is whether a magnet sticks firmly to the bottom. Once you confirm that, match your heat settings and never run the cooker dry.
Key Takeaways
- Magnet test passes. A strong magnet sticking to the cooker base is the quickest way to confirm induction compatibility.
- Use the right pot size. Induction works best when the cookware sits fully within the burner’s heating area.
- Start on medium heat. Bring the cooker up to pressure steadily, then lower heat to maintain pressure.
- Never cook dry. Pressure cookers require a minimum liquid charge to generate steam and keep the system regulating safely.
- Vent with care. Use quick-release only when the recipe calls for it, and keep hands and face away from steam.
- Install safety parts correctly. Gaskets, valves, and sealing rings must be fitted exactly as the manufacturer specifies.
What to Know About Pressure Cooker on Induction Cooktop
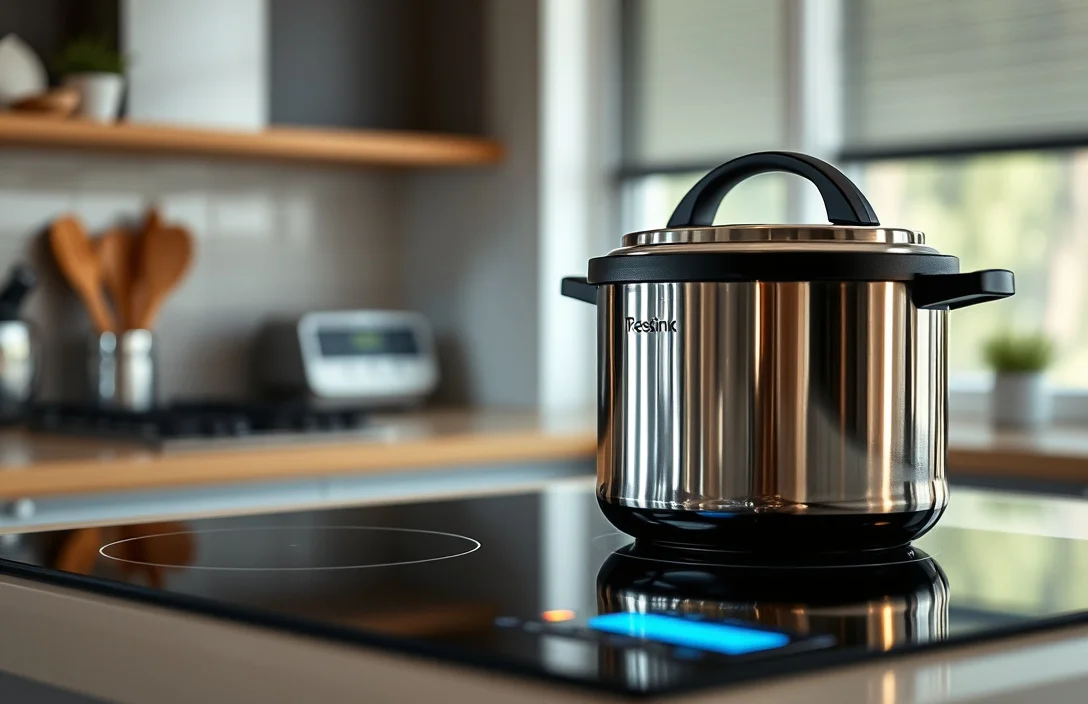
A pressure cooker works on an induction cooktop when the cooker bottom is magnetic enough for induction to generate heat. The rule is straightforward: if a magnet sticks firmly to the bottom, induction heating will turn it on. If it doesn’t, you’re effectively trying to cook with a burner that can’t deliver heat to the base.
Compatibility depends on the base, not the lid or control area. Stainless steel is the common “maybe” because some stainless blends are magnetic and others aren’t. Some induction-capable “stainless” cookware uses a magnetic base layer, so it looks like regular stainless on the outside but still heats correctly.
Induction also changes the feel of pressure cooking. It reacts quickly when you change burner power, so blasting heat too high can overshoot toward an early boil or an aggressive pressure rise. Most people do better starting at medium power to get things moving, then dialing down until the pressure level stays stable.
Things that matter most
Heat control is the main lever. On induction you don’t chase “flame” – you aim for steady pressure. If the cooker starts whistling hard, rattling, or venting early, the burner power is probably too high for that stage.
Liquid amount matters more than many cooks expect. Pressure cookers need enough liquid to create steam, and the pressure system needs time to regulate. If your recipe calls for 1 cup of liquid, don’t cut it “to save time,” because induction can reach trouble conditions faster than slower heat sources.
Cookware-burner match affects consistency too. When your pressure cooker is much larger than the active heating zone, you can get uneven heating and more temperature cycling. Better base contact usually means smoother heat-up, fewer pressure swings, and more repeatable results.
Safety systems are not optional. The sealing ring, pressure regulator/valve, and float/locking mechanism must be installed exactly right. A worn, twisted, or improperly seated gasket can turn small issues into big ones – and induction’s faster heat-up can make those problems show up sooner.
Tips for Pressure Cooker on Induction Cooktop
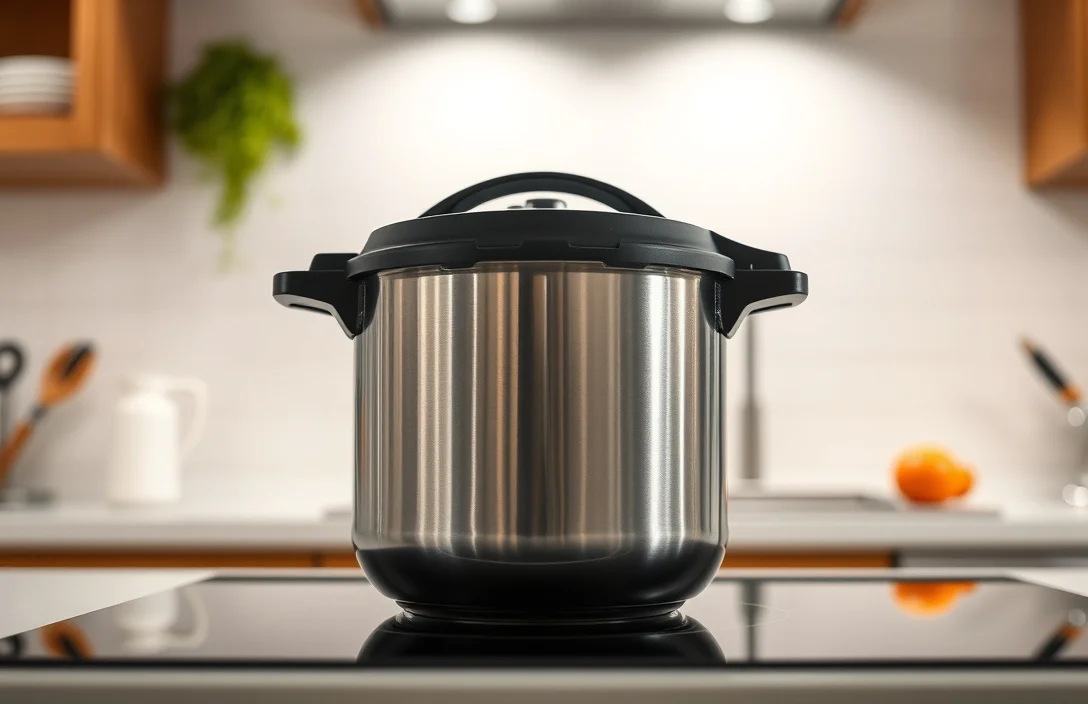
Run the magnet test when you buy or unpack the cooker. It takes about 10 seconds and beats guessing from labels. Place the magnet on the exact bottom area that contacts the cooktop, not on the side wall.
Use a two-stage burner approach. Start on medium power to bring the cooker up to pressure, then drop to the lowest setting that holds pressure without excessive venting. This is the step most people skip – and it’s often the difference between steady cooking and a cooker that sounds dramatic.
Preheat habits matter, especially if you use a sauté function. If your pressure cooker supports sauté on the induction base, keep that time short and stir often, because induction can scorch food faster than you’re used to. Then switch to pressure mode and follow the recipe’s liquid and timing.
Thick ingredients need extra attention. Beans, grains, and thick soups can foam and can also contribute to valve clogs if you run near the max fill line. Plan on less filling, and follow the recipe’s guidance on thickness. You don’t need to stir less because of induction – you need to avoid overfilling and ingredients that can thicken too close to the top.
Use quick-release carefully and only when your recipe calls for it. Induction can change pressure quickly once heat drops, which is convenient but risky for recipes that weren’t designed for rapid venting. Keep hands and face away from the steam path, and let the cooker vent fully before opening.
Every cook can use this checklist:
- Confirm induction compatibility. Magnet sticks firmly to the bottom.
- Use enough liquid. Match the recipe minimum exactly.
- Stay below max fill. Especially for beans, grains, and foamy foods.
- Start medium power. Then lower once pressure is reached.
- Maintain, don’t chase. Hold pressure steady instead of adjusting constantly.
- Inspect safety parts. Clean valves and ensure the gasket is seated.
Benefits of Pressure Cooker on Induction Cooktop
Induction’s fast response fits pressure cooking’s basic rhythm: heat to reach pressure, then hold a stable target. With the right setup, you get faster heat-up to pressure and easier burner adjustments to keep pressure stable. That can mean fewer overcooked edges and less waiting around for the cooker to “catch up.”
Timing and cleanup benefits still matter. Pressure cooking reduces simmer time for many meals, which helps when you want tender meat, beans, or stock without a long stovetop day. On induction, control during the pressure stage can also reduce the temptation to keep topping up heat.
There’s also an efficiency angle for US kitchens. Induction cooktops tend to be responsive and efficient for heating tasks, and pressure cooking shortens runtimes by concentrating boiling into a shorter window. If you cook a few meals a week, that adds up in saved time and energy.
One more practical benefit: induction is generally less forgiving as a “leave it and walk away” heat source only for a few seconds. The burner itself won’t stay hot the way some radiant elements do once cookware is removed. Still, pressure cooking isn’t unattended equipment – the cooker stays hot internally, and venting steam is a real burn risk.
![3-In-1 Stainless Steel Pressure Cooker 8 QT: [Save 70% Time] [3 PSI Settings], One-Hand Locking Pressure Canner, Induction Compatible, Glass Lid & Steamer Rack Included, Olla de Presion](https://m.media-amazon.com/images/I/51tyaR1oOML._SL500_.jpg)
Helpful pick
3-In-1 Stainless Steel Pressure Cooker 8 QT: [Save 70% Time] [3 PSI Settings], One-Hand Locking Pressure Canner, Induction Compatible, Glass Lid & Steamer Rack Included, Olla de Presion
Supports rapid heat-up and precise pressure control on induction stoves for consistent canning and faster meals.
Options for Pressure Cooker on Induction Cooktop
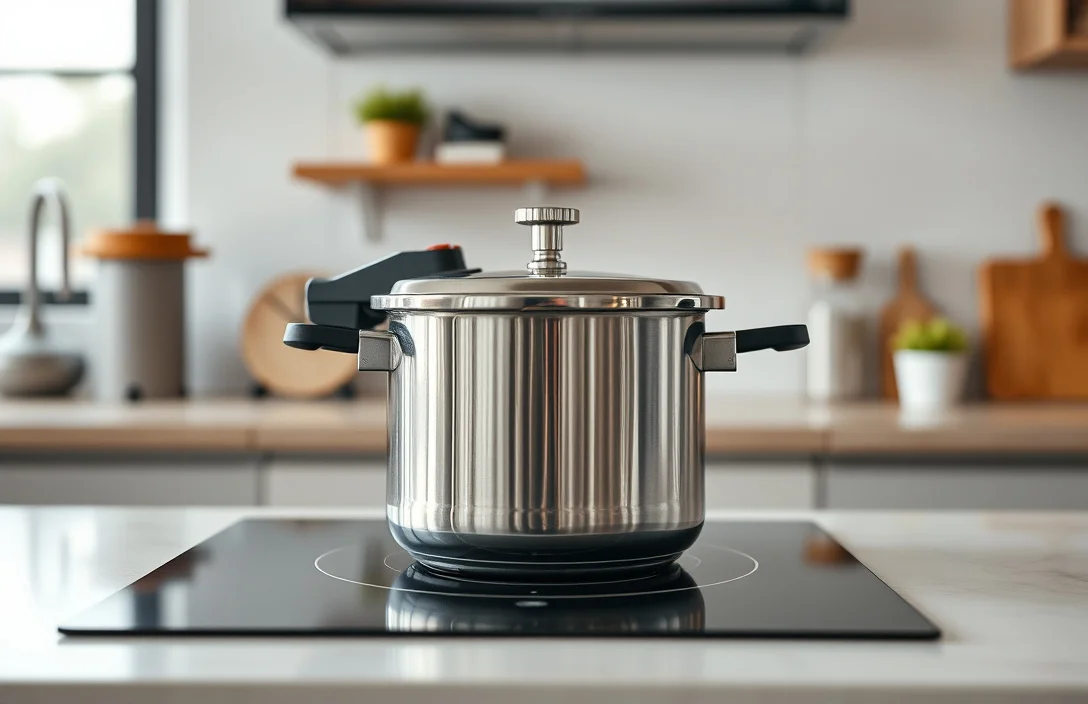
Your choices break into two buckets: pressure cookers that are truly induction-ready and workarounds when compatibility is unclear.
First, buy a stovetop pressure cooker that explicitly states induction compatibility and passes the magnet test on the bottom. Many models do this, especially stainless options with a magnetic base layer. If you’re shopping used, the magnet test is mandatory.
Second, match the pressure cooker type to induction reality. Electric pressure cookers don’t need induction heat across the bottom because they provide their own heating logic; the cooktop is mainly for connection, and some electric models don’t rely on the induction cooktop at all. Stovetop pressure cookers are the ones that must be induction-compatible – you need magnetic bottom contact and you control burner power yourself.
Third, consider whether you’ll sauté before pressure cooking. Induction setups can shine for quick sauté, then a fast switch to pressure. If your pressure cooker’s sauté relies on accurate temperature behavior, follow the manufacturer’s method instead of treating sauté like a generic pot.
Finally, choose accessories with the same mindset you use for safety parts. A trivet/steam rack, silicone sling, or replacement sealing rings can matter more on induction because fast boil-ups make you more sensitive to valve cleanliness and gasket seating. If the manufacturer sells a replacement gasket, get the correct one rather than a generic “fits most” ring.
If you want a simple decision rule:
- Stovetop pressure cooker, new purchase. Choose induction-compatible stainless (or cast iron where appropriate), then magnet-test.
- Electric pressure cooker. Induction compatibility usually isn’t an issue because you’re not relying on the induction cooktop for heating.
- Used purchase. Magnet test first, then test with water (no food) before committing to dinner.
what changes on induction
| Option | Key Spec / Compatibility Check | Best For |
|---|---|---|
| Induction-compatible stovetop pressure cooker | Magnet sticks firmly to base | Traditional stovetop control, faster tender results |
| Stovetop cooker with unclear base | Magnet test fails or is weak | Skip it for induction, or expect inconsistent heating |
| Electric pressure cooker | Not dependent on induction base | People who want less cooktop babysitting |
| Pressure cooker with thick walls / heavy base | More stable heating contact | Steadier pressure maintenance, fewer pressure swings |

Helpful pick
Presto 01784 23-Quart Induction Compatible Pressure Canner, Silver, Aluminum
This model explicitly states induction compatibility, ensuring reliable operation on an induction cooktop.
Expert Advice on Pressure Cooker on Induction Cooktop
Control heat to the pressure system, not the clock. Bring the cooker to pressure using moderate burner power, then reduce until it maintains pressure with minimal unnecessary venting. Induction amplifies oscillation when you keep changing power too often.
Respect your model’s minimum liquid and max fill lines. Induction can reduce your perceived “time to notice,” so low-liquid mistakes can lead to failed pressure builds or valve issues faster than with older, slower burners. If your recipe is thick, like chili, stay within the stated fill limits and add extra water only if the recipe suggests it as a safety move.
Clean the pressure parts between runs. Valves, regulators, and steam paths collect starch and residue, especially with beans and grains. On induction, pressure can come up quickly, so a partially obstructed valve can cause problems sooner. A quick rinse and gentle cleaning makes the next cook much more predictable.
Match the release method to the food. Natural release is forgiving for proteins and legumes. Quick release can be correct for vegetables and recipes designed for it. The right choice prevents “perfect texture” from turning into mushy foam or splatter near the valve area.
Don’t ignore what happens after pressure ends. Some foods keep thickening during depressurization. Depending on your cookware and the residual heat behavior, that can be more noticeable on induction. If your recipe includes a final rest time, follow it.
Helpful pick
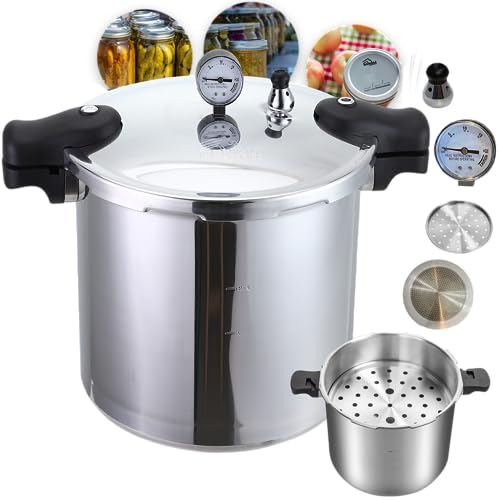
THE TANKER by Denali Canning – 23 Quart Beginner Friendly Pressure Canner & Cooker | Induction Compatible | Pressure Gauge, 15lb & 10lb Weights | Aluminum & Stainless Steel Parts | USA Company
Nice for induction: pressure gauge and weights enable precise pressure control with minimal venting.
Examples: Pressure Cooker on Induction Cooktop
Beans are where induction pressure cooking is most often won or lost. Use the right liquid amount, keep the fill below the max line, then bring to pressure. Reduce heat to maintain pressure, and follow the recipe’s recommended release method, because bean foam can clog valves if you overfill or under-liquid.
Chicken thighs and tougher cuts are where the time savings show up quickly. If your cooker supports it, sear on induction at moderate power, then pressure cook until tender. When switching to pressure mode, lower burner power quickly so you don’t get aggressive boiling before the cooker seals properly.
For rice and grains, the big issue is consistency. If your recipe uses a specific water-to-grain ratio, don’t freestyle it. Pressure cooking traps steam and starch, and induction can reach pressure quickly. Follow any rest time or natural release suggestion in the grain recipe to avoid texture surprises.
Thick soups like split pea or stew-style chili need careful thickness control. Start with a soup that isn’t too thick before sealing, stay below the fill line, and clean the steam/valve parts afterward. If you see valve-clog behavior on your first try, adjust thickness next time instead of raising heat to compensate.
If you’re new to pressure cooking on induction, this “start here” flow helps:
- Run a water-only test to confirm it reaches pressure properly.
- Use a conservative burner setting to avoid early venting.
- Cook one simple recipe (chicken or beans) with known liquid and timing.
- Note the burner power needed to maintain pressure, then write it down.
- Clean valves and gasket fully, and repeat with your next meal.
FAQ
What pressure cooker works on an induction cooktop?
A stovetop pressure cooker works on induction if the bottom is magnetic. Do the magnet test on the exact base that contacts the cooktop. If a magnet sticks firmly, induction can heat it. If it doesn’t, induction likely won’t generate enough heat, and the pressure cooker will struggle to reach pressure.
Do I need to use a special heat setting on induction?
Start on medium power to bring the cooker up to pressure, then reduce to the lowest setting that maintains pressure with minimal venting. Induction responds quickly, so high power can overshoot and cause noisy venting or unstable pressure. Keep the burner steady once you find the right level for your cooker.
Can I use quick release on induction pressure cooking?
You can, but only if the recipe says it’s safe for that food. Quick release vents steam fast, and induction can make pressure changes feel more abrupt once you lower power. For legumes, thick soups, and foods that foam, natural release often reduces splatter and valve-clog risk.
How long does it take to reach pressure on induction?
It depends on your cooker volume, liquid amount, and burner power level. Induction often reaches pressure faster than older coil or radiant burners because the system heats quickly. The safest approach is a water-only trial with your own pot and writing down the time it takes on your cooktop.
What’s the most common mistake when using a pressure cooker on induction?
Using too much heat or too little liquid. High burner power can cause early venting and pressure instability, while too little liquid can prevent proper steam generation or create valve issues. Match the recipe’s minimum liquid and max fill line, then fine-tune burner power to maintain pressure.

- 10 Best Slow Cooker For Mess Free Cooking 2026 (Tested And Reviewed) - October 24, 2026
- 10 Best Slow Cooker With Leak Resistant Lid 2026 (Tested And Reviewed) - October 24, 2026
- 10 Best Slow Cooker With Spill Proof Design 2026 (Tested And Reviewed) - October 24, 2026