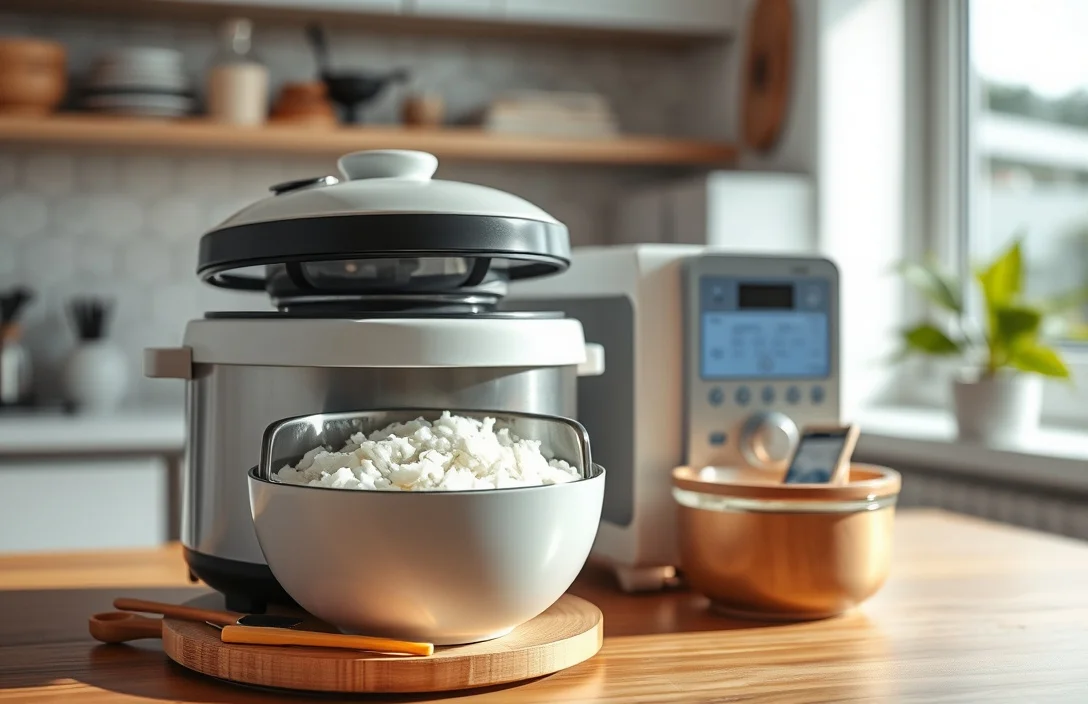
How To Use A Microwavable Rice Cooker?
Microwavable rice cookers deliver rice with fewer variables because they steam inside a covered bowl. The fix for crunchy edges or mushy clumps usually comes down to two things – water amount and microwave timing. Here’s how to use a microwavable rice cooker for dependable results, plus quick troubleshooting when the texture isn’t right.
Microwavable rice cooker basics: measure rice and water, rinse the rice if you want less stickiness, load both into the container, vent the lid (if your model uses venting), then microwave in intervals and rest for 5 to 10 minutes.
- Pick your rice type. White rice and brown rice need different water and different cooking times.
- Measure water carefully. Start with the cooker’s marked lines or your package ratio.
- Rinse for texture. Rinsing reduces excess surface starch and helps prevent gummy rice.
- Use staged microwaving. Short bursts improve even heating more than one long run.
- Rest before fluffing. A 5 to 10 minute rest finishes steaming and evens out moisture.
- Adjust next batch. If it’s dry, add water next time – if it’s wet, reduce water or time.
How to begin
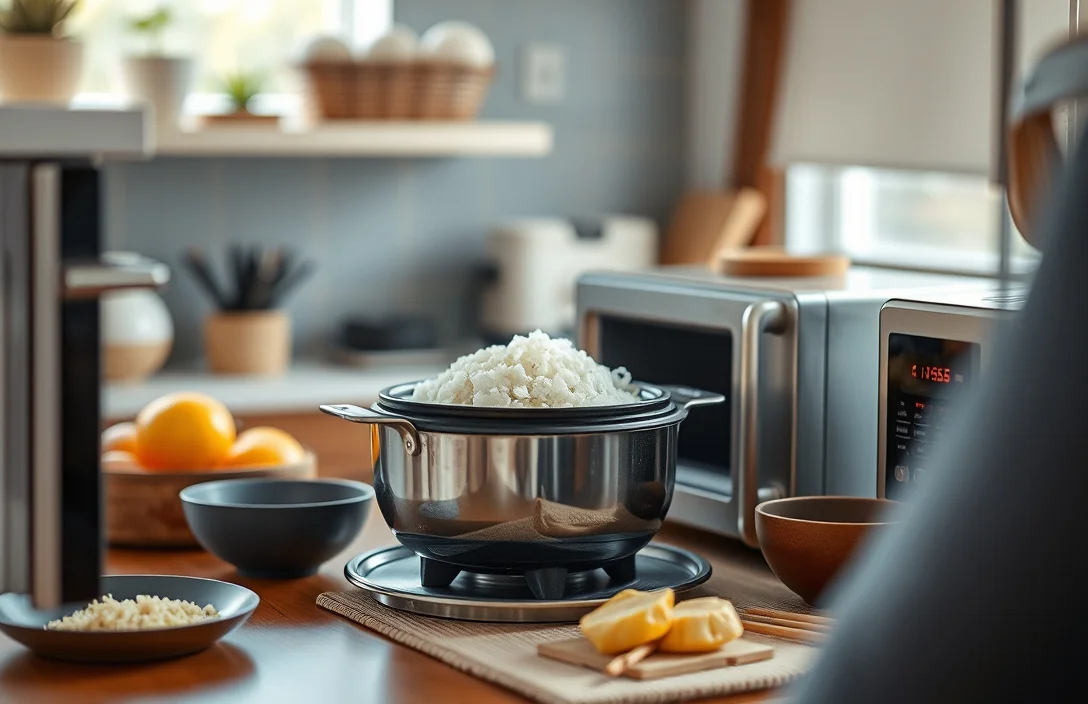
Microwavable rice cookers steam the rice by trapping water vapor between the rice, water, and the lid. The goal is tender, evenly hydrated rice – not crunchy on the outside or wet in the center. Your first win comes from matching the cooker to your microwave and sticking to the rice type and portion size the cooker expects.
Before you cook, check the container’s max fill line, the lid’s vent setting (or whether the vent is adjustable), and any “microwavable only” warning on the base or packaging. You also need the basics that make results repeatable – measuring cup, water, rice, and a microwave-safe spatula or fork. If the cooker includes a measuring cup or spoon, use it, because many cookers are calibrated to that exact portion.
Basics of how to use a microwavable rice cooker
Microwavable rice cookers are typically a covered bowl that steams like a mini steamer, or a container with an internal vent that controls steam build-up. Either way, the rice absorbs water while steam softens grains, and the rest period finishes the job off-heat. Skip rest time and you’ll often see “looks done” rice that turns uneven after the first scoop.
Water ratio is the biggest lever. Too little water leaves grains dry and undercooked. Too much water can leave the bottom gummy or make the whole batch overly wet. Rice type changes the math – white rice hydrates faster and needs less time, while brown rice keeps its bran and germ, slows hydration, and usually needs more cooking time.
Microwaves also heat unevenly, even at the same power level. That’s why intervals and rotating the bowl (if your model allows it) matter. Heat distribution is what helps every grain reach the same texture instead of relying on one long run that creates hot spots.
how to use a microwavable rice cooker
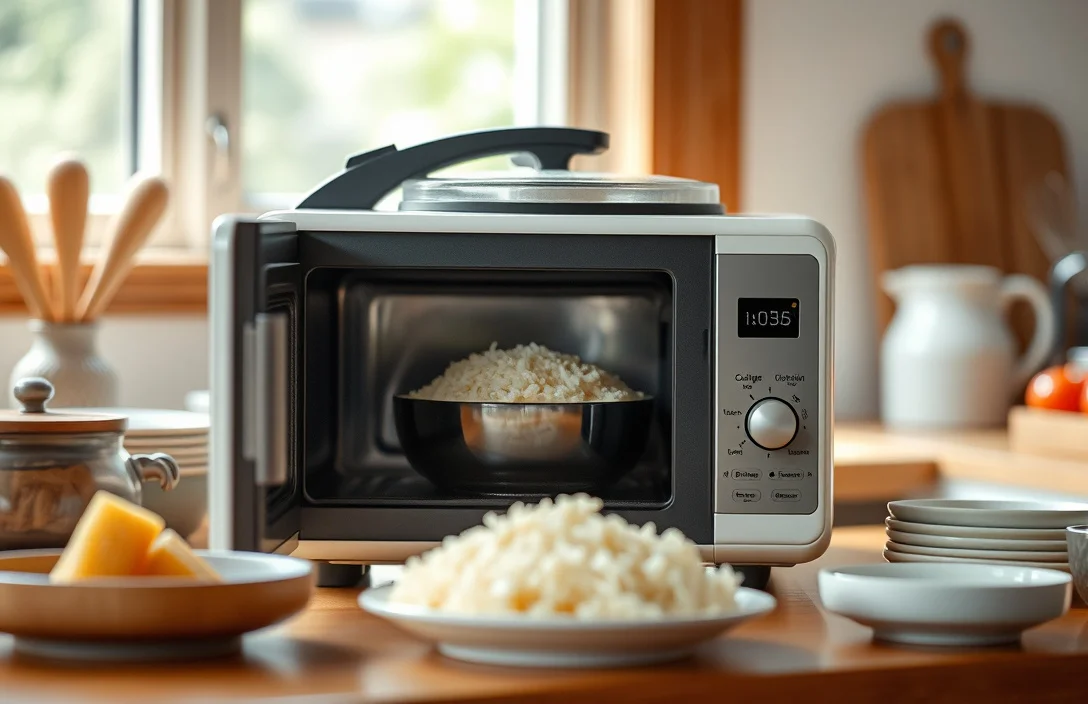
Start with the portion your cooker expects so you’re not guessing from the start.
- Measure the rice. Use the cooker’s included cup if it has one, then note the amount you used.
- Rinse or don’t, based on texture. Rinse white rice under cool water if you want less stickiness. Skip rinsing if you prefer a slightly more clingy result.
- Add water to the exact ratio. Use the cooker’s marked lines or the ratio on your rice package that matches your rice type.
- Load the cooker and position the lid. Add rice and water, then close the lid the way your model specifies (vent open or vent set to “cook,” if it has that option).
- Microwave in intervals. Use the cooker’s suggested time for your portion, then add time in short increments if needed.
- Rotate and rest. Rotate the bowl halfway through if your microwave has hot spots and your model supports it. After cooking, rest for 5 to 10 minutes before opening and fluffing.
Most people get the best results by watching steam behavior. You want steady steam during cooking, not violent boiling over the rim. If steam is weak, the cooker may be underheated or you may have too little water for the rice amount.
Quick example: 2 cups cooked (white rice)
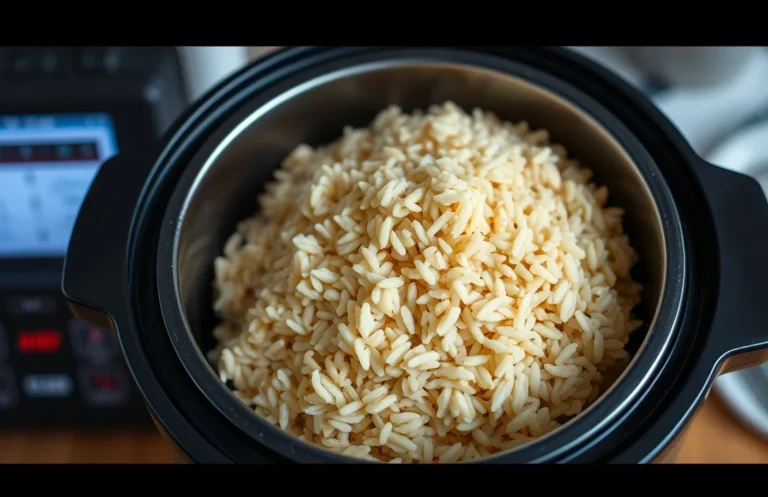
Measure white rice and add water to the line that matches your portion. Vent the lid as directed, microwave on the suggested interval for that amount, then rest 5 to 10 minutes. Fluff with a fork or spatula and check texture. If it’s slightly firm, add 1 minute at a time, rest again, then fluff.
Quick example: brown rice needs more patience
Use the cooker’s brown rice instructions (or your rice package ratio) and expect longer intervals plus a longer rest. If brown rice still feels chalky after the first cycle, add time in 1 to 2 minute increments and rest each time.
Things that matter most
Heat management drives the results. Microwaves heat unevenly, so staged cooking evens out absorption, and rotating the bowl improves the odds that grains finish tender at the same time. If your cooker says “no stir,” follow that – rotating can still help.
Resting is the other non-negotiable technique. A 5 to 10 minute rest continues steaming and redistributes moisture so rice becomes fluffy instead of tight or uneven. Fluff right after rest, not during the cooking phase.
Matching water level to your rice prevents most texture problems. Switching brands or rice styles (jasmine vs basmati, regular vs quick-cook brown) can shift how quickly water absorbs. Keep your measuring method consistent, then adjust water and time slightly next batch.
Here are the knobs you can change without overcorrecting:
- Add water by small amounts. If dry, add a tablespoon at a time (or the cooker’s smallest measurable increment).
- Reduce time if wet. If soggy, cut in 30 to 60 second increments.
- Keep rest consistent. If you rest 5 minutes one time and 15 the next, texture will swing.
- Avoid overfilling. Use the max line so rice can expand and steam correctly.
- Use the lid as designed. Don’t seal the lid differently from the manufacturer’s venting instructions.
What works in practice
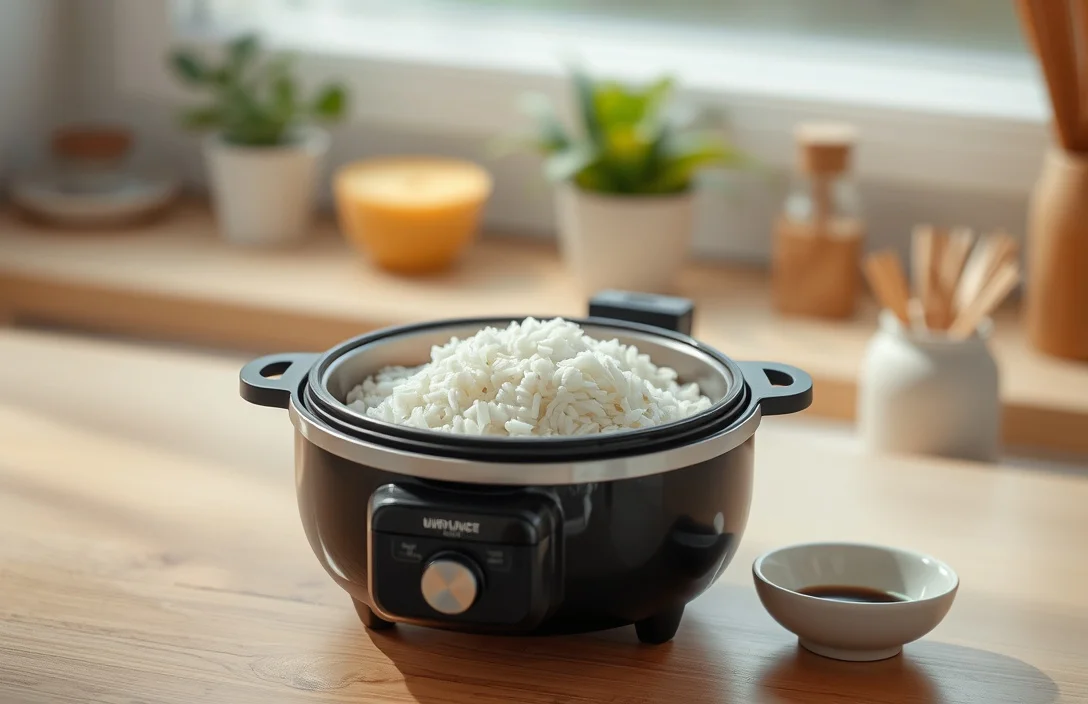
Follow the cooker’s fill lines and rice amount guidance first, then adjust based on what you see and taste. Microwavable cookers are tuned to a steam-to-water balance for certain portions, and changing that balance is how you end up with undercooked or overcooked rice.
Check your microwave settings. If your microwave has a power level choice, full power is commonly used for the cooking phase, while some instructions recommend lower power for finishing. Don’t overhaul power and timing at once – use the cooker’s portion guidance, then make small adjustments in time or water.
Use a simple “first batch logging” approach for faster improvement. Write down the rice type and amount, the water ratio (or cooker line), the cooking time you used, and how it turned out. After one or two batches, you usually know the exact combo that works for your microwave and that rice brand.
If you’re deciding between rice styles or portion sizes, use this quick guide to predict texture changes:
| Rice Type | What Usually Changes | Best For |
|---|---|---|
| White rice | Lower cooking time, less water than brown | Weeknight meals, meal prep |
| Brown rice | More water and longer cooking | Higher-fiber texture, firmer bite |
| Jasmine rice | Often stickier, may need slight water/timing tweaks | Slightly aromatic, softer clumps |
| Basmati rice | Often less sticky, can be sensitive to overcooking | Separate grains for rice bowls |
Mistakes to avoid with how to use a microwavable rice cooker
Adding too much water is the most common problem. Rice can look dry before it finishes steaming, especially when microwaves heat unevenly. If your batch ends up wet, fix it by reducing time or water next batch – not both at the same time.
Lift the lid too often and you’ll sabotage hydration. Opening during cooking releases steam that keeps the rice soft and even. Keep the lid closed during cooking, then open only after the rest period.
Skipping rest time also causes disappointment. You may get “fine” rice for the first scoop, but the grains tighten as they cool. Rest is where hydration finishes and texture sets.
Common errors that usually lead to bad results:
- Overfilling past the max line. Rice expands and can cause boil-overs and uneven cooking.
- Using the wrong rice amount for the timer. Most times assume a specific portion size.
- No venting when your lid requires it. Some lids vent to prevent mess and control steam.
- Microwaving repeatedly to “salvage” while the rice is still hot. Add small increments, but keep the rest consistent too.
- Blindly following package directions. Microwave rice cooker timing is different from stovetop timing.
Pro tips for how to use a microwavable rice cooker
Rinse with purpose. If you want separate grains, rinse white rice until the water runs mostly clear, then cook normally. If you want a slightly stickier texture for dishes that benefit from clumping, skip rinsing and adjust water or time if needed.
Fluff gently after rest. Heavy stirring can break grains and make the rice feel mushier than it is. Wait until the rest finishes, then fluff lightly to release steam and separate grains.
Scale up carefully. Doubling rice doesn’t mean microwave time doubles exactly because heat patterns don’t scale perfectly. Cook in intervals and rely on rest to finish hydration.
Serving matters, too. For rice bowls and fried rice, slightly firmer rice is easier to work with later, so you might stop 30 to 60 seconds earlier than “perfectly tender” on the first try. For sides and saucy meals, aim for tender rice with a full rest so it holds moisture and doesn’t dry out right away.
Troubleshooting quick fixes
- Rice is undercooked (still firm). Add 1 to 2 minutes, then rest 5 minutes, then fluff.
- Rice is dry on top. Rotate the cooker next time (if you can), and add 1 tablespoon water per batch.
- Rice is wet or gummy. Reduce cooking time in 30 to 60 second increments, and shorten next batch’s water slightly.
- Rice boils over. Use less rice or water next time, and confirm the lid vent is set correctly.
- Rice smells “off.” Stop cooking and discard if it smells burnt or sour. Start fresh with corrected water ratio.
FAQ
How much water should I use in a microwavable rice cooker?
Use the cooker’s marked lines or the ratio recommended for your exact rice type and portion size. If your rice turns out dry, add water a tablespoon at a time next batch. If it turns out wet, reduce water slightly or cut cooking time in 30 to 60 second increments.
Do I need to rinse rice before microwaving it?
Rinsing is optional, but it changes texture. Rinsing white rice removes excess surface starch, which often reduces gummy results. Skip rinsing if you prefer stickier rice, then adjust water or time based on the outcome.
What cooking time should I set for my microwavable rice cooker?
Start with the time on the cooker instructions for your rice amount. Because microwaves heat differently, use intervals after the initial time, adding 1 to 2 minutes as needed, then rest 5 to 10 minutes before checking texture.
Why does my rice come out uneven or crunchy in spots?
Uneven heating usually causes it. Rotate the cooker halfway through (if safe and supported by your model), cook in intervals, and do not open the lid during cooking. Also use the correct water level and include the full rest time.
Can I use a microwavable rice cooker without the included lid?
No. The lid (or the required cover) traps steam for even cooking. If your model has a specific vent position, use that setting too. Without the correct lid/cover, rice is more likely to end up with dry edges and inconsistent doneness.

- 10 Best Slow Cooker With Cool Touch Handles 2026 (Tested And Reviewed) - October 22, 2026
- 10 Best Slow Cooker With Quality Construction 2026 (Tested And Reviewed) - October 22, 2026
- 10 Best Slow Cooker With Premium Construction 2026 (Tested And Reviewed) - October 22, 2026