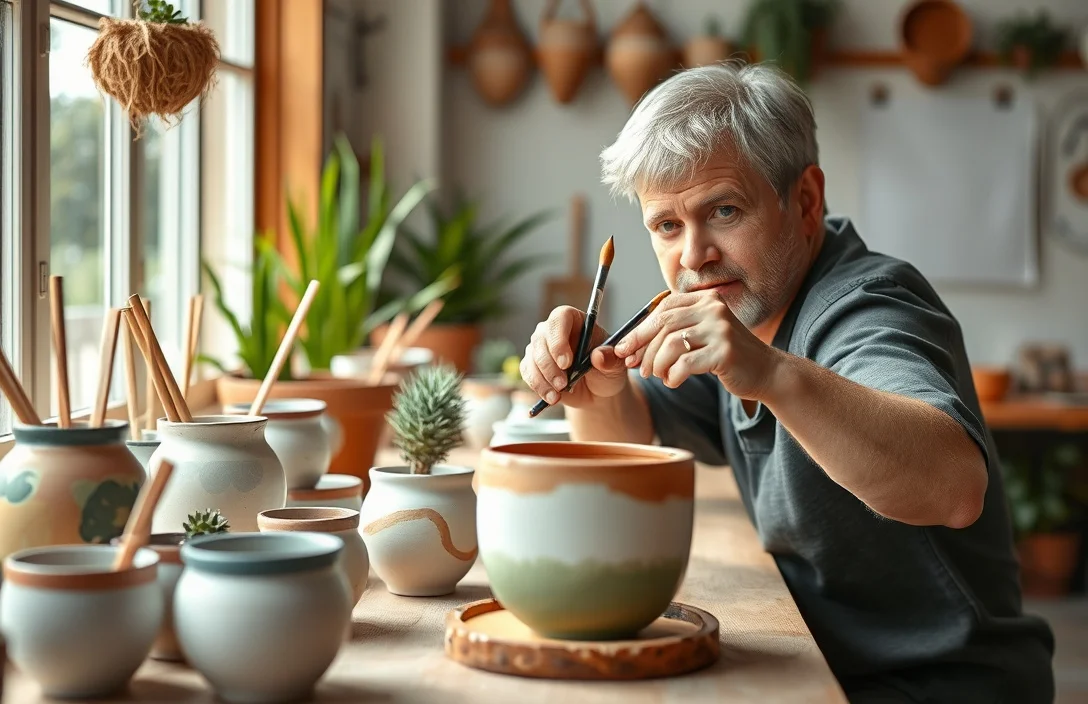
Can You Paint Ceramic Flower Pots?
Yes, you can paint ceramic flower pots, but only if you prep them so the paint actually grips. Ceramic glaze is slick, so skip the “just spray it” mindset. Plan on cleaning, light sanding, priming, painting in thin coats, and sealing with an outdoor-rated topcoat.
Painting ceramic flower pots holds up best when you use a bonding or adhesion primer (made for slick surfaces like tile and ceramic), paint in thin layers, and seal with a clear outdoor sealer. To boost adhesion, lightly sand the glaze, clean thoroughly, then prime before any color coat. If you want food-safe or plant-contact use, avoid painting the interior unless you’re using a system that’s truly plant-safe.
Key Takeaways
- Yes, with prep. Sand and clean ceramic glaze first, or the paint peels within weeks.
- Primer is non-optional. Use a bonding primer made for slick surfaces.
- Thin coats win. Two to three light coats beat one heavy coat for smoother coverage.
- Seal for durability. Outdoor pots need a clear sealer so water and UV do not ruin the finish.
- Interior needs caution. Paint the inside only if you keep it away from soil contact or choose a plant-safe system.
- Fix chips immediately. Touch up bare spots fast so moisture cannot creep under peeling paint.
What to Know Before Painting Ceramic Flower Pots
Ceramic planters are usually glazed, which means they sit on a smooth, non-porous surface. Regular craft paint doesn’t bond well to that top layer unless you create texture and use the right primer.
Ceramic pots also take wear in two ways: moisture and abrasion. Even if paint looks good right after painting, rainwater, soil moisture, and repeated handling can lift paint at edges and around chips first.
Decide early whether the job is exterior-only or includes the interior. Exterior work is straightforward with a durable primer and outdoor sealer. Painting the inside raises plant-contact concerns, especially if soil will sit against the coating.
Things that matter most
Your success depends on adhesion, not color. A lasting finish comes from three layers: surface prep, a bonding primer, then paint, finished with a clear sealer.
Prep isn’t just a rinse. Clean off debris and grease with a degreaser, then lightly roughen the glazed surface so the primer has mechanical grip, not just something to “sit on.”
Match the paint system to the conditions. Outdoor pots need exterior-rated paint plus a clear sealer that tolerates moisture and UV. If you skip sealing, water can creep into micro-gaps at paint edges and work underneath over time.
Tips for Painting Ceramic Pots That Don’t Peel
Start with an adhesion test on a hidden spot. After sanding and priming, paint a small area, let it dry fully, then scuff it with a fingernail or a cloth. If it flakes, you need better sanding and a stronger bonding primer, not thicker color paint.
Use a gentle scuff sand, not aggressive grinding. You’re dulling the shine and creating texture. Don’t sand through the surface or try to remove the glaze completely.
Paint in thin coats and follow dry times. Thick coats trap moisture, cure unevenly, and can develop cracking or a soft surface that scratches easily when you move the pot.
Seal after the paint has cured. “Dry to the touch” isn’t the same as fully cured. Sealing too early can lock in softness and make the finish easier to damage.
Here’s a practical workflow that fits most ceramic pots:
- Remove grime and dust. Wash with warm water and a degreaser, then rinse and let it dry.
- Scuff the glaze. Lightly sand with medium grit until the surface is no longer glossy.
- Wipe clean again. Remove sanding dust with a tack cloth or a damp lint-free wipe.
- Prime with bonding primer. Apply a full, even coat and let it dry completely.
- Paint with exterior paint. Spray or brush in thin coats, usually 2-3.
- Let cure. Give it hardening time, especially for outdoor exposure.
- Seal. Add an outdoor-rated clear sealer (matte, satin, or gloss).
Benefits of Painting Ceramic Flower Pots
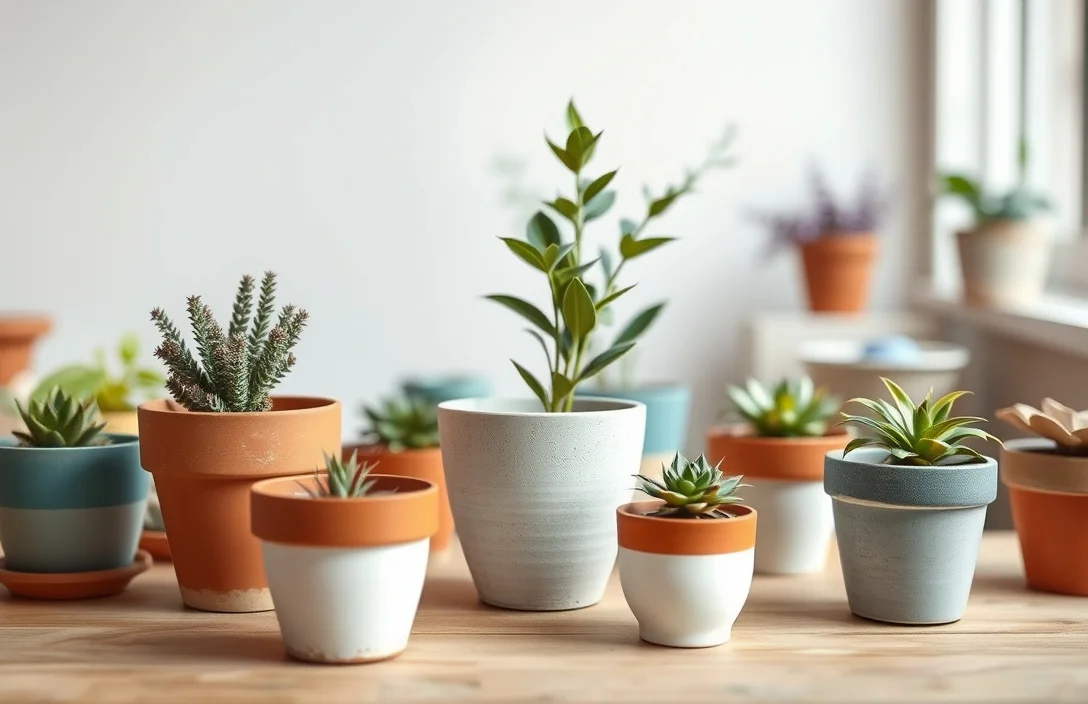
Painting ceramic pots helps you match your planters to your space without buying a whole new set. A terracotta look can become modern white, and an existing glazed pattern can be transformed into a color that fits your porch, patio, or indoor shelf.
You can also correct small imperfections. Paint plus primer can cover minor chips and scuffs, while sealing protects edges that otherwise catch grime and water.
The biggest payoff comes from lifespan when you do the job correctly. A bonding primer paired with a good sealer turns a weekend project into a finish that holds up season after season on outdoor planters.
Paint also gives you room for creativity. You can stencil, go for ombré effects, or create faux ceramic textures, as long as you keep coats thin and let each layer cure.

Helpful pick
WEBEEDY 4 Sets DIY Ceramic Succulent Pots Paint Kit for Adults Beginner DIY Paintable Ceramics Pots with Butterfly Flower Stencils, Paints, Brushes, Palettes Paint Your Own Pots for Home Decor
This kit provides paints, brushes, and stencils to effortlessly customize pots to match your space.
Paint Options for Ceramic Pots
Several paint systems can work, but they vary in durability and how much prep they demand.
| Option | Key Spec/Price Type | Best For | Main Risk |
|---|---|---|---|
| Bonding primer + exterior acrylic paint | Aerosol or brush-on primer, craft/exterior acrylic color | Most home DIY projects | Skipping sanding, leading to peeling |
| Spray paint system for ceramics/glass (with primer) | Spray color + adhesion primer | Smooth, even finish fast | Over-spraying thick coats |
| Epoxy-based coating (2-part) | Higher durability, longer prep | Outdoor pots that get handled often | Strong fumes, longer curing and more steps |
| Chalk paint + sealer | Chalk paint look with clear topcoat | Indoor pots or low-moisture areas | Moisture can lift without the right sealer |
| Paint markers + sealed topcoat | Detail pens, then protective sealer | Designs, labels, small touchups | Marker ink can smear if not sealed well |
For most people, bonding primer plus exterior acrylic (or a ceramic-friendly spray system that includes primer) is the best balance of durability and ease. Chalk paint can look great, but it’s more sensitive to water unless the sealer and curing time are right.
Expert-Level Moves That Make a Difference
Treat ceramic like glass: the glaze is essentially non-porous, so primer grip depends on cleanliness and added texture.
Use the correct primer. Look for bonding or adhesion primer intended for slick surfaces such as tile, metal, or glazed ceramic. Regular wall primer often fails on glossy ceramic because it’s built for porous drywall, not a smooth glaze.
Don’t paint on a cold or damp pot. Temperature and humidity change how paint flows and cures. That can lead to uneven texture, tackiness, or slower hardening that makes the finish easier to damage. Keep conditions stable, and let each layer set before sealing.
Seal intentionally. Outdoor pots face splashes, condensation, and wet soil. An exterior-rated sealer prevents the paint from going chalky and blocks moisture from getting under the coating at the edges.
Examples of Ceramic Pot Paint Jobs
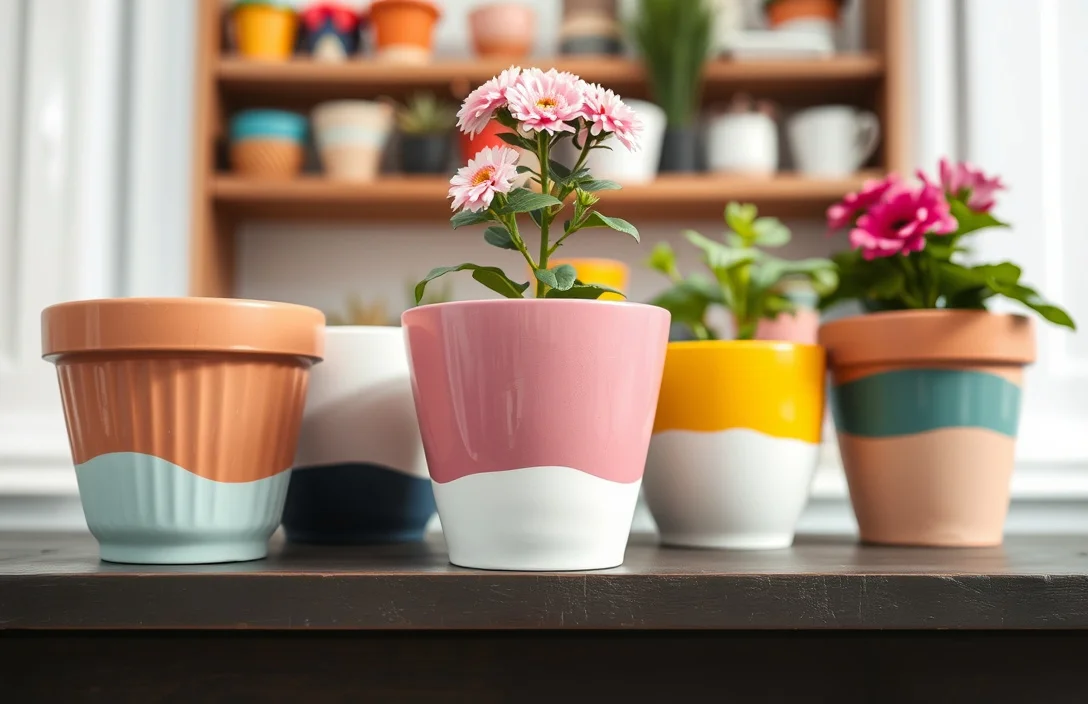
For a clean beginner option, paint a plain white exterior pot. Scuff sand the glaze, prime with bonding primer, then spray two light color coats. Finish with a satin outdoor clear sealer and let it cure before returning plants to the pot.
For a design, use stencils for geometric shapes. After priming, place the stencil and paint the shapes in thin coats. Remove the stencil while the paint is still workable enough to avoid tearing edges. Seal after full curing so the patterns don’t scuff when you move the pot.
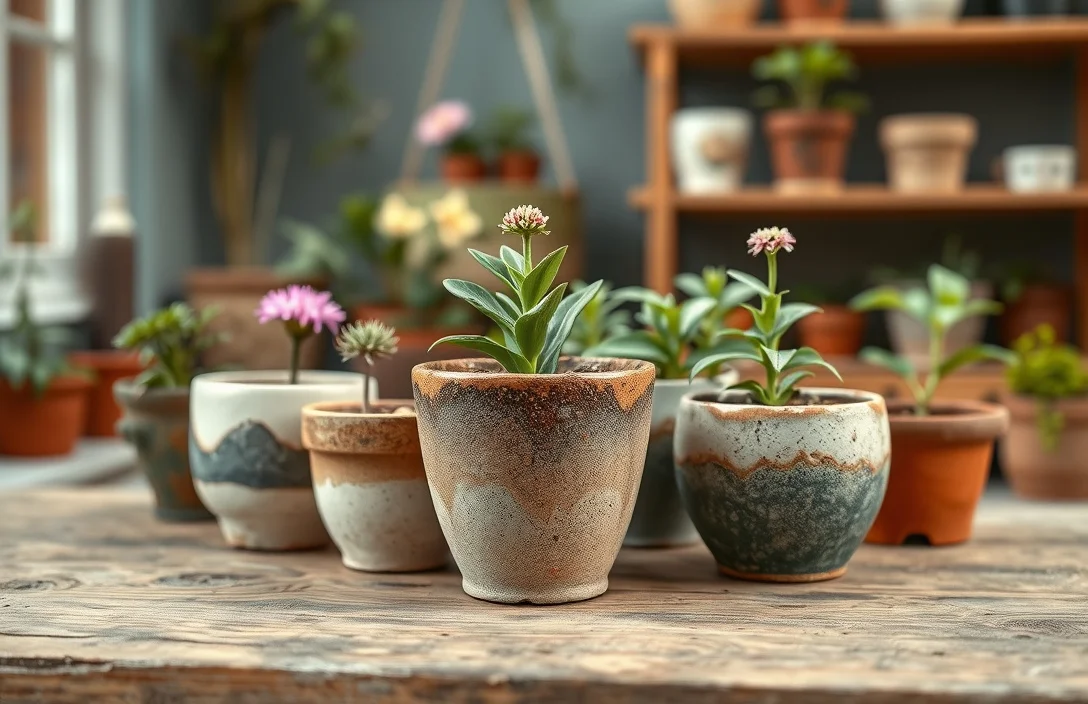
For an “old pot” refresh, repaint hairline chips. Sand the chipped areas smooth, prime those spots thoroughly, and blend the primer outward so you don’t create a visible ridge. Color coat and seal the entire exterior, not just the damaged spot, since mismatched edges are where peeling starts.
Test each pot type you own with a small test square. Ceramic glazes vary in thickness and finish, and a quick test helps you avoid repainting an entire set.
FAQ
Can you paint ceramic flower pots without sanding?
You can, but it’s risky. Glossy ceramic glaze blocks adhesion, so paint often peels or flakes after watering cycles. If you want it to last, scuff sand to dull the shine, use bonding primer for slick surfaces, then add color and finish with a clear outdoor sealer.
What primer works best on ceramic flower pots?
Bonding or adhesion primer for slick surfaces works best because it’s made to grip non-porous material like tile and glazed ceramic. Apply a full coat after you clean and scuff sand, then let it dry completely before painting. Skipping primer is the most common reason ceramic paint peels.
How long does it take to paint a ceramic pot?
Skip the “overnight” plan. Prep and sanding often take 30-60 minutes, primer and paint need dry times, and sealer should go on after the paint cures. Most DIY ceramic finishes take about 24-72 hours depending on humidity and the product instructions.
Is painted ceramic safe for plant contact?
Exterior-painted ceramic is usually fine if the coating is sealed and soil never touches bare paint. Interior painting is harder because constant moisture and root contact stress coatings. If you paint the inside, use a finish meant for plant or food-contact, or line the pot instead.
What’s the most common mistake when painting ceramic pots?
Rushing prep. People wash the pot but don’t scuff the glaze, then use regular wall primer or thick coats. The fix is straightforward: clean thoroughly, scuff sand until the shine dulls, prime with bonding primer, and apply thin coats.

- Top 10 Best Invisible Induction Cooktop 2026 - July 25, 2026
- Best Kirkland-style 15-piece Hard Anodized Cookware Set Selection Guide 2026 - July 25, 2026
- Top 10 Best Induction Cooktop Reviews 2026 - July 25, 2026