How To Use A Dutch Oven As A Slow Cooker?
Dutch oven slow cooking works because the heavy pot holds steady heat longer than a typical pan, so braises and stews become tender without constant attention. You can get that “set it and forget it” feel using a Dutch oven – as long as you bake covered, manage liquid, and cook to doneness, not just time.
Key Takeaways
- Choose the right temp. Bake covered at 250°F to 300°F for slow-cooker style results.
- Brown first. Sear meat and toast aromatics before baking for deeper flavor.
- Use enough liquid. Aim for liquid coming at least one-third up the sides of the food.
- Doneness beats the clock. Cook until meat is fork-tender, not just “X hours.”
- Don’t lift the lid. Each peek slows cooking and drops pot temperature.
- Plan for thickening. Reduce uncovered at the end or stir in a slurry if needed.
How to begin
A Dutch oven slow-cooker setup starts with one choice – covered oven baking. Stovetop “low simmer” can mimic slow cooking, but it’s harder to keep evenly low for hours, and you end up checking the pot more often.
Use a covered Dutch oven that fits your food with a little breathing room. If the pot is too big, the dish can evaporate faster than you expect because there’s more surface area and less consistent moisture. For most family meals, a 5.5 to 7.5 quart Dutch oven is a practical sweet spot. The goal is simple: liquid stays stable and the whole dish cooks evenly.
Pick recipes that are built for long, gentle cooking – stews, braises, beans, and tough cuts of meat. When adapting a slow-cooker recipe, the ingredient list usually isn’t the hard part. Timing and moisture are.
Basics of Dutch Oven “Slow Cooker” Cooking
Dutch oven slow-cooker cooking is covered baking at low, steady heat. The pot’s mass – cast iron or enameled – traps warmth so the interior temperature stays close to your oven setting while the dish gently bubbles under the lid.
A strong baseline is 250°F for long, gentle tenderness, and 300°F when you want faster results. At 250°F, breakdown tends to be more gradual with less risk of boiling off moisture. At 300°F, you still bake covered, but total time is usually shorter.
Liquid management makes the difference between “slow cooked” and “boiled down.” Use enough broth, water, or sauce to simmer during the bake, but not so much that the finished dish tastes watery. A practical target is liquid coming up at least one-third of the way on the ingredients.
How to Use a Dutch Oven as a Slow Cooker
Use this method for most slow-cooker-style dishes.
1) Preheat the oven to 250°F or 300°F. Choose 250°F for tough cuts and 300°F for faster stew thickening.
2) Sear the meat (optional but worth it). Heat oil over medium-high and brown meat in batches. Remove to a plate when it has color. Crowding steams meat, and you lose the flavor boost you want.
3) Cook aromatics briefly. Sauté onions, garlic, carrots, or celery until softened, 3 to 6 minutes. Scrape up browned bits, then add spices (and tomato paste if using) for 1 minute.
4) Build the sauce and add liquid. Stir in broth, crushed tomatoes, beer, or water until liquid reaches at least one-third up the sides of the food. Season with salt carefully, since the liquid reduces as it cooks.
5) Cover and bake. Return meat (and any juices) to the pot. Bring the contents to a gentle simmer if possible, then cover tightly. Bake until fork-tender, usually 2 to 6 hours depending on the dish and cut.
6) Check halfway, not constantly. At the halfway point, stir gently and verify liquid level. If it’s getting low, add a splash of hot broth or water so the dish doesn’t dry out.
7) Adjust thickness at the end. If the stew looks thin, uncover and reduce for 10 to 20 minutes. If it’s too thick, add a ladle of liquid and stir until glossy.
8) Finish with final seasoning. Taste and adjust salt, acid (a splash of vinegar or lemon), and pepper once the dish is tender.
Practical time guide
- Chicken thighs, pulled chicken, or shredded chicken: often 1.5 to 3.5 hours.
- Pork shoulder or chuck roast: often 3 to 6 hours.
- Beans (soaked) and lentils: often 45 minutes to 2.5 hours, depending on type and whether you add acidic ingredients.
Doneness cues prevent overcooking:
- Meat: fork-tender is the gold standard.
- Beans: fully tender interiors with a creamy texture.
- Stews: a simmering bubble that never turns into a hard boil.
Suggested Dutch oven setup details
A Dutch oven straight from the oven is usually fine with a typical stovetop workflow, but avoid sudden temperature shocks. Don’t put a cold pot directly onto high heat. With an enameled Dutch oven, be extra careful with thermal swings and preheat the oven before placing the pot inside.
Add delicate ingredients near the end. Peas, fresh herbs, and dairy can fade or break down with long baking.
Things that matter most
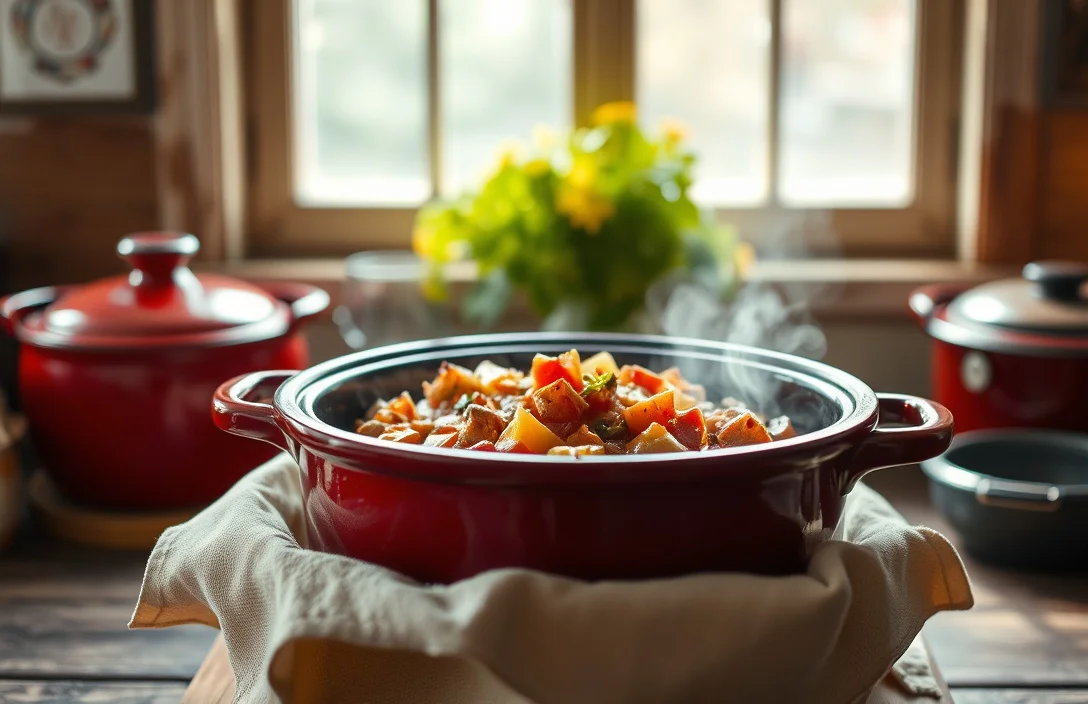
Keep the lid on. Lifting it releases steam, drops the pot’s temperature, and slows cooking. It also changes how quickly the sauce reduces, which can shift your final thickness.
Get the liquid right before baking. Too little and the edges dry out before the center is tender. Too much and you spend the last step reducing the dish just to reach the thickness you expected.
Don’t trust sauce color alone. Tomato-based sauces can look done before collagen breaks down in tougher meats. If you want fork-tender results, check with a fork or thermometer.
Match solids to the cook time. Carrots, onions, and potatoes usually hold up through a full braise. Green beans, spinach, and zucchini belong closer to the last 30 to 60 minutes.
Choose cut size and cook time together
Larger pieces need longer cooking even in the same Dutch oven. Aim for similar chunk sizes when possible so texture stays even. Thick cuts take hours. Shredded-friendly poultry often finishes much sooner.
If you’re converting a slow-cooker recipe with a “high” or “low” time, remember Dutch oven heat is more oven-controlled than a slow cooker’s thermostat cycling. Start toward the middle of your timing window, then adjust based on doneness instead of adding time blindly.
Liquid level and evaporation reality
Even covered, a Dutch oven loses some moisture. Lid fit matters: a looser lid or drier climate can increase evaporation. Check around the halfway mark, then top up only if you truly need it using hot liquid.
What works in practice
Treat your Dutch oven like a covered “low-bake braiser,” not like a casual pot roast simmer. Preheat when needed, sear for flavor, keep liquid at the right level, and finish by reducing or thickening as required.
Here’s what to aim for:
- Covered bake (most like slow cooker): 250°F to 300°F. Great for stews, braises, and shredded meats. Your watch-out is keeping enough liquid so it simmers, not dries.
- Stovetop low simmer: low simmer (varies). You get quick “slow-cooker vibes,” but it’s harder to hold steady heat for hours.
- Stovetop + oven finish: simmer 10-20 min, then bake. This works for browning-heavy recipes, but you can over-reduce if you simmer too long before baking.
If you’re matching slow-cooker “low” vs “high,” 250°F is the closest analog for long tenderness, while 300°F is faster but still gentle.
Meat shredding and pulling
Shredded meat needs tenderness plus a texture that falls apart. Check earlier than you expect for dark-meat chicken, because it can go from tender to mushy near the high end of the time range.
For pork shoulder and chuck, give collagen time to break down. If the meat is still firm at the low end, keep it covered and check every 30 to 45 minutes.
Mistakes to Avoid with Dutch Oven Slow Cooking
The biggest mistake is using too much heat or leaving the lid off. Hard boiling breaks texture, makes sauces taste thin and metallic, and evaporates liquid faster than the center can tenderize.
Skipping initial browning is another common problem in meat braises. You don’t need to brown forever, but you do need surface color. That browning builds a flavor base your sauce carries through the long cook.
Relying on the clock without checking doneness causes tough results. Time copied from a slow cooker can fail when cut size or thickness differs. You want the inside to reach fork-tender, not just the edges.
Add dairy and delicate greens late. Milk-based ingredients can split or turn grainy, and greens can dull with long heat. Stir them in near the end once the braise is tender.
| Problem | Likely Cause | Fix |
|---|---|---|
| Dry stew | Not enough liquid or evaporation | Add hot broth during halfway check |
| Tough meat | Not enough time at gentle heat | Keep covered, check every 30-45 minutes |
| Thin sauce | Not reduced long enough | Uncover 10-20 minutes, then stir |
| Grainy dairy | Dairy added too early | Remove from oven, stir in dairy near end |
| Burnt bottom | Too hot, or sugary ingredients too early | Lower temperature, add liquid, and prevent thick paste from sticking |
Also avoid overcrowding the pot. If ingredients pack too tightly, the Dutch oven can cool unevenly and the dish steams instead of braises. Leave enough space for gentle simmering and occasional stirring.
Pro Tips That Make the Conversion Easier
Use a thermometer when precision matters. For poultry, aim for safe internal temperatures, then keep baking just until texture matches your goal – fork-tender for thighs, shred-ready for larger pieces. For tougher cuts, tenderness still wins, but temperature helps you catch undercooked centers.
Add acidic ingredients at the end when beans are the focus. Acid can slow softening depending on bean type and recipe composition. If your dish includes vinegar, wine, or tomato, you can use them early for flavor, but consider adding part later if beans are your priority.
Scaling up changes cooking time. Larger batches can transfer heat more slowly and extend tenderness. Start within the same time range, check earlier than usual, and adjust.
For thicker, slow-cooker-style consistency without flour, thicken with potato or mashing. Add chunked potato or some beans during the cook, then mash a portion at the end to naturally thicken the sauce.
Storage and reheating that holds up
Cool leftovers quickly, then refrigerate in shallow containers. Dutch oven dishes often thicken as they cool, so reheat with a splash of broth or water and stir until loose and saucy again.
Reheat gently, covered, so you don’t boil and break the texture apart. Most stews and braises taste better the next day because seasoning distributes more evenly.
Freezer-friendly notes
Many braises and stews freeze well, especially meat-forward ones. If your sauce is dairy-based, freeze only if you’re okay with possible texture change, since dairy can separate after thawing. For best results, freeze a version without delicate finishing touches, then add them after reheating.
FAQ
Can I use a Dutch oven as a slow cooker without preheating the oven?
You can, but results are less reliable. Dutch oven slow cooking depends on steady heat, and preheating helps you hit the temperature you expect. Skipping it can shift total cook time and lead to uneven tenderness, especially in the center of large meat pieces.
What’s the best temperature range to mimic a slow cooker?
Most slow-cooker style Dutch oven cooks land between 250°F and 300°F, covered. Use 250°F for tougher cuts that need longer tenderness. Use 300°F when you want the same covered-braised flavor but faster results.
How do I convert slow cooker time to Dutch oven time?
Match the intent first: “low” usually maps closer to 250°F, and “high” maps closer to 300°F. Then ignore the exact clock and cook to doneness cues, especially fork-tender meat. With thicker cuts, check at least once before you reach the slow cooker’s high end.
Is it safe to cook meat this way in a Dutch oven for hours?
Yes, as long as you keep the dish covered and follow safe food handling. Cook at your chosen oven temperature and avoid letting the dish sit at an uncertain low simmer. If you’re unsure about doneness, use a thermometer for the final check before serving or shredding.
What’s the most common mistake people make when using a Dutch oven as a slow cooker?
Leaving the lid off or cooking too hot turns slow braises into fast reductions or uneven drying. The second big mistake is copying slow-cooker time without adjusting for cut size and liquid level. Keep it covered, maintain simmering liquid, and verify doneness with a fork or thermometer.
If you want the simplest next step, pick a forgiving recipe like beef stew, set your Dutch oven to 250°F covered, sear first, and bake until fork-tender instead of watching the clock. Once you nail that, you can adapt almost any slow cooker meal using temperature, liquid level, and timing.

- 10 Best Slow Cooker With Cool Touch Handles 2026 (Tested And Reviewed) - October 22, 2026
- 10 Best Slow Cooker With Quality Construction 2026 (Tested And Reviewed) - October 22, 2026
- 10 Best Slow Cooker With Premium Construction 2026 (Tested And Reviewed) - October 22, 2026