How To Decorate Plant Pots For Christmas?
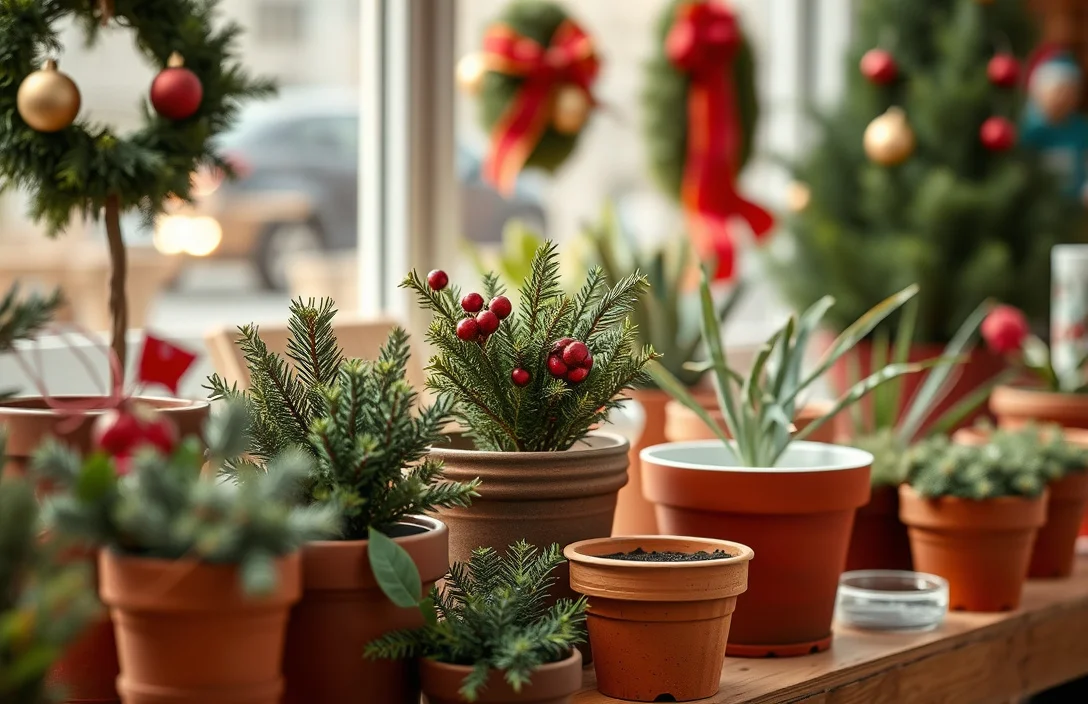
Christmas-ready plant pots make a room feel “done” fast, even if you’re only decorating a windowsill or a porch step. You can cover old terra-cotta or plain plastic with inexpensive supplies and get a clean, holiday look in a single evening. This tutorial walks you through decorating plant pots for Christmas using paint, glue, and simple seasonal materials, with tips for keeping things tidy and safe for plants.
Decorating plant pots for Christmas goes best when you decide the pot material first, prep correctly (clean, dry, scuff-sand), seal any paint, and finish with removable ornaments or weather-resistant details. Start with 1 pot, sketch your design, paint in thin coats, then add accents after the base is fully cured, usually 24 hours.
Key Takeaways
- Choose pot material first. Terra-cotta, ceramic, and plastic need different prep so paint and adhesives actually stick.
- Clean and dry thoroughly. Dirt and dust are the #1 reason decorations peel or look blotchy.
- Prime when needed. Smooth plastic almost always needs adhesion primer for a lasting finish.
- Use removable accents. Hot glue and ornaments work great, but keep them easy to remove for next season.
- Seal for durability. A clear matte or satin sealer helps protect paint from fingerprints and moisture.
- Plan around watering. Keep glue lines and painted areas away from the soil line and drainage holes.
How to begin
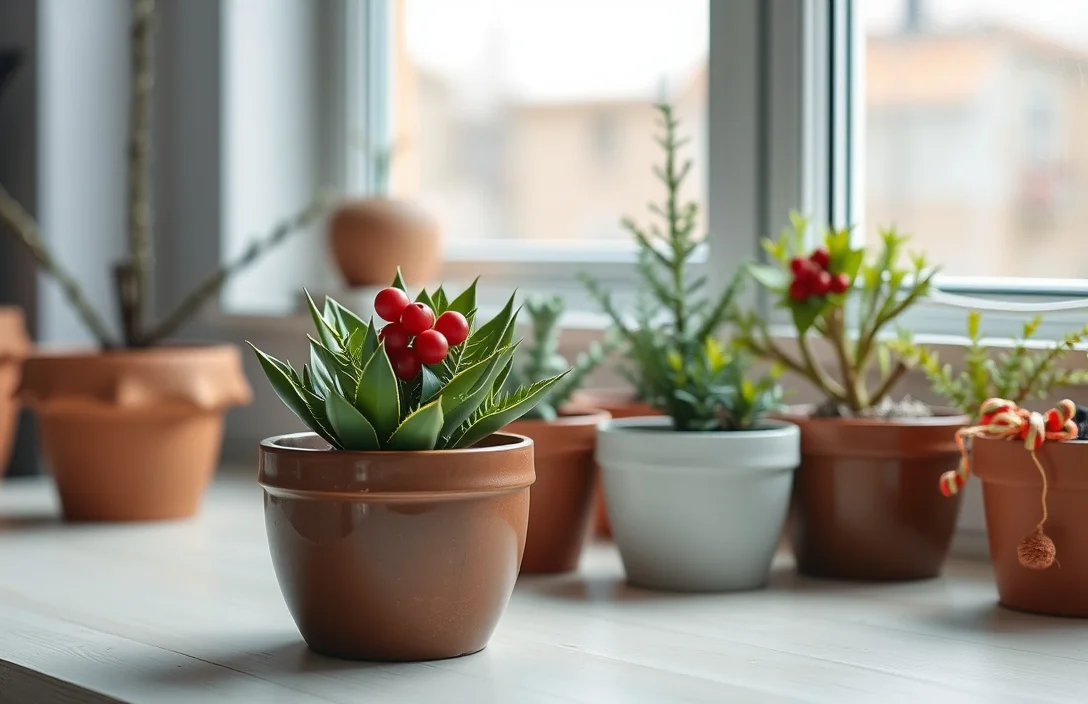
Pick where the pot will live during December before you buy supplies. Indoors, you can lean into lighter, paper-based decorations and simpler finishes. Outdoors, wind, rain, and sun demand better sealing and more weather-resistant details.
Decide whether the pot stays planted through the season. If it’s going to hold a living plant, keep adhesives off the soil and don’t cover drainage paths. If it’s purely decorative, you can go bigger with themed wraps, faux snow, and heavier embellishments.
What you need to decorate plant pots
- A pot (terracotta, ceramic, or plastic all work)
- Painter’s tape (for clean edges)
- Craft paint (acrylic works well)
- Adhesion primer (especially for smooth plastic)
- Clear sealer (matte or satin, depending on your look)
- Scissors and a brush
- Adhesives: hot glue (fast) and/or craft glue (for lighter items)
If you already have paint and glue at home, great. The only “buy it twice” item is usually adhesion primer for plastic – skip it and you’ll redo the pot in January.
Basics of how to decorate plant pots for Christmas
A Christmas pot has a base finish and a holiday “story.” The base finish is paint, wrap, or a textured coating. The story is the details, like a Santa face, candy-cane stripes, pine branches, or a winter village look.
Paint first, decorations second. Paint gives you control and even coverage. Then add accents with tape, stencils, felt, twine, mini ornaments, or faux greenery. This order also prevents glue bumps from showing through thin paint.
Pick a design that matches your time
Choose based on how fast you need results and how comfortable you are with drying time. Simple stripes, a solid color with ribbon, or a faux “wrap” look using paper and twine are quick and clean. Character-heavy designs – stenciled snowflakes, a face, or small themed scenes – look great, but plan extra drying time between layers.
Designs should read from a few feet away. If the shape doesn’t make sense when the pot is sitting with your other decorations, you’ll feel stuck later trying to add “just one more detail.”
how to decorate plant pots for Christmas
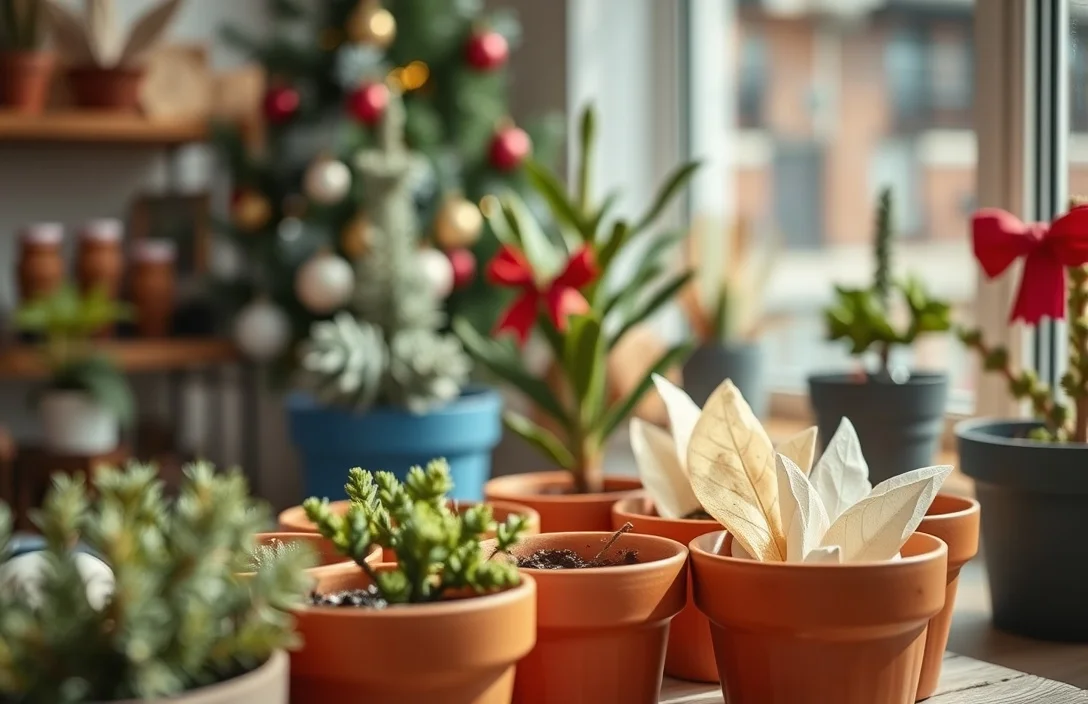
- Wash the pot. Use warm water and a little dish soap, then rinse well and let it fully dry.
- Remove dust and sheen. Scuff-sand lightly (especially glossy plastic and glazed ceramic) so paint grips.
- Prime when the surface is tricky. Apply adhesion primer to smooth plastic or very slick finishes, then let it dry.
- Plan your layout. Use painter’s tape to mark stripes, bands, or a “hat” area before you paint.
- Paint in thin coats. Apply 2-3 thin layers instead of one thick coat, letting each coat dry to the touch.
- Add the base holiday elements. Paint snow caps, candy-cane stripes, or a simple tree shape using a small brush or stencil.
- Let everything cure. Let the painted pot dry fully before adding textured accents; a full day is a safe baseline.
- Decorate with accents. Hot glue works for felt, mini ornaments, and twine, but keep glue away from drainage.
- Seal the finish. Add a clear sealer so it wipes clean and stands up to handling.
- Place and check balance. Set it in its final spot and step back, then adjust details that look off from viewing distance.
A simple Santa pot example (beginner-friendly)
Start with a terracotta or ceramic pot painted white for the “fur” top and red for the bottom. Add a black dot for eyes, a small curved line for a smile, and a cotton ball “pom-pom” glued on at the top. Wrap a strip of fabric or ribbon around the middle, then seal once everything is dry.
A candy-cane stripe example (clean and modern)
Tape off diagonal or vertical bands on the pot. Paint alternating bands red and white, remove tape after the final red coat is touch-dry, then seal. Finish with a thin loop of jute twine and a mini ornament clipped or glued near the front.
If you prefer no paint, do this wrap method
Wrap the pot with decorative paper or cardstock striping, then cover edges with twine. Add a “snow” texture using faux fur craft sheets or white pom-pom trim. Seal with a light clear coat over the decorative surface if it’s outdoors or near windows.
Things that matter most
The best technique is controlling adhesion. Scuff and prime when needed for paint. For decorations, match glue to the material, and test on a small scrap first.
Second is layering instead of filling. Decorations fail when people try to cover mistakes with thick paint or heavy glue. Thin paint layers look smoother, and small gaps can be corrected with a tiny extra detail like a snowflake, ribbon bow, or edge trim.
Make clean lines without perfection
Use painter’s tape for hard edges like stripes, hat brims, or a winter-scene border. Press tape edges down firmly, paint carefully, and remove the tape before the paint fully hardens so you don’t tear the finish.
For curved designs, stencils beat freehand. They also keep snowflakes symmetrical enough to look intentional, even if you’re not confident drawing.
Keep decorations safe around plants
If the plant stays in the pot, avoid glue contact with soil and the drainage path. Hot glue softens over time with heat, and it can form bumps that interfere with watering.
Decorate the “display zone” – the upper outer part of the pot. Leave the bottom third alone so you can water normally and keep drainage holes clear.
What works in practice
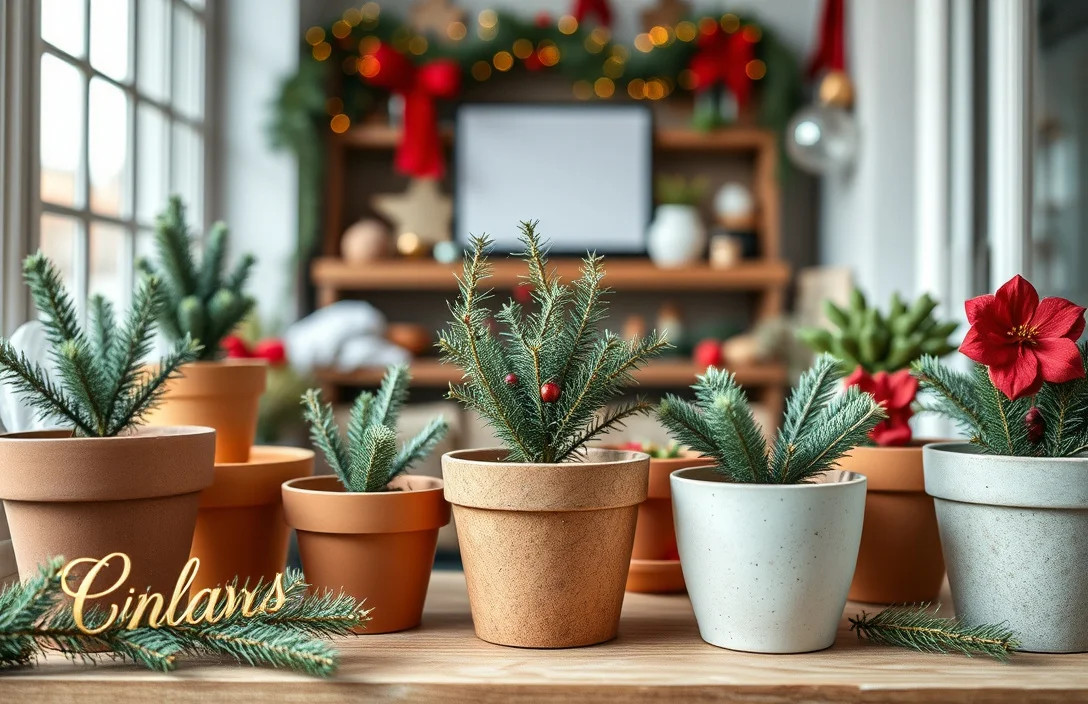
Best practice #1 is matching materials to indoor or outdoor conditions. Indoors, acrylic paint and craft felt are fine. Outdoors, seal the surface and use weather-resistant accents like faux pine, UV-stable ribbon, and sealed faux snow textures.
Best practice #2 is sealing the final look. People touch pots, wipe them accidentally, or splash water while watering nearby plants. A clear matte or satin sealer reduces scuffing and helps the finish last through the season.
Use a “front-facing” design rule
Put the most recognizable detail on the side that faces the doorway or window. Add secondary details on the sides only when they won’t distract from the main feature.
Work in dry conditions
Paint and sealer behave better when humidity is reasonable. If a damp week hits, give extra drying time. Rushing creates tacky spots that grab dust and ruin the finish.
Keep drainage and watering functional
If the pot has drainage holes, don’t glue trim over them. If you want to cover the look, consider using a decorative outer sleeve so the inner planted pot stays removable for watering – holiday setup stays practical.
Mistakes to Avoid with how to decorate plant pots for Christmas
Skipping prep ruins most Christmas pot projects. Paint chips or peels when it goes onto dusty or glossy surfaces, and you’ll spend more time repainting than enjoying the display.
Another common problem is sealing too early or too thick. Thick sealers trap moisture and can cause streaks or cloudiness. Apply thin, even coats and let everything dry fully.
Avoid these specific gotchas
- Don’t block drainage holes. Trapped water can harm plants and cause rot.
- Don’t overuse hot glue. Too much glue can crack paint when it cools and expands.
- Don’t mix incompatible materials. Some glues react with certain plastics, causing tackiness.
- Don’t add heavy decor to wet paint. You’ll dent the finish and smear colors.
- Don’t forget a test spot. Adhesives can discolor paint or peel decorative trim.
Troubleshooting peeling paint quickly
Peeling usually comes from a too-smooth surface or trapped dirt. Scuff-sand the area, clean again, prime the spot, and repaint in thin coats. For small flakes, sand and spot-prime can work, but a full repaint is usually faster when an entire band fails.
Troubleshooting decorations falling off
If ornaments or twine pop loose, the glue bond surface likely wasn’t clean or the item is too heavy. Clean and lightly roughen the contact area, then reattach with a stronger adhesive or a mechanical method like wrapping twine around the pot for fabric bows.
Pro Tips for how to decorate plant pots for Christmas
Pro tip #1: add intentional texture. A small amount of faux snow, a fabric trim band, or a textured paint effect like stippling makes simple designs feel festive without needing detailed artwork.
Pro tip #2: build a removable seasonal layer. Treat the painted pot as the reusable base, then attach holiday details that come off easily – ribbon ties, snap-on felt, or ornaments you remove without scraping paint.
Quick texture ideas that don’t look messy
Stipple white paint with a sponge for “snow dusting” on the top rim. Press faux fur trim just below the top edge for a clean Santa-fur look. If you use faux snow products, apply lightly and seal so it doesn’t shed everywhere.
A pro workflow for best results
Paint base colors, then do a small test ornament placement on fully dry paint before you glue. It’s the fastest way to avoid gluing in a spot you’ll regret. When sealing, use light coats and don’t overwork the surface.
If you mess up, fix it like a crafter
Use painter’s tape to clean up lines, or gently scrape tiny mistakes with a craft knife after the paint cures. For glue mistakes, heat can sometimes release hot glue, letting you remove it without damaging the paint.
FAQ
1) What’s the cheapest way to decorate plant pots for Christmas?
The cheapest route is paint plus simple trim. Buy craft acrylic paint, painter’s tape, and jute or ribbon you already have, then seal once dry. If you want zero additional purchases, use felt scraps and hot glue to make quick snowflakes, stars, or a basic bow.
2) How long does it take to decorate plant pots for Christmas?
Plan for about 1-2 hours of active work, plus dry time between steps. Paint in thin coats, then wait until the pot is touch-dry before adding decorations, and give the finish about 24 hours before heavy handling. Outdoor sealing may need extra time in humid weather.
3) Is it safe to hot glue decorations on plant pots?
Hot glue is usually fine for the outer display area of a pot. Keep glue away from the soil line, drainage holes, and anywhere water will pool, because glue can soften with heat and water exposure. If the pot is staying planted, decorate only the upper third.
4) Can I decorate plastic pots for Christmas without peeling problems?
Yes, but use adhesion primer and scuff-sand first. Smooth plastic is the biggest peeling culprit. After priming, apply thin paint coats and let them fully dry before sealing and attaching ornaments.
5) What’s the most common mistake when decorating plant pots for Christmas?
Skipping prep is the #1 reason decorations fail. People paint over dust or glossy surfaces, then accessories pop off or paint flakes later. Clean thoroughly, scuff lightly, prime smooth finishes, and seal the final look so it survives daily handling.

- 10 Best Slow Cooker For Quick Preparation 2026 (Tested And Reviewed) - October 18, 2026
- 10 Best Slow Cooker For Family Meal Preparation 2026 (Tested And Reviewed) - October 18, 2026
- 10 Best Slow Cooker For Freezer Meal Preparation 2026 (Tested And Reviewed) - October 18, 2026