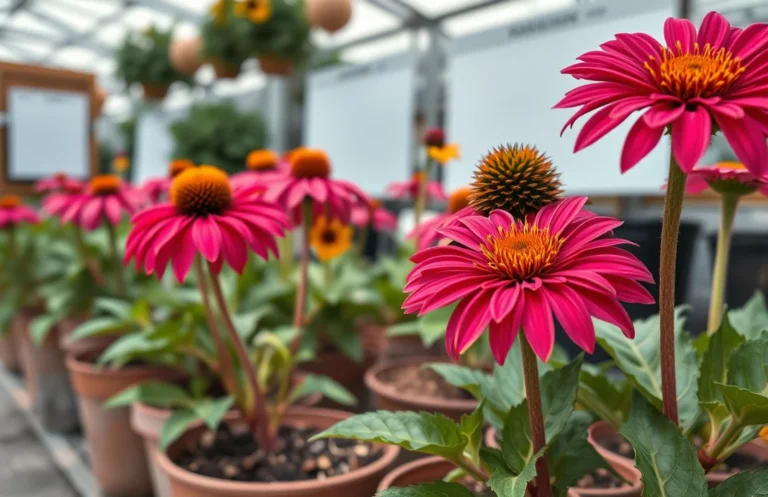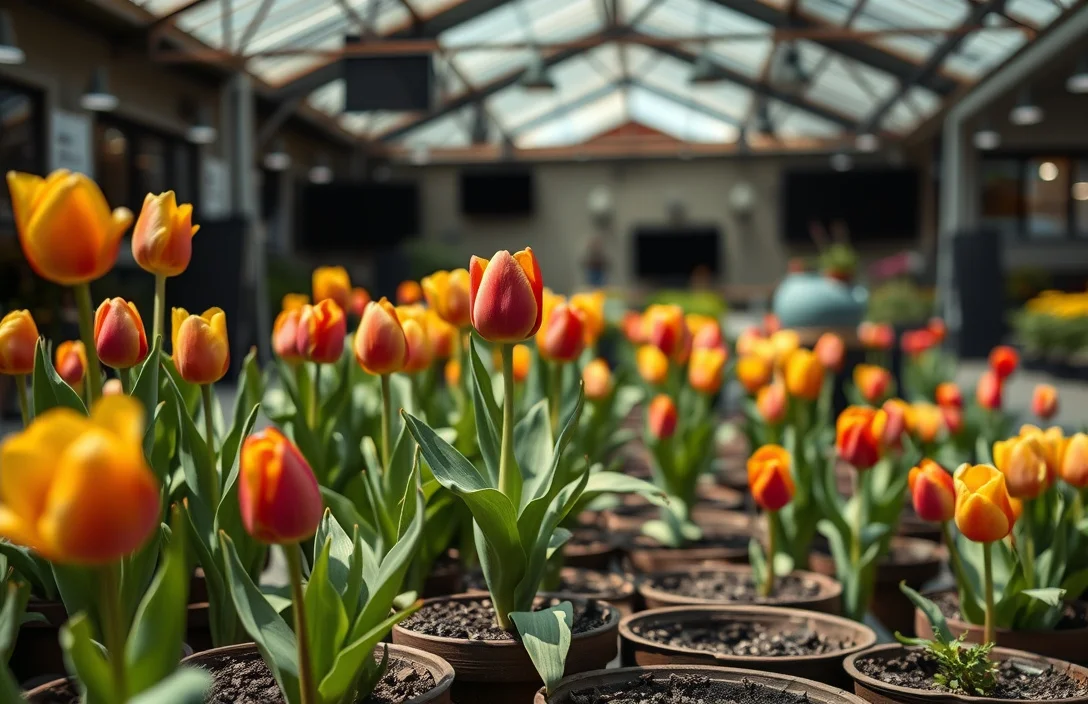
How Do You Plant Tulips In A Pots?
Planting tulips in a pot is straightforward – fill with well-draining mix, set bulbs pointy-side up at the right depth, and give them the cold period they need to bloom. Most of the “no flowers” problems come from skipping chilling or cutting it short. For reliable blooms in the United States, plant in fall and keep the pot cold for about 10 to 12 weeks.
Tulips in pots are planted by filling the pot with well-draining potting mix, setting bulbs pointy-side up at the correct depth, and giving them cold chilling – typically outdoors in winter or with a refrigerator-style setup – before moving them to warmth. Aim for fall planting and about 10 to 12 weeks of chilling for dependable results.
Key Takeaways
- Use a drainage-first pot. Pick a container with drainage holes, or bulbs can rot from trapped water.
- Match the bulb count. Use enough bulbs to cover most of the pot surface without overcrowding stems.
- Plant at the right depth. Set tulip bulbs pointy-side up, usually about 6 inches deep.
- Chill them to bloom. Give tulips a cold period, commonly around 10 to 12 weeks.
- Water lightly, not soggy. Keep soil evenly moist during settling, then avoid standing water.
- Rebloom expectations vary. Many potted tulips are best enjoyed for one season, especially indoors.
How to begin
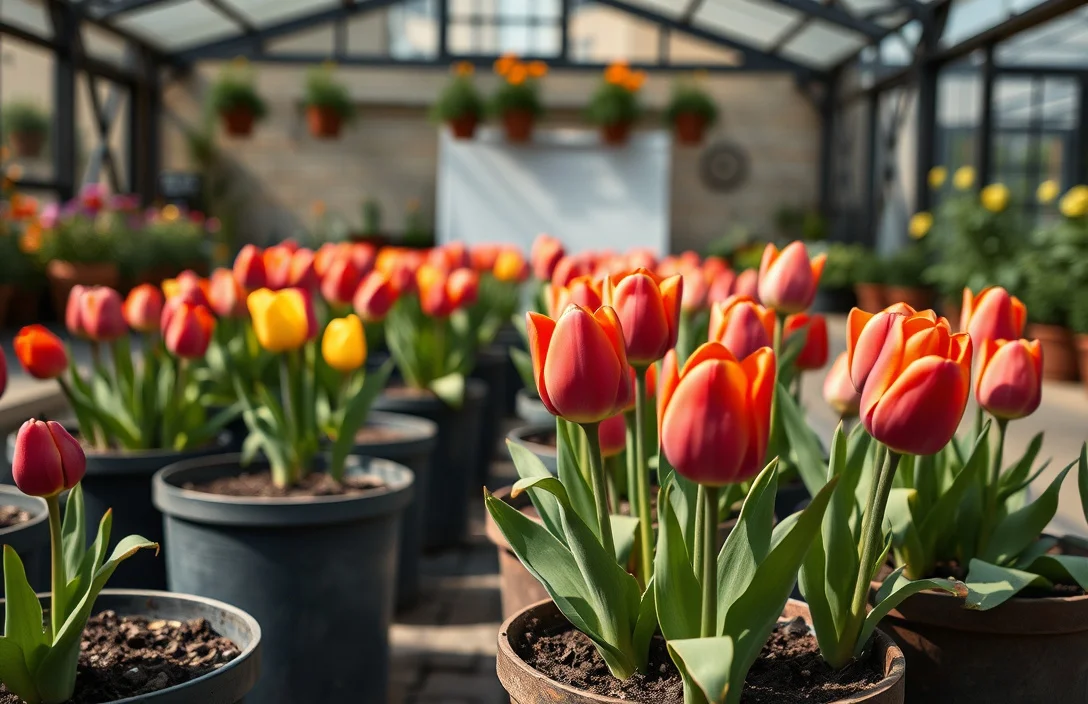
Start with a pot that drains. Tulip bulbs rot when water sits around them, so drainage holes are non-negotiable. If you want to use a decorative container without holes, set the tulip bulbs in a plastic nursery pot with drainage and place that inner pot inside the outer one.
Next, choose bulbs that fit your timeline. For containers, use firm tulip bulbs and decide between naturally chilled bulbs planted in fall or pre-chilled bulbs meant for forcing. In most parts of the U.S., fall planting delivers the chill you need without extra equipment.
Pick a location for the pot during chilling and again when it’s time to grow. Most people keep pots outside in a protected spot during winter, then move them to warmth and light once shoots appear. If you’re forcing indoors early, controlled chilling can replace winter weather – but you still need to follow the chilling plan that matches your bulbs.
Use potting mix that drains. Regular garden soil compacts in containers and holds water too long. Choose quality potting mix (not topsoil), and if drainage is slow, mix in extra coarse material to keep the mix airy.
Basics of how do you plant tulips in a
Tulip planting depth in pots keeps bulbs stable and positioned far enough below the surface. A common rule of thumb is planting bulbs about 6 inches deep (measured from the bottom of the bulb to the soil surface). If your pot is shallow, you can still plant correctly by choosing a larger container, or by using fewer bulbs so you can reach the needed depth.
Tulips also need oxygen around the bulb roots. Use a light potting mix that holds moisture but drains freely. If you’re unsure, water the pot thoroughly before planting and watch how quickly water runs out of the drainage holes.
Spacing is forgiving in containers, but not limitless. Bulbs can sit fairly close, as long as they aren’t smashed into a tight, tangled mass. A good target is spacing bulbs about 1 to 2 inches apart, adjusting for bulb size.
Watering stays simple with a wet-but-not-soggy approach. After planting, water enough to settle the mix, then keep the soil slightly moist during establishment. During natural winter chilling, rainfall and snow usually handle moisture, and you should avoid repeatedly soaking the pot.
Chilling is the main requirement for blooming. Plant in fall for natural chilling, or use the package instructions if you bought pre-chilled bulbs.
how do you plant tulips in a
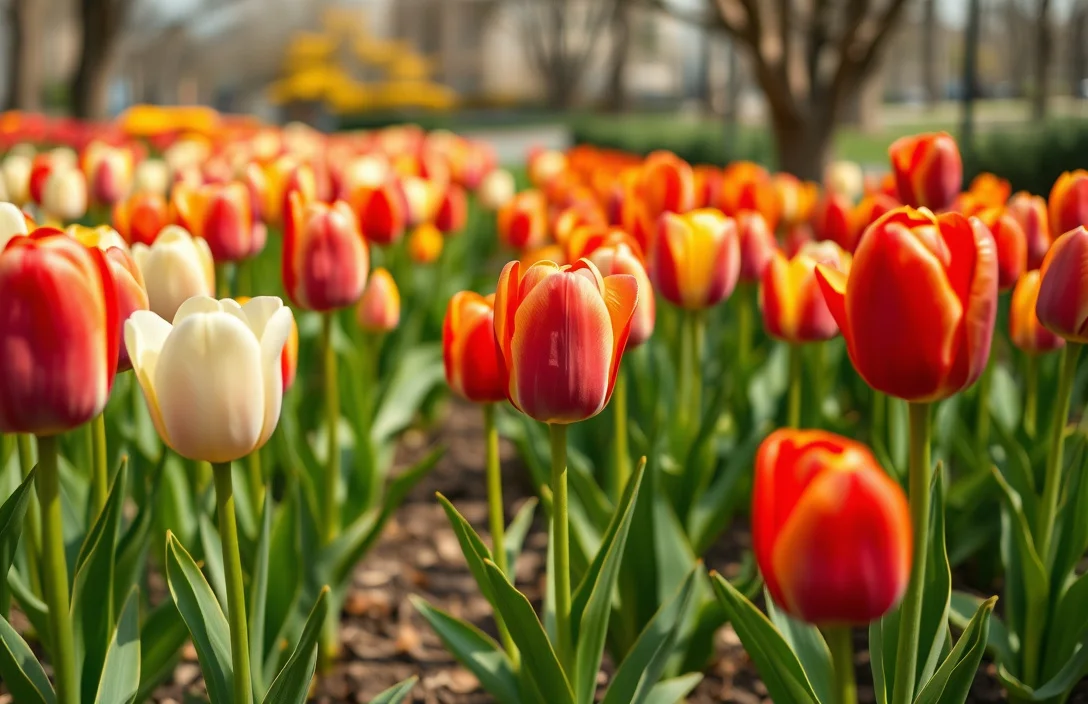
- Choose a pot with drainage holes. Use a container at least 8 to 10 inches deep so bulbs have enough soil above and below.
- Fill with potting mix. Add potting mix, leaving space so bulbs land at the right depth.
- Position bulbs pointy-side up. Set bulbs evenly across the surface, with about 1 to 2 inches between them.
- Cover with more mix. Add potting mix until bulbs sit at roughly 6 inches deep, then gently press so they’re firm in place.
- Water once to settle the mix. Water thoroughly until excess drains out, then stop. Don’t keep the pot constantly wet.
- Chill the pot for bloom prep. Keep it cold for around 10 to 12 weeks – usually outdoors in winter, or indoors with controlled chilling if that’s your setup.
- Move to warmth and light when shoots appear. When green shoots show and the cold period is done, place the pot in a bright spot that’s warmer.
- Rotate the pot for even growth. Turn it every few days so shoots don’t lean toward the light and stems stay straighter.
For outdoor flowering in spring, plant in early to mid-fall in most U.S. climates, let winter provide the chill, then bring the pot indoors later as blooms develop.
In practice, the biggest difference between success and failure is whether bulbs get enough cold. Skip chilling or shorten it too much and you’ll often see weak growth or delayed blooming.
Things that matter most
- Plant deep enough and firm enough. Depth stabilizes bulbs through freeze-thaw cycles. Too shallow in a small pot and bulbs can shift, dry out, or suffer temperature stress.
- Protect from extreme conditions. Cold is the goal, not dehydration. Use a light mulch or a simple cover during harsh wind and storms to reduce drying while keeping the pot cold.
- Manage soil moisture. Keep soil evenly moist during establishment, but never waterlog. If your winters bring heavy rain, place the pot under cover so it stays damp, not flooded.
- Use the right pot size for the look you want. Bigger pots let you plant more bulbs and create a fuller display without crowding. Smaller pots work too, but they usually produce fewer flowers and a tighter look.
- Handle after-bloom care correctly. For the best chance of future growth, give foliage time to recharge. Keep the plant in bright light and water lightly until leaves yellow, instead of cutting leaves immediately.
Here’s a simple comparison to decide how to chill based on your setup:
| Option | Best for | Key moves |
|---|---|---|
| Outdoor fall chilling | Most home gardeners | Plant in fall, keep in a protected outdoor spot, water sparingly |
| Refrigerator chilling | Apartment living, controlled timing | Use a bagged/chilled setup only if you have the space and follow bulb instructions closely |
| Pre-chilled bulbs | People who want faster indoor forcing | Follow label timing, reduce guesswork on chill duration |
What works in practice
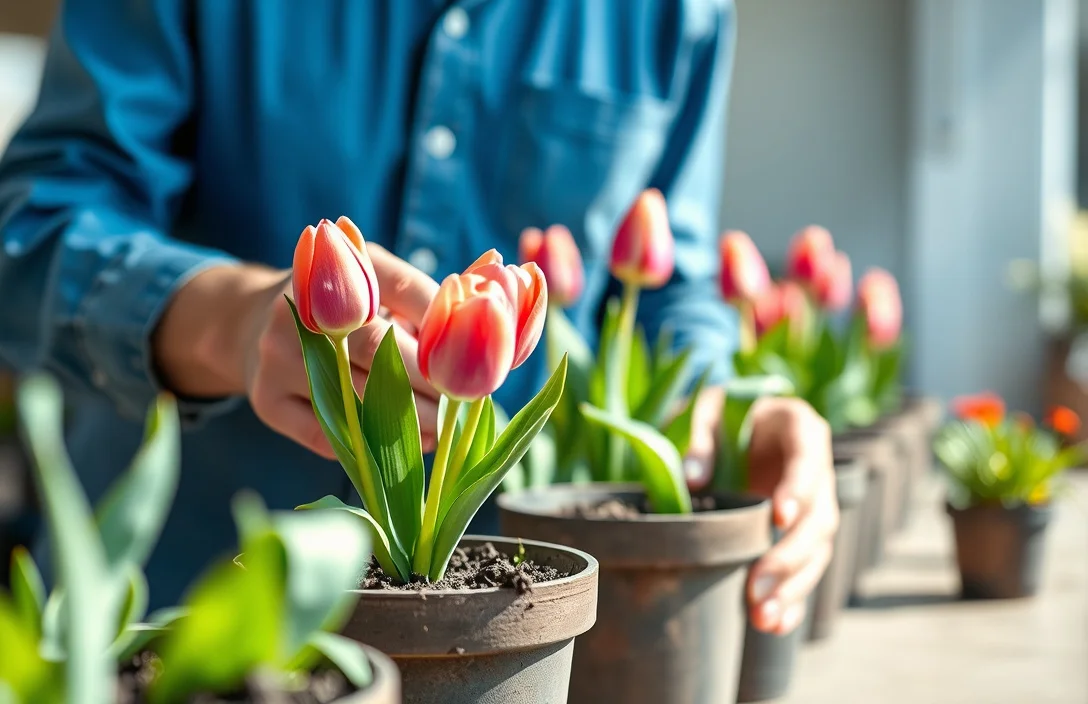
Plan backwards from your target bloom date. Tulips need cold prep first, then warmth for growth and bloom. Want flowers in early spring? Start chilling by planting in fall.
Keep records. Write down the planting date, bulb variety if you know it, and when shoots appeared. Tulip varieties and local weather both shift year to year, so notes help you nail the timing next time.
Set up consistent bright light once you move them indoors. Use bright windows or strong indirect light before full sun heat builds up. Leggy growth usually points to weak light or insufficient pot rotation.
Water based on the soil surface, not a schedule. Check the pot with a finger and water only when the top layer starts to dry. Overwatering is the most common problem that follows early success.
Treat potted tulips like “repeatable but not guaranteed.” In-ground tulips often return for years, but container bulbs may struggle to rebuild energy after flowering. Let foliage die back naturally and avoid cutting leaves too soon.
Mistakes to Avoid with how do you plant tulips in a
The biggest mistake is skipping or guessing the chilling period. Tulips that don’t get enough cold may sprout poorly or fail to flower. If you’re unsure, use fall planting for natural chilling or buy bulbs specifically intended for forcing.
Using a pot without drainage holes is another common failure. Pretty planters trap moisture and can rot bulbs quickly. If your decorative pot has no holes, keep the tulip bulbs in a drained inner pot.
Planting bulbs too shallow causes trouble in containers. Shallow depth increases temperature swings, encourages drying, and makes bulbs more likely to heave during freeze-thaw. Depth helps keep bulbs stable through winter changes.
Overwatering during chilling is also risky. Rain and snow can keep the pot wet for weeks, especially in cool conditions. If the soil stays saturated, oxygen drops around bulbs and rot becomes much more likely.
Don’t rush indoor forcing. Moving the pot into warmth before shoots form can mess with timing and weaken stems. Wait for clear growth, then increase warmth gradually if needed.
If you notice moldy soil or a bad smell, stop watering and reassess drainage. If bulbs have already rotted, you’ll usually need to replace them, but adjusting soil and watering habits can prevent repeat failures.
Pro Tips for how do you plant tulips in a
For a “wow” display, build interest with how you plant. Layering can work in containers if you keep each bulb at a stable, correct depth and avoid crowding bulbs into a tight clump. A single layer at the right depth is simpler and still looks great, but layering can create staggered bloom timing.
Use mulch or a windbreak during winter. A light mulch ring around the pot (not piled directly against bulbs) helps moderate temperature swings and reduces drying – especially when your winters flip between freezing and thawing.
Choose varieties that match how you want them to look. Some tulips have sturdier stems for indoor display, while others perform best when they can mature outdoors. If you want upright, vase-like blooms, lean toward classic showy types.
When bringing pots indoors, keep conditions “bright and cool-ish.” Too much heat can open buds fast and shorten the display. Cooler rooms and bright windows usually keep plants from getting floppy longer.
If you want tulips as a long-term container habit, consider refreshing bulbs annually. It can feel expensive, but it often costs less than repeated disappointment when bulbs don’t reliably rebloom in containers.
A practical next step: buy the next bulbs based on your planting date. Plant promptly in a drained pot, chill on schedule, and move to warmth only when shoots show. That routine turns “I planted tulips” into actual blooms.
FAQ
How deep should tulip bulbs be planted in pots?
Plant tulip bulbs at about 6 inches deep in a container, measured from the bottom of the bulb to the soil surface. Deeper pots give you more flexibility, while shallow pots increase temperature swings and risk poor rooting. Keep bulbs pointy-side up, then water once to settle the soil.
When should you plant tulips in a pot in the United States?
Fall planting works best for container tulips because winter provides the natural chilling they need. Early to mid-fall is a common target, but timing shifts by region and winter severity. If you bought pre-chilled bulbs or forcing bulbs, follow the schedule on the package.
Do potted tulips need chilling to bloom?
Yes. Tulips need a cold period to bloom reliably, and many home gardeners plan for about 10 to 12 weeks of chilling. A too-short cold period can lead to weak growth, delayed blooming, or flowers that don’t show. Fall planting outdoors is usually the safest route unless your bulbs specify a different method.
How often should you water tulips in containers?
Water after planting just enough to settle the mix, then keep the soil slightly moist but never soggy. During winter chilling, rainfall often covers the watering needs, so you may only water if the pot dries out. After moving indoors, water when the top layer feels slightly dry.
What’s the most common mistake when planting tulips in pots?
Poor drainage is the most common mistake, either using a pot without drainage holes or keeping soil constantly wet. Bulbs need oxygen around them, and soggy conditions quickly lead to rot. If your decorative pot has no holes, keep the tulips in a smaller drained inner pot.

- 10 Best Slow Cooker For Slow Cooking Legumes 2026 (Tested And Reviewed) - October 17, 2026
- 10 Best Slow Cooker For Slow Cooking Oxtail 2026 (Tested And Reviewed) - October 16, 2026
- 10 Best Slow Cooker For Slow Cooking Venison 2026 (Tested And Reviewed) - October 16, 2026