Compost For Plants In Pots: 4 Tips Worth Trying
Compost for plants in pots works best when it improves structure and feeds microbes without turning your container into a soggy, smelly problem. Small volumes dry out faster, so moisture and oxygen control matter. This guide covers practical composting methods for containers, including hot, cold, and worm composting, plus what to use and what to skip.
Compost for plants in pots is most reliable when it comes from a small, contained system (a bin or worm setup) and you add it as a finished amendment. A pot is too small for a long, hot pile. Typical home compost takes 2-6 months in most U.S. climates, and in as little as 6-8 weeks in hot states like Texas and Florida with regular turning and proper moisture management.
Key Takeaways
- Use finished compost. Raw compost can burn roots and stays uneven in containers because container temperatures swing faster.
- Prioritize moisture control. Aim for “damp sponge” moisture. If it smells or stays wet, add browns (dry carbon) to rebalance.
- Hot compost is faster. With active management, compost often finishes in 6-8 weeks in warm conditions.
- Cold compost is low-effort. Cold systems take 6-12 months but are forgiving and need little day-to-day attention.
- Worms work well indoors. Vermicomposting is ideal for balcony apartments because it processes kitchen scraps with minimal smell.
- Avoid unsafe scraps. Meat, dairy, and pet waste belong in the trash, not in a container compost system.
What Works Best
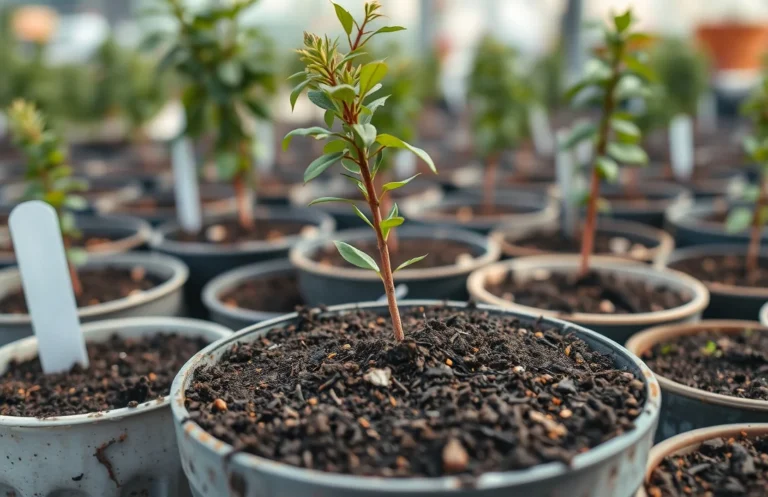
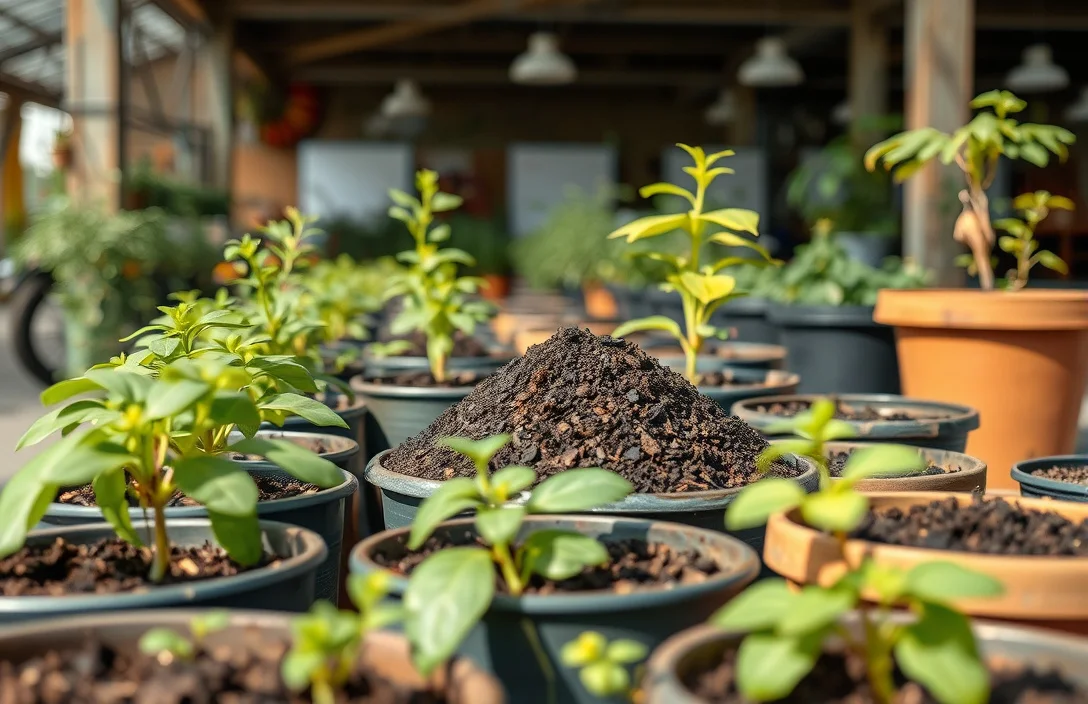
Finished compost is the dependable choice for container gardeners. In a pot, you are amending and feeding soil life, not running a compost pile that heats up and breaks down evenly. Immature compost leads to odor, uneven moisture, and root stress.
For most container gardeners in the United States, the best setup is simple: run compost separately (out back or in a bin), then blend the finished compost into potting mix. Hot compost and cold compost both work. Vermicomposting is the standout for small spaces because worms handle kitchen scraps steadily and quietly.
The “works best” answer in one line: produce finished compost in a small bin or worm bin, then blend it into potting soil. This keeps pots cleaner, reduces pest problems, and gives you more predictable results.
What “works best” depends on your constraints
Hot compost wins for speed. With active management, it can finish in 6-8 weeks in hot states. Cold compost wins for simplicity. Finished compost shows up at the pile bottom after 6-12 months with minimal daily work. Vermicomposting wins for indoor scraps. It lets you process kitchen waste without hauling it outdoors every time.
| Method | Typical timeline | Best for | Main downside |
|---|---|---|---|
| Hot compost | 6-8 weeks in hot states with active management | People who turn regularly | Requires more attention and airflow |
| Cold compost | 6-12 months | Low-maintenance gardeners with space | Slower results, needs patience |
| Vermicomposting | Ongoing, scrap-by-scrap | Balconies, patios, indoors | Needs bedding moisture and worm care |
| Compost tea (optional) | Variable, not a substitute | Temporary boost | Easy to overdo, doesn’t replace soil amendment |
Hot vs Cold Composting for Container Gardens
Hot compost finishes faster because the pile stays active longer, but it needs oxygen and moisture to keep microbes working. In most U.S. climates, home compost often takes 2-6 months. In hot states like Texas and Florida, it can finish in as little as 6-8 weeks with regular turning and proper moisture management.
Cold compost is slower, but it is easier to manage. Finished compost appears at the bottom after 6-12 months because the pile decomposes gradually rather than relying on sustained heat buildup.
You do not need your pot to be part of the composting process. Containers benefit from finished compost. Choose hot or cold based on how much time you will actually spend turning, watering, and troubleshooting.
Hot compost, the container-garden-friendly way
Hot compost works best when you keep oxygen moving and moisture consistent. Turn more often during the active stage, and keep moisture at “damp sponge” level. Letting it dry out stalls decomposition. Over-wetting reduces airflow and increases odor.
A practical rule: hot compost only works smoothly if you can turn about every few days while it’s actively decomposing. If you can’t, cold compost usually fits better.
Cold compost, the patient option
Cold composting suits people who want to add materials over time and come back later. You still need balance, but you are not chasing heat. You build the pile, keep it reasonably moist, and let time do the work.
Cold compost is also great for containers because it lowers the chance you accidentally use immature compost. Waiting 6-12 months is often worth it if your goal is potting soil amendment.
A quick moisture rule that prevents container headaches
Start with moisture like a wrung-out sponge, then adjust. A dry pile stalls completely. A wet pile turns anaerobic quickly. In both hot and cold systems, the fix is always the same: add water if it’s dry, add browns if it’s wet.
Vermicomposting for Potted Plants
Vermicomposting turns kitchen scraps into compost cleanly and continuously, which fits container gardening. A worm bin breaks down food waste steadily, so you aren’t waiting months to get usable material. It also works well for U.S. gardeners without yard space, including balconies and indoor areas with fairly stable conditions.
Vermicompost is a finished product when it’s ready, which makes it easier to use around containers. Most people mix it into potting soil as a small amendment rather than treating it as a full replacement.
How to set vermicomposting up so it stays low-odor
Worm bins still depend on oxygen and moisture. Bedding should be damp, not dripping. Feed gradually so the worms can keep up. A bad smell usually points to wet bedding, too much food at once, or too few browns (carbon).
Shredded cardboard and paper are reliable bedding because they balance nitrogen-rich scraps. Crushed eggshells are fine in moderation, but they work better as slow minerals than as an “accelerator.”
What you can expect for containers
Vermicomposting fits container gardeners because it produces processed “feedstock” on an ongoing schedule. You can top-dress lightly or mix vermicompost into fresh potting soil during repotting.
The real win is consistency. Instead of running an outdoor pile, you run a controlled digestion system that matches your kitchen routine. Your composting stays cleaner, and your pots stay simpler to manage.
Greens vs Browns Compost Ratio for Pots
Greens are nitrogen-rich materials, browns are carbon-rich materials, and the ratio decides whether compost is fast, smelly, or stalled. For at-home composting, build with browns as the base and layer greens on top, repeating until the pile reaches about 2-3 feet high.
Use moisture and odor as your feedback loop. If it’s wet and stinky, you likely have too many greens (or not enough airflow). Add browns to correct it. If it’s dry and not breaking down, add moisture and some greens to restart activity.

Helpful pick
Back to the Roots 100% Organic Indoor Potting Mix (Value 12 Quart) | Promotes Healthy Houseplant Growth| Made in The USA
Provides an organic, balanced potting mix that supports healthy microbial life and steady nutrient availability for containers.
Use this cheat sheet to choose materials:
| Nitrogen-Rich Materials (“Greens”) | Carbon-Rich Materials (“Browns”) |
|---|---|
| Fruit and vegetable scraps | Dry leaves |
| Grass clippings | Plant stalks and twigs |
| Coffee grounds and paper filters | Shredded paper (non-glossy, uncolored) and shredded brown bags |
| Paper tea bags (no staples) | Shredded cardboard (no wax coating, tape, or glue) |
| Eggshells (crushed) | Untreated wood chips |
How to layer when you’re building compost
Layering affects airflow and smell. Woody, carbon-rich material at the bottom helps air move through the pile and reduces anaerobic odors. Add greens on top, add soil (or another small “seed” layer), then repeat.
Think of it like a layer cake: browns first, greens on top, then repeat. Keep pile height around 2-3 feet. Taller piles are harder to aerate in the center.
Container-garden adjustment you will actually use
Composting works when the pile is “a damp sponge.” Containers lose moisture faster than in-ground beds, so you may need more watering than you expect. If your pile stays soggy, fix it with browns first. Adding more water only worsens the problem.
What Can’t Be Composted in Containers?
Some scraps are a hard no for any composting setup, and containers make the downside worse. Avoid meat, dairy, oily foods, and pet waste. They create odor, attract pests, and can introduce pathogens you do not want near edible gardens.
Skip anything contaminated with chemicals or plastics too. Compost is biological decomposition of organic matter. Synthetics either won’t break down or create junk you’ll have to sort later. If it’s not clearly food or plant matter, treat it as trash.
Common “almost compostable” items to avoid
Coffee filters are usually fine if they are plain paper. Glossy or plastic-coated paper is not. Tea can be tricky because many tea bags are not fully compostable. Tear or shred them before adding. Cardboard should be untreated, with no wax coating, tape, or glue.
The easiest path: use the greens and browns list directly, and only add items you are confident are safe and truly organic.
If you already added something questionable
If you accidentally compost an unsafe item, do not panic. Remove what you can, add more browns to improve airflow and reduce odor, and let the pile complete fully before using it in potting soil.
I am stricter with containers than in-ground beds. Pots sit closer to your living space, and smell or pests show up first.
How to Fix Compost Too Wet or Too Dry
Moisture problems cause most composting stalls or the “why does this stink?” moments. Containers make it obvious faster. Too wet compost goes anaerobic and smells. Too dry compost slows microbial activity and stalls decomposition.
Diagnose with a squeeze test. Grab a handful and squeeze like a wrung-out sponge. It should feel damp, not dripping. Dripping means too wet. Dusty crumbling means too dry.
Fixing a wet compost pile
If your compost is wet and smelly, add browns immediately and pause on greens for a bit. Browns add carbon and absorb excess moisture, which restores airflow. Turning also helps reintroduce oxygen.
If you’re using a container-style composter or tumbler, do not pack it too tightly. Overpacked compost blocks airflow and creates soggy anaerobic conditions even if your starting moisture was decent.
Fixing a dry compost pile
If your compost is dry and not breaking down, water it like a garden bed. Moisture should be consistent, and hot weather usually means you need more frequent checks. A dry pile stalls completely, so correcting dryness is urgent if you want results.
Check moisture every few days in warm conditions. Catching the problem early gives you far better outcomes than waiting until it has fully stalled.

Helpful pick
Miracle-Gro Moisture Control Potting Mix – Plant Soil For Container Plants, Protects against Over- and Under-Watering, 8 qt. (2-Pack)
Helps prevent over- and under-watering in container setups, keeping compost moisture balanced.
Using Finished Compost in Potting Soil
Finished compost is what you want in containers. Mature compost is dark and crumbly and behaves like a soil amendment, not like an active decomposition process happening inside your pot. That matters because container roots are sensitive to oxygen swings and to immature organic material.
Use compost as a blend, not a replacement. Mixing finished compost into potting soil improves water retention, adds nutrients, and improves texture so roots can grow.
How to blend compost into a potting mix
Start by replacing a portion of potting mix with finished compost. Use less for heavy feeders that need airy drainage. Use a little more for dry-loving media that benefits from holding moisture.
Compost is especially useful when refreshing old containers. If the potting mix has hardened or drains too fast, compost improves structure and helps you avoid constant “water every day” schedules.
How to apply compost to an existing container
Top-dress with a thin layer of finished compost and gently mix it into the top inch of potting soil. Keep it shallow to avoid burying roots. Water normally afterward so compost settles into the medium.
Avoid dumping a thick layer on top. In containers, a thick compost layer can stay wetter at the surface and invite fungus problems, especially in humid or shaded spots.

Helpful pick
Miracle-Gro Potting Mix – For Container Plants, Flowers, Vegetables, Shrubs, Annuals, Perennials, Potting Soil Mix, Feeds up to 6 Months, 16 qt. (2-Pack)
This potting mix provides a well-draining, crumbly base ideal for containers, compatible with finished compost.
FAQ
Can I put compost straight into potting soil without waiting?
Use only finished compost in containers. Typical home compost takes 2-6 months in most U.S. climates, and in hot states like Texas and Florida it can finish in as little as 6-8 weeks with regular turning and proper moisture management. If it’s still actively breaking down or smells harsh, keep it out of pots until it is fully processed.
How long does composting take if I use a small bin?
Time depends on the method and conditions. Hot compost can finish in 6-8 weeks in hot states with active management. Cold compost often takes 6-12 months because finished compost appears at the pile bottom. Vermicomposting is ongoing, because you harvest worm-processed bedding as it finishes.
Is compost for plants in pots safe around food crops?
It can be, as long as it is finished and you avoid unsafe inputs. Stick to greens and browns like fruit and vegetable scraps, dry leaves, shredded cardboard, and coffee grounds in appropriate moderation. Avoid meat, dairy, and pet waste, because those increase odor, pests, and pathogen risk.
What’s the fastest way to fix compost that smells bad?
Add browns immediately and restore airflow. A wet, stinky pile usually has too much nitrogen-rich material or too little carbon. Turn the pile if you can, and aim for a “damp sponge” consistency rather than dripping wet compost.
What’s the most common mistake container gardeners make?
Using immature compost in the pot. Feeding kitchen scraps into a system that isn’t fully decomposed and mixing it into containers too early leads to uneven material, harder moisture control, and stressed roots until the compost finishes.

- 10 Best Slow Cooker With Cool Touch Handles 2026 (Tested And Reviewed) - October 22, 2026
- 10 Best Slow Cooker With Quality Construction 2026 (Tested And Reviewed) - October 22, 2026
- 10 Best Slow Cooker With Premium Construction 2026 (Tested And Reviewed) - October 22, 2026