Rice In A Pressure Cooker Xl Explained
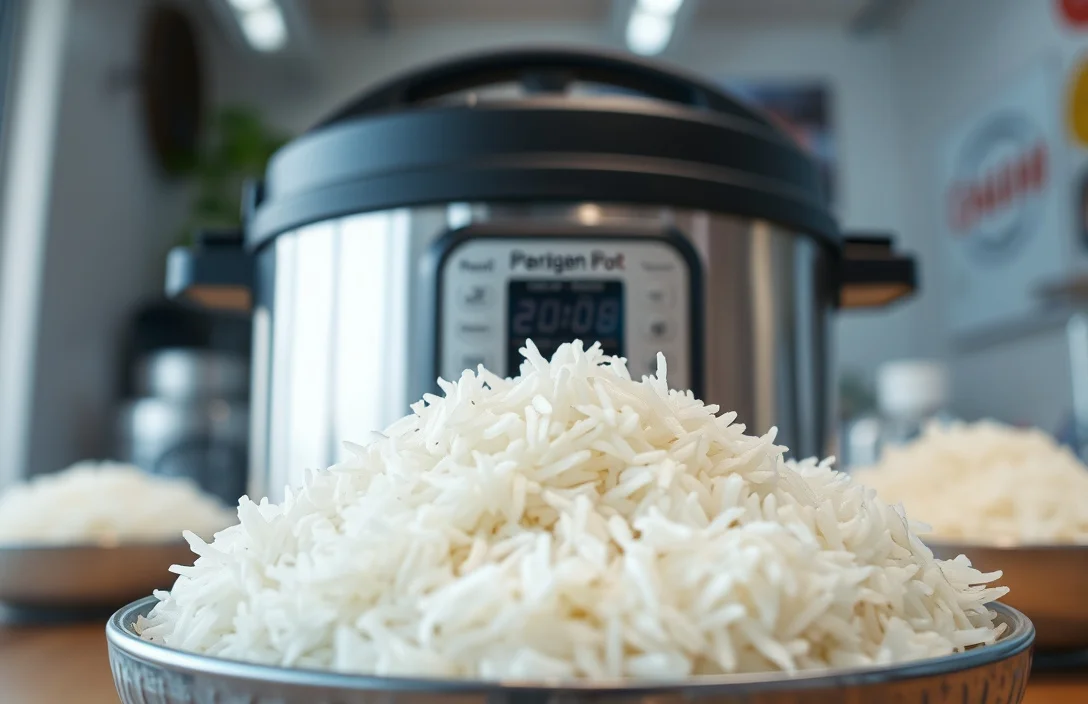
Yes – rice in a pressure cooker XL is straightforward once you control two things: the fill level and the natural release. XL capacity changes the way rice sits in the pot and how much steam builds up, so the same “basic” rice method can come out undercooked, watery, or scorched if you overload the pot.
Start with a 1:1 to 1:1.25 rice-to-water ratio. Use natural release for 5-10 minutes after cooking, then fluff. White long-grain rice usually takes about 3-6 minutes at high pressure, but the grain type and whether you rinsed can shift that number. Don’t go past your pressure cooker’s max fill line – overfilling is where foamy venting and cloudy, starchy messes show up.
Key Takeaways
- Use the right ratio. Start at 1:1 for white rice, then adjust to 1:1.25 if your pot runs dry.
- Watch fill level. Keep liquid and rice below the pressure cooker’s max line to prevent foamy venting.
- Natural release helps. Let pressure drop naturally for 5-10 minutes to finish cooking evenly.
- Rinse changes texture. Rinsing white rice lowers surface starch for less clumping and better separation.
- One grain at a time. Brown, jasmine, and basmati rice need different water and timing than standard long-grain white.
- Stir after resting. Fluff with a fork once the lid opens to break up steam-set clumps.
What to Know About Rice in a Pressure Cooker XL
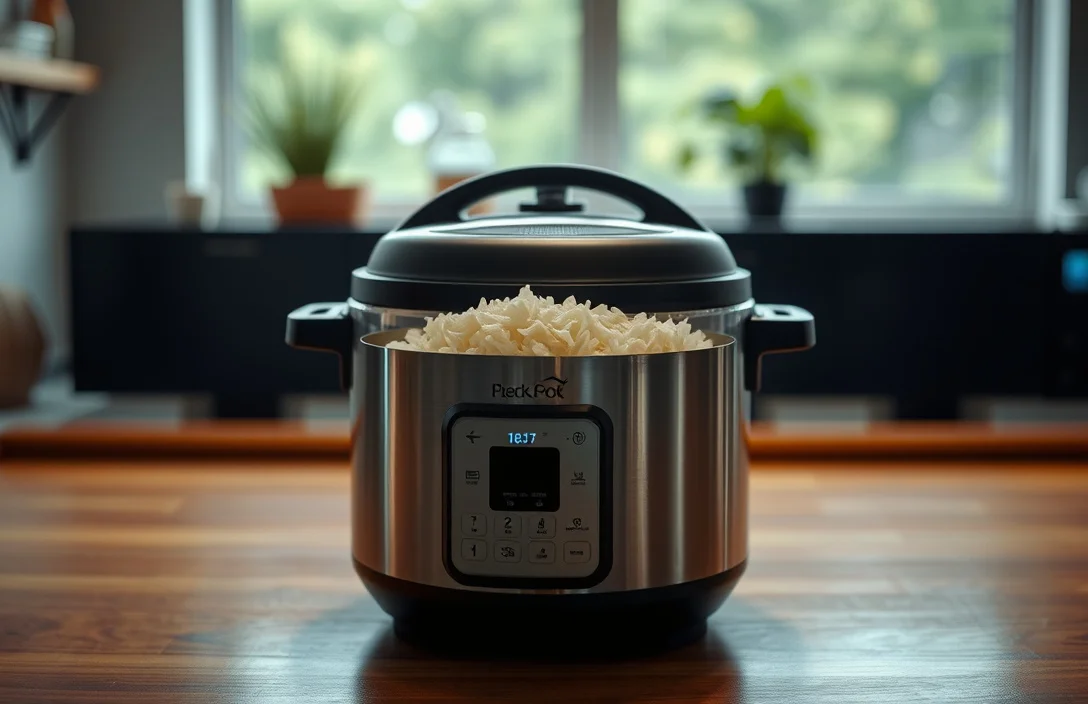
Treat rice in an XL pressure cooker like a repeatable process, not a guess-and-check shortcut. The “XL” part mainly affects batch size, fill level, and steam behavior inside the pot. Those changes influence how steadily the cooker regulates pressure and how the rice hydrates across layers.
Confirm your unit’s max fill line first. Many pressure cookers mark a max for liquid cooking and a lower limit for foods that foam or expand, including grains. When you push too close to the top, rice starch can sputter at the valve, the rice can turn cloudy, and cleanup becomes a chore.
Decide what texture you want before you start: separate grains (“drained”) or softer rice that holds together (“sink-and-melt”). Rinsing pushes you toward separated grains because it removes surface starch. Skipping rinsing usually leads to stickier rice.
Natural release is your finishing step. Pressure cooking sets the rice, but it often finishes during the pressure drop and the minutes afterward. Open the lid right as the timer ends and you can trap extra moisture at the bottom while the top is still catching up.
Things that matter most
Rice comes out right when you control four variables: grain type, water amount, pressure time, and release method. If you change everything at once, you won’t know what fixed (or caused) the problem. Adjust one variable at a time and results lock in faster.
White long-grain rice is the easiest starting point. Measure your rice and water, place the inner pot correctly on a clean heating plate, and make sure the sealing ring is installed properly. Starch buildup around the rim can interfere with sealing and create pressure swings through the cycle.
Brown rice is less forgiving because it needs more water and time and absorbs more slowly. Using the same settings as white rice often gives a crunchy center or uneven texture, especially with XL batches where the rice layer is deeper.
Release method directly changes final texture. A natural release for a few minutes lets the rice keep hydrating, which smooths out differences between top and bottom layers in a larger pot.
If your cooker offers High vs Low pressure, use High for grains for the first few tries. Lower pressure can work, but it often stretches the ramp and stabilization phases, so the timing feels less consistent when you cook different batch sizes.
Tips for Rice in a Pressure Cooker XL
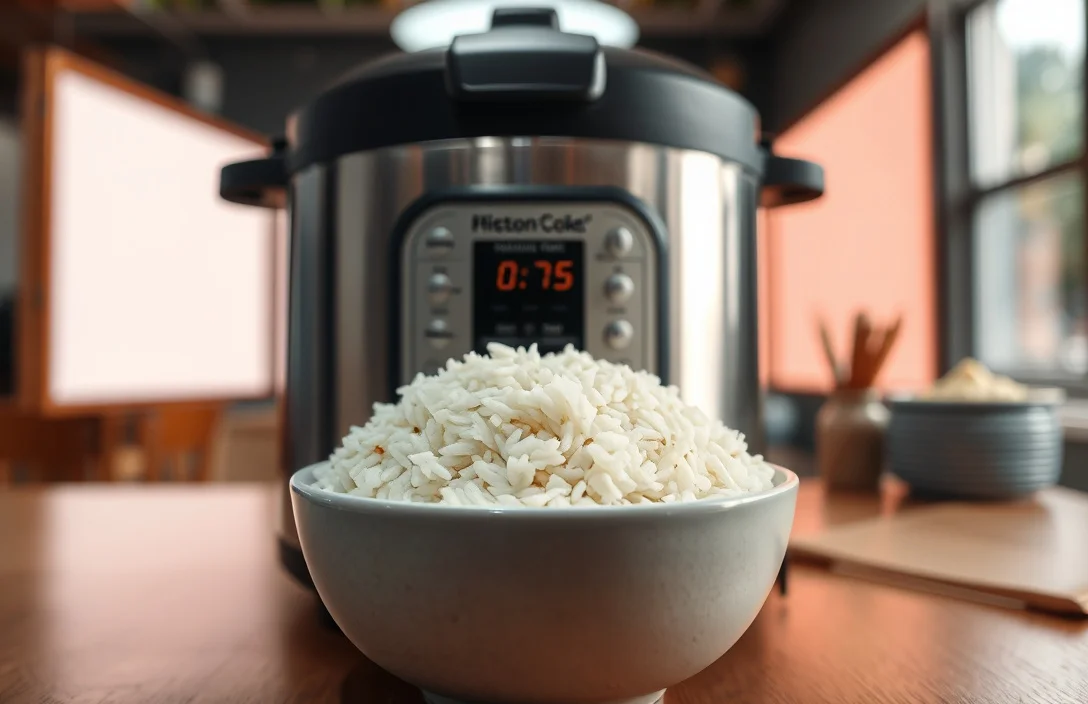
Use small adjustments so you don’t spiral into overcorrecting. Under-done rice calls for more time first – either add a minute or extend natural release. Too-wet rice calls for less water next time. Scorched or stuck rice usually signals a water ratio or cleanliness issue before it signals a timing issue.
Rinse white rice to reduce clumping. Rinse until the water looks lighter, then drain well. Jasmine and basmati often benefit from rinsing too for separation, but they can still need a slightly different ratio than standard long-grain white rice.
Plan for resting space. In a large cooker, rice rises a bit and forms a thicker steam layer on the surface. Let it sit 5-10 minutes after the timer ends (natural release), then fluff. This prevents the classic “watery bottom, dry top” problem that happens when you open the lid too soon.
When you cook a full XL batch, distribute water more evenly. Pouring water around the edges reduces dry pockets caused by rice settling unevenly. A quick stir before cooking can help, but don’t overmix into thick slurry or you’ll increase foaming risk.
Troubleshooting cues you can act on:
- Watery rice after resting usually means too much water or natural release that was too short.
- Sticky rice often comes from un-rinsed rice and/or a higher-starch grain.
- Burnt smell or stuck rice typically means too little water, a dirty base, or you’re too close to the max fill line.
Benefits of Rice in a Pressure Cooker XL
An XL pressure cooker speeds up rice and makes it more consistent, especially when you’re feeding more people or meal-prepping. The repeatability is the real win: once you find the ratio and timing that match your grain, the same batch size should land close to the same texture.
XL capacity supports batch cooking. Cooking larger amounts reduces the time spent juggling multiple stovetop pots, and it reduces temperature swings that happen when you cook in smaller batches.
Release timing also gives you texture control without constant watching. Natural release finishes the rice while you wait, which is harder to manage on the stovetop when you’re trying not to overcook.
Cleaning is often easier than stovetop rice. Pressure cooking keeps most of the liquid contained, so you get less boil-over and fewer scorched edges from boil-through.

Helpful pick
Ninja HyperHeat 9-in-1 Electric Pressure Cooker | 6.5 Qt Multi Cooker with Sear/Sauté, Slow Cooker, Rice Cooker, Sous Vide | 1200W | Fast Cooking, PFAS-Free Pot | Blue Macaron | PC201
With a 6.5 qt capacity, the Ninja HyperHeat cooks larger rice batches quickly and consistently.
Options for Rice in a Pressure Cooker XL
XL “rice mode” isn’t one single recipe. Grain type and desired texture control both water and timing, so start by choosing the rice and the outcome you want.
Common pressure-cooker-friendly starting points:
- White long-grain rice for fluffy everyday sides.
- Jasmine rice for fragrant, slightly softer grains.
- Basmati rice for longer, more separate grains.
- Brown rice for higher fiber and a chewier texture.
- Wild rice blends for nutty flavor, often needing longer hydration and careful time.
Prep method is another lever. Rinsing is the simplest way to change texture. Soaking helps too, especially for brown rice blends, because it can reduce cook time and improve even hydration.
If your cooker has “Keep Warm,” don’t rely on it for long stretches. Extended keep-warm can dry the surface while the bottom stays moist, and day-old rice becomes less predictable. Fluff and cool for storage, then reheat with a splash of water.
For XL consistency, keep the rice-to-water ratio the same for a given grain, then make minor texture tweaks. Big changes to both time and water at once make it much harder to learn your cooker.

Helpful pick
Instant Pot Duo 7-in-1 Electric Pressure Cooker, Slow Cooker, Rice, Steamer, Sauté, Yogurt Maker, Warmer & Sterilizer, Includes App With Over 800 Recipes, Stainless Steel, 6 Quart
Provides a dedicated rice setting and precise timing to finish fluffy white long-grain rice.
Expert Advice for Rice in a Pressure Cooker XL
Treat your first cook as calibration. Measure rice with a cup (or scale), measure water the same way every time, and note grain type, batch size, and settings. XL models handle bigger batches, but fill level matters more because the cooker has less room for error.
For most white rice, focus on water ratio and natural release. Too wet means reduce water slightly. Too crunchy means extend natural release by a few minutes or add 1 minute of cook time next round.
Don’t mix multiple grain types in your earliest tests. Different absorption rates show up as uneven texture, and XL batch depth makes those differences more obvious.
Keep the sealing and valve system in good shape. Starchy rice can foul or clog valves over time, especially if the sealing ring or gasket gets gummed up. If your cooker spits starch during rice, clean the valve area and confirm the gasket is seated correctly.
Don’t assume “more food” automatically means “more cook time.” Cook time often stays similar, while natural release and hydration behavior shift because the pot holds more heat and moisture. Change one variable at a time, then stick with what works.
Salt and oil aren’t magic, but they can affect results. Small salt amounts improve flavor, and too much can slightly change hydration in some recipes. Oil can reduce foaming for some starchy grains, but it also affects how water hydrates at the surface. Keep whatever you use consistent so your results stay predictable.
Helpful pick
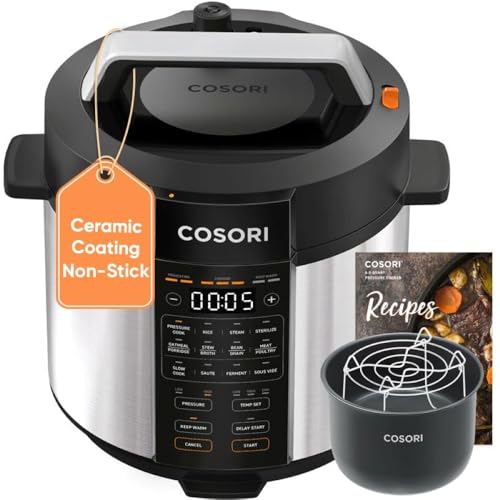
Cosori Pressure Cooker 6QT, Stainless Steel, 9-in-1 Multi Cooker, 12 Safety Features, Ceramic Coating Inner Pot, Rice, Slow Cook, Sous Vide, Saute, 1100W
The Cosori 6QT multi cooker handles rice well with consistent results across larger batches.
Examples: Rice in a Pressure Cooker XL
These starting templates use reliable baselines for rice in a pressure cooker XL: clear ratios, short high-pressure cooking, and natural release. Your cooker’s exact settings may vary by brand, so treat these as starting points you can adjust after tasting.
Example 1: White long-grain rice, fluffy side
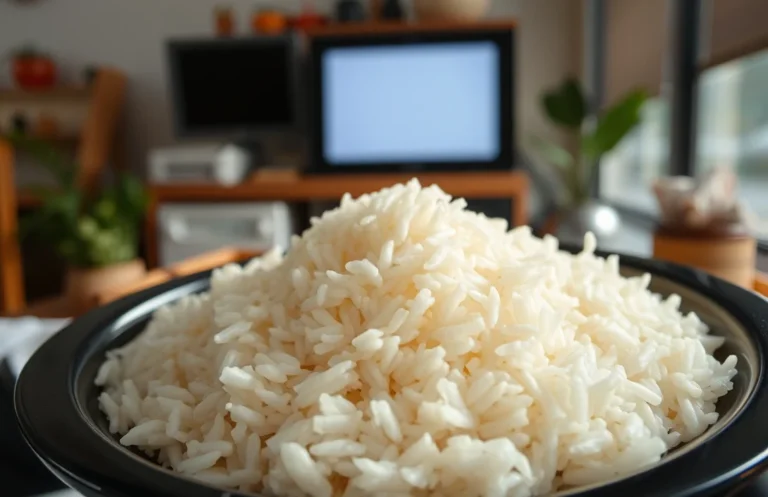
Use 1 cup rice to 1 cup water as your starting ratio, then add water only if your batch ends up dry. Rinse the rice if you want better separation and less clumping. Cook on High pressure for about 5 minutes, then use natural release for 10 minutes before opening.
Fluff with a fork as soon as the lid opens. If you see excess moisture, leave the lid off for 2-3 minutes and fluff again. If the rice is slightly under, don’t add more water – cover and rest for 5 minutes instead.
Example 2: Jasmine rice, softer and fragrant
Jasmine rice often comes out a touch softer than long-grain white, and it can take a small water increase. Start with 1 cup jasmine rice to 1.1 cups water. Rinse for less stickiness, or skip rinsing for a slightly clingier texture.
Cook on High pressure for about 4 minutes, then natural release for 10 minutes. If jasmine is consistently too firm, extend natural release by 5 minutes next time before you change water.
Example 3: Brown rice, firmer chew
Brown rice needs more time and usually more water. Start at 1 cup brown rice to 1.5 cups water. Cook on High pressure for about 18 minutes, then natural release for 15 minutes.
If the rice is still firm, don’t immediately add more water. Let it rest longer after cooking, because brown rice often finishes hydration during the off-heat window.
Example 4: Wild rice blend (or wild-heavy mix)
Wild rice blends vary a lot since some include partially cooked grains. If the package includes cooking time guidance, follow the water needs and direction first, then use pressure cooking to refine texture.
For a typical wild rice blend, use High pressure and plan on natural release so the grains finish evenly. If you don’t have package guidance, expect you may need one or two trial runs to land on the texture you want.
FAQ
How much water do I use for rice in a pressure cooker XL?
Start with a 1:1 ratio for most white long-grain rice (1 cup rice to 1 cup water). If your results are consistently too dry, move up to 1:1.25. If your results are consistently too wet, drop slightly below 1:1. Match the ratio to the same grain type each time, since brown and jasmine rice absorb differently.
What’s the cooking time for white rice in a pressure cooker XL?
A common starting point for white long-grain rice is 3-6 minutes on High pressure, then 5-10 minutes of natural release. Exact time depends on your cooker and batch size, especially in larger XL pots. If you undercook, add natural release time first, then add 1 minute next round if needed.
Is it safe to fill a pressure cooker XL to the max for rice?
Don’t cook rice at the very top of the pot. Starchy foods can foam and clog or dirty the valve area, and too-high fill levels can lead to messy venting. Use the manufacturer’s max line, and if your cooker recommends a lower max for grains, follow that lower limit for rice in a pressure cooker XL.
Do I need to rinse rice before pressure cooking?
Rinsing is optional, but it changes texture. Rinsing white rice usually gives more separated, less clumpy grains because it removes surface starch. If you want stickier rice for certain meals, skip rinsing and expect a different texture than rinsed grains.
What common mistake ruins rice in a pressure cooker XL?
Opening the lid immediately after the timer ends is the big one. Many batches finish during natural release, so quick release can leave rice uneven, watery at the bottom, or not fully hydrated. Another common mistake is using the wrong water ratio for the grain type, especially swapping white and brown rice.

- 10 Best Slow Cooker For Easy Storage 2026 (Tested And Reviewed) - October 24, 2026
- 10 Best Slow Cooker For Mess Free Cooking 2026 (Tested And Reviewed) - October 24, 2026
- 10 Best Slow Cooker With Leak Resistant Lid 2026 (Tested And Reviewed) - October 24, 2026