Growing Brussel Sprouts In Pots: 5 Steps That Work
Yes, you can grow Brussels sprouts in pots, and a fall harvest is the easiest win. The trick is using a container big enough for the root zone, a potting mix that drains well while staying evenly moist, and feeding without overdoing nitrogen. Here’s a practical plan for growing Brussels sprouts in pots in the United States, from pot size to harvest and storage.
Brussels sprouts in pots work when you use a container at least 12 inches wide and deep per plant, give 6+ hours of sun, keep soil evenly moist, and feed lightly as plants grow. For a typical US fall harvest, start seeds indoors 6-8 weeks before your last spring frost, transplant to the final pot for summer growth, and count on cool weather to drive sprout set. Expect tight spacing and consistent care.
Key Takeaways
- Pick the right pot. Use at least 12 inches wide and deep per plant to avoid stunting.
- Use fast-draining potting mix. Aim for loose, airy soil that holds moisture evenly, not garden soil.
- Feed lightly, consistently. Shift from nitrogen-heavy growth to balanced fertilizer as heads form.
- Target cool-season conditions. Brussels set best when days cool in late summer and fall.
- Keep moisture even. Letting pots dry out then flooding them causes stress and weak head set.
- Inspect weekly for pests. Check undersides for cabbage worms and aphids early.
Growing Brussel Sprouts in Pots: Step-By-Step Plan
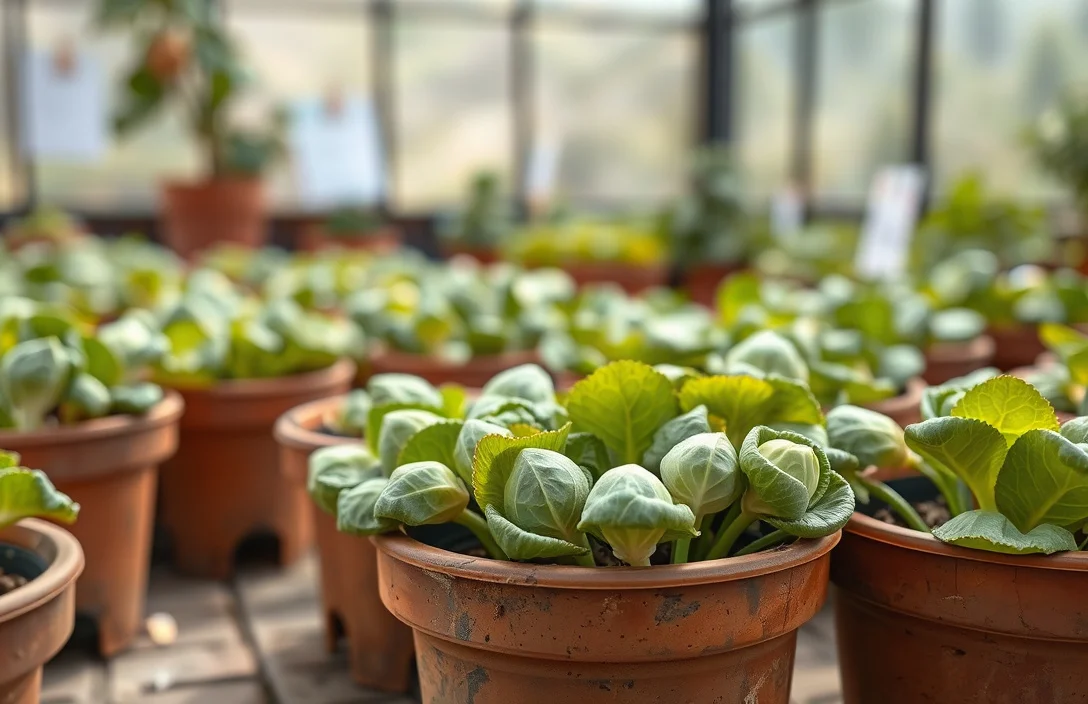
Plan around fall first. Brussels sprouts are cool-season plants, so your job is to get them established before the hottest weeks, then let cooler weather do the sprout work. In most US locations, that means working backward from fall temperatures, not trying to force good growth through summer heat.
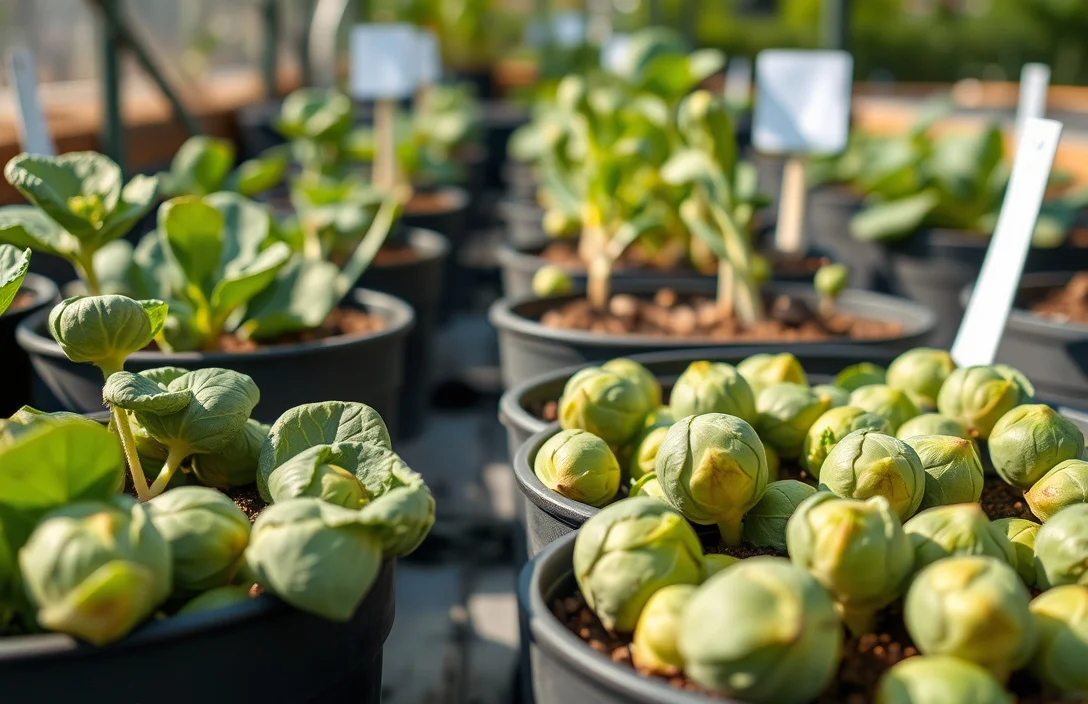
Use one plant per pot. Brussels form a tight cluster of sprouts along the stem, and crowding reduces airflow and hurts head quality. If you want more plants, use more pots.
Follow this step-by-step plan for a dependable pot harvest:
- Choose a container at least 12 inches wide and deep with drainage holes.
- Fill with potting mix made for containers (not straight garden dirt).
- Start seeds or buy transplants – transplants usually make this easier for beginners.
- Transplant into the final pot once roots are established and outdoor temps are settling.
- Place in full sun (aim for 6+ hours of direct light daily).
- Water consistently so the pot stays evenly moist, especially during hot spells.
- Fertilize on schedule with light feeding, then adjust as plants grow.
- Thin lower leaves if airflow is poor as sprouts begin to form.
- Check for pests weekly and deal with problems early.
- Harvest sprouts individually from the bottom up when they’re firm and about the right size.
The most common reason container Brussels “fail” is timing and heat stress. People sow too late, or they leave pots in intense summer sun with uneven watering. Plants then grow tall but never set good sprouts. The steps above build the plant for cool-season success.
If your goal is an October harvest, plan for healthy plants by late spring and early summer. That means pot prep and transplanting early enough that you’re not relying on a tiny seedling to survive a heat wave.
Stagger for less risk
If you have the space, use two planting dates. A small stagger (even 2-3 weeks) spreads risk from heat, pests, or an early frost that arrives before the whole crop is ready.
What Size Pot Do Brussels Sprouts Need
Pot size is not optional for Brussels sprouts. Their roots need room, and being root-bound too early stalls growth just when the plant should be preparing to form sprouts.
A solid baseline is 12 inches wide and 12 inches deep (minimum) per plant. If you can go bigger, do it, especially in hot summers or on balconies where pots dry quickly. Bigger pots also buffer temperature swings, which matters for cool-season crops.
Use a container with drainage holes and enough volume that the soil doesn’t dry out daily. When Brussels dry down hard, they respond with stress and weaker head set. When pots stay waterlogged, roots struggle and you can see yellowing plus slow growth.
| Pot size (diameter) | Depth requirement | Best for | Notes |
|---|---|---|---|
| 8-10 inches | 8-10 inches | Small experiments | High risk of stunting, uneven watering |
| 12 inches | 12 inches | Most home gardeners | Solid minimum, easier watering consistency |
| 14-16 inches | 14-16 inches | Best all-around | More stable moisture and growth room |
| 18+ inches | 18+ inches | Long-season, hot climates | Helps if you want a longer harvest window |
Spacing stays simple: one plant per pot. Want two plants? Use two pots. Multiple plants in one container reduce airflow, and the effects show up as poorer sprout quality.
On a porch or patio with strong sun, a 12-inch pot may still work, but you’ll water more often. When in doubt, choose deeper soil volume, because the roots need room to do their job.
Container type matters
Fabric grow bags dry faster than rigid pots, but they can work if you water with discipline. If you’re not confident about daily check-ins, stick to plastic or ceramic with consistent moisture retention, as long as drainage holes are clear and functional.
Best Soil Mix and Fertilizer Schedule for Pots
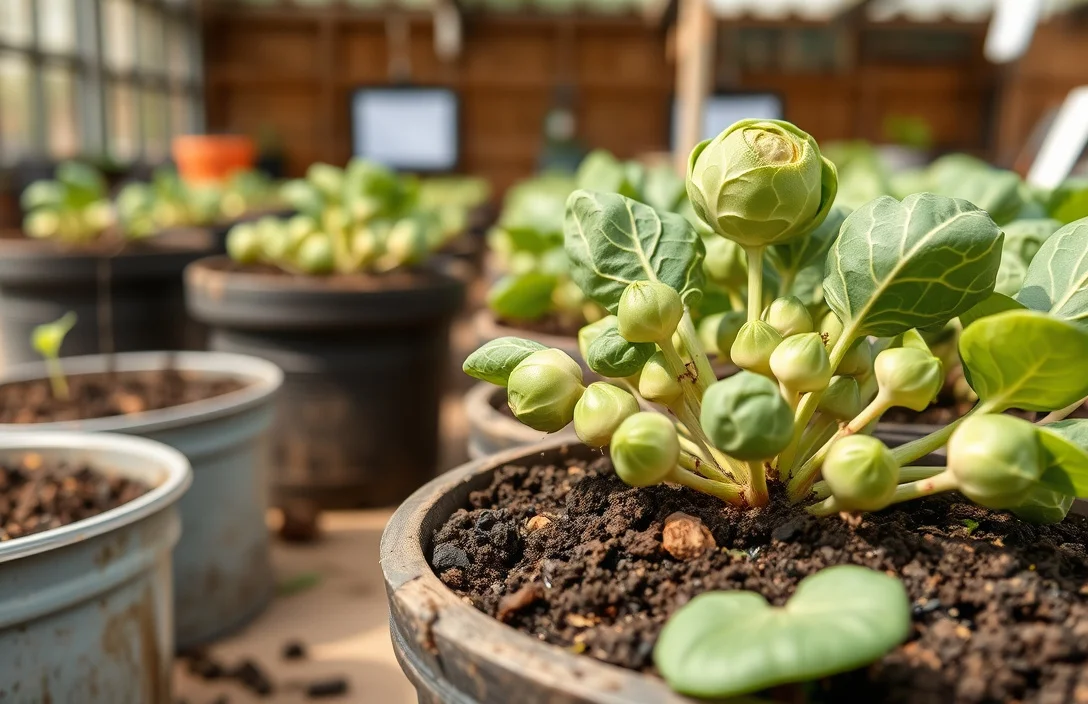
Use a high-quality potting mix made for containers. Brussels sprouts do best with steady moisture and airflow around roots. Garden soil is usually too dense for pots and can compact, cutting down oxygen at the root level.
A good container mix feels light and crumbly in your hand. If it stays heavy and muddy, it probably won’t drain well enough. If it dries out in a day, it’s likely too fast to support even growth.
Fertilizer works in two phases: establishment and sprout forming. Early on, plants focus on leaves. Later, they shift energy to the sprouts along the stem.
A simple schedule that fits most home gardeners:
- At transplant time: Mix in a slow-release balanced fertilizer per label, or use a gentle starter fertilizer.
- Vegetative growth (first big leaf expansion): Feed with a balanced fertilizer every 3-4 weeks at a light rate.
- As sprouts begin forming: Switch to fertilizer with relatively less nitrogen and more balanced nutrients (or stay balanced, but avoid extra nitrogen).
- During peak growth: Keep feeding on the same interval, but do not double up.
The big mistake is using high-nitrogen lawn fertilizer late in the season. Too much nitrogen pushes leafy growth and can reduce sprout quality, especially in containers where watering and nutrient availability can swing more than in-ground beds.
In practice, modest and consistent feeding beats “big hits.” Brussels sprouts respond well to even nutrition rather than spikes.
For example, fertilizing hard two weeks after transplanting can push a surge followed by a stall if moisture fluctuates. A steady feeding interval smooths that out.
Water + nutrients is a package deal
Inconsistent watering makes fertilizer far less effective. Aim for even moisture, then follow the feeding schedule. In containers, moisture control is usually the bottleneck, not the brand you buy.
How Much Sun and Water for Container Brussels
Brussels sprouts need real sun to grow well in a pot. Give 6+ hours of direct sun daily, and add protection during the hottest part of the day if you live in a very hot climate.
If you get less than 6 hours, you can still grow Brussels, but growth will slow and sprouts will likely be smaller. Containers amplify the problem because there’s less soil volume to buffer heat and stress.
Watering is the daily decision that matters most. The goal is evenly moist soil, not constantly soaked conditions. Use a simple test: stick your finger into the top 1-2 inches. If it feels dry there, water thoroughly until excess drains out the bottom.
Heat waves change the plan fast. During very hot weather, you may need daily watering, or even twice a day for small containers, especially with sun exposure and wind. Larger pots usually hold moisture longer and reduce how often you have to water.
A simple watering routine that works
- Water deeply until you see runoff from the drainage holes.
- Check moisture daily during warm spells.
- Mulch the surface (straw or shredded leaves) to slow evaporation.
- Water in the morning to reduce disease pressure and keep leaves cooler.
Uneven watering creates predictable stress patterns. A plant may grow tall and lush, then struggle to set sprouts, or sprouts may turn loose and inconsistent. Treat watering as non-negotiable for container growing.
If you leave and the pot dries out completely, expect slower recovery. Brussels can rebound, but sprout timing may shift.

Helpful pick
Land Guard 4-Pack Fabric Grow Bags 5 Gallon, Thickened Nonwoven Garden Pots, Growing Bags with Handles, Black
Fabric grow bags provide excellent drainage and air pruning, helping Brussels sprouts thrive in container pots.
When to Plant and Transplant for Fall Harvest
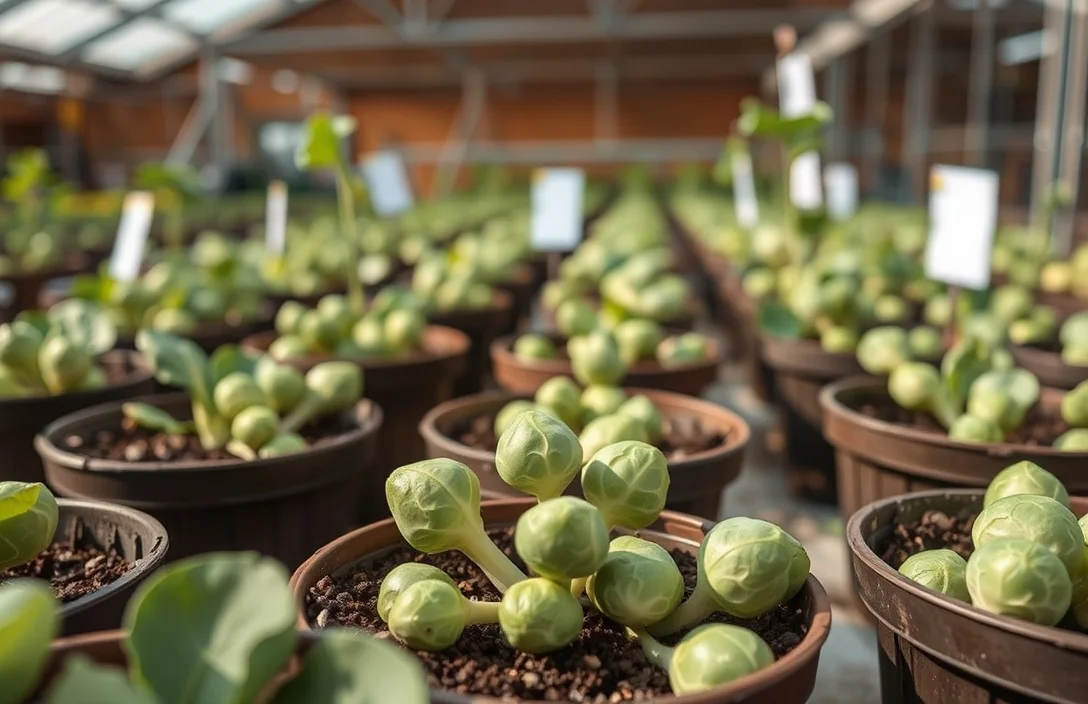
Build your fall plan backward from when temperatures cool in your area. Brussels sprouts are cool-season plants, and the best sprout development happens as days become mild and nights get cooler.
In most US regions, Brussels can be grown as a spring-planted crop that matures in fall. Start early enough to establish before the hottest summer weeks, then keep growing into cooler weather.
If you’re starting from seed indoors, a common approach is starting 6-8 weeks before your last spring frost. Transplant outdoors when conditions are reliably warmer and the plants have sturdy growth. If you buy transplants, choose healthy, compact plants and put them into the ground (or container) as soon as outdoor conditions stay consistent.
Transplanting timing matters because seedling roots grow fast. Move plants before they become root-limited in their small starter pots. If transplants sit too long in tiny containers, growth can slow even after you move them to larger pots.
How to time it without needing a perfect calendar
If you don’t want to chase an exact date, use these rules of thumb:
- Aim to be transplanting mid-to-late spring in many areas.
- Avoid pushing very young plants through peak heat when you can.
- Expect bottom-up harvest once sprouts are firm in cool weather.
A lot of gardeners miss the “heat barrier.” Seedlings kept indoors too long, or transplants moved straight into scorching weather, can lead to tall plants and delayed sprout set. Earlier, manageable growth usually beats waiting.
In very hot summers, choose an earlier transplant window or pick varieties that fit your local season length. If you’re unsure, ask your local garden center which Brussels perform best in your area.

Helpful pick
Jorvila 5 Pack 5 Gallon Grow Bags, Thickened Nonwoven Fabric Planter Pots with Handles, Heavy Duty 300G Garden Pots for Tomato, Potato and Vegetable
Provides versatile 5-gallon grow bags ideal for transplanting Brussels sprouts into pots for a cool-season fall harvest.
Common Container Problems Like Yellow Leaves and Pests
Yellow leaves usually trace back to a short list of causes. In pots, the patterns are predictable: nutrient imbalance, uneven watering, root stress, or pests. Check what’s happening in the plant and the soil before you start changing everything.
If leaves yellow starting on the lower part of the plant and growth looks weak, nutrient deficiency or root stress are likely. In containers, poor drainage or compacted mix can also cause root issues that show up as yellowing. If you repotted recently with fresh potting mix, you may not need much fertilizer yet. If plants are stalling, light feeding often helps.
If yellowing comes with wilting or soil that dries out quickly, watering is usually the culprit. Pots can swing between bone-dry and soggy if you don’t stay consistent, and that stress affects leaf color and growth speed.
Pests are the other major cause. Common Brussels pests include cabbage worms, aphids, and flea beetles. The fix is early action and prevention habits, not waiting until you see major damage.
Quick pest prevention
- Inspect weekly: check under leaves and around stem nodes.
- Use row covers early if pests are common where you live.
- Rinse aphids off with a steady spray when you catch them early.
- Remove damaged leaves to reduce breeding sites.
Container pests may seem “less,” but they still show up. The advantage is that plants are close and easy to inspect. Spend 5 minutes a week checking instead of losing hours trying to rescue a heavily damaged crop.
If you see holes in leaves and frass (tiny droppings), treat it as a caterpillar issue right away. If you see clusters of small insects and sticky residue, treat it as aphids and check for ants moving them.

Helpful pick
WandaQueen 30 Packs Clear Nursery Pots for Plants, 3.5/4/5 Inch High Transparency Plastic Seedling Plant Pot with Drainage Holes, Includes 20 Labels
Clear pots let you monitor root health, drainage, and soil moisture to catch yellowing early.
How to Harvest and Store Brussels Sprouts
Harvest Brussels sprouts from the bottom up. Start picking when sprouts are firm and sized for your variety, and the leaves around them look healthy. Pull from the bottom of the stalk first, then work upward as more sprouts mature.
Harvest technique matters. Twist gently until the sprout releases, or cut with clean garden snips when the stem attachment is tough. Avoid tearing the stalk, which can slow or damage the sprouts higher up.
Storage comes down to temperature and humidity. Brussels sprouts keep best cool, and they hold texture better when you don’t wash until you’re ready to use them. If you do wash, dry well and refrigerate promptly.
A practical storage approach:
- Harvest and cool quickly after picking.
- Store unwashed in a perforated bag or ventilated container.
- Keep refrigerated and use within a few days for best texture.
- Blanch and freeze for longer storage.
Freezing is the best option if your harvest comes in faster than you can eat. Wash, trim, blanch briefly, cool, dry well, then freeze in a single layer before bagging.
For example, if you pick over a couple of weeks, refrigerate early harvests for meals, then freeze later picks when your daily eating schedule catches up.
FAQ
1) How big can Brussels sprouts get in containers?
Brussels sprouts in pots grow fairly compact compared with in-ground plants, but final size depends on pot depth and watering. With a minimum 12-inch deep pot per plant, you usually get healthy growth and usable sprouts. Smaller containers often lead to stunting or thin, loose sprouts.
2) How long does it take to grow Brussels sprouts in a pot?
From transplant to first harvest, many home gardeners land in the ballpark of a few months, because sprout set depends on cool weather arriving. Timing shifts based on transplant date and how warm the season stays. The practical goal is having established plants before late-summer cooling so harvest happens in fall.
3) Are Brussels sprouts in pots easier to manage than in-ground?
They can be easier to manage for pests because containers are simple to inspect and easier to move if needed. The trade-off is water management: pots dry faster and nutrient levels can shift. If you can check moisture regularly, container growing is usually simpler.
4) What’s the biggest mistake that causes yellow leaves in container Brussels?
In my experience, inconsistent watering or compacted soil limiting root oxygen is the biggest mistake. Yellow leaves often show up when the pot dries out hard, then gets watered heavily, or when drainage is poor. Use quality potting mix, water consistently, and confirm the container drains well.
5) Can I grow Brussels sprouts in a small pot like 8 inches?
You can, but it’s a high-risk setup. An 8-inch pot limits root space and makes moisture swings more severe, which commonly leads to weak plants and poor sprout quality. If that’s your only option, expect smaller yields and more frequent watering, and consider moving up to a larger container if you can.

- 10 Best Slow Cooker For Slow Cooking Legumes 2026 (Tested And Reviewed) - October 17, 2026
- 10 Best Slow Cooker For Slow Cooking Oxtail 2026 (Tested And Reviewed) - October 16, 2026
- 10 Best Slow Cooker For Slow Cooking Venison 2026 (Tested And Reviewed) - October 16, 2026