Gasket For National Pressure Cooker In 6 Easy Steps
National pressure cookers rely on one small part to keep pressure inside where it belongs: the gasket. When the seal fails, steam leaks at the rim, the cooker struggles to build pressure, and venting can turn cooking into something closer to a simmer. This guide shows you how to match the correct gasket type, confirm size and material, and replace it safely so the cooker seals again.
Gasket for National pressure cooker: use the same gasket type and exact geometry as the original, then match material to what you cook (water, vinegar, oils). A proper seal must sit flat in the groove and compress evenly all the way around. If it doesn’t, it will leak and won’t hold full pressure.
Key Takeaways
- Gaskets make static seals. They fill gaps between mating surfaces so steam cannot escape when compressed.
- Material matters most. Use food-safe elastomers for everyday cooking, and avoid unknown rubbers for acidic use.
- Heat and pressure degrade seals. Old gaskets harden or crack, so leaks can start even if assembly seems correct.
- Shape must match. O-rings, flat rings, and molded profiles are not interchangeable. Measure and compare before buying.
- Install carefully. Seat the gasket fully in the groove, then close and test with water before cooking food.
- Replace at wear signs. Swap gaskets that look flattened, brittle, or develop odor after heating.
What It Does
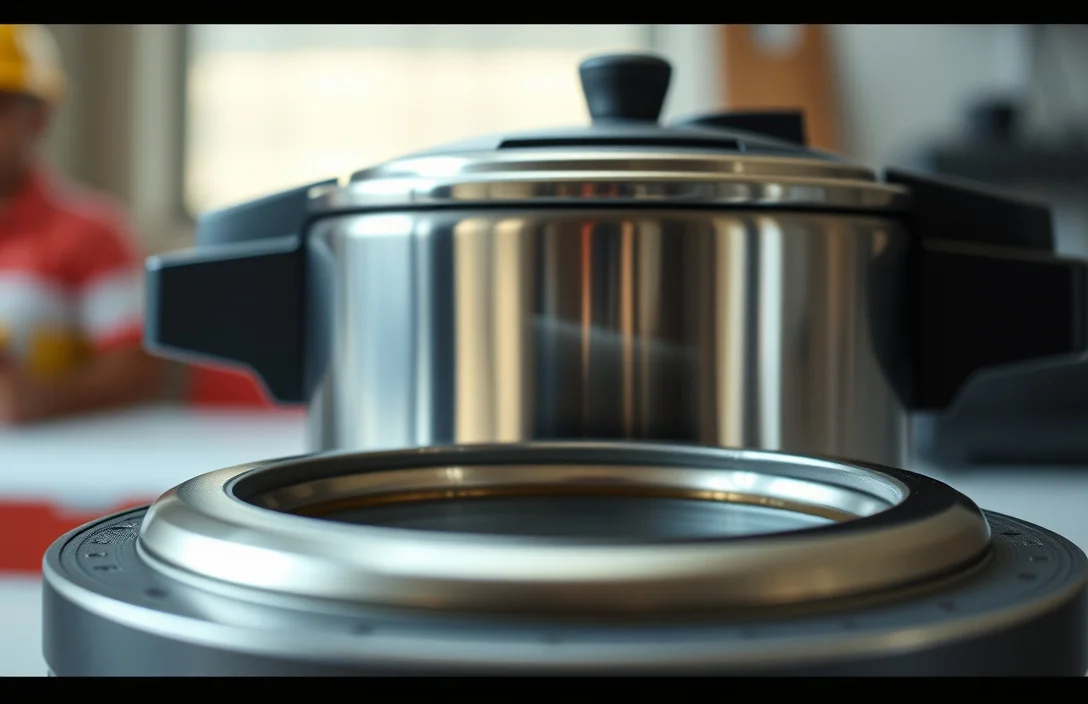
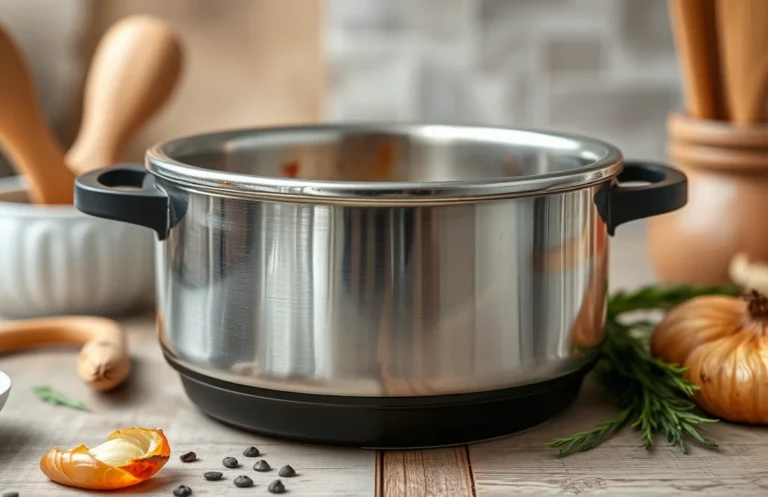
A gasket is a mechanical seal that fills the gap between mating surfaces and prevents leakage while compressed. In a pressure cooker, the gasket creates a pressure-tight barrier so steam builds pressure instead of escaping around the lid.
Your National cooker’s lid and base meet at surfaces that are never perfectly smooth. The gasket is deformable by design, so it seals tiny irregularities and maintains a tight fit as temperature and pressure rise.
A working gasket delivers consistent pressurization and stable cooking pressure. A failing gasket leaks at the rim, may prevent the cooker from reaching pressure, and effectively changes how the cooker behaves because it can’t hold pressure reliably.
Which Gasket Material Fits Your National Model
Material choice is about sealing performance at operating temperature and chemical compatibility with your food. Most National household pressure cookers use a non-metal gasket (an elastomer) because it has to deform to seal in the lid groove.
For everyday cooking like water, broth, beans, and grains, a quality food-grade rubber or silicone-style gasket is usually the right match. For acidic foods like tomatoes, vinegar-based sauces, and some pickled ingredients, choose a material that resists swelling and softening from acids.
Oils and fatty foods add another variable. Many gaskets seal fine for water-based cooking but degrade faster after repeated exposure to oils at pressure, especially if the gasket is already heat-hardened or older.
A practical way to choose without turning it into chemistry class:
| Cooking load | What you want in the gasket material | What to avoid if possible |
|---|---|---|
| Water, stock, grains | Good sealing at heat, elastic recovery | Gaskets already flattened or sticky |
| Beans and legumes | Stable under steam cycles | Old rubber with cracks or “set” |
| Vinegar, tomatoes, sour sauces | Acid resistance and limited swelling | Unknown “universal” rubbers with no material info |
| Oily dishes | Resistance to oil soaking and softening | Gaskets with an oily smell after drying |
If your gasket looks intact but fails early with specific foods, the material may be the issue. If it’s cracked, stiff, or permanently flattened, it’s wear. Even the right material can’t seal when the gasket has lost elasticity.
Temperature, Pressure, and Chemical Compatibility Checks
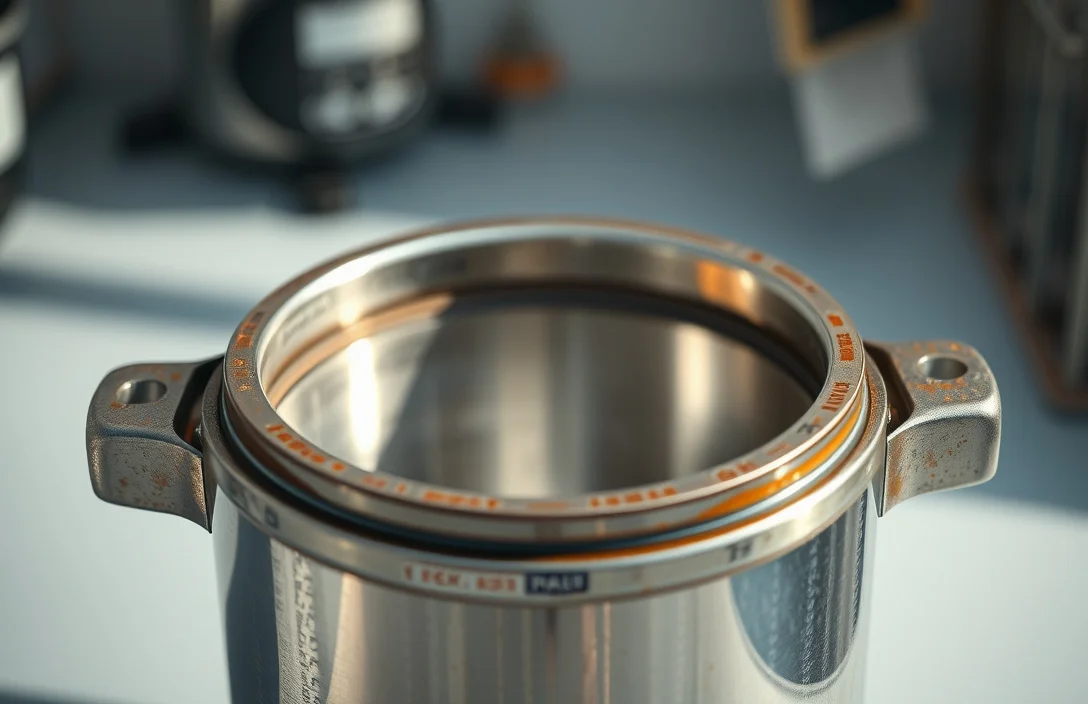
Pressure cookers stress gaskets with repeated heat cycles and clamp force. Each cycle slowly changes the elastomer’s structure. Over time, the gasket loses elasticity and stops sealing.
Start with the basics: the replacement gasket should be sold for pressure cooker conditions and match your cooker’s operating pressure range. If a gasket is marketed for “general steam” without pressure cooker suitability, treat that as a warning.
Chemical compatibility is the second major failure point. Steam spreads what’s in the pot, and acidic liquids or salty broths can contact the gasket area through condensation and venting.
Use this checklist before you buy:
- Look for food-safe labeling for pressure cooker use (or at least food-contact rating).
- Skip “universal” gaskets when the material type isn’t stated clearly.
- Inspect the original gasket for softening, tackiness, or swelling marks after cooking acidic foods.
- Match the original feel and shape. A correct replacement should feel similar when dry, not rock-hard or overly stretchy.
My rule to avoid most headaches: replace with the exact style and material family as the original gasket. Deviate only if you have a clear reason and the seller states the material and food-contact suitability for pressure cooking.
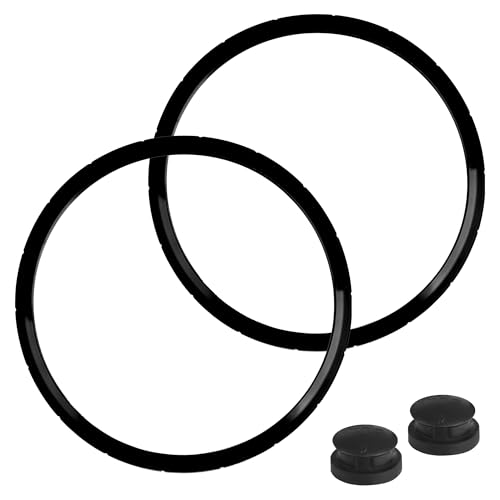
Helpful pick
09936 Pressure Cooker Sealing Ring, Overpressure Plugs Fit for Presto Pressure Cooker, (2 Packs) Model 4 Quart 6 Quart, Replace 0126002 0136102 0136403 0136304 0136001 0216001
Comprehensive Presto gasket replacement with compatible models and plugs, supporting safe, properly labeled pressure cooking.
How to Identify Gasket Size, Shape, and Type
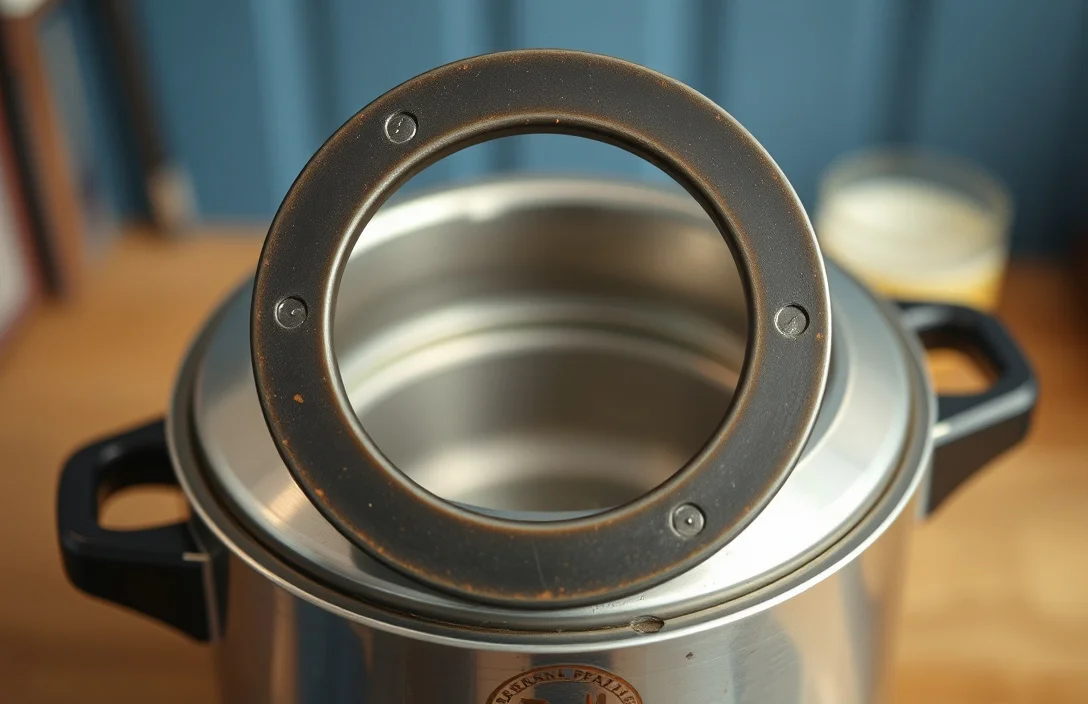
Gasket size and shape decide whether the seal actually forms. Even if the diameter looks close, the cooker can leak if the gasket cross-section profile (thickness, lip shape, or how it fits the groove) is wrong.
Remove the old gasket and clean off residue so you can see the real profile. Then measure what matters: outer diameter, inner diameter (if applicable), and gasket cross-section (thickness and whether it has an edge, bead, or lip).
Identify gasket type by geometry:
- O-ring style – circular cross-section or near-circular cord that seats in a groove.
- Flat ring – a flat, thin gasket that seals across a wide band.
- Custom-profile ring – a molded lip or angular profile designed to sit in a lid channel.
For National pressure cookers, replacement problems often come from buying the wrong “ring” category based on generic listings. Brand names aren’t enough. Verify the profile matches.
Quick comparison method: seat the original gasket in the lid, take a clear photo, and compare its profile to the replacement listing photos. If the new gasket’s edge angle or thickness looks different, return it.
Measure with a tape measure and write down the nearest fraction (for example, “outer diameter about X inches” and “thickness about Y”). If age has deformed the gasket, measure in a way that captures the original profile, not just how it sits flattened.

Helpful pick
2Pack 09985 for presto Pressure Canner Sealing Ring Gasket 01745 01751 01755 01781 01782 01784 presto Pressure Cooker 16 18 23 Quart Including 2 Overpressure Plug 23 quart Pressure Canner Parts
A Presto replacement gasket covers multiple sizes, helping ensure the correct cross-section and fit for reliable seals.
Why a National Pressure Cooker Gasket Fails
The most common reason a National pressure cooker gasket fails is loss of elasticity. Heat cycles harden elastomers, so the gasket can’t spring back into a tight seal after compression.
Second, gaskets get set when stored compressed. If the lid stays closed for weeks, the gasket remains deformed and seals poorly the next time you cook.
Third, residue and cleaning products can damage seals. Oils, starch, and food particles change how the gasket sits, and harsh cleaners can swell or degrade some elastomers.
Finally, installation mistakes can mimic gasket failure. If the gasket is twisted, not fully seated around the groove, or pinched when the lid closes, the cooker will leak even with a brand-new gasket.
Typical signs show up like this:
- Cracks at the rim or at the gasket seam
- Flattened profile where the gasket lost its original “bulge”
- Hard, stiff feel when dry (it doesn’t flex easily)
- Sticky or oily surface after normal cooking and drying
- Steam leaks at the lid edge within minutes of reaching pressure
Replace if you see the first four signs. If the gasket looks fine but you still leak, fix seating, lid cleanliness, and confirm the gasket type matches your lid groove.

Helpful pick
Sealing Ring Gasket for Prestige Pressure Cookers, for 2 Liter & 3.5 Liter Stainless Steel Deluxe Plus/Alpha Deluxe Models 2.5, 3.5 & 3L & Mini Handy Deluxe/Deluxe Plus 3/4L Supreme, Ultimate (1 pcs)
A fresh gasket restores elasticity, sealing reliably after heat cycles and compression, addressing common failure causes.
Replacing Your National Pressure Cooker Gasket
Replacing a gasket is simple when you do it in the right order. Seating matters more than forcing. The gasket needs to compress evenly around the full circle.
- Remove the lid gasket carefully. Pull it out of the lid groove with your fingers first, then work it free without scratching the metal surface.
- Clean the sealing surfaces thoroughly. Wipe the lid channel and the base rim with warm water and mild dish soap, then rinse and dry completely.
- Dry-fit the new gasket before closing. Place it into the lid groove and confirm it sits flat with no twist or bulge.
- Seat the gasket fully around the entire circle. Press along the groove path to ensure continuous contact, especially at corners and seams.
- Close the lid and confirm free movement. Make sure the lid locks normally and the gasket is not pinched under the locking ring.
- Run a water test before cooking food. Fill with water, bring to pressure per your model instructions, and watch for steam leaks around the rim.
Use gentle pressure during seating. If the gasket fights you, it usually means the wrong type or wrong size. Don’t try to “make it work.”
I recommend the water test even for easy swaps. A tiny twist at installation can create slow leaks that only show up once the cooker ramps up steam and pressure.
Verifying Seal Quality After Installation
Seal quality shows up during the first pressurization. You should not see continuous steam escaping from the lid rim, and the cooker should reach and maintain pressure normally.
After the water test reaches operating pressure, watch the pattern. Occasional venting can be normal depending on the pressure regulator design, but a visible steam plume from the gasket area means the seal isn’t uniform.
Inspect the gasket after the test. Turn the cooker off, let it cool safely, and check for uneven whitening, squishing marks, or gaps where light shows between the gasket and lid channel.
If you see a leak, don’t assume the gasket is defective. Remove and reinstall first, because installation alignment errors are common. Look for a twist, partial seating, or residue trapped under one section.
My quick pass/fail signals:
- Pass: No rim steam leak during pressure hold, lid locks smoothly, gasket sits evenly.
- Fail: Steam jets from the rim, pressure takes unusually long, or the gasket looks pinched on one side.
Also confirm the lid and base sealing surfaces are clean. A thin film of starch, soap residue, or mineral buildup can prevent proper compression and cause leaks.
If the water test fails after reinstalling the gasket twice, the gasket is likely the wrong type or material. At that point, match the shape more precisely to your original gasket and consider ordering using the model number and lid style rather than generic matches.
FAQ
What gasket size does a National pressure cooker take?
National pressure cooker gaskets fit the lid groove and gasket cross-section, not just the pot diameter. Remove the old gasket, measure outer and inner diameters, and note thickness and profile. Compare those measurements to the replacement listing photos so the cross-section matches the lid channel.
How long does it take to replace a gasket?
Plan for 10 to 20 minutes for the physical swap once the cooker is cool. If you need to clean mineral residue or starch from the lid groove, add another 10 minutes. The water test after replacement usually takes 20 to 40 minutes depending on cooker size and how quickly it reaches pressure.
Are pressure cooker gaskets safe for acidic foods?
Food-safe elastomer gaskets work well for water-based cooking, but acids can stress some materials over time. If you cook tomatoes, vinegar, or sour sauces often, choose a gasket replacement that states food-contact suitability for pressure cooking. Inspect for swelling, softening, or tackiness, and replace sooner if you see those signs.
Can I reuse an old gasket after it leaks?
Reusing a gasket after it leaks is a gamble. Leaks usually mean the gasket lost elasticity, cracked, or got permanently deformed from compression cycles. Replace if the gasket looks flattened, stiff, or cracked. If it looks fine, reinstall carefully and run another water test before cooking food.
What’s the most common mistake when installing a new gasket?
The most common mistake is twisting the gasket or seating it incompletely in the groove. That creates a leak path even when the gasket is the right size. Seat the gasket flat all the way around, press along the full circle, then lock the lid. Always run a water test so you catch leaks before cooking food.

- 10 Best Slow Cooker For Slow Cooking Legumes 2026 (Tested And Reviewed) - October 17, 2026
- 10 Best Slow Cooker For Slow Cooking Oxtail 2026 (Tested And Reviewed) - October 16, 2026
- 10 Best Slow Cooker For Slow Cooking Venison 2026 (Tested And Reviewed) - October 16, 2026