Crockpot Pressure Cooker Replacement Parts In 6 Easy Steps
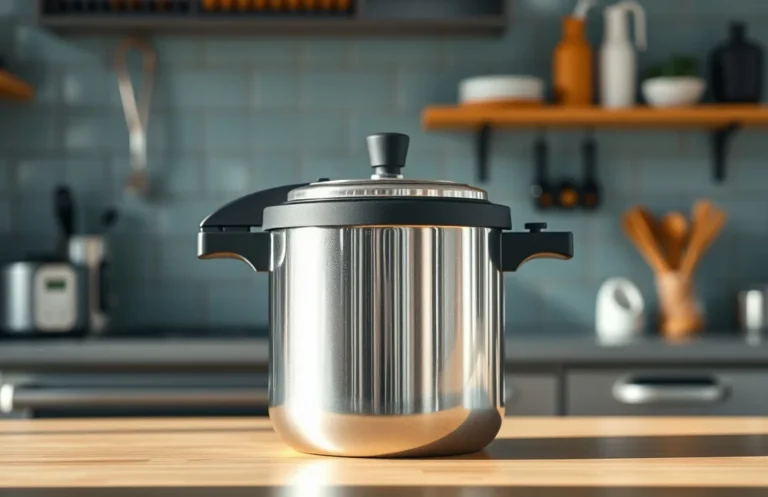
A pressure cooker is great until the lid seals poorly or the heating base stops regulating. Then you are stuck buying the right part or replacing the whole unit. Getting crockpot pressure cooker replacement parts right comes down to model compatibility, sealing ring/gasket dimensions, and identifying the real failure instead of guessing.
Replacement parts compatibility is model-specific. Match your lid assembly, sealing ring/gasket dimensions, and the inner pot and base to your exact Crock-Pot model number. Use the label on the cooker body, not the marketing name, and verify pressure rating and part numbers before you order. If you see leaks or error codes, inspect the gasket first.
Key Takeaways
- Start with the model number. Use the label on the cooker body to find compatible Crock-Pot pressure cooker parts.
- Match lid hardware. Lids vary by venting and lock design, so “any” lid rarely fits safely.
- Measure the gasket. Replace sealing rings and gaskets by exact dimensions, not by appearance.
- Swap the whole heating path. If heating is inconsistent, check the inner pot and base contacts together.
- Treat leaks like a seal problem. Most leaks and pressure failures trace back to worn or mis-seated seals.
- Verify safety and warranty. Confirm pressure rating and whether the replacement part keeps your warranty valid.
Crockpot pressure cooker replacement parts compatibility guide
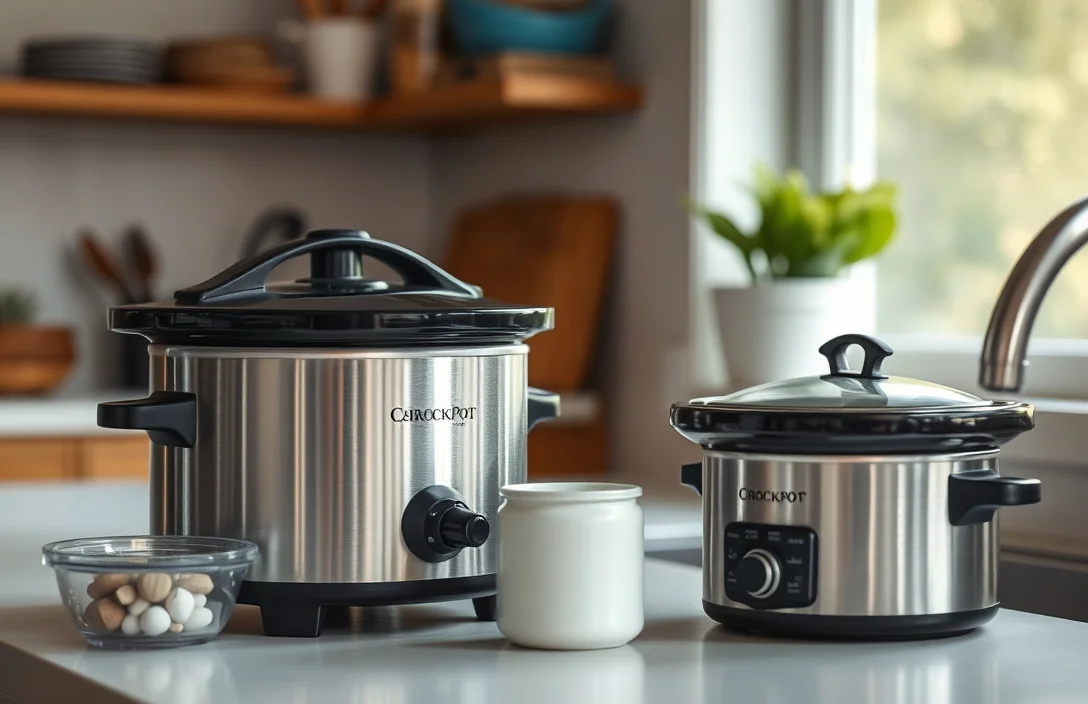
Crock-Pot pressure cooker parts are not universally interchangeable across sizes or generations. The inner pot, lid, sealing ring, and base assembly work as a system. Mismatching even one piece can cause leaks, incomplete pressurization, or error codes.
Write down the exact model number from the cooker label (usually on the bottom or back). Cross-check that model against the replacement part listing or manual compatibility notes. If a vendor does not clearly state compatibility by model number, skip it. “Similar” is how you end up with a loose gasket or a lid that does not lock correctly.
The part you think you need is often not the only part that matters. A worn sealing ring can make the lid vent continuously, which looks like a “base problem” until you replace the seal. A damaged inner pot can also shift heat transfer and change how sensors respond to temperature and pressure behavior.
Use this checklist to avoid a second shopping trip:
- Confirm model number and pressure type from the label.
- Identify the failed symptom (leak, error, weak heating, no pressure).
- Replace the part(s) that directly contact the sealing or heating path.
- Inspect seating surfaces for debris, warping, or residue.
- Verify the replacement is intended for your exact model.
Which Crock-Pot lids fit your model number
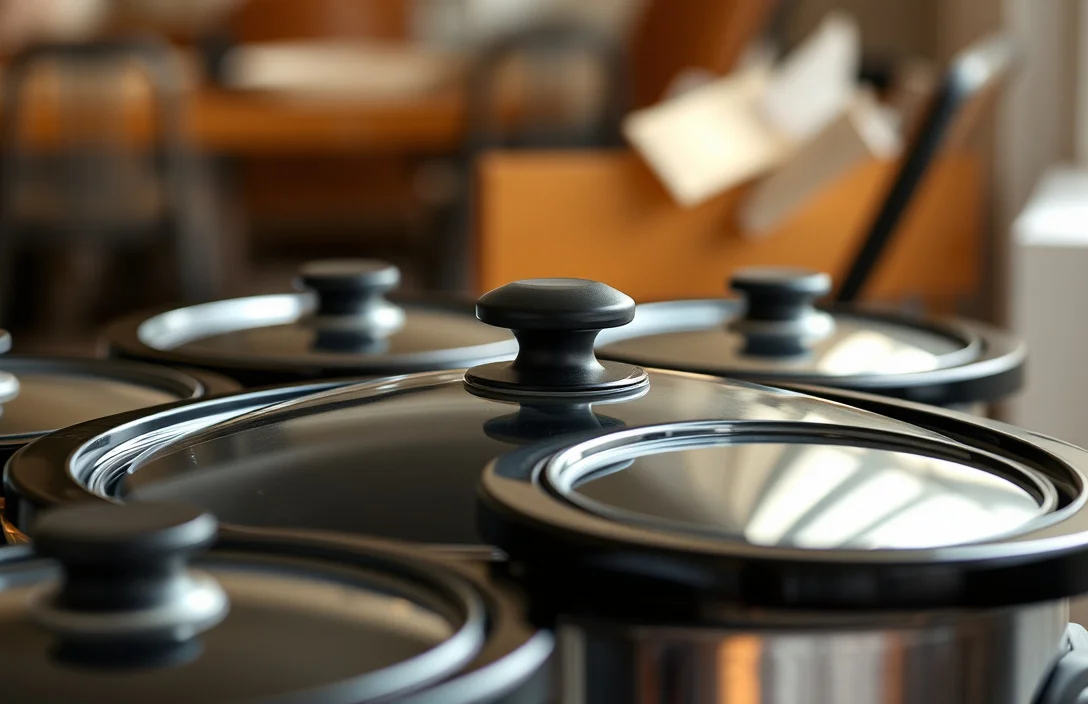
Lid fit is about more than diameter. Crock-Pot pressure cooker lids use different locking mechanisms, vent designs, and electronics or sensor interfaces. Those differences determine whether the unit can reach and hold pressure.
The model number is the anchor. If a replacement lid listing says it fits “Crock-Pot pressure cookers” without naming your model, it is not specific enough to buy. Even within a size line (like a specific 6-quart or 8-quart line), multiple lid generations can exist.
Before you order, check the lid and cooker with two quick tests. First, confirm the lid locks and unlocks smoothly when you follow the normal steps. Second, inspect the rim where the sealing ring sits. A lid can be “compatible” on paper and still fail if the sealing surface is warped on your existing pot.
Lid problems often show up as venting when you expect sealing. If the unit leaks steam from places other than normal pressure release behavior, the lid is not seating or the sealing ring is installed incorrectly. A lid swap can be money wasted if the real issue is venting geometry that is still effectively fine, or a gasket that is wrong for your groove.
Order based on what contacts pressure. If the lid is cracked, locking posts are chipped, or the vent pathway is blocked or deformed, replace the lid assembly. If the lid looks fine but sealing fails, start with the gasket or sealing ring first.
How to match sealing ring and gasket dimensions
A sealing ring is the last line of defense in a pressure cooker. If the dimensions are off, the seal compresses unevenly around the lid rim. The results are predictable: leaks, slow pressurization, or pressure instability.
Do not rely on “same size” from memory. Measure or confirm the part dimensions specified for your model. Common identifiers include inner diameter, outer diameter, ring thickness, and cross-section shape (flat versus rounded profile). The gasket also needs the correct groove style because some lids use different rim channels.
When measurements are hard to find, use a match-by-part-number approach. Remove the existing sealing ring and look for any printed codes or labeling. If the ring is already off, inspect it for flattening, cracks, cloudiness, and a rubbery “set” shape that does not bounce back after removal. A seal can look “mostly okay” and still fail under heat and pressure.
Installation matters as much as the part. Make sure the sealing ring sits fully in the lid groove – not twisted, not folded, and not partially seated on one side. Clean the groove before installing, because food residue and limescale can leave a channel where steam escapes.
If you want a simple workflow that avoids guessing:
- Identify your model number and the exact lid type.
- Remove the sealing ring/gasket carefully and note the groove pattern.
- Measure key dimensions if you have calipers (or compare against the listed exact dimensions).
- Confirm the profile shape matches the original cross-section.
- Seat the seal correctly and confirm no twists or gaps before closing.
Acidic foods (tomato, vinegar-heavy sauces) can accelerate seal wear. If the seal smells strongly or shows surface cracking, replacing the sealing ring is often the fastest way to stop leaks and pressure errors.
Replacement inner pot, base, and heating plate options
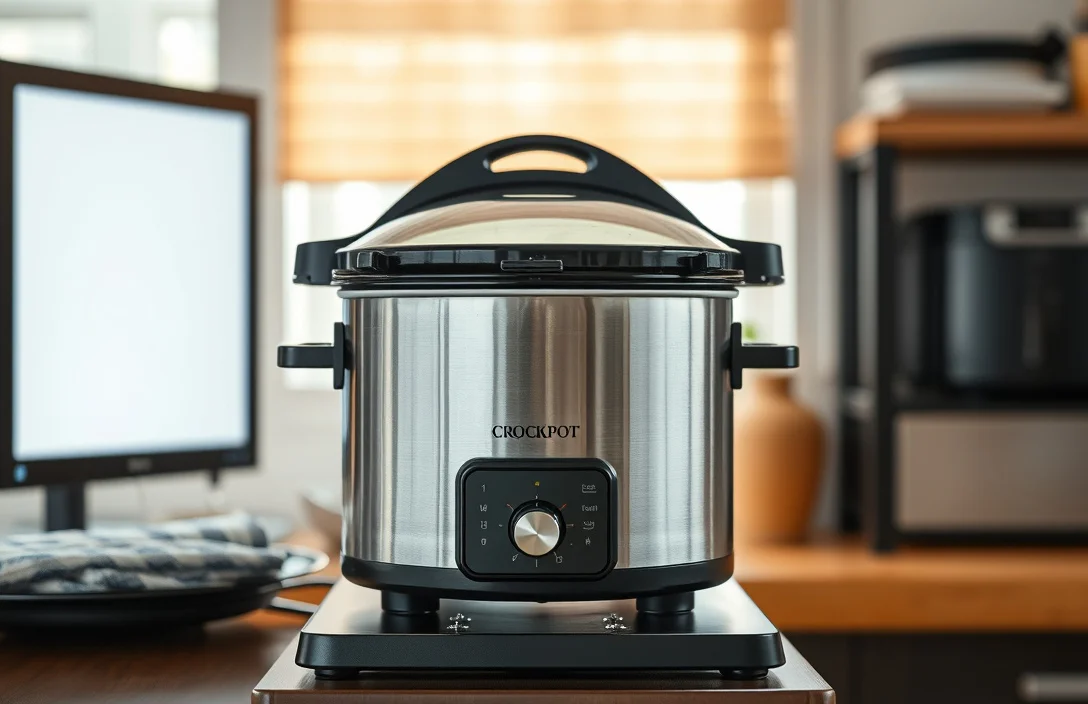
The inner pot and heating path determine how evenly the cooker heats and how sensors interpret temperature and pressure behavior. If the unit pressurizes inconsistently or the heat-up phase is weak, the problem can be the inner pot coating, the base contacts, or the heating plate assembly, not just the pressure components.
Inner pot replacement makes the most sense when the old pot is scratched deeply, warped, or has a damaged base contact surface. A warped or compromised contact surface increases thermal resistance. That can slow heat transfer and make the cooker struggle to reach pressure consistently.
The heating plate and base assembly become more likely when you see uneven heating, repeated errors early in the cycle, or a unit that never fully ramps to temperature. Before you replace the base, inspect the contact points: wipe off residue, confirm the pot sits level, and check for bent or damaged contact areas.
Replacement options vary by model generation. Some listings sell a full inner pot that includes the base contact area. Others sell the heating plate components separately. Match the full assembly that corresponds to your model. Partial mismatches can create fit issues or wrong contact pressure.
When diagnosing heating issues, go in stages. Eliminate sealing problems first, because a leaking unit can look like it “won’t reach pressure.” Then check that the inner pot seats firmly and that the base is clean and dry. If cleaned seating and a new seal still do not fix the symptoms, consider replacing inner pot or heating-related parts in the order that costs least and matches the most likely failure mode.
Here is how to categorize replacement options for decision-making:
| Replacement option | Typical symptom it fixes | What to verify before ordering |
|---|---|---|
| Inner pot (with base contact surface) | Inconsistent heating, slow ramp-up, uneven results | Model-specific pot shape, contact surface condition, and fit in the base |
| Heating plate / base assembly | Error codes tied to heating, weak pressure build-up | Compatibility by model and the correct electrical/heating module design |
| Full lid + seal set | Leaks around rim, weak sealing, constant venting | Correct lid type plus sealing ring/gasket dimensions and groove fit |
If you replace the inner pot, keep the old one as a diagnostic tool. Compare the base-contact area for discoloration, peeling, or uneven wear patterns that suggest poor contact.
Common pressure cooker part failures and symptoms
Most failures in this category come from wear items and seal fit problems. Seals and sealing rings degrade from heat cycles, residue buildup, and improper cleaning. When they fail, you see leaks or the unit fails to hold pressure.
Lid-related failures also show up often. A lid that does not lock cleanly, a vent that is partially obstructed, or warped sealing surfaces can mimic “sensor” issues. If steam releases at the wrong location or the unit never fully pressurizes, start with mechanical and sealing checks before assuming electronics.
Base and heating-related failures happen too, but they are harder to diagnose quickly. When the heating path fails, you often see early-cycle errors, long heat-up times, or pressure that does not build as expected. Because pressure depends on sealing and heating, these symptoms overlap with gasket issues.

Helpful pick
2 Pack Pot Lid Replacement Knob,Universal Bakelite Handle Compatible with Rival Crockpot, Slow Cooker, Dutch Oven & Pan Lids – Cool Touch Grip with Long & Short Screws for Glass or Metal Covers
Secure lid operation prevents leaks from loose or worn lid hardware during pressure cycles.
Use these symptom-to-part patterns as a starting point:
- Steam leaks around the rim. Usually a worn, twisted, or wrong-size sealing ring/gasket for the lid.
- Slow pressurization. Often caused by a bad seal, dirty groove, or compromised inner pot/base contact.
- Error codes early in the cook. Often tied to heating ramp issues, sensor behavior, or blocked venting.
- Pressure drops too fast. Usually a seal that cannot hold compression after heat expansion.
- Burning smells or residue. Often points to cleaning issues or contact surface buildup that creates uneven heating.
The biggest mistake is ordering a replacement without confirming the root failure. Replace a heating plate when a cracked sealing ring is the real problem and you will still get leaks and pressure instability. Replace a seal while ignoring a warped inner pot and you will keep chasing the same symptom.

Helpful pick
Universal Pot Lid Replacement Knob for rival crockpot Replacement Parts Pan Lid Hoding Handle Replacement Compatible with Kitchen Cookware Casserole Glass Saucepan (1 Pack)
Helps restore secure lid handling to ensure proper closure and reduce leaks when the lid is firmly seated.
Troubleshoot leaks, errors, and pressure issues
Pressure troubleshooting works best when you isolate the sealing system from the heating system. Start with the simplest checks. Steam leaks usually come from residue, mis-seated gaskets, or a seal that has simply worn out.
Clean the lid rim groove and the sealing ring surfaces first. Even a thin residue layer can create a leak path. Then inspect the sealing ring for cracks, flattening, or a “set” shape that does not spring back.
Next, do an installation check. Seat the gasket fully in the groove, confirm it is not twisted, and make sure it sits evenly all the way around. If it looks correct but leaks continue, the issue may be a dimension mismatch or a warped sealing surface that needs replacement.
Then look at pressure behavior. If the unit does not reach pressure or reaches it slowly, the seal may be venting too much or the heating contact may be compromised. Verify the inner pot sits correctly in the base and that the base contacts are clean and free of food residue.
Treat error codes like clues, not final verdicts. Many errors tie back to whether the unit can build and maintain pressure conditions. Start by ruling out the seal and venting. Confirm the pressure release path is not blocked. Also check that the lid vent and float components are clean and installed correctly for your specific model (if it uses them).
Do not skip safety checks. If the lid is not sealing properly, the unit can vent steam in ways that seem abnormal. Stop the cycle, let everything cool fully, and only then investigate and swap parts.
A practical troubleshooting flow:
- Inspect the seal for cracks, flattening, and twists.
- Clean the lid groove and base contact surfaces thoroughly.
- Verify inner pot seating (level, fully seated, no wobble).
- Check venting components for blockages or misalignment.
- Replace the most likely worn item first (usually the sealing ring).
- Escalate to heating parts only if sealing checks do not fix it.
If you replace the seal and leaks persist, check the lid rim for warping and inspect the inner pot for warping. Those are common hidden causes that prevent the seal from compressing properly.
Helpful pick
Universal Pot Lid Replacement Knob Replacement Lid for Crockpot rival Pan Lid Hoding Handles Replacement Compatible with Kitchen Cookware Casserole Glass Saucepan (1 Pack)
Replacing a lid knob helps ensure a secure lid fit, preventing steam leaks during pressure cooking.
Verify fit, pressure rating, and warranty coverage
Before you buy, verify three things: fit (model and lid type), pressure rating compatibility, and warranty implications. Fit is obvious, but pressure rating matters for safety and for whether the cooker’s control logic expects a specific pressure profile.
Use the model number to confirm fit. Pressure cookers often have multiple versions within the same brand. A part that physically attaches may still not be intended for your unit’s pressure behavior. If replacement documentation includes pressure-related specifications, confirm they match your cooker.
Warranty coverage is the other reason to verify up front. Many manufacturers allow replacement parts while voiding coverage only for damage caused by incorrect parts or non-approved replacements. If your cooker is still under warranty, check the replacement part policy. Save your order confirmation so you can document what you installed and when.
Hold onto old parts until you confirm the replacement fixes the problem. If something goes wrong after installing a new part, you can compare fit and condition directly instead of guessing. Also keep the serial/model label photo, because labels fade and listings sometimes require exact formatting.
When verifying compatibility, do this:
- Match the model number exactly (copy it including letters and punctuation).
- Confirm pressure-related compatibility if the listing provides it.
- Check whether the part is intended for your lid style, not just your cooker size.
- Save receipts and product pages for warranty questions.
- Test for leaks after installation before committing to a full meal.
If you cannot confirm pressure rating and model compatibility from the product details, contact the seller or choose a listing that explicitly states your model. It takes an extra minute and reduces safety risk and the chance of a second order.
FAQ
What Crock-Pot pressure cooker replacement parts are easiest to find?
Sealing rings and gaskets are usually the easiest because many models share consistent groove designs within a generation. Inner pots are also common, especially when the existing coating is worn. Heating bases and plates are harder to match because they are more model-specific and sometimes sold as assemblies.
How long does it take to replace a sealing ring or gasket?
Replacing a sealing ring is usually quick, often under 10 minutes. The job typically involves removing the old ring, cleaning the groove, and seating the new ring correctly. Plan time for a leak check before cooking. If you are replacing multiple parts (like the lid plus seal), add extra time.
Are aftermarket crockpot pressure cooker replacement parts safe to use?
Aftermarket parts can be safe, but the safe path is compatibility-first. If a listing does not clearly match your exact model number, you are guessing on fit and seal dimensions – the exact areas where leaks and pressure problems start. Buy replacements that explicitly match your lid style and sealing groove.
What is the fastest fix if my pressure cooker won’t build pressure?
Start with the sealing ring and the lid rim groove. A worn, twisted, or incorrect gasket is the most common reason for weak pressurization because steam escapes early and the cooker cannot stabilize. Clean the groove, reseat the seal, and confirm the inner pot seats fully in the base.
What common mistake causes leaks after replacing parts?
The most common mistake is installing the sealing ring twisted or partially seated. Even if the ring is the right size, a small fold in the groove creates a leak channel. Another frequent mistake is skipping rim cleaning, since old residue prevents full compression.

- 10 Best Slow Cooker For Mess Free Cooking 2026 (Tested And Reviewed) - October 24, 2026
- 10 Best Slow Cooker With Leak Resistant Lid 2026 (Tested And Reviewed) - October 24, 2026
- 10 Best Slow Cooker With Spill Proof Design 2026 (Tested And Reviewed) - October 24, 2026