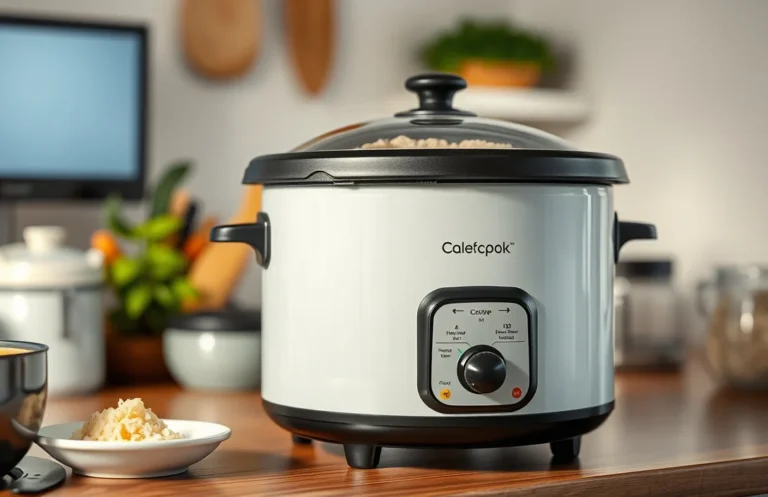
How To Cook Red Rice In Cooker?
Red rice can turn out amazing in a rice cooker, but the settings that work for white rice often leave red rice crunchy in the center or gummy at the bottom. This guide gets you to reliable results with dependable water ratios, realistic timing, and clear doneness cues. You will also get flavor add-ins, anti-sticking tips, and quick troubleshooting fixes so your next batch is predictable.
Red rice usually cooks best with a 1:1.5 to 1:2 rice-to-water ratio depending on the type and whether you soak. Plan on about 35 to 55 minutes total in most standard cookers (start time), then rest 10 minutes before fluffing. Rinse until water runs mostly clear, then fine-tune based on whether you want firmer or softer grains.
Key Takeaways
- Pick your red rice carefully, because cook times and water needs vary a lot by type.
- Rinse thoroughly to cut surface starch, which helps prevent gummy texture.
- Use 1:1.5 to 1:2 water, then fine-tune based on your cooker and preference.
- Rest 10 minutes after cooking so grains finish steaming and firm up.
- Avoid overcrowding the pot, since thick batches cook unevenly.
- Fix texture fast by adding water and running 5-10 minute re-cooks if needed.
How To Cook Red Rice In Cooker
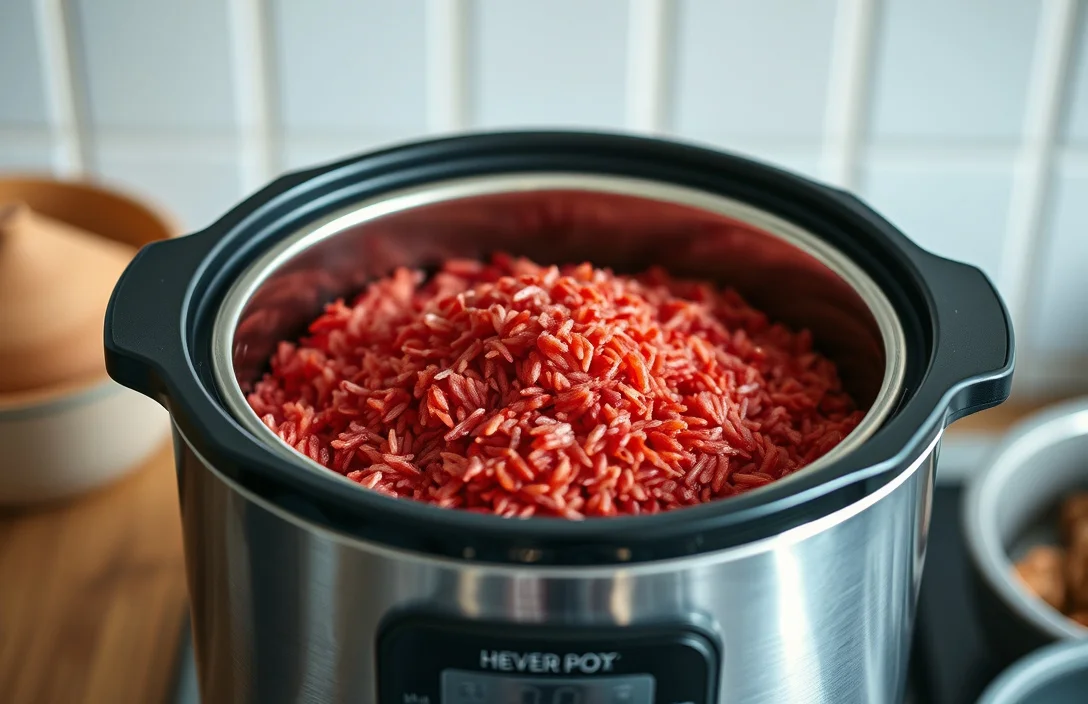
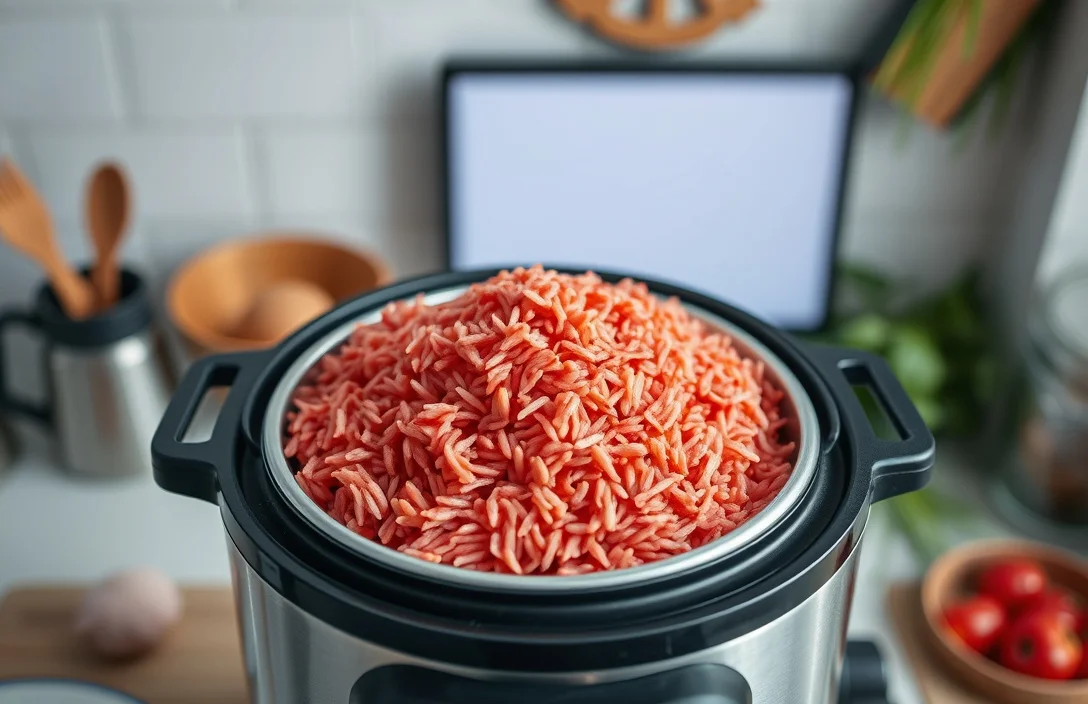
Cooking red rice in a cooker depends on two things: liquid accuracy and a real rest period. Red rice is often higher in bran and fiber than white rice, so it absorbs water differently and needs enough time to soften through. If you treat it like white rice, you usually end up with a crunchy center or a sticky layer at the bottom.
Use this baseline method, then adjust from there.
Ingredients (basic cooker red rice)
- 1 cup red rice (see sections below for which types work best)
- Water (start at 1.5 cups for a firmer texture, or 2 cups for a softer result)
- 1/2 to 1 tsp salt (optional, adjust to taste)
- 1 to 2 tsp oil or butter (optional, helps reduce sticking)
Equipment
- Rice cooker with a “Rice” or “Cook” mode (or multi-cooker)
- Fine-mesh strainer
- Spoon, heat-safe measuring cup
Timing
- Prep: 5 to 10 minutes (mostly rinsing)
- Cook: usually 35 to 55 minutes depending on rice type and cooker
- Rest: 10 minutes after the cycle ends
Method (simple, consistent)
- Rinse the red rice in a fine-mesh strainer under cool water until the water is mostly clear (usually 2 to 4 rinses).
- Add rice, measured water, salt, and optional fat to the cooker pot.
- Cook on the standard “Rice” or “White Rice” program if you have one (or “Cook” if you do not).
- Rest with the lid on for 10 minutes, then fluff gently.
Doneness cues (what “done” looks like)
- The grains are tender through the center, not just on the surface.
- Taste testing shows no chalky or firm middle.
- The bottom is not soupy, but there is also no hard core and no dry, crunchy rice.
Substitutions and variations
- If you do not have a rice cooker, use a pot with a tight lid and simmer gently, but expect the timing to change.
- For a drier, less sticky result, start with 1:1.5 water.
- For red rice that needs to be very soft (bowls, side dishes for kids, or when mixing with sauces), start closer to 1:2 water.
Storage
- Cool leftovers within 1 to 2 hours (spread in a shallow container).
- Store in an airtight container in the fridge for up to 3-4 days.
- Reheat with a splash of water and cover (microwave in short bursts or re-warm on low with a lid).
Quick note on safety and quality
- Do not leave cooked rice at room temperature for long periods. For batch cooking, cool and refrigerate promptly.
Which Red Rice Works Best In A Cooker
“Red rice” covers a few different types. The best cooker candidates are red-brown rice varieties intended to be cooked like standard rice, not pre-cooked pouches or heavily processed quick rice. Some types behave closer to brown rice, meaning they can take longer and need more water.
Follow the label first, especially if it mentions parboiled, brown/red, or “long grain.” When in doubt, run one test batch with the baseline ratio and adjust.
Best choices
- Unparboiled long-grain red rice: usually predictable in a rice cooker.
- Red-brown rice labeled like regular rice: often needs longer and slightly more water.
Types to be careful with
- Pre-cooked or microwave pouches: many are not meant to benefit from cooker cooking and can over-soften.
- Very old rice: often takes longer to soften, even on the same settings.
How to identify your rice’s behavior
Check the package for two clues:
- Cooking time range (if listed). If it says “cook 40-50 minutes,” your cooker will usually land near that.
- “Parboiled” or “pre-cooked” language. Parboiled grains may cook faster and need less water than you expect.
Rinse Time And Water Ratio For Red Rice
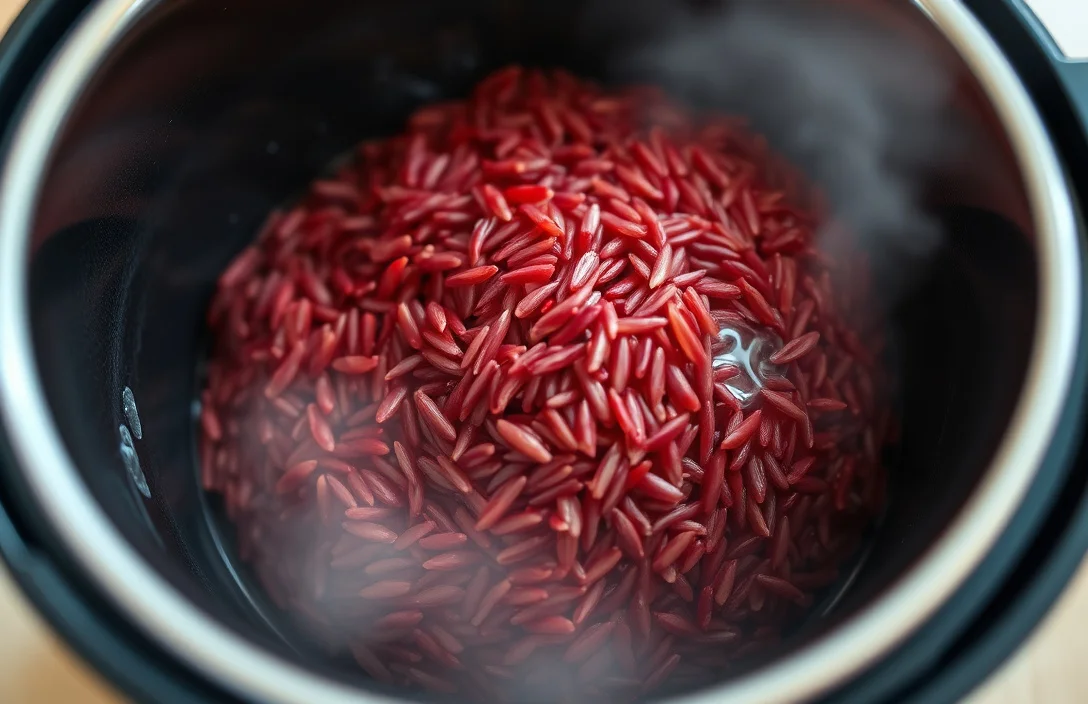
Rinsing affects texture. Red rice often has more surface bran and starch, so skipping rinsing is the fastest path to gummy rice. The water ratio is the bigger lever because different red rice types absorb and soften at different rates.
Rinse time that works
- 2 to 4 minutes total of rinsing is enough for most grocery-store red rice.
- Aim for water that is no longer heavily tinted and not thick with starch.
If the rinse water stays very red-brown cloudy, rinse a little longer. If the package says “no need to rinse,” follow that instruction since some brands use treatments.
Water ratio starting points
Use these as baseline ranges:
- Firmer grains: start around 1:1.5 (rice:water).
- Balanced texture: start around 1:1.75 (rice:water).
- Softer grains: start around 1:2 (rice:water).
How to fine-tune quickly
Adjust based on what you taste after the cook:
- Firm center: increase water next time by about 0.25 cups per cup of dry rice, or do a short re-cook now with a little extra water.
- Mushy or wet: reduce water next time by about 0.25 cups per cup of dry rice.
Should You Soak Red Rice Before Cooking?
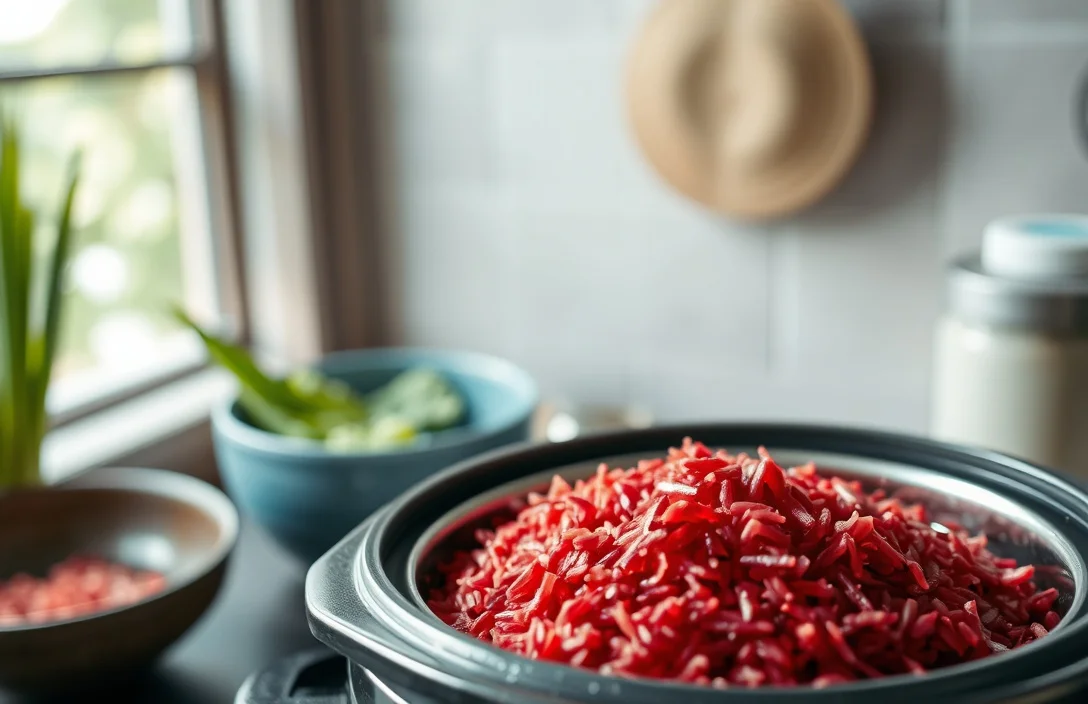
Soaking is optional, but it can help with even cooking and softer texture. Many red rice types are more fibrous than white rice, and soaking can reduce cooking time and make grains less likely to cook unevenly.
Soaking is worth it when you want even softness. Skip it when you want firmer, less sticky rice for salads or grain bowls.
Soak approach (if you want to try it)
- Soak for 30 to 60 minutes in cool water, then drain and cook.
- Start with the same baseline water ratio, then adjust based on results (soaking can slightly reduce how much water the rice needs).
When you should skip soaking
- If the package says “no soaking” or “do not rinse.”
- If you’re aiming for firm grains for salads or grain bowls.
My practical take
If you’re cooking red rice in a cooker for the first time, rinse it every time. Soaking is worth testing only if your first batch comes out uneven, since it adds another variable you do not need right away.
Additions For Flavor, Texture, And Color
Red rice already tastes like something. Simple add-ins make it taste intentional instead of “just cooked.” Aromatics, cooking liquids, and fats also shift texture and color.
Flavor boosters that work in a cooker
- Salt: use 1/2 to 1 tsp per cup of dry rice as a starting point.
- Aromatics: add 1 small bay leaf, a strip of orange peel, or a pinch of garlic powder.
- Fat: stir in 1 to 2 tsp oil or butter to reduce surface sticking.
Texture and color ideas (without complicating it)
- Replace part of the water with broth for extra savory flavor.
- Add acid carefully: a tiny splash of vinegar or lemon juice after cooking can brighten flavor without changing softening much.
Example: savory version
For 1 cup red rice:
- Rinse and drain.
- Add 1.75 cups water (or broth), 1/2 tsp salt, 1 tsp oil.
- Add 1 bay leaf or 1/4 tsp garlic powder.
- Cook, then rest 10 minutes, remove bay leaf, fluff.
What to avoid
- Too much sugar or sweet sauce during cooking can change texture and can scorch on some cookers.
- Heavy tomato-based mixes may thicken as they heat. If you use them, start with a small amount and adjust next time.
Cook Settings And Timing By Cooker Type
Different cookers handle heat and timing differently. The wrong mode can leave red rice undercooked in the center or too soft overall. You can avoid most problems with the right program and the rest period.
Standard rice cooker (non-induction)
- Use the “Rice” setting if it is available.
- Expect 35 to 55 minutes for most red rice types.
- Rest 10 minutes after it switches to keep-warm.
“White rice” or “Brown rice” modes
- If your cooker has Brown rice, it often matches red rice behavior better since bran is higher.
- If your cooker only has White rice, start there and be ready to re-cook 5 to 10 minutes if the center is firm.
Multi-cooker (Instant Pot style)
- Choose the option closest to rice cooking, often “Rice.”
- Pressure cookers vary widely, so treat this like a first-batch test: start with the lowest time your manual suggests for rice, then adjust based on texture.
Lid and vent habits
- Keep the lid on during cooking.
- Avoid repeated stirring during the cook since it can release starch and make rice clump.
A simple timing rule
If the cooker ends and the grains taste firm:
- Add 1 to 2 tbsp water, stir gently, then run 5 to 10 minutes more on a “Keep warm” or “Reheat” style cycle (based on what your machine offers).
How To Prevent Red Rice From Sticking
Red rice sticks because bran and starch cling to the pot. It can also turn gummy at the surface when starch levels are high. The best way to prevent sticking is rinsing well, using the right water ratio, and prep that reduces cling.
Do these things?
- Rinse well. This is the biggest lever for avoiding a pasty bottom layer.
- Use the right water ratio. Too little water can scorch or set too hard; too much can leave surface starch feeling sticky.
- Add a small amount of fat (1 to 2 tsp oil) when you want less clinging.
Prep tips
- Lightly coat the bottom with oil or butter before adding rice and water.
- Do not scrape or remove rice while it is still hot and firm, since tearing grains pulls up sticky bits.
If it sticks anyway
- Steam undisturbed for 10 minutes after cooking (keep lid on; turn off keep-warm if needed).
- Fluff gently. If the bottom is stuck, a small splash of water and a brief re-warm (5 minutes) can loosen it.
Resting And Fluffing For Separate Grains
Resting is what makes red rice go from “almost there” to tender and separate. The final steam finishes cooking the centers, and fluffing breaks up clumps before they set.
Resting time that actually helps
- Rest 10 minutes with the lid on after the cook cycle ends.
- Do not skip this if the first batches are slightly firm or uneven.
Fluffing technique
- Use a fork or rice paddle and lift from the bottom gently.
- Stir less aggressively than you think you need; crushing grains makes rice look mushy even if it is cooked.
Why this matters for red rice
Bran-rich grains hold water differently. During the rest, excess moisture redistributes instead of pooling at the bottom. That redistribution is a big part of getting individual grains rather than a dense mound.
Troubleshoot Undercooked Or Mushy Red Rice
Mistakes with red rice are predictable. Fix undercooked rice (firm center) differently than mushy rice (wet, collapsed grains). With a cooker, you can usually correct both in the same batch.
If your red rice is undercooked
Signs: tender outside but firm in the middle, or there is a dry core.
Fix steps:
- Add 1 to 2 tbsp water to the pot (for 1 to 2 cups cooked rice).
- Stir gently to distribute (do not break everything up).
- Run 5 to 10 minutes on “Keep warm,” “Reheat,” or a low-heat rice function.
- Rest 5 to 10 minutes, then fluff.
Next time adjustments:
- Increase water ratio by about 0.25 cups per cup of dry rice.
- Consider soaking for 30 to 60 minutes if you often get uneven centers.
If your red rice is mushy or wet
Signs: grains collapse, it looks soupy, or the texture is gluey.
Fix steps:
- Keep the lid on and let it rest 10 minutes to evaporate some moisture.
- Fluff gently and spread in a shallow container for a few minutes.
- If it is still too wet, let it sit uncovered for 5 to 10 minutes (only if your cooker has no safety concerns, and avoid drying it out completely).
Next time adjustments:
- Reduce water ratio by about 0.25 cups per cup.
- Use the firmer baseline (start closer to 1:1.5).
If you get a burnt bottom
Signs: smell of scorching, brown crust on the bottom.
Fix:
- Transfer rice to a new bowl immediately, leaving the burnt layer behind.
- Next time, use slightly more water and do not overfill the cooker pot.
FAQ
What is the correct water-to-rice ratio for red rice in a cooker?
Start with 1:1.5 to 1:2 (rice:water). Use 1:1.5 for firmer grains, 1:1.75 for balanced, and 1:2 for softer rice. If your first batch is firm in the center, move up by about 0.25 cups water per cup of dry rice next time.
How long does red rice take to cook in a rice cooker?
Most red rice takes about 35 to 55 minutes in a standard rice cooker, depending on the exact type and your machine. After the cycle ends, rest the pot with the lid on for 10 minutes, then taste. If it is still firm, add 1 to 2 tbsp water and reheat 5 to 10 minutes.
Is it safe to cook red rice without soaking first?
Yes. Soaking is optional and depends on your preference and the rice type. If you skip soaking, focus on rinsing and getting the water ratio right. Resting still matters, and a short re-cook can fix a firm center without starting over.
What’s the most common mistake when cooking red rice in a cooker?
Using the wrong water ratio, usually too low for bran-rich grains. Skipping rinsing also commonly causes a gummy bottom. Fix by rinsing to mostly clear water and starting around 1:1.75 water ratio, then adjust based on taste.
Can I use chicken broth or stock instead of water for red rice?
Yes, you can replace all or part of the water with broth for more flavor. Start by using broth 1:1 with your chosen water amount, then adjust water ratio next time if your broth reduces during cooking or your rice comes out too soft. Salt levels may need less since broth is already salty.
If you want your next batch to land right away, start with 1 cup red rice + 1.75 cups water, rinse well, cook on your standard rice mode, and rest 10 minutes before fluffing. If the center is firm, do a quick 5-10 minute reheat with 1-2 tbsp water and adjust the ratio for next time.

- 10 Best Slow Cooker For Quick Preparation 2026 (Tested And Reviewed) - October 18, 2026
- 10 Best Slow Cooker For Family Meal Preparation 2026 (Tested And Reviewed) - October 18, 2026
- 10 Best Slow Cooker For Freezer Meal Preparation 2026 (Tested And Reviewed) - October 18, 2026