Clay Pot Rice In Rice Cooker: Tender, Crack-free Grains
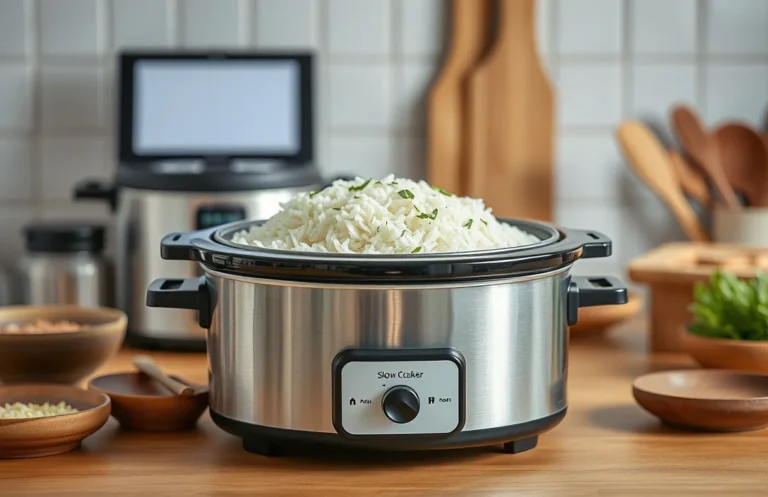
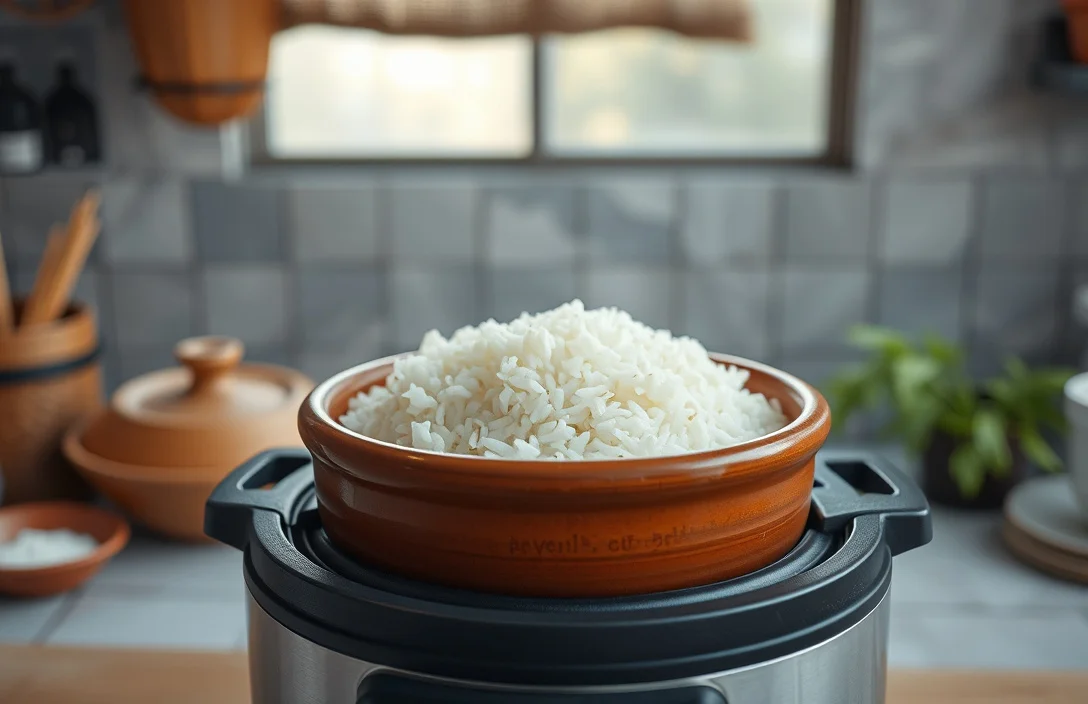
Clay pot rice tastes like you simmered forever, but you can get close using a rice cooker with a clay pot insert. Clay holds moisture and heat, so the rice keeps cooking and setting even after the cooker switches to Warm. Set it up right, and you get tender grains without cracks or stuck-on bottoms.
Cook clay pot rice on your rice cooker’s White Rice (or Regular Rice) mode for 50-60 minutes, then rest 10 minutes with the lid on. Use a 1:1 water-to-rice ratio as your starting point, and adjust only if your first batch turns out too wet or too dry. Skip harsh early steaming/venting and bring the pot up to temperature slowly to reduce cracking.
Key Takeaways
- Cook time target. Cook clay pot rice for 50-60 minutes, then rest 10 minutes with the lid on.
- Temperature setting. Use White Rice or Regular Rice, not Quick.
- No soaking needed. Soaking is optional, but it can help if the pot is very dry or brand new.
- Water ratio starter. Start at 1:1 water-to-rice, then adjust by 1-2 tablespoons next time.
- Prevent cracks. Warm the clay pot gradually, avoid cold shock, and never use high-heat/Quick.
- Cleanup matters. Cool fully before washing, scrub gently, and air-dry completely.
Clay Pot Rice In Rice Cooker Timing and Temperature
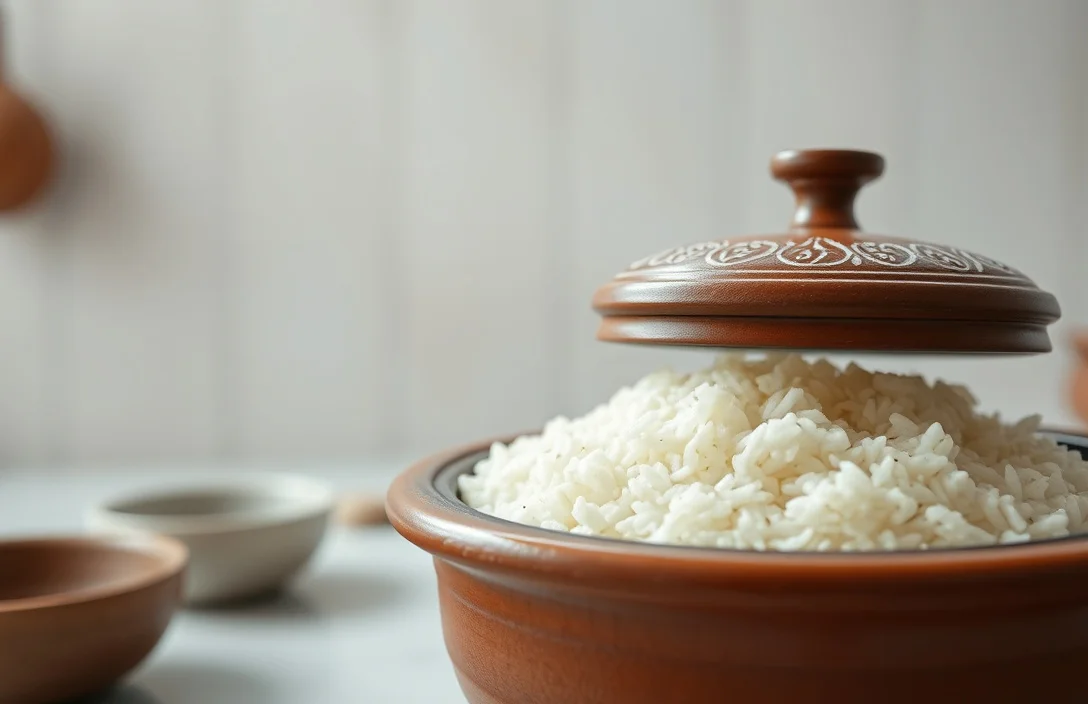
Clay pot rice works because the cooker gives steady heat, while clay spreads it more evenly and keeps moisture circulating. Your job is simple: let the cooker run long enough for absorption, then keep the lid closed long enough for the rice to finish setting.
For timing, aim for 50-60 minutes on White Rice/Regular Rice, then keep the lid on for a 10-minute rest after the cooker switches to Warm. Start closer to 50 minutes if your clay insert is shallow or your cooker is smaller. Lean toward 60 minutes if the insert is tall or you pack the rice tightly.
Choose “steady heat,” not “fast heat.” Use White Rice (or the closest equivalent) because it typically maintains a controlled simmer. Skip Quick, Steam, and any mode that spikes heat at the start. Clay resists rapid temperature changes, and rice can finish under-absorbed if the heat rushes.
Size affects water and timing too. A thin insert heats fast and can over-hydrate if you use too much water. A thicker, deeper insert heats slower, so it may need the full cycle and an extra tablespoon or two of water.
Do You Need to Soak the Clay Pot First?
Soaking isn’t required for every cook, but it helps in specific situations. If your clay insert is new, very dry, or looks dusty and light inside, a soak can reduce how much moisture it steals at the start.
For most cooking, I recommend this rule: skip soaking if the pot has been recently used and still has any residual moisture. If it’s been stored dry for a while, soak 15-30 minutes in room-temperature water, then drain thoroughly. Longer soaks are usually unnecessary for rice cooker cooking and can make the rice run a bit wetter than expected.
Crack risk comes more from temperature shock than from soaking. Never put a cold, soaked pot straight into a hot setup. Keep everything at room temperature. If you want extra caution, place the dry pot in the cooker base, add rice and water, and let it sit 5 minutes before starting so the clay warms gently.
If cracking keeps happening, the cause is usually cold-to-hot transfer speed or a high-heat cooking mode. Soaking can help a little, but it doesn’t replace gentle warm-up and the right mode choice.
Best Rice to Use With a Clay Pot Insert
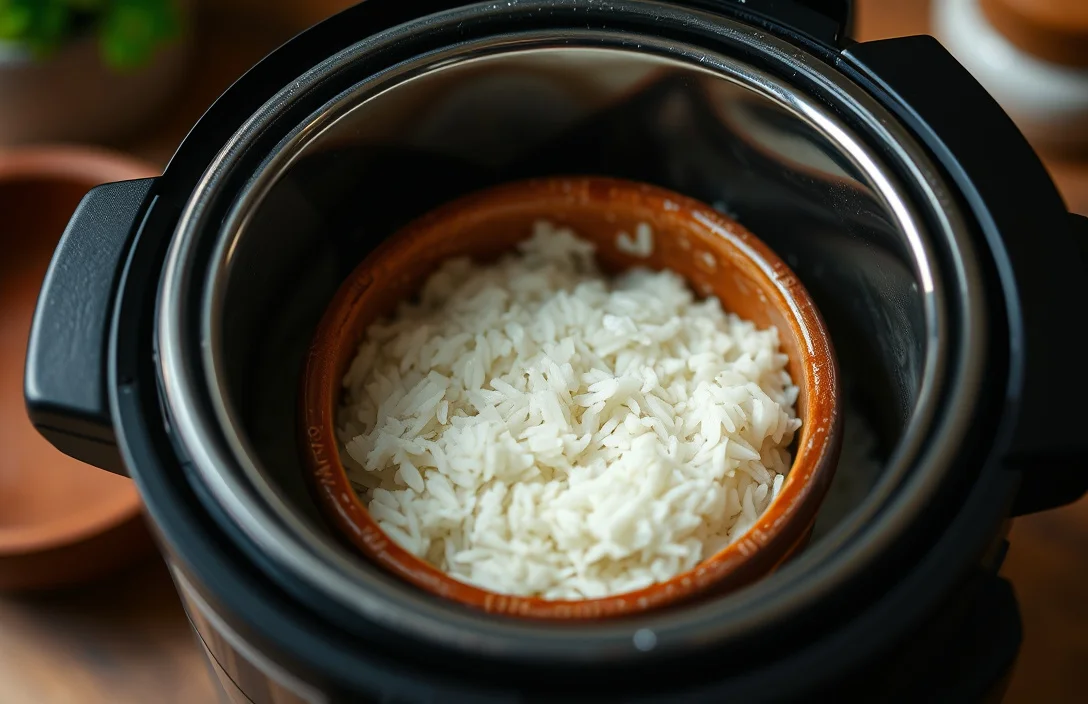
Clay pot rice behaves differently than metal because the clay holds moisture and heat longer. The best rice for it is the kind that stays distinct and doesn’t turn gummy when moisture releases slowly.
Use jasmine rice or medium-grain for fragrant, softer results. Use long-grain white rice when you want grains to stay separate and more “firmer” after the rest. If you want an easy firmer default, long-grain is the safer bet. If you want comfort-food softness, jasmine is the crowd-pleaser.
Avoid very starchy varieties if your goal is fluffy, separate grains, since clay’s moisture-retaining behavior can push them toward clumping. If you actually like softer, more cohesive rice, those types can still work – just expect a different texture.
For a practical first try in US kitchens, start with jasmine or long-grain white and keep the brand consistent for test batches. Then tweak water in small steps instead of changing everything at once.
How Much Water Should You Add?
Water ratio determines whether clay pot rice comes out perfect or disappoints you. Clay absorbs some moisture and holds heat longer than many nonstick or metal pots, so over-watering tends to show up as wet or dense rice after the rest.
Start simple: use a 1:1 water-to-rice ratio. For example, 1 cup rice + 1 cup water. If you soaked the pot or your rice cooker tends to run hot, start closer to 7/8 cup water per 1 cup rice.
Need to adjust? If the rice turns out underdone (hard center, crunchy grains), add water in small increments. Increase by 1-2 tablespoons water per cup of dry rice, then cook again. If the rice turns out too soft or the bottom is soupy, reduce by 1-2 tablespoons next time.
Rinsing changes consistency too. Rinsing removes surface starch and usually makes rice less gummy in clay. If you rinse every time, your water tweaks stay more predictable.
Don’t lift the lid to “check” early. Clay pot rice needs steady absorption. Each lid check dumps moisture and heat, and you’ll end up chasing the ratio from batch to batch.
Prevent Cracks and Sticking in a Clay Pot
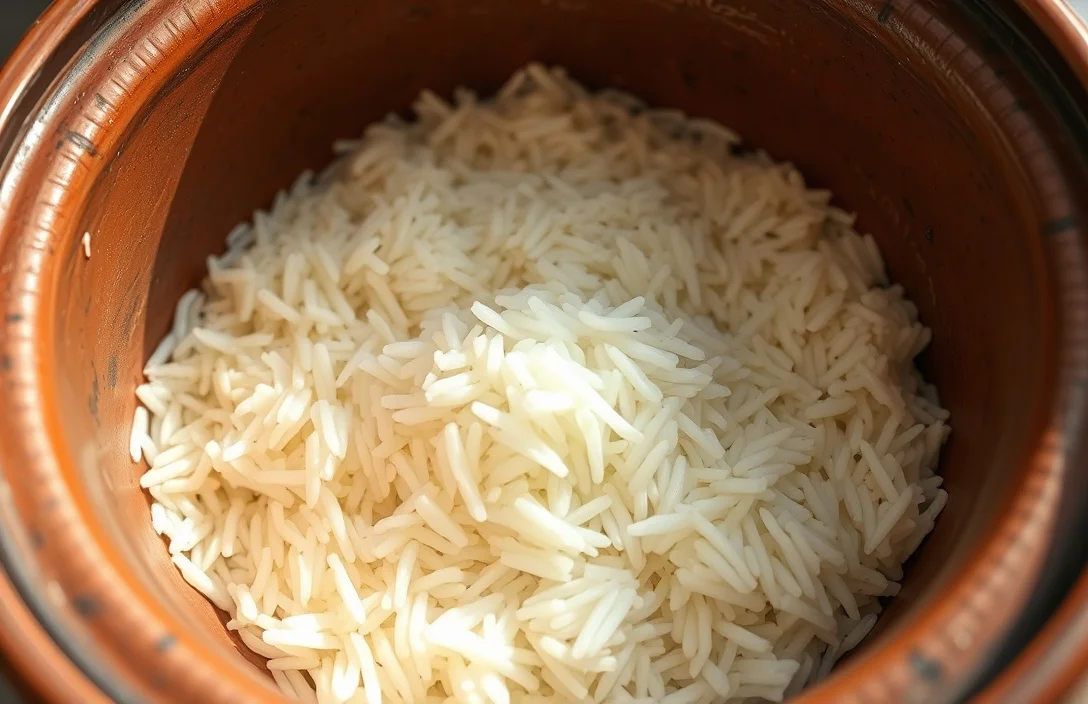
Clay pots crack when they’re stressed, and the biggest stressor is temperature shock or uneven heating. A rice cooker helps compared to direct flame, but you still have to treat the insert like it’s delicate.

Helpful pick
DoubleFill 2 Pcs 50oz Ollas Terracotta Watering Pots Self Watering Planter Insert Terracotta Globes Clay for Outdoor Indoor Garden Plants, Easy to Refill
Ollas provide slow, even moisture inside the clay pot, reducing temperature shock and sticking risk.
Use this crack prevention checklist:
1) Start room temperature. Keep the clay pot at room temp before cooking.
2) Use steady modes. Choose White Rice/Regular Rice, skip Quick.
3) Warm gradually. Let the filled pot sit 5 minutes before starting if the pot was stored cool.
4) Avoid dry-boil starts. Don’t start cooking with an empty pot, and don’t use too little water.
5) Don’t cold-shock post-cook. Let it cool on the counter before washing.
Sticking usually comes down to surface behavior and settling time. Make sure you rest 10 minutes after cooking. That pause lets the rice finish steaming and release more cleanly from the clay surface.
A thin oil barrier can help too. Lightly wipe the clay interior with neutral oil before adding rice and water, especially if you’re using long-grain rice that tends to cling. Keep it minimal – a quick wipe – because too much oil affects texture and cleanup.
If your insert has rough surface spots (common on some ceramic inserts), sticking is worse early in ownership. After a few cooks, it often improves as the surface develops a mild conditioning layer.
Serving and Cleaning the Clay Pot After Cooking
Serving determines texture after the cook cycle. Clay holds heat, so rice keeps finishing while the pot sits on the table. Take a gentle approach: remove the inner pot carefully, keep the lid on during transfer if you can, and let it finish resting in the pot.
Serve after the 10-minute rest ends for the best eating texture. If you fluff and plate immediately, moisture can escape too fast and the rice can taste slightly drier. Add toppings quickly so the rice stays covered as much as possible.
Clean with patience. Let the clay pot cool fully before washing, and avoid dropping it into cold water right after cooking. Wash with warm water and gentle scrubbing, and skip metal scouring pads that can gouge the surface.
For stuck bits, fill the pot with warm water and let it sit for 15-20 minutes, then scrub gently again. Don’t scrape while it’s still hot – that’s a burn risk, and it can also stress the surface if it’s under temperature strain.
Air-dry completely with good airflow, then store dry. Don’t seal it up while moisture remains, because trapped moisture leads to odors.
Clay Pot Rice Cooker Accessories You May Need
You can run clay pot rice with the cooker and the insert, but a few accessories reduce mess and make handling safer. The goal is consistent measuring, fewer lid moments, and protecting the insert during transfers.
Start with the basics:
- Heat-safe silicone or wooden spatula for fluffing without scratching.
- Instant-read thermometer if you want to confirm doneness occasionally, especially when testing new rice brands.
- Rice measuring cup (standard 1 cup dry) so your water ratio tweaks stay consistent.
- Kitchen timer to keep you on track for 50-60 minutes + 10-minute rest.
If the insert is heavy or your cooker is tight, add a grip tool or heat-safe handles for lifting. If your cooker vents aggressively, a compatible lid accessory that reduces constant steaming can help – only use one that fits your model.
For crack prevention, treat the workflow as an “accessory.” Use a trivet or towel when setting the pot down so it isn’t resting directly on a cold countertop. You’re keeping thermal gradients low.
FAQ
How long does clay pot rice take in a rice cooker?
Plan for 50-60 minutes on White Rice/Regular Rice, then keep the lid on for a 10-minute rest after the cooker switches to Warm. If your clay insert is very shallow, start at 50 minutes. If it’s deep or you pack a lot of rice, use closer to 60 minutes.
Should I soak the clay pot insert before cooking?
Soaking is optional. Soak for 15-30 minutes if your pot is very dry or new, then drain thoroughly. If the pot was used recently or you’re using gentle room-temperature warm-up, you can usually skip soaking without losing texture.
What water ratio works for clay pot rice?
Start with 1:1 water-to-rice ratio (for 1 cup rice, use 1 cup water). Adjust next time by 1-2 tablespoons based on texture. If rice is crunchy, add a little more water. If it’s soggy, reduce.
How do I stop clay pot rice from sticking?
Use White Rice mode (avoid Quick), don’t lift the lid during cooking, and rest 10 minutes after cooking. If sticking still happens, lightly wipe the clay interior with a small amount of neutral oil before adding rice and water.
What’s a common mistake people make with clay pot rice in a rice cooker?
The most common mistake is using a Quick/High-heat mode or moving the clay pot from cold to hot too fast. That raises cracking risk and can also leave the center undercooked. Keep the pot at room temperature and use the cooker’s regular rice mode.

- 10 Best Slow Cooker With Cool Touch Handles 2026 (Tested And Reviewed) - October 22, 2026
- 10 Best Slow Cooker With Quality Construction 2026 (Tested And Reviewed) - October 22, 2026
- 10 Best Slow Cooker With Premium Construction 2026 (Tested And Reviewed) - October 22, 2026