Can Plastic Flower Pots Be Painted?
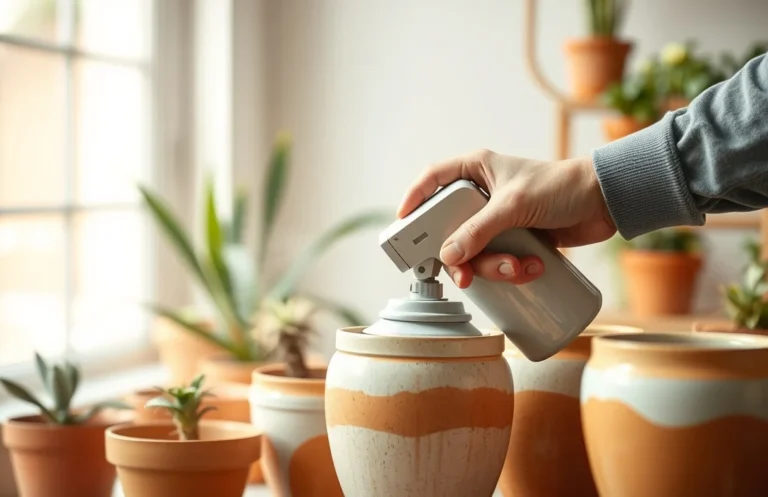
Plastic flower pots can be painted successfully when you clean, lightly sand, prime for plastic, then use paint made for plastics, with at least 24 hours of drying time. For indoor use, plan for a full day before handling. For outdoor use, add extra curing time so the coating holds up to sun and rain.
Key Takeaways
- Yes, with the right steps. Clean, sand lightly, prime for plastic, and use plastic-compatible paint.
- Drying time matters. Let freshly painted pots dry at least 24 hours before using them.
- Priming prevents peeling. Skip it and you’ll often get chipping or peeling within months.
- Sand before you paint. Light scuffing helps paint grip smooth, molded plastic.
- Use outdoor-ready coatings. Outdoor pots need UV-resistant protection and exterior-rated paint.
- Finish affects durability. Semi-gloss is usually easier to wipe clean than matte on pots you touch often.
Can plastic flower pots be painted?

Yes, and the deciding factor is surface prep. Most plastic planters come with a slightly slick molded finish, sometimes with a waxy residue. That surface lets paint sit on top instead of bonding.
Paint and primer compatibility matters just as much. General craft acrylic or household paint without a plastic primer often peels once the pot flexes, expands in heat, and cools in the sun. Outdoor conditions accelerate the problem because UV and moisture attack coatings that never truly adhered.
People also rush drying and curing time. Freshly painted indoor plastic pots should sit outside for at least 24 hours to fully dry before you use them. Outdoor projects need extra time so the finish improves its resistance to weather.
Key steps that make plastic paint actually stick
Your success recipe is straightforward: prep the surface, use a primer made for plastics, apply paint in thin coats, and protect the finish if the pot goes outside.
Start with the pot’s look and condition. If the surface is glossy, assume you need sanding for adhesion. If the pot is dusty or oily (common on new pots handled in stores), cleaning isn’t optional.
Use this quick check when you buy paint:
- Indoor pot, occasional touch, no direct sun: You can often use acrylic or plastic-compatible spray paint with the right primer.
- Outdoor pot, direct sun and rain: You’ll want UV-resistant paint and ideally a UV-resistant sealer.
- Cracked or chalky plastic: Paint won’t fix the damage. Replace the pot or use liners/covers instead.
Tips for painting plastic flower pots
Check the surface before you start. Run your fingernail across it, wipe with a dry paper towel, and look for a shine. If it feels slick or leaves residue, clean it and scuff it with light sanding before any paint goes on.
Clean thoroughly. Wash with soap and water, rinse well, and dry completely. Any grease or residue ruins primer adhesion fast, and peeling often starts at edges first.
Sand with control. Use fine-grit sandpaper and aim for scuffing, not sanding through the plastic. You want a slightly textured surface that primer can grip.
Prime correctly. Choose a plastic primer, especially for glossy pots. Apply thin coats, follow the label drying instructions, and avoid heavy blobs that cure unevenly.
Paint and dry properly. A practical rule: let the painted pot dry for a full 24 hours in a cool, well-ventilated area. For outdoor use, extend curing before you expose it to rain or harsh sun.
Want a texture effect? You can build a rough, “concrete-like” look by mixing baking soda into the paint so it stays clumpy instead of fully dissolving. Apply after your base coat with a flat, stiff brush, then let the finish cure fully before planting.
Benefits of painting plastic flower pots
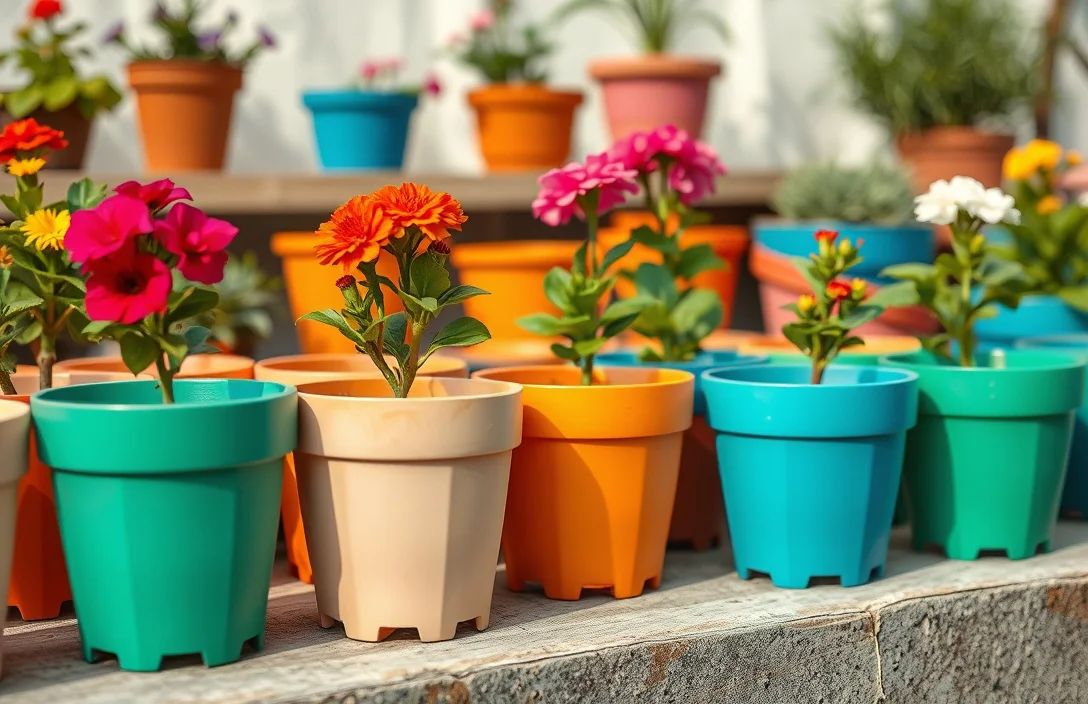
Painting plastic pots saves money and keeps useful planters in rotation instead of tossing them.
It also lets you match your patio, refresh dated colors, and hide scuffs on pots you already like. With the right paint system, you can control the finish too. Matte looks natural, but semi-gloss is usually easier to clean when soil splashes or you wipe the rim often.
The biggest durability win comes from using the correct setup: plastic-compatible primer plus compatible paint. Without that prep, painted plastic can look fine briefly, then fail when the pot expands and contracts.
Finish choices are practical, not just aesthetic:
- Matte: forgiving for indoor style
- Semi-gloss: easier to wipe clean
- Gloss: most reflective and vivid, but it can reveal imperfections in the pot surface
Options for painting plastic flower pots
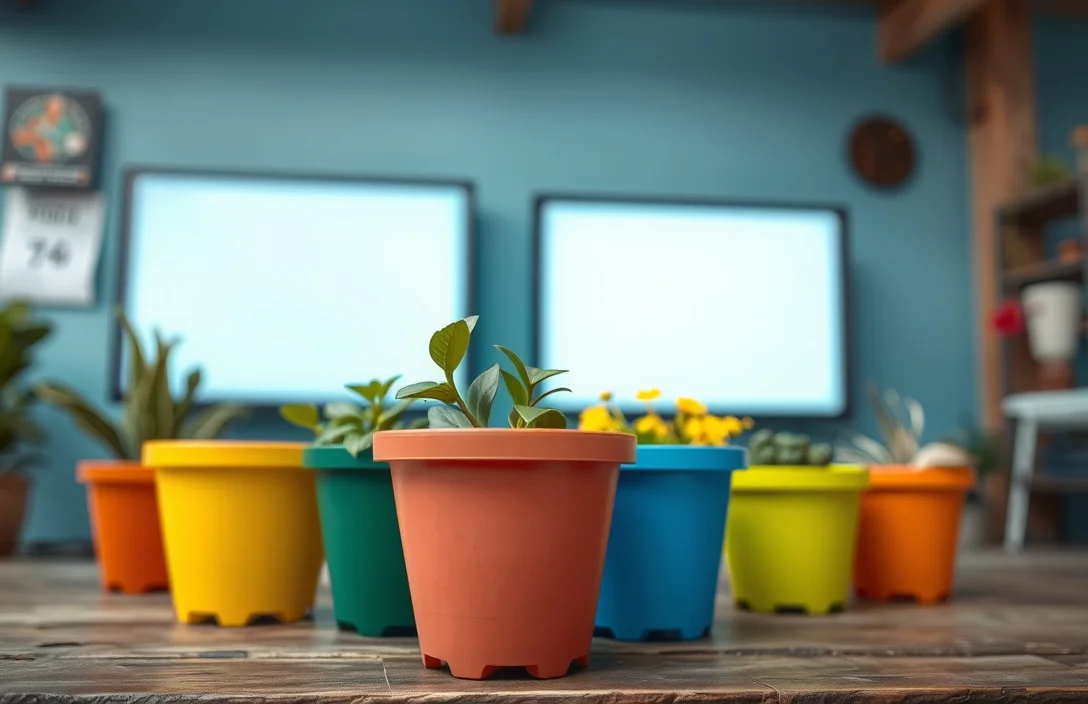
Choose based on location and how much wear the pot will take.
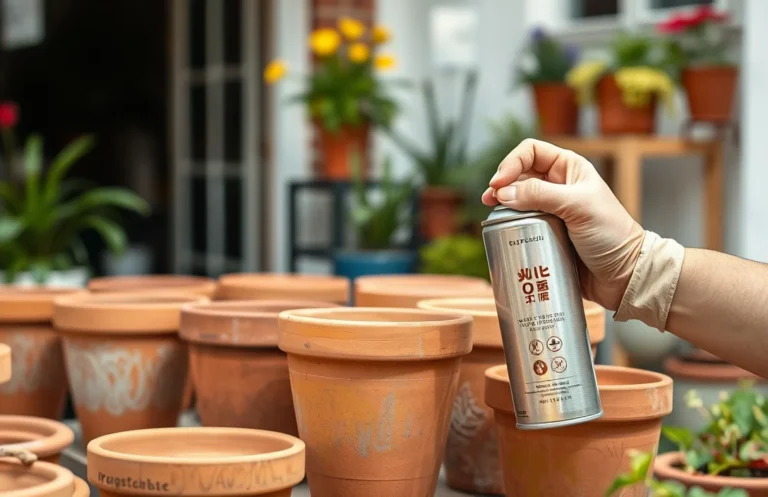
Option 1: Acrylic or plastic-compatible spray paint (best for many indoor jobs)
This is the easiest route for indoor pots or light outdoor exposure. Acrylic is water-based and spray paint covers molded shapes quickly.
Option 2: Epoxy paint (best for tough, long-lasting outdoor finishes)
Epoxy bonds strongly and resists fading and chipping better than basic acrylic systems. It’s a solid pick when pots live outside through sun and rain cycles.
Option 3: Specialty paints for plastics (best when you need UV protection)
Specialty plastic products often include UV protection, which matters for pots in direct sun. Pair them with a clear acrylic sealer when you want extra weather resistance.
Use this finish shortcut:
| Finish Type | What you get | Best use |
|---|---|---|
| Matte | Low shine, natural look | Indoor pots, low-maintenance spots |
| Semi-Gloss | Light shine, easier cleaning | Outdoor pots or places you wipe often |
| Gloss | High reflection, vivid pop | Accent pieces in bright areas |
Expert advice for a finish that lasts
Treat the pot like an adhesion job, not just decoration. Plastic often needs help to bond, and paint alone usually isn’t enough. Skipping sanding or primer commonly leads to early failure and more frequent repainting.
Plan on multiple light coats. One thick coat traps moisture, cures unevenly, and creates soft spots that chip faster. Spray in passes, rotate the pot, and avoid runs by keeping coats light.
Separate drying from curing. Drying means the surface no longer feels wet. Curing is when the coating hardens more fully. “At least 24 hours” is a minimum before use, but outdoor durability improves when you give the finish extra curing time before regular sun and rain exposure.
Account for how plants behave. Soil moisture and watering splash up the rim and bottom edge. For longer-lasting paint, seal properly for outdoor use and avoid overwatering that keeps surfaces wet longer.
Inspect during the first season. Early peeling shows up as lifted edges around drainage holes, corners, and the rim. Catch it early and you can touch up instead of stripping the whole pot.
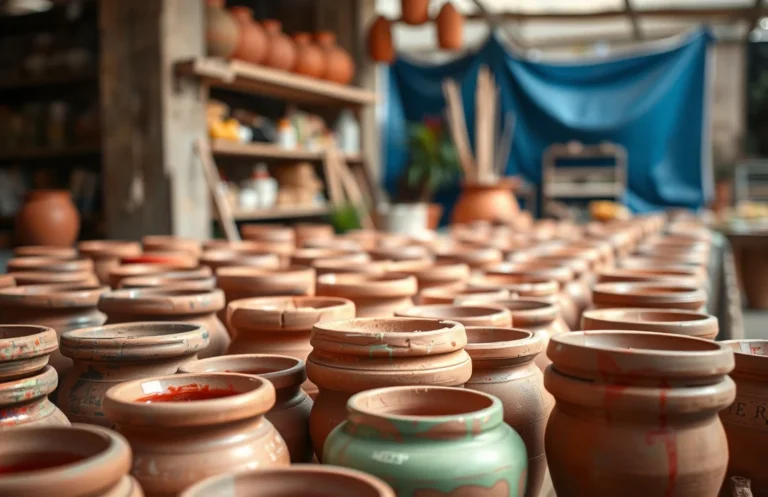
Examples of plastic pot painting that works
Updating indoor herb pots is a common win. Clean the pot, lightly sand, prime for plastic, then apply acrylic or plastic-compatible spray paint. After painting, let it dry for at least 24 hours before putting herbs back in. Switch finishes too: matte hides minor molding lines, while semi-gloss is easier to wipe clean if you tend to brush against the rim.
For a faux-concrete look, start with a base coat, then mix baking soda into the paint to keep it clumpy. Brush on texture with a stiff flat brush, let it dry fully, and only then fill with soil. That texture won’t fix poor adhesion, so correct priming still matters.
Outdoor examples pay off when you match the product to the weather. Repaint patio planters in semi-gloss so they’re easier to clean after rain splashes, and use an outdoor-rated system. In full sun, specialty plastic paint or UV-resistant sealing matters because indoor coatings often fade sooner.
FAQ
Can plastic flower pots be painted without sanding?
You can, but it’s a gamble. Many plastic surfaces are slick, and paint peels when it doesn’t bond. If the pot is glossy or feels waxy, lightly sanding creates the texture primer and paint need to grab. Without sanding, peeling often starts around the rim and edges.
What paint works best on plastic flower pots in the US?
Use paint made for plastic or plastic-compatible acrylic systems, ideally with a primer suited for plastics. For harder outdoor use, epoxy paint is a strong choice because it resists fading and chipping. If the pot gets direct sun, choose specialty paints formulated with UV protection.
How long should I wait before using a painted plastic pot?
Let the painted pot dry for a full 24 hours in a cool, well-ventilated area before using it. That’s the minimum drying window many people follow to avoid smudging or soft coating. For outdoor use, give it extra curing time before rain and full sun.
Is it safe to plant directly in a freshly painted pot?
It’s usually safer after the paint has dried and cured enough to stop off-gassing and stay hard. The practical rule is to wait at least 24 hours, and longer if you used multiple coats or the pot still smells strongly. After it cures, fill with soil and watch for paint odor transfer during the first week.
What’s the most common mistake when painting plastic planters?
Skipping primer or rushing dry time. Paint can look fine at first, then chip or peel once the pot gets wet or flexes. Another common mistake is using one thick coat instead of thin layers, which cures unevenly. Prep well, apply light coats, and stick to the full 24-hour drying minimum.

- Top 10 Best Kettle For Induction Cooktop 2026 - July 26, 2026
- Top 10 Best Invisible Induction Cooktop 2026 - July 25, 2026
- Best Kirkland-style 15-piece Hard Anodized Cookware Set Selection Guide 2026 - July 25, 2026