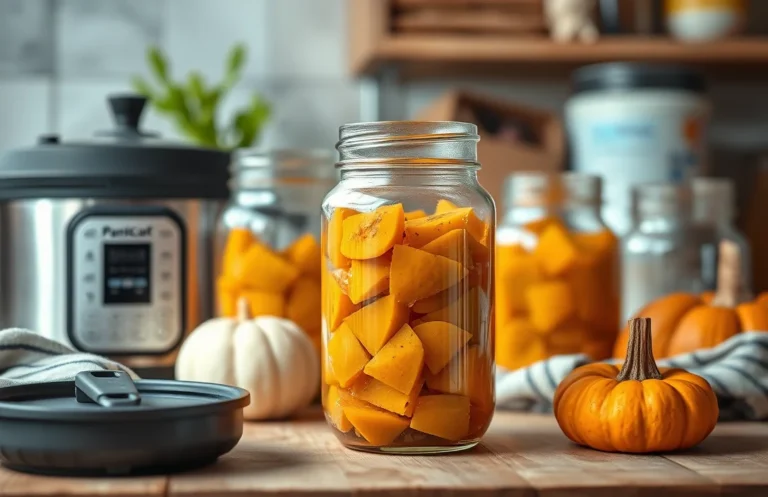
How to Safely Can Salsa Using a Pressure Cooker Method
Studies show that canning salsa using a pressure cooker can extend its shelf life to over a year while retaining flavor and nutrients. This technique not only preserves your homegrown tomatoes but also allows you to enjoy homemade salsa anytime you desire.
Follow step-by-step instructions for safe canning. Ensure proper acidity for safety, use clean jars, and maintain correct pressure levels during processing. With patience and care, you can successfully preserve your salsa and enjoy it for months to come.
Choosing the Right Tomatoes
Ripe tomatoes are essential for salsa. Select varieties like Roma or San Marzano, which are meaty and have fewer seeds. These types provide a rich flavor and excellent texture, making your salsa more enjoyable. Avoid using overripe or undercooked tomatoes, as they can compromise the quality of your final product.
Freshness significantly impacts taste. Ideally, tomatoes should be harvested at their peak ripeness. Look for firm, unblemished skin and a vibrant color, which indicates they are ready to be used. Storing them at room temperature until you’re ready to can will help maintain their flavor and integrity.
Quality checks are crucial before canning. Cut a tomato in half to examine its flesh. A good tomato should be juicy and have a rich aroma. Discard any tomatoes that appear mealy or lack moisture. This will ensure your salsa is bursting with flavor and has a pleasing consistency.
Local sourcing enhances freshness. Visit farmers’ markets or your own garden to find the ripest tomatoes available. Supporting local growers not only yields better produce but also ensures you are using seasonal ingredients, which can elevate your salsa’s overall taste.
Essential Salsa Ingredients
Fresh tomatoes form the base of your salsa, providing flavor and consistency. Aim for about 5-6 cups of peeled, chopped tomatoes. Ripe and firm tomatoes are ideal, ensuring a vibrant and tasty result. Select varieties such as Roma or San Marzano for their low moisture content, which helps create a thicker salsa.
Onions add depth and character, so include 1-2 cups of finely chopped onions. Yellow or white onions work well, while red onions can impart a sweeter flavor. Adjust the onion quantity based on your taste preference.
Fresh peppers contribute heat and crunch. Incorporate 1-2 cups of diced bell peppers and 1-2 jalapeños or other hot peppers, depending on your desired spice level. Remove seeds from the hot peppers for milder heat or leave them in for a stronger kick.
Garlic enhances the flavor profile, so include 4-6 cloves of minced garlic. Fresh garlic is preferred, but garlic powder can be used in a pinch. Adjust the amount based on your preference, as garlic can be quite potent.
Vinegar is essential for preservation, so use 1-2 cups of high-quality white or apple cider vinegar. The acidity helps inhibit bacterial growth, ensuring safe canning. Adjust the amount for taste while maintaining the required acidity level.
Sugar can balance the acidity, so add 1-2 tablespoons if desired. This is optional, but it can enhance the overall flavor of your salsa. Lastly, season with salt (1-2 teaspoons) and any herbs or spices you prefer, such as cumin or oregano, to elevate your salsa’s flavor.
Preparing Salsa for Canning
Gather fresh ingredients to create your salsa mixture. Ripe tomatoes, onions, peppers, garlic, and spices are essential for flavor. Select high-quality, ripe vegetables to ensure the best taste and preservation. Wash all ingredients thoroughly under running water to remove any dirt or chemicals.
- Chop tomatoes into small pieces. Aim for uniformity in size for even cooking and blending. Remove excess seeds if desired, but retaining some enhances texture.
- Dice onions finely for a balanced flavor. Use a sharp knife for clean cuts, which helps release the onions’ natural juices.
- Minced garlic adds depth to the salsa. Use fresh garlic cloves, as powdered alternatives lack the same punch.
- Finely chop peppers for heat and color. Choose varieties like jalapeños or bell peppers depending on your spice preference.
- Combine all chopped ingredients in a large mixing bowl. Stir well to ensure an even distribution of flavors.
- Add spices such as salt, cumin, and lime juice to enhance taste. Adjust seasoning according to personal preference; always taste as you go.
Mix thoroughly until well combined. Once the salsa mixture reaches your desired flavor profile and consistency, it’s ready for the next steps in the canning process.
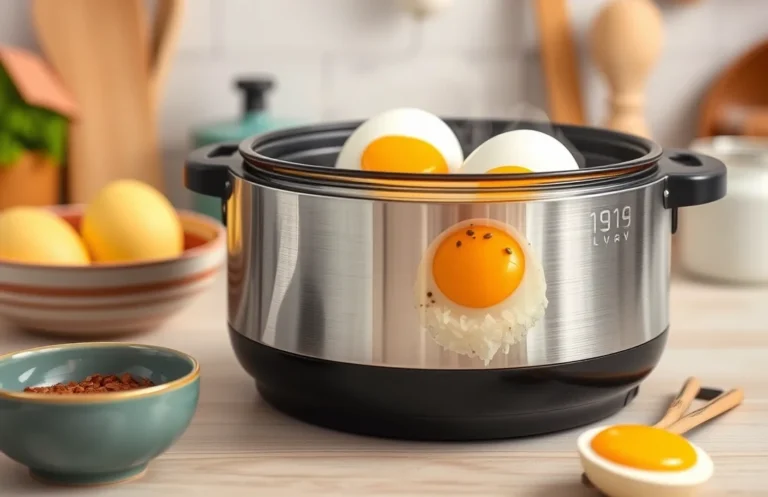
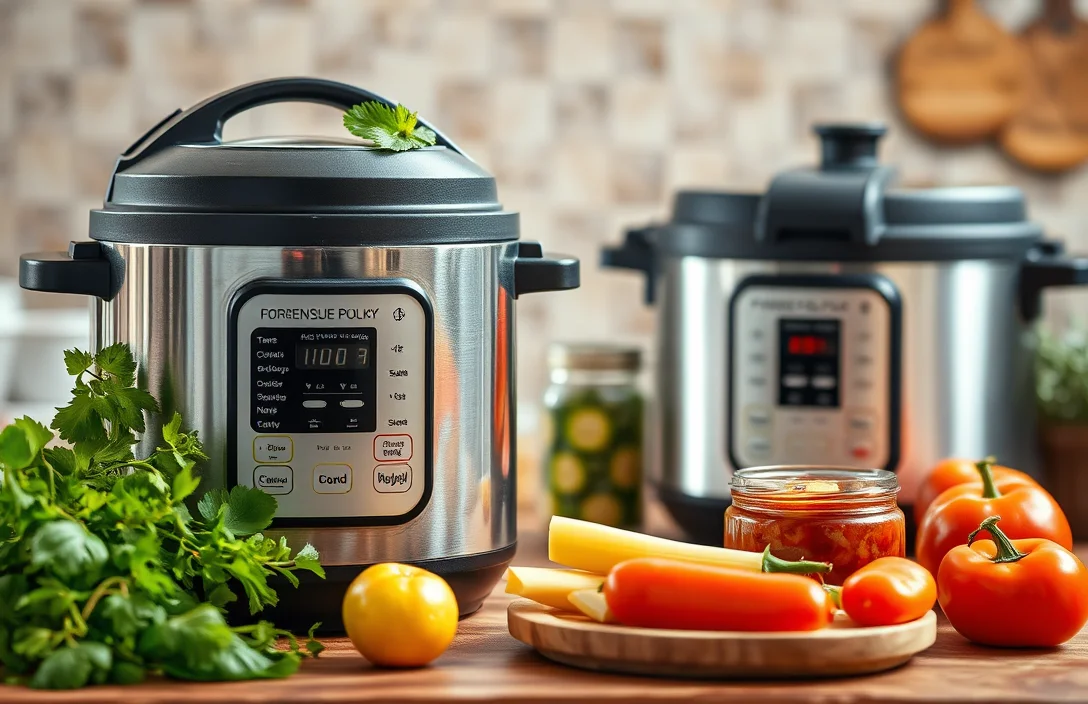
Pressure Cooker Setup
Prepare your pressure cooker by ensuring it is clean and in good working order. Check the gasket for any wear or damage, as a proper seal is essential for safety and effectiveness. Gather all necessary equipment, including jars, lids, and a jar lifter, to streamline the canning process.
- Inspect the pressure gauge for accuracy. If it’s not functioning properly, consider replacing it before starting.
- Fill the cooker with the recommended amount of water. Typically, this is about 2 to 3 inches, but consult your model’s manual for specifics.
- Place the rack inside the cooker to keep jars elevated above the water. This helps ensure even heating during the canning process.
- Secure the lid firmly, ensuring the pressure release valve is in the correct position. This will prevent steam from escaping during cooking.
- Heat the pressure cooker on the stove until it reaches the required pressure. Monitor closely to maintain consistent pressure throughout the canning process.
Following these steps will help ensure that your pressure cooker is set up correctly for canning salsa. Taking the time to prepare properly will enhance the safety and quality of your preserved salsa.
Canning Process Steps
Prepare the salsa for canning. Ensure you’ve cooked it according to your chosen recipe, allowing the flavors to blend well. Once ready, it’s crucial to ladle the hot salsa into sterilized jars, filling them to about ½ inch from the top. This space is necessary for proper sealing.
- Check jar rims for debris. Wipe the rims with a clean, damp cloth to ensure a proper seal. Any residue can prevent the lid from sealing properly.
- Place the canning lids on jars. Center each lid on the jar, pressing down gently to ensure it makes contact with the salsa inside.
- Use the metal band to secure the lid. Screw the band onto the jar until it’s fingertip-tight. Avoid overtightening, as this can interfere with the sealing process.
- Load jars into the pressure cooker. Arrange them in the cooker, ensuring they’re not touching each other to allow steam circulation during processing.
- Seal the pressure cooker lid properly. Ensure the lid is locked according to the manufacturer’s instructions to create a secure environment for canning.
Monitor the pressure during processing. Once the cooker reaches the recommended pressure for your recipe, maintain that pressure for the specified time to ensure safe preservation.
Cooling and Storage Tips
Cooling canned salsa properly is crucial for safety. After processing, remove jars from the pressure cooker using jar lifters. Place them on a clean, dry towel or cooling rack, ensuring they are not touching each other. Allow them to cool completely at room temperature, which usually takes about 12 to 24 hours. This step prevents spoilage and ensures a proper seal.
Label your jars once cooled. Use a permanent marker or labels to write the date and contents clearly on the lid. This practice helps you keep track of freshness and ensures you use older jars first. Organizing jars by date in your pantry can minimize waste and help maintain the quality of your salsa.
Storing salsa requires a cool, dark place. Choose a pantry or cupboard away from direct sunlight and heat sources. Ideal storage temperatures range between 50°F and 70°F. Avoid placing jars in areas that may experience temperature fluctuations, as this can compromise the seal and quality of the salsa.
Inspect jars regularly before use. Check for any signs of spoilage, such as unusual odors, bulging lids, or leaks. If any irregularities are detected, discard the jar and its contents immediately. Following these steps ensures that your canned salsa remains safe and delicious for months to come.
Safety Checks for Canned Salsa
Inspect each jar after cooling. Ensure that the lids are sealed properly, which means they should not flex up and down when pressed. If any jars have not sealed, refrigerate them immediately and use the salsa within a week. Proper sealing is crucial for preventing spoilage and ensuring food safety.
Check for signs of spoilage. Look for any unusual colors, textures, or odors that might indicate a problem. If you notice any signs of mold or fermentation, discard the jar immediately. Trust your senses; if it smells off, it’s best to err on the side of caution.
Label each jar with the date. Include the contents and the canning method used. This practice allows you to keep track of your salsa and ensures you consume it within a safe timeframe. Generally, salsa can be stored for up to a year if properly canned.
Store jars in a cool, dark place. Ideal conditions for storage include a pantry or cupboard away from direct sunlight and heat sources. Proper storage helps maintain the quality and safety of your canned products over time.
Follow these essential safety checks. By ensuring that your salsa is properly sealed, checking for spoilage, labeling jars, and storing them correctly, you can enjoy your homemade salsa with confidence. Safe canning practices are key to preserving your delicious creations.
Quick Summary
- Canning salsa using a pressure cooker is a safe method for preserving low-acid foods.
- Ensure all ingredients are fresh and properly washed to prevent contamination.
- Use a tested recipe that specifies the correct ratio of ingredients and processing times.
- Prepare jars and lids according to the manufacturer’s guidelines to ensure a proper seal.
- Adjust processing times based on altitude to ensure safe preservation.
- Allow jars to cool completely after processing and check the seals before storing.
- Label jars with the date and contents for easy identification and tracking.
Frequently Asked Questions
1. Is it safe to can salsa using a pressure cooker?
Yes, canning salsa in a pressure cooker is safe as long as you follow proper canning guidelines. Pressure canning is recommended for low-acid foods, and while tomatoes are generally acidic, adding other ingredients can lower the acidity. Always use a tested recipe for safety.
2. What ingredients should I use for my salsa?
For a successful salsa, use fresh, ripe tomatoes, onions, peppers, garlic, and spices. You can also include vinegar or lemon juice to increase acidity, which helps preserve the salsa and ensures safety during canning.
3. How long do I need to process salsa in a pressure cooker?
The processing time for salsa can vary based on your recipe and the jar size, but it typically ranges from 20 to 40 minutes. Always refer to a reliable canning guide for specific times and adjust for your altitude if necessary.
4. How can I tell if my salsa has sealed properly?
After processing, check the seals by pressing the center of each lid; it should not pop back. Additionally, look for any signs of spoilage, such as bulging lids or unusual odors, before using the salsa.
5. How long can I store my canned salsa?
Canned salsa can be stored for up to one year in a cool, dark place. Always check for signs of spoilage before consuming, and once opened, refrigerate and use within a week for best quality.

- 8 Easy Slow Cooker Beef and Rice Recipes for Delicious Meals - March 29, 2026
- Slow Cooker Beef and Sausage Chili: 7 Steps to Flavorful Success - March 29, 2026
- Savory Beef Back Ribs in a Pressure Cooker: 7 Steps to Perfection - March 29, 2026