How to Safely Can Salsa with a Pressure Cooker: Tips and Recipes
Pressure cooking can reduce canning time by up to 70%, making it an efficient way to preserve salsa. This method not only saves time but also enhances flavor retention, ensuring your homemade salsa tastes fresh for months.
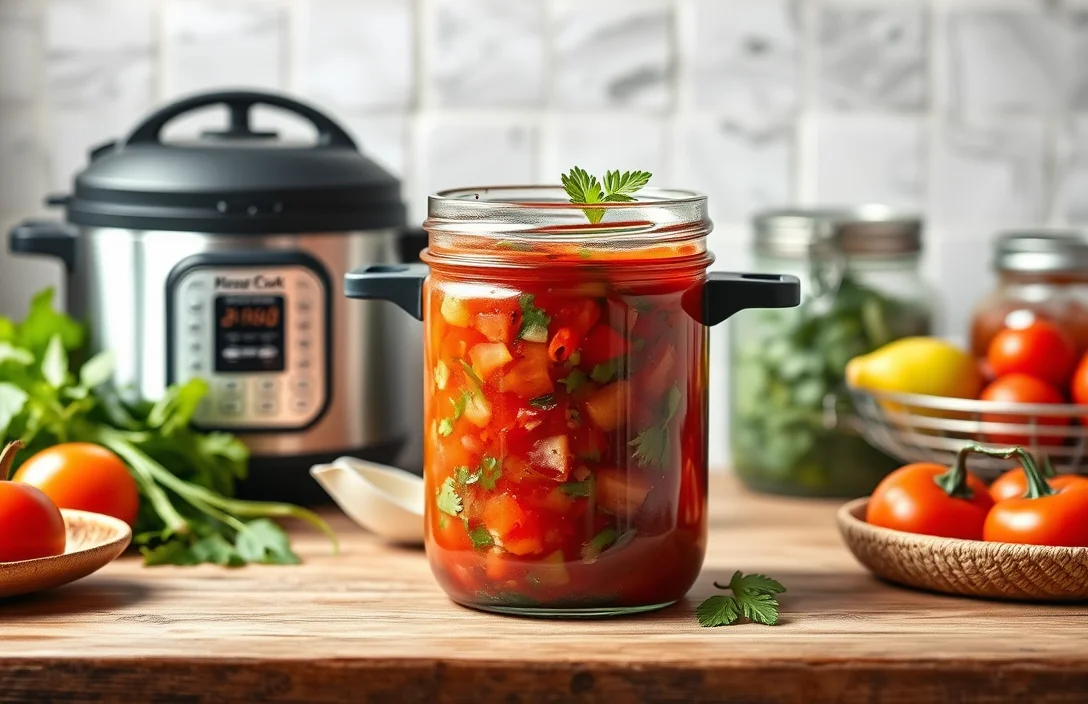
Learn key techniques for pressure canning salsa, including essential ingredients, proper acidity levels, and safety measures. This guide will equip you with the knowledge to create delicious, shelf-stable salsa with confidence.
Choosing the Right Salsa Recipe
Select salsa recipes specifically tested for pressure canning. Recipes should follow guidelines established by reputable sources such as the USDA or university extension services. These recipes ensure safety and quality, preventing issues like botulism or spoilage.
Classic ingredients typically include tomatoes, onions, peppers, and vinegar. Avoid recipes that use low-acid ingredients such as corn or beans, as they require different processing methods. High-acid ingredients ensure that the salsa maintains the right pH level for safe canning.
Reputable cookbooks or online resources often provide specific recipes designed for canning. Look for recipes that mention pressure canning explicitly, as traditional salsa recipes may not be suitable for this method. Trustworthy sources enhance your confidence in the safety and flavor of your final product.
Any modifications to tested recipes can alter acidity levels and jeopardize safety. Stick closely to ingredient ratios and processing times. If experimenting, consider testing small batches first to ensure desired results before committing to larger quantities.
Preparing Ingredients for Canning
Gathering the right ingredients is essential for making delicious salsa. Fresh vegetables like tomatoes, onions, and peppers contribute to flavor and texture. Ensure all produce is washed thoroughly to remove dirt and pesticides. This step is crucial for creating a safe and tasty product.
- Chop tomatoes into small pieces. Aim for uniformity in size to ensure even cooking. Remove excess seeds and juice to prevent a watery salsa.
- Dice onions finely for balanced flavor. Choose sweet or yellow onions for a milder taste, or go for red onions for a bolder flavor. Adjust quantity based on personal preference.
- Slice peppers according to your spice tolerance. Bell peppers add sweetness, while jalapeños or serranos bring heat. Remove seeds for less spice, or leave them for a more intense flavor.
- Measure spices accurately. Common spices include garlic, cumin, and salt. Fresh garlic provides a stronger flavor compared to powdered garlic. Adjust quantities to suit your taste.
- Combine all ingredients in a large bowl. Mixing ensures that flavors meld together before cooking. Let it sit for about 30 minutes to enhance the taste.
Following these steps will help prepare high-quality ingredients for canning salsa effectively. Proper preparation lays the foundation for a successful canning process.
Tips for canning salsa with a pressure
Pressure canning requires specific principles to ensure safety and quality. First, maintaining proper acidity levels in salsa is crucial. Most recipes recommend adding vinegar or lemon juice, which helps prevent bacterial growth. Aim for a pH level of 4.6 or lower for safe preservation.
Temperature control is essential during the canning process. Achieving the correct temperature inside the pressure cooker ensures that harmful microorganisms are eliminated. Typically, a temperature of 240°F needs to be reached for safe preservation of low-acid foods like salsa.
Time management plays a significant role in effective canning. Each recipe will specify the appropriate processing time based on the jar size and ingredients. Following these times precisely helps to ensure that the salsa is adequately processed, preventing spoilage.
Equipment quality impacts the canning results. Ensure your pressure cooker is in good condition and functioning properly. A reliable gauge and sealing mechanism are essential for maintaining the right pressure and temperature during the process.
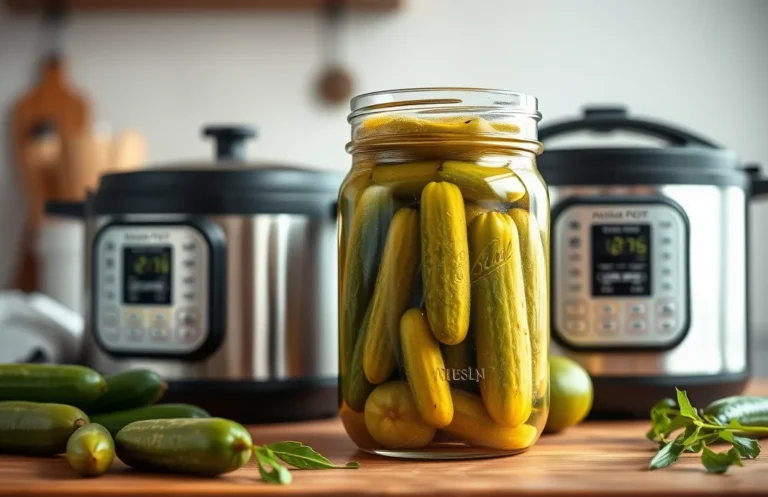
Usage of appropriate jars is vital for successful canning. Select jars specifically designed for canning, as they can withstand high heat and pressure. Avoid using decorative jars that may not be suitable for the canning process.
Filling Jars Correctly
Ensure jars are filled properly to guarantee a strong seal and prevent spoilage. Following these steps will help you avoid common pitfalls during the canning process. Precision in filling is crucial for safe preservation.
- Leave headspace at the top. Aim for about one-half inch of space from the jar’s rim. This space allows for the food to expand during processing and creates a vacuum seal.
- Use a funnel for ease. Utilizing a canning funnel helps transfer salsa without spills, ensuring accurate headspace and minimizing mess. Clean edges enhance the sealing process.
- Remove air bubbles thoroughly. Use a non-metallic spatula or tool to gently slide along the jar’s sides and release trapped air. This step is vital for achieving a proper seal.
- Wipe jar rims clean. After filling, take a clean cloth or paper towel to remove any residue on the rim. Residue can prevent the lid from sealing correctly, leading to spoilage.
- Check for proper seal. Place the lid on the jar and ensure it’s centered and secure. Tighten the band until it’s fingertip tight, balancing pressure without over-tightening.
Setting Up the Pressure Cooker
Ensure proper setup before canning. A pressure cooker requires specific configurations to safely process salsa. Follow these steps to prepare your equipment correctly.
- Inspect the sealing ring thoroughly. Make sure it’s not damaged or worn out. A proper seal is crucial for maintaining pressure during the canning process.
- Check the pressure release valve. Ensure it’s clean and functioning properly. This valve regulates steam and pressure, preventing accidents during cooking.
- Fill the cooker with water. Use the manufacturer’s guidelines for the correct amount, typically 2-3 inches. This water creates steam, essential for the pressure process.
- Arrange jars in the cooker. Place them upright, ensuring they do not touch each other. Proper spacing allows for even heat distribution and avoids breakage.
- Secure the lid tightly. Lock it in place according to your pressure cooker’s instructions. A tight seal is vital for achieving the necessary pressure to safely can salsa.
Completing these steps prepares your pressure cooker for safe and effective salsa canning. Proper configuration is essential for achieving the best results.
Processing Times and Pressures
Utilize specific processing times for canning salsa based on your recipe. Most recipes require processing at 10 to 15 PSI (pounds per square inch) for approximately 15 to 30 minutes. Adjusting the time may be necessary depending on the altitude of your location. Always consult a reliable reference to ensure safety and consistency.
Different salsa varieties dictate varying processing times. For example, tomato-based salsas typically need about 20 minutes at 10 PSI, while those containing beans or corn may require an extra 5 minutes. Ensuring you follow the guidelines enhances safety and maintains quality.
Monitoring pressure is crucial during the entire process. Keep an eye on the gauge to prevent fluctuations that could lead to under-processing. If pressure drops unexpectedly, re-establish and continue processing for the full recommended time.
Consulting the USDA’s Complete Guide to Home Canning can provide essential guidelines. This resource offers detailed information on the appropriate processing times and pressures for various types of salsa. Always prioritize food safety to avoid spoilage or contamination.
Cooling and Storing Canned Salsa
Cooling jars properly ensures the integrity of your canned salsa. After processing, remove jars from the pressure cooker using jar lifters. Place them on a clean, dry towel or cooling rack to allow air circulation. Avoid stacking jars until they are completely cool, which typically takes about 12-24 hours depending on room temperature.
Labeling jars is essential for tracking freshness. Use a permanent marker or label maker to note the date of canning and the contents. This practice helps you use older jars first, ensuring you maintain quality and safety. Store jars in a cool, dark place, such as a pantry or cupboard, away from direct sunlight.
Inspect jars before use for any signs of spoilage. Look for bulging lids, leaks, or unusual odors. If you notice any of these issues, discard the jar immediately. Properly sealed jars can last up to a year, but for the best flavor, consume them within six months.
Rotating your stock is another effective strategy. Regularly check your pantry and use older jars first. This practice not only minimizes waste but also ensures that you enjoy your canned salsa at its best quality. Following these steps will keep your canned salsa safe and delicious for months to come.
Quick Summary
- Canning salsa with a pressure cooker ensures safe preservation by reaching high temperatures to eliminate bacteria.
- Use high-acid ingredients like tomatoes and vinegar to help maintain the salsa’s safety and flavor.
- Prepare jars and lids by sterilizing them to prevent contamination during the canning process.
- Fill jars leaving appropriate headspace to allow for expansion during the pressure cooking process.
- Follow a tested recipe to ensure correct acidity levels and ingredient ratios for safe canning.
- Allow jars to cool completely after processing, checking seals to ensure proper preservation.
- Store sealed jars in a cool, dark place and consume within a year for best quality.
Frequently Asked Questions
What is the difference between canning salsa with a pressure cooker and a water bath?
Canning salsa with a pressure cooker is typically used for low-acid foods, while a water bath is suitable for high-acid foods like tomatoes. Salsa can vary in acidity depending on its ingredients, so it’s important to follow tested recipes to ensure safety.
Do I need to add extra acid when canning salsa?
Yes, adding extra acid, such as lemon juice or vinegar, is crucial for safely canning salsa. This increases the acidity level, which helps prevent bacterial growth and ensures the salsa is safe for long-term storage.
How long should I process salsa in a pressure cooker?
The processing time for salsa in a pressure cooker can vary based on the specific recipe and altitude. Generally, it ranges from 15 to 30 minutes; always refer to a trusted canning guide for exact times based on your conditions.
Can I use fresh ingredients for canning salsa?
Yes, using fresh ingredients for canning salsa is encouraged for the best flavor and quality. However, ensure that all ingredients are properly prepared and measured according to a tested canning recipe to maintain safety and consistency.
How do I know if my canned salsa is safe to eat?
After canning, check that the jars have sealed properly by pressing down on the center of the lids; they should not flex. Additionally, store the jars in a cool, dark place and inspect for any signs of spoilage, such as bulging lids or off smells, before consuming.

- 8 Easy Slow Cooker Beef and Rice Recipes for Delicious Meals - March 29, 2026
- Slow Cooker Beef and Sausage Chili: 7 Steps to Flavorful Success - March 29, 2026
- Savory Beef Back Ribs in a Pressure Cooker: 7 Steps to Perfection - March 29, 2026